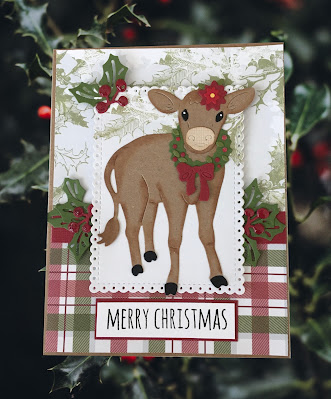
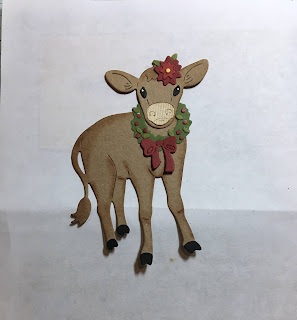
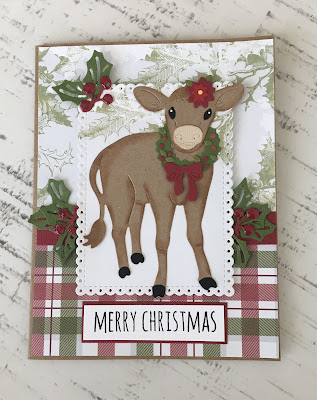
Here is a look at my first card.


I started by cutting out the beautiful Poinsettia Die Cut from the 1st Christmas Die Release. I covered it with some wet adhesive and then poured some fine, white glitter all over. I set it to dry and then dusted off the excess glitter.

I then used a large 3D glue dot for the middle and cut some little foam squares. This is what I used to adhere the die cut onto the base.

Here you see I adhered the Poinsettia cut to a stitched circle die base I cut from some red cardstock. I adhered that onto a scalloped white circle base. Once it was in place, I used some more wet glue and then adhered some dew drops to the center.

Here's a look at the dew drops I used.

I then used my Nuvo Drops and added some to all the spots on the die cut that were the little little holly berries.

Here's a closer look at the decorated die cut. I love that it has a little lift from the mats.

To finish off the card, I cut the new Merry Christmas sentiment out of some white cardstock. I layered it onto a strip of red cardstock. I adhered both elements to the patterned paper base. From there, I adhered the entire thing onto a black top folding A4 cardstock base.
For the second card, I repeated the same process for the Poinsettia Die Cut. I cut it out of some white cardstock. Glued and glittered it.

I then cut a piece of pink cardstock. I then inked the edges and mounted it onto the Scalloped stitched square base.

I then added some foam tape to the back side of this mat.

Here's a photo of the dew drops I used on this card. You can also barely see the Thistle colored stickles glitter glue I used. I dotted all the little holly berry centers.

Here's a closer look at the Merry Christmas die cut. I cut it out of some Green cardstock. I chose not to use the pretty outline that comes with the die.

Here's a closer look at the pretty Poinsettia.
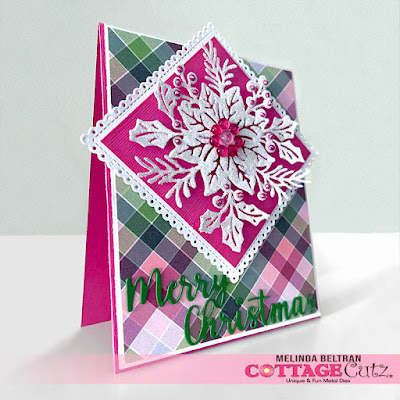
Here's a look at my completed card. For the base, I used a piece of patterned paper I created and printed out. I cut it to a 3.75 x 5 size. I mounted all that onto a piece of white cardstock and then the entire thing is attached to the pretty pink card base. The finished card size is a standard A4 top folding card.
The Dies I used to create these projects:


Well that about covers it for today!
The CottageCutz YouTube channel is up and running. We are featuring videos every Wednesday. Drop by and subscribe so you don't miss one and give us a thumbs up on our videos.
Make sure to come back by each day for some more great crafty inspiration from the super talented team. Don't forget to head over and take advantage of the great savings on these and more of the fabulous Sale!
Be sure to head over and check out the fantastic
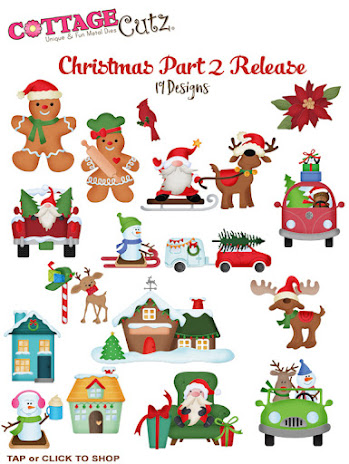
CHRISTMAS PART 2 RELEASE!!!!
SOME AMAZINGLY CUTE DIES!
This release has the Merry Christmas with Shadow die.
CHRISTMAS PART 1 RELEASE!!!!
SOME MORE AMAZINGLY CUTE DIES!
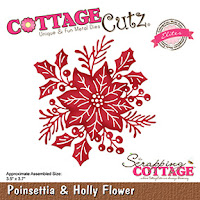
This release has the Poinsettia die.
Until the next time, have a wonderfully crafty day!