Showing posts with label Pierced Rectangle Set. Show all posts

Thursday, March 18, 2021

Spring Blossoms Thank You

Hello Friends,

It is Pam on the blog today!

Before we get started on today's card I wanted to let you know we are having a St. Patrick's Day day sale with savings up to 60% off selected stamps and dies.  The sale ends today at 9PM Pacific Time.  So hurry on over to the online store just click HERE.

For the card today I made a big beautiful flower arrangement for a special thank you card!


Design Steps:
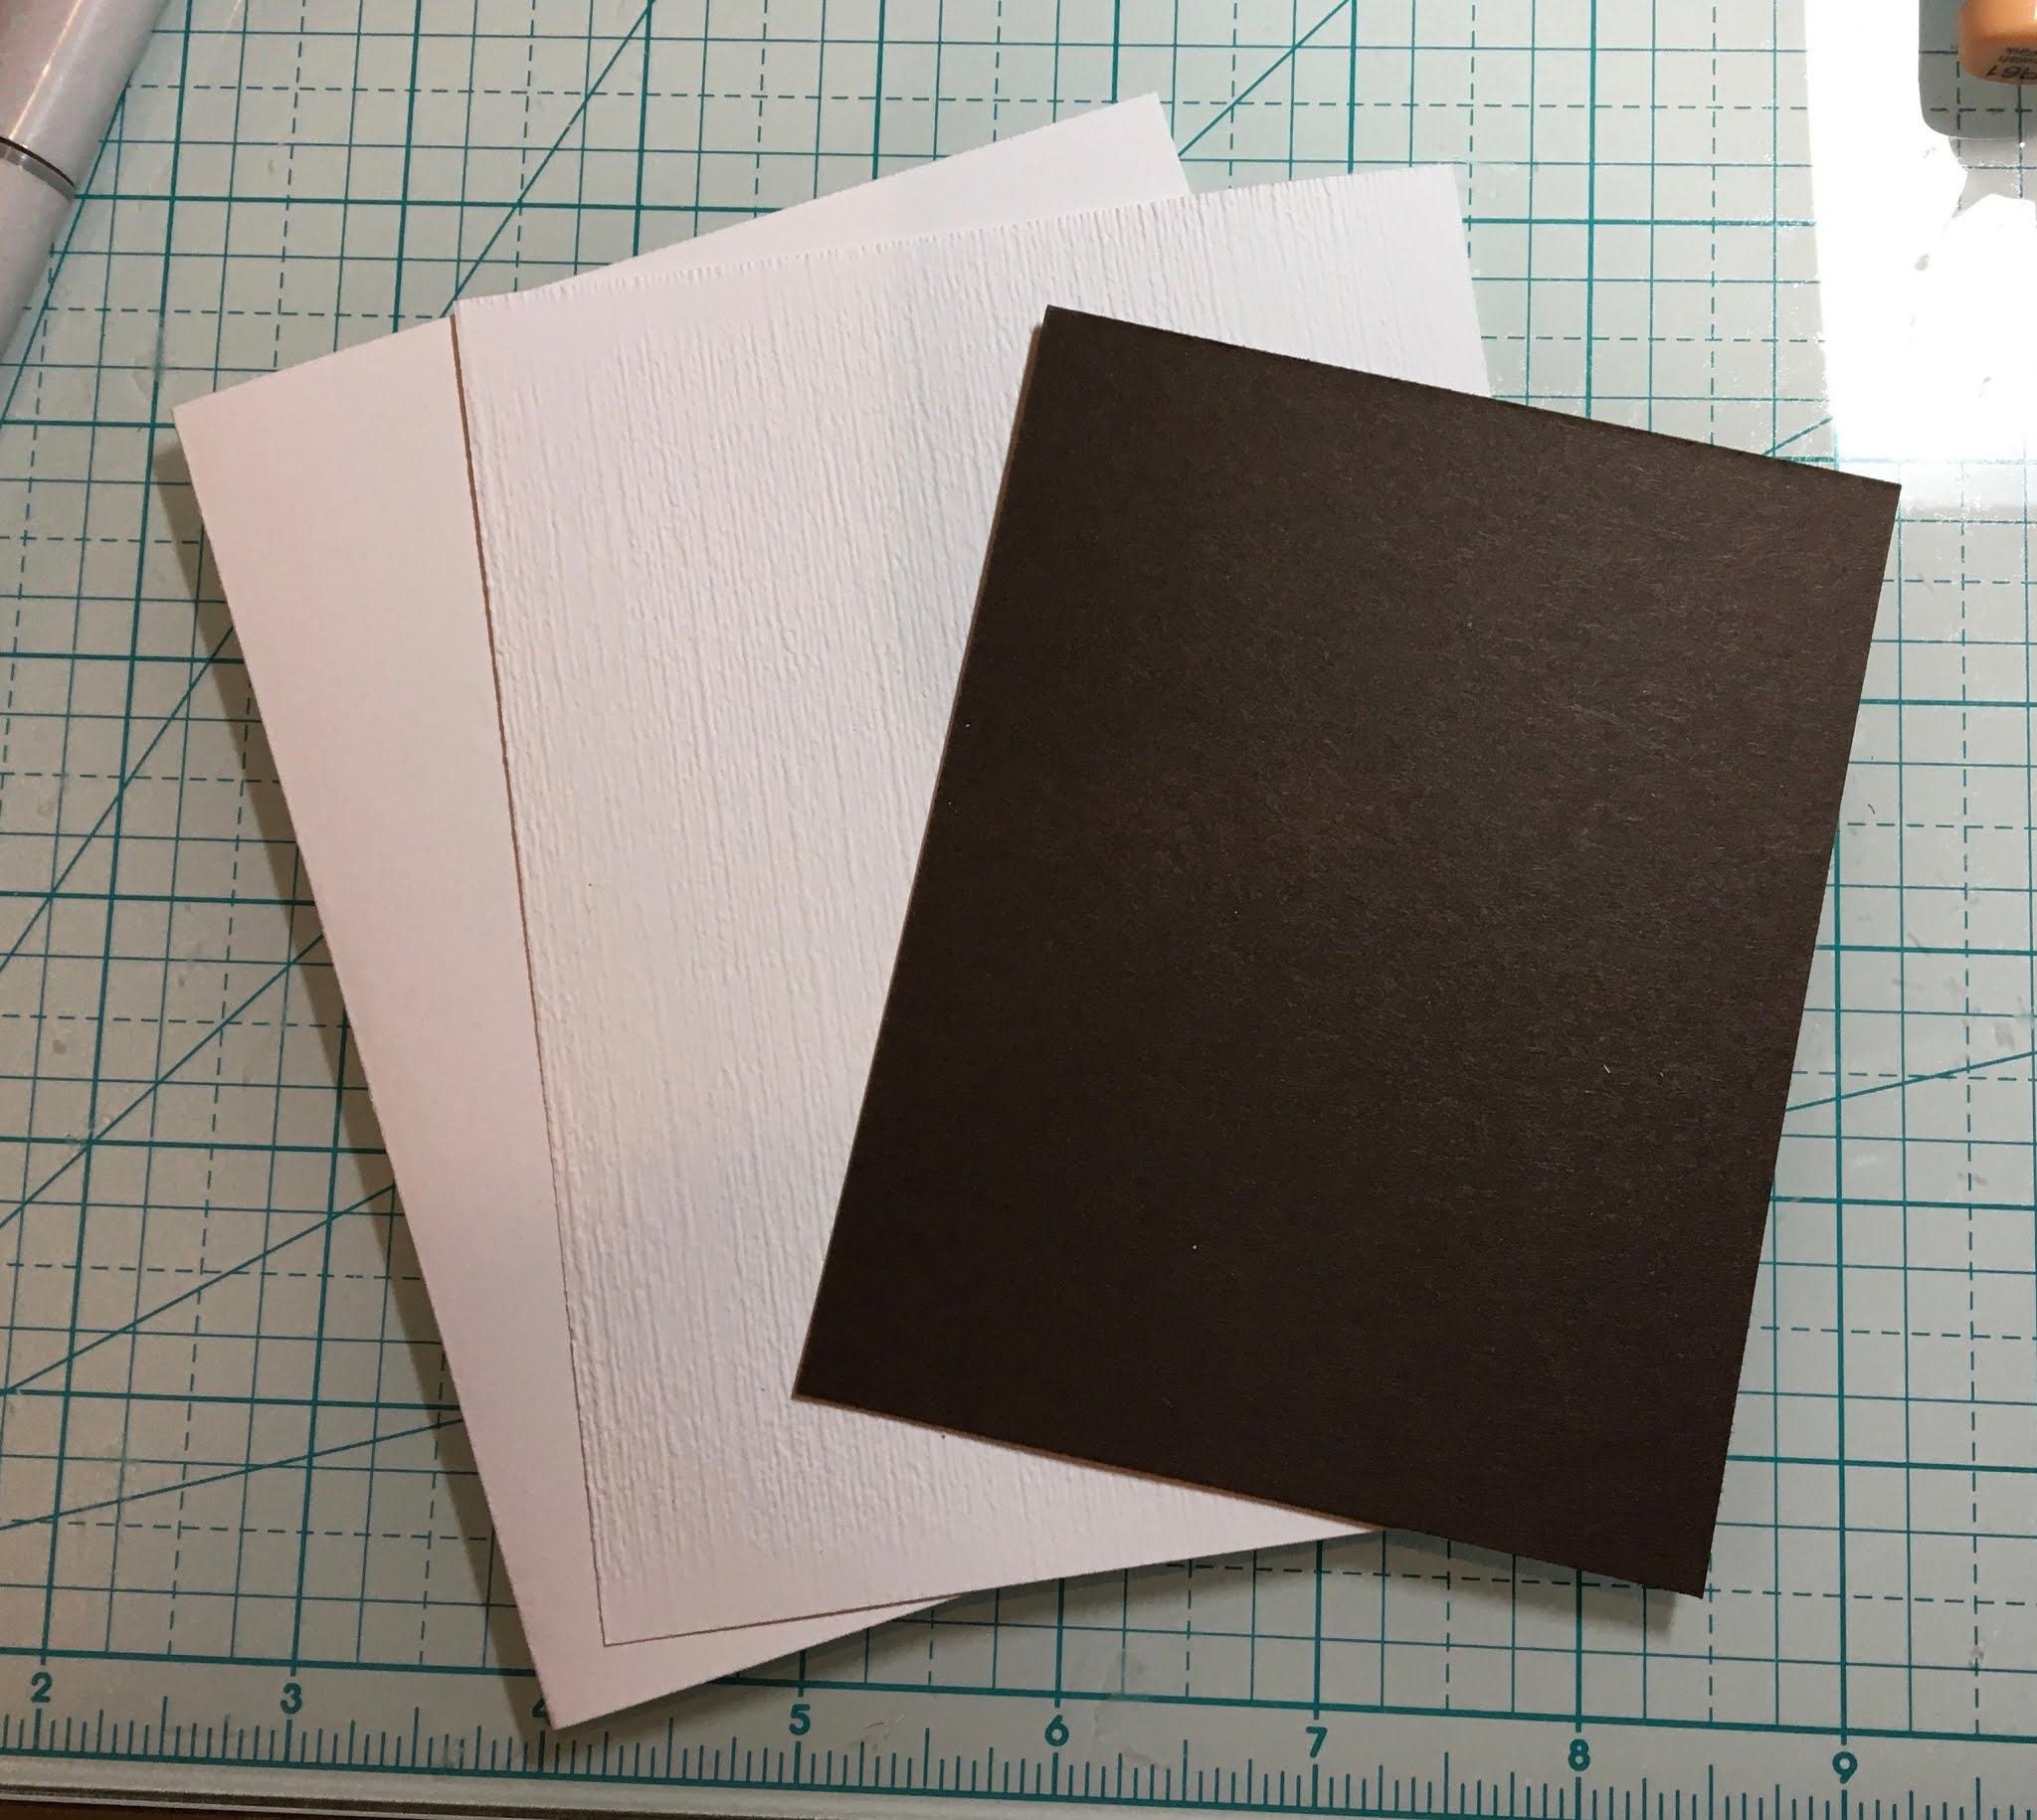
1.  Start with an A2 white card base, cut a piece of white card stock 4 1/8 x 5 3/8 (run it through an embossing folder that looks like linen) and a piece of dark brown 3 1/2 x 4 1/2.  Glue the white to the white card base and then the brown to the embossed white slightly toward the top of the card as shown above
2.  For the blue panel I used a piece of light blue mulberry paper 8 1/2 x 11 cut into 4 equal pieces.  I then stacked them together and lightly sprayed both sides with water just so the paper is damp not soaked.  Place them in your embossing folder and then run through the machine 

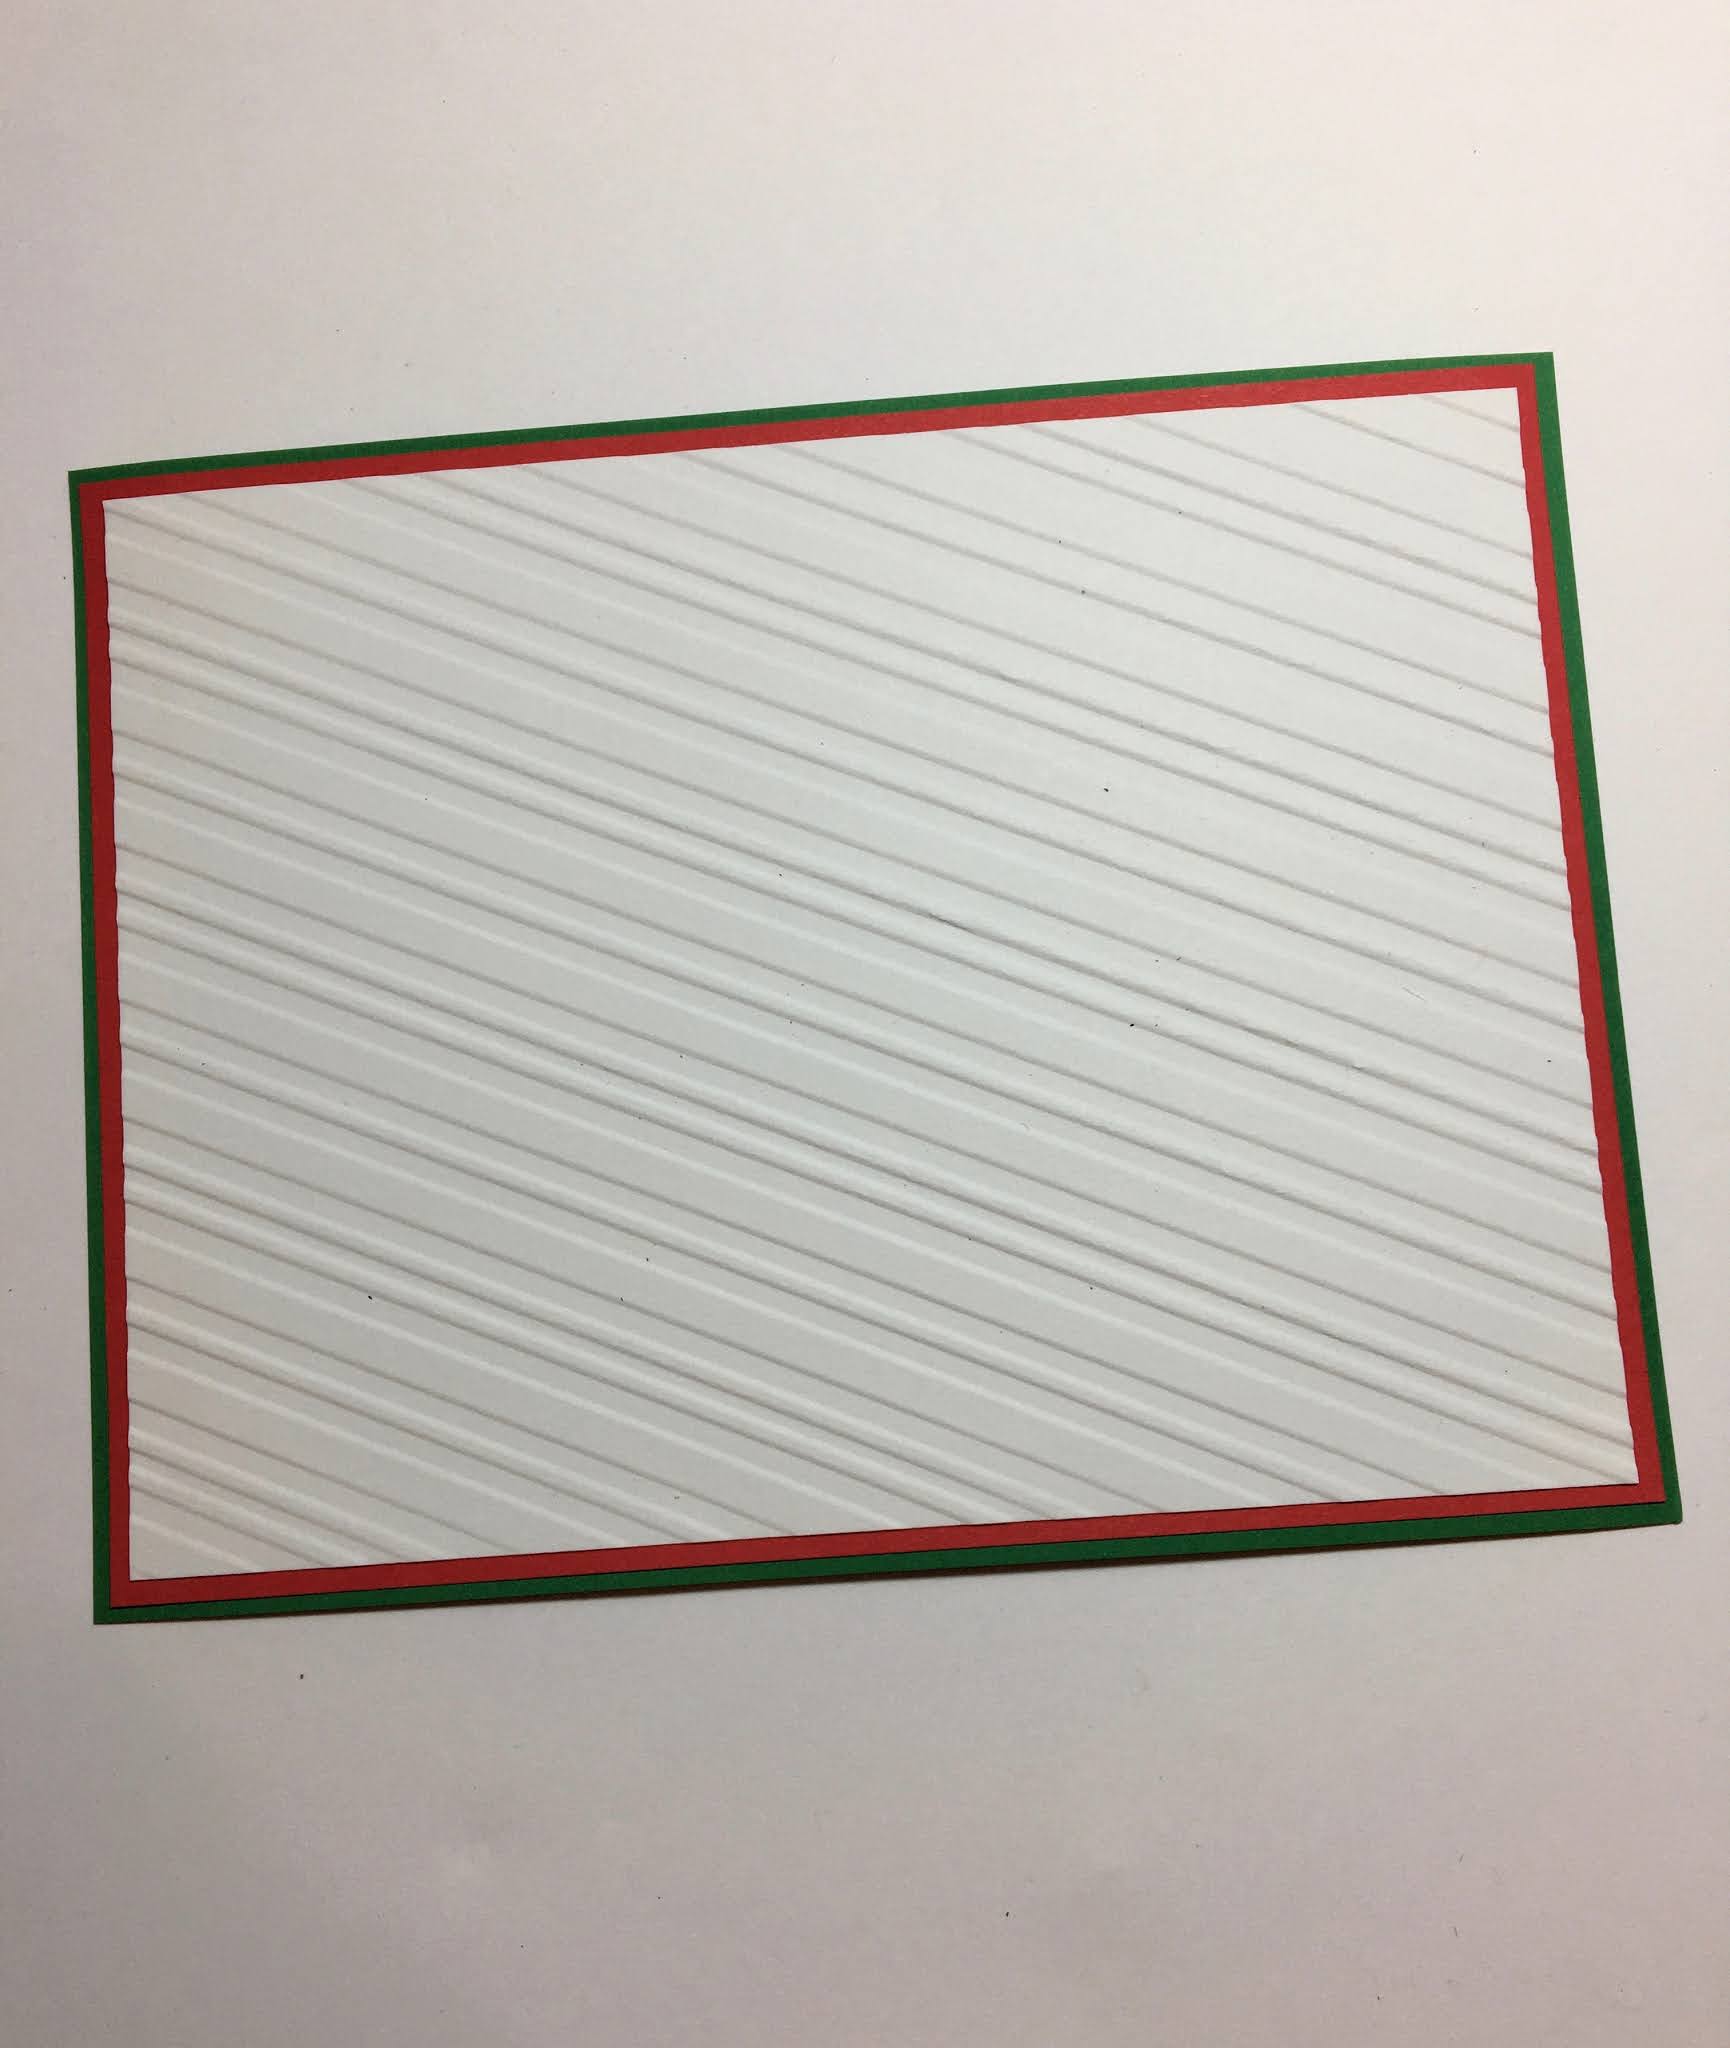
3.  After you run the mulberry paper through the machine let it dry.  After it is dry use the largest Pierced Rectangle die and cut it with that die.  This makes a really cool effect and textured feel

4.  Cut all the pieces in white using the Spring Flowers in a Pot die.  After you cut them out color with copic makers.  This takes a little time but I love the shading you achieve
5.  Begin building you flower pot on the embossed blue mulberry paper.  I put a large dimension dot under the pot to give it a rounded shape
6.  Start to arrange you flowers using some dimension dots under some of the flower and glueing others flat
7.  After your flower pot is complete put some glue on the back of the mulberry paper and adhere it to the dark brown card stock on the front of the card
8.  Using the Expressions Thank You die cut out 3 on whtie card stock.  Glue the 3 together for added strength and dimension.  Glue them to the bottom of the pot and your card is complete 

CottageCutz Products


Please don't forget to head on over to the store so you don't miss out on the wonderful St. Patrick's Day Sale which is ending soon.  Thanks for stopping by today!

Blessings and Take Care
Pam


Sunday, January 10, 2021

Hello

Hi!

It's Anja here. I have a simple card for you today using a bunch of Safari dies. I placed the animals in the garden. 


For this card I used:

- Cottage Cutz dies (Safari Camel, Safari Ostrich, Safari Giraffe, Hello, Trellis w/Vines, Pierced Rectangle Set),

- Distress Inks,

- craft card base (15x15 cm),

- white card stock for die cuts,

- green card stock for background (9x12 cm),

- black pen,

- white pen,

- paper glue. 

First I cut and colored all three animals. 

Next I cut and colored the trellis and the sentiment.

Then I cut the largest rectangle from the set and trimmed a bit bigger rectangle from green cardstock.

When I had all the pieces cut and colored I placed it on the card base and glued it together. And my card was done.


I wish you all a nice Sunday and see you again next week. 

Anja Z.


Cottage Cutz dies I used:


Thursday, October 22, 2020

Frosty Snowman

Hello Scrapping Cottage Friends,

It is Pam creating with you on the blog today!

I am continuing to work on my Christmas cards and I send some special ones out to my little niece and nephews.  I thought this Joy Snowman is just the perfect card for the younger kids! And it was pretty fast and easy!


Design Steps:

1.  Cut out all of the pieces using the Joy Snowman die.  I cut out 3 J's and Y's in red.  I also used DP for the scarf and hat band.  The other card stock is brown, green, white, black and orange
2.  Glue the 3 J's and the 3 Y's together.  Assemble the snowman with a fine tip glue.  Also cut a piece of silver glitter card stock with the second largest Pieced Rectangle die

3.  Cut Green card stock 4 1/8 x 5 3/8,  red card stock 3 7/8 x 5 1/8, white card stock 3 5/8 x 4 7/8.  Before glueing the pieces together run the white piece through a diagonal striped embossing folder

4.  After the layers are glued together attach a knotted ribbon and then glue to an A2 white card base
5.  Use dimension dots to glue down the snowman making sure that he is centered.  Then use dimension dots to add the letters J and Y.  For a little extra fun add some snowflakes and your card is finished

Cottagecutz Products


We have 3 releases of Christmas dies in the online store.  I know you will find something you love for your Christmas cards.  So please click here to check all of the adorable dies we have.
Blessings
Pam


Thursday, September 24, 2020

Trick or Treat Ghost

Hello Scrapping Cottage Friends

It is Pam sharing with you today!

We have some very cute Halloween dies that are not to scary for anyone you might want to send them too!  I have a very young great niece and nephew that are the perfect age to send a sweet Halloween card too.  I love seeing the wee little ones all dressed up for Halloween. I am using this adorable ghost with his Halloween balloon and pumpkin treat bucket.

Background Photo by Annie Spratt on Unsplash

Design Steps


1.  I am using a black card stock base with a gate fold.  You start with an 8 1/2 x 5 1/2 piece of black card stock then you score it at 2 1/8 and 6 3/8 inches and then fold
2.  Cut 4 pieces of Halloween DP 2 x 5 1/4 and purple DP 4 x 5 1/4.  Use your Pieced Square die second from the largest and cut a piece of purple DP and then layer it onto black card stock
3.  Glue the 4 pieces of Halloween DP to the front flaps of the card and on the inside flaps
4.   Glue the purple DP to the center of the inside of the card.  Glue the purple pierced square to a layer of black
5.  Using the Trick or Treat Ghost die cut out the pieces using orange, black, yellow, white and purple card stock
6.  Using a fine tip glue assemble the little ghost.  Use a fine tip black marker to add the ghost's eyes and the bats eyes.  Dot with the ghost's eyes with a white gel pen
7.  Pop dot the ghost to the purple square
8.  Stamp your sentiment and layer it onto purple then black card stock.  Glue the Ghost square as shown making sure you only put glue on the left side of the panel.  Next so the same for the sentiment
9.  For the inside I cut an additional little pumpkin and I also cut a rectangle using the 3rd from the largest Pieced Rectangle die out of white.   Stamp the sentiment and glue it to the inside along with the little pumpkin.  Your card is complete

CottageCutz Products

Thanks so much for stopping by and please make sure to stop by the online store to check out these adorable Halloween dies!

Blessings
Pam