Showing posts with label Ouch with Tooth. Show all posts

Wednesday, December 13, 2017

Nurse Puppy - Piecing Tutorial & Card


Hi! It’s Janet back again with a video project to share with you. If you have visited here lately, you know we’ve been showing off the newest Get Well die release that Scrapping Cottage issued for Black Friday. Today, my project showcases the adorable little dog in the Nurse Puppy die set.

As the case with many CottageCutz dies, you are getting a lot packed into one die. Nurse Puppy includes the precious little puppy plus seven additional accessories related to the medical field. That's right, SEVEN! The pieces could be used separately or combined to celebrate many different events. Since there is so much in this set, my video today concentrates on how to piece together the puppy and all her accessories. Even if you don’t have this die, seeing how it comes together will help you pick up some tips that will come in handy with similarly detailed sets.
   
Click on the video thumbnail below to see how I put this little cutie and all her accessories together.


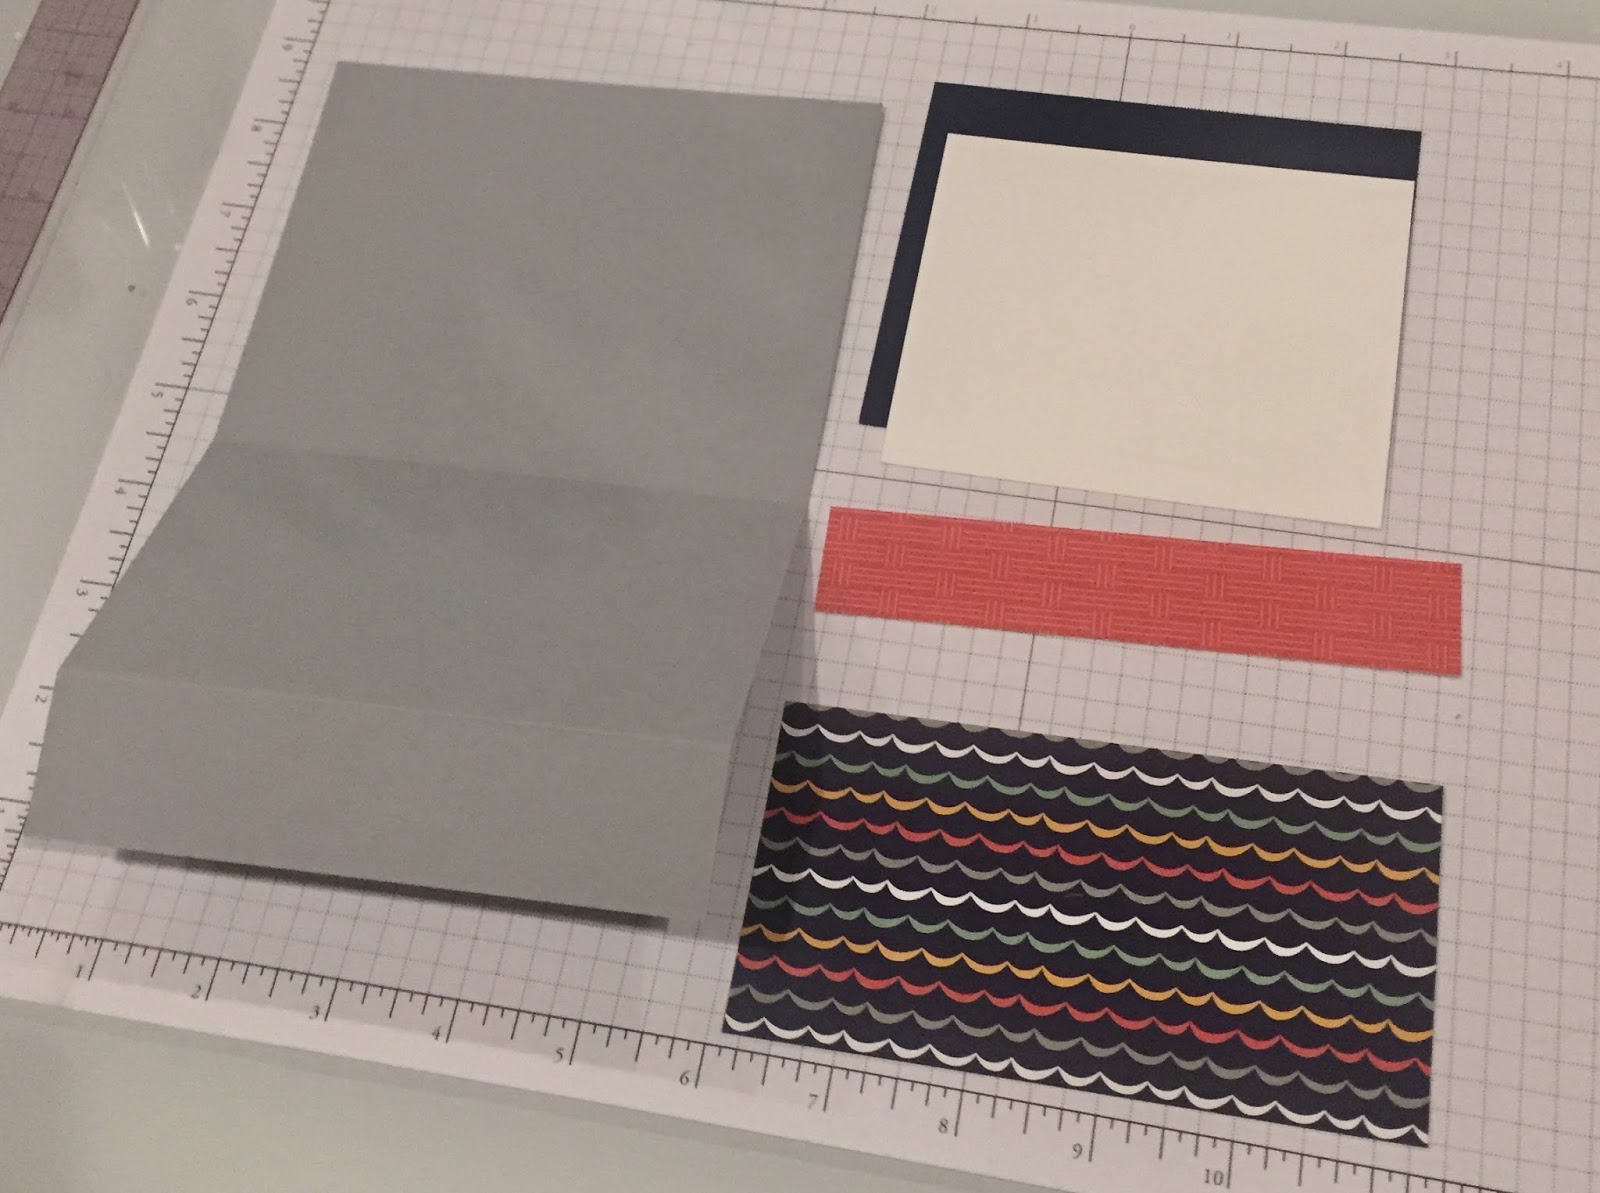
If this card base design seems familiar it is because our very own Design Team member Lois Bak posted the instructions for it here a little over a year ago on a project titled Center-Step Mushrooms. Lois' card base designs frequently include fancy folds and I am always looking for good ideas for unique folds. This card base is one of many that I have stored away in my archives. I thought the center step design would work great to feature all eight pieces in this die set and I wasn’t disappointed. This base can be used for any kind of card you'd like to make. If you’d like to revisit her post on the blog click on the link. She includes all the measurements, instructions and construction photos for the card base and the mushrooms she artfully placed on it: CENTER-STEP MUSHROOMS

I’ve also recorded a video tutorial of the center step card construction on my channel. Click on this link to visit that: CENTER-STEP CONSTRUCTION TUTORIAL

Thanks for joining me today here at the Scrapping Cottage. I won’t be back until after Christmas so I want to take this time to wish all of you the very merriest and happiest Christmas ever! I’ll be back on the 27th to show you a New Year’s project. 2018 here we come!

Hugs,

Janet

Dies used in this project:


Friday, November 24, 2017

Feel Better Bear

It's here!  Black Friday and the release of the new Get Well dies is here!!  Be sure to check out the website and the full release that is available today with special pricing.

Jeanne is posting today with a card that features two of the new dies.  Of course I love bears and this one is extra cute.  As an added bonus you can accessorize him to be "injured", or "sick" or just "under the weather" depending on the recipient's ailment.
This is a pocket card with the sentiment on a separate card that lifts out of the pocket.
Start with a piece of card stock 8 1/2 x 5 1/2 inches folded to A2 size.  Score one side with the folded edge at the 3" mark on your score board.  Fold the small panel that is created opposite the fold in the card, so it creates a flap.  Cut two pieces of patterned paper for the front and flap, one - 2 1/2 x 5 1/4 inches and the other 1 x 5 1/4 inches.  For the sentiment card cut one piece of card stock 4 1/2 x 3 3/4 and another 4 1/4 x 3 1/2.   Using strong adhesive or scor-tape, glue the sides of the card together with the front flap down.  Adhere the smaller panel to the larger panel for the inside card.
Next, place a sheet of double sided adhesive on the card stock that the sentiment will be cut from and die cut the sentiment.
Since this sentiment is very casual, I set it at angles to enhance that feel.
The bear is die cut from two shades of brown; the rest of the items are cut from white card stock and colored with Copic markers. 
I love the detail in this set.  The tissue even slips inside a slit in the box!
When the card is inserted in the pocket, you can't see the sentiment until it's pulled out.

Check out all the new release Get Well dies - they are super cute and very versatile!  The dies Iused today:


http://www.scrappingcottage.com/cottagecutzouchwithtooth.aspx

Thanks for stopping by and have a great weekend!!!

Saturday, November 18, 2017

Feel Better (New Get Well Dies)

Hello Scrapping Cottage friends! Thanks for taking the time to stop and visit today. It's Mary Marsh here bringing you the Saturday edition of the Blog.

 Some exciting news! There is a new bundle of "Get Well" dies that are coming as part of the CottageCutz Black Friday release.  And, along with this new release will be some special pricing on all the dies. They will be in the online store soon.

Here is a short video that will show all the new dies in the Black Friday release.

Today, I am giving you a sneak peek of two of the new dies. I am using Chicken Soup and Ouch with Tooth dies. They are all so cute. This little chicken just made me giggle so I had to create a get well card with him as the star. So let's get started on my card details.

Step 1: Since I knew what dies I was going to use, I just needed to decide on my card colors plus the card layout. I found a great sketch that I thought would work well with my design. I chose the wonky striped patterned paper because I thought it would work well with the whimsical chicken image.

Yellow Card Base: 4 1/4" x 5 1/2"
Yellow Striped Patterned paper: 4 1/8" x 5 3/8"
Red Rectangle Layer: used the largest of the pierced rectangle dies.
White Image Layer: used the largest of the rectangle dies.
Step 2: I decided to cut and assemble my die pieces at this point just to make sure everything would fit in the layout I had chosen to use. Love the detail on the can of chicken soup. the chicken is just too cute sitting in the bowl along with the soup noodles.
Step 3:  Started my card assembly. I adhered the panels to the card base with double sided tape. It's my go to adhesive. I wasn't sure what I was going to use for the horizontal layer of the sketch. I thought of ribbon but because this is more of a fun card, I decided to use yellow cardstock. The panel measures 1 1/4" x 4 1/4".

Step 4: I am now ready to adhere the dies to the image panel. I used the chicken noodle soup can in place of the circle on the sketch. The detail on the soup can is amazing. I have a close-up photo and also you can click on the photo to make it even larger.
I finished off my card with a few sequins - hearts and regular circles. I thought it just added a finished element to the bright and cherry card.
 
That's it for me for another week. See you next Saturday. For all our US friends, hope your Thanksgiving Day celebration is a wonderful one.
 
Dies I used to create card:
 
 
http://www.scrappingcottage.com/cottagecutzrectanglesetbasics.aspx

http://www.scrappingcottage.com/cottagecutzpiercedrectanglesetbasics.aspx