Showing posts with label Nested Stitched Scallop Circle Set. Show all posts

Wednesday, March 25, 2020

Make a Splash

Hello!  This is Sukie and today I'm sharing this adorable card for my design team post. I have another sweet die set to showcase on this card from the new Spring die release.
The Splish Splash Duckling was shaded with my Oxide Inks and tucked inside the oversized tub.  I also cut out a sign from the Route 66 Road Signs die set for the sentiment.  The circle is from the Nested Stitched Scallop Circle Set.
I selected a cheery background for featuring the duck at the focal point of my card.  I trimmed down the road sign, stamped it with a fun sentiment and layered the 2 pieces.
To build my card, I placed the scallop circle die cut in the center of my card.  The sweet duck was centered inside the circle.
Next, the water splashes and bubbles were clustered around the duck for a whimsical look on my card.
The layered sentiment sign was adhered on the bottom of the card for a final finishing touch.
Here are the die sets used on my card, available in the store:


Tuesday, February 25, 2020

DT Samples - Spring Day 2

Hello Scrapping Cottage friends! Happy Tuesday to you! Thanks for taking the time to stop and visit today. We are sampling DT cards using dies from the new Spring dies release.

They are in the online store and 25% off for a limited time. There are 27 new dies in the release and each one is cuter than the next. They will be perfect for your Easter and Spring card making. We thought you might like to have some new and creative ideas for your Easter or Spring cards using these new dies. Our cards today are all about the florals. So let's get started with the cards for today.

Card 1: Our first card today is from Janja Albreht. She used the new Spring Daffodils & Eggs die to create a beautiful Easter card. What could be more perfect for an Easter card than daffodils and colored eggs?  

The background designer paper presents the illusion of these daffodils growing against a worn fence. And, the use of the oval is giving us a peek into this idyllic scene. She added a purple flag and a white embossed sentiment to complete this lovely card. 

Card 2:  Our next sample for today is from Pam MacKay.  She is featuring the new Hello Spring Bloom die and created a cheerful birthday card. Take notice of the cute little snail on the card. 

Her choice of flower colors, designer paper and ribbon definitely have a spring vibe going on. She cut her happy phrase in white cardstock to make it stand out against the green background.  

She completed her card with the addition of some yellow satin ribbon and bow. The recipient of this card will definitely have a keepsake.  


Well, that's our samples for today. I hope the team has given you some fresh ideas on ways to use these new Spring dies. We will be back again tomorrow with more samples from the team. And, if you are thinking of getting any of these new dies, they are on sale for a limited time in the online store

dies used to create cards:


Wednesday, February 12, 2020

You Are My Honey

Hello! This is Sukie and today I'm sharing this adorable card for my design team post. My card was created with the Busy Bee die from the new release of Spring dies which are currently on sale.
This card was inspired by a selection of fun papers in my stash.  Once I selected my papers I went with a sweet card which can be used for Valentine's Day or as an anniversary card.
The Busy Bee die was used for the 2 bees and then I went with a few of the basic dies (Nested Stitched Scallop Rectangle, Nested Stitched Scallop Circle and Stitched Circle) for my card background.
In preparation of my card pieces, I stamped the sentiment inside the circle.  I also hand cut a little flag to use as an embellishment on my card.
I layered a solid black card base with the patterned paper background.  Next I added the 2 pieces cut with the Nested Stitched Scallop Rectangle die set on top.
The white circle was nested inside the scallop circle and the set of circles were adhered on my card base.
I popped up the bees on some foam dots for added dimension.  The two bees surrounded the sentiment circle and the flag was added as a finishing touch.
Here are the dies used on my card, available in the store:

Saturday, December 07, 2019

Vintage Rudolf

Happy Friday Cottage Cutz fans!  It's Jeanne today with a card that reminds me of the style of Christmas cards around when I was a little girl.  This card is also quick to create and would be easy to make in multiples as we get down to the wire in the holiday cardmaking season!
I cut the reindeer from white and Crumb Cake cardstock using the Reindeer and Penguin die. 
I used Copic markers to color the hooves, nose and collar, and Distress oxide ink in Vintage Photo to shade the deer; then I assembled Rudolf.
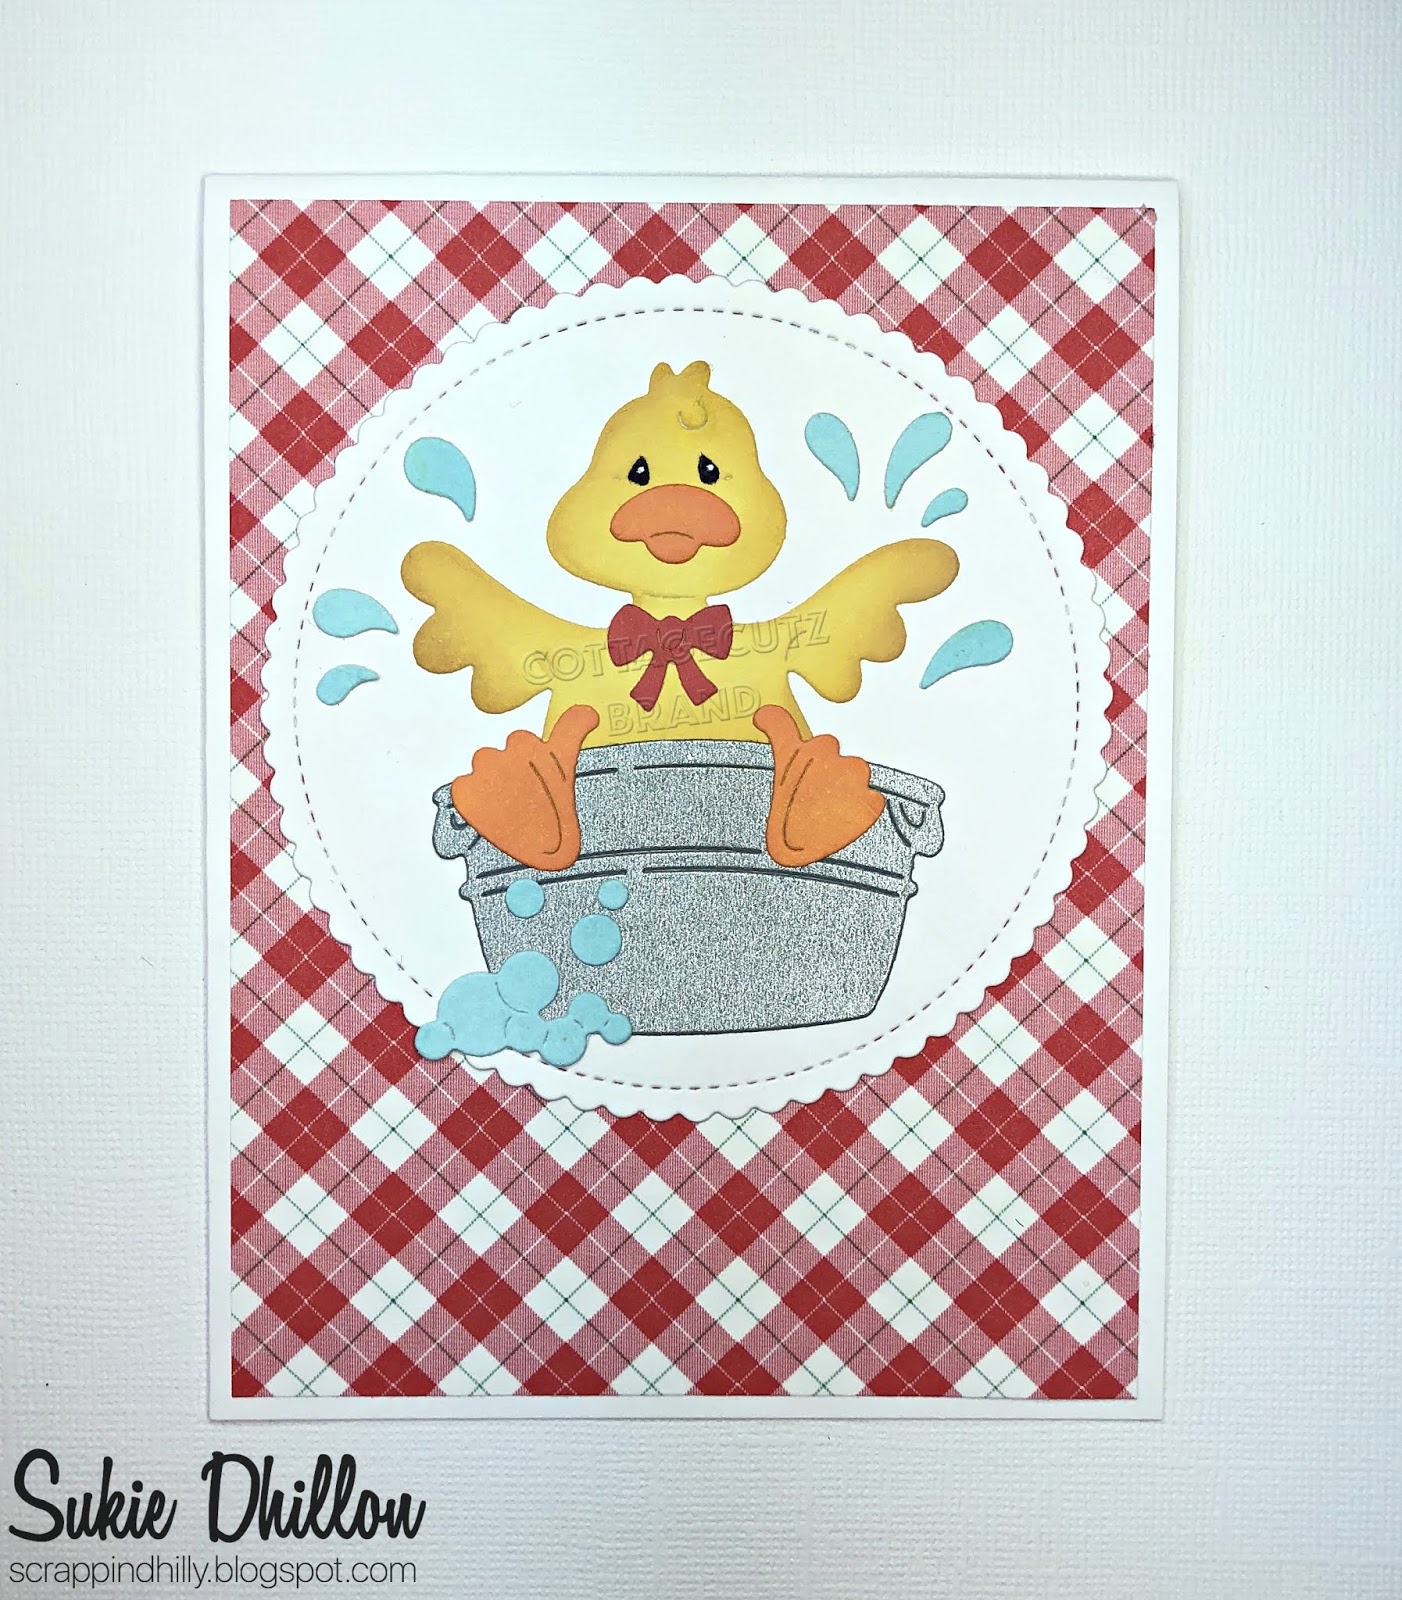
 I cut a 5.5 x 4.25 inch panel from a vintage look paper and a circle from white cardstock using the largest of the Scalloped Stitched Circle die.
Using the same DO ink, I antiqued the edges of both and glued the circle in the center of the panel.
Next, I cut Merry Christmas in Real Red cardstock that I had backed with an adhesive sheet.
I assembled the pieces....
and adhered the panel to an A2 card base.  I added gold glitter dots as jingle bells on Rudolf's collar.  This card is quick to make for a fun vintage look.

Dies:
http://www.scrappingcottage.com/cottagecutzreindeerandpenguin.aspx
http://www.scrappingcottage.com/cottagecutznestedstitchedscallopcircleset.aspx
http://www.scrappingcottage.com/cottagecutzmerrychristmaswfriends.aspx

Thanks for stopping by today!  Be sure to stop by the online store to see all the latest dies!

Thursday, August 01, 2019

Lemon Cupcake!


Hi Scrapping Cottage Friends!

It is Pam playing and creating with you on the blog today!

The new Birthday release is charming with all of it's yummy cupcakes and darling little critters  You are going to love decorating your special birthday cards with each of these dies!  And to make it even better they are 25% off in the online store now!  Don't miss this special new release sale!

Design Steps:


 1.  Start with an A2 white card base. Cut a yellow piece of card stock 4 x 5 1/4.  Cut a green piece of card stock 3 3/4 x 5 and last a piece of lemon DP 3 1/2 x 4 3/4.  Glue them together and set the card base aside
 2.  Using the Birthday Cupcake w/Lemon Slice die cut out all of the pieces in white
 3.  Using your favorite markers (I used Copics) color in the cupcake and glue together
 4.  Color the ribbon and little candy dots and add them to the cupcake
 5.  Cut out a scallop circle in white using the Stitched  Scalloped Circle die.  I used the second from the largest
6.  Place dimension tape on the back of the cupcake and pop it to the scalloped circle.  Then add dimension tape to the scalloped circle and pop it to the card.  Add the sentiment and your card is complete
CottageCutz Products


Whatever you do don't miss this fun and festive birthday release!
Blessings
Pam