Hello! This is
Sukie and today I'm sharing this birthday card featuring the new
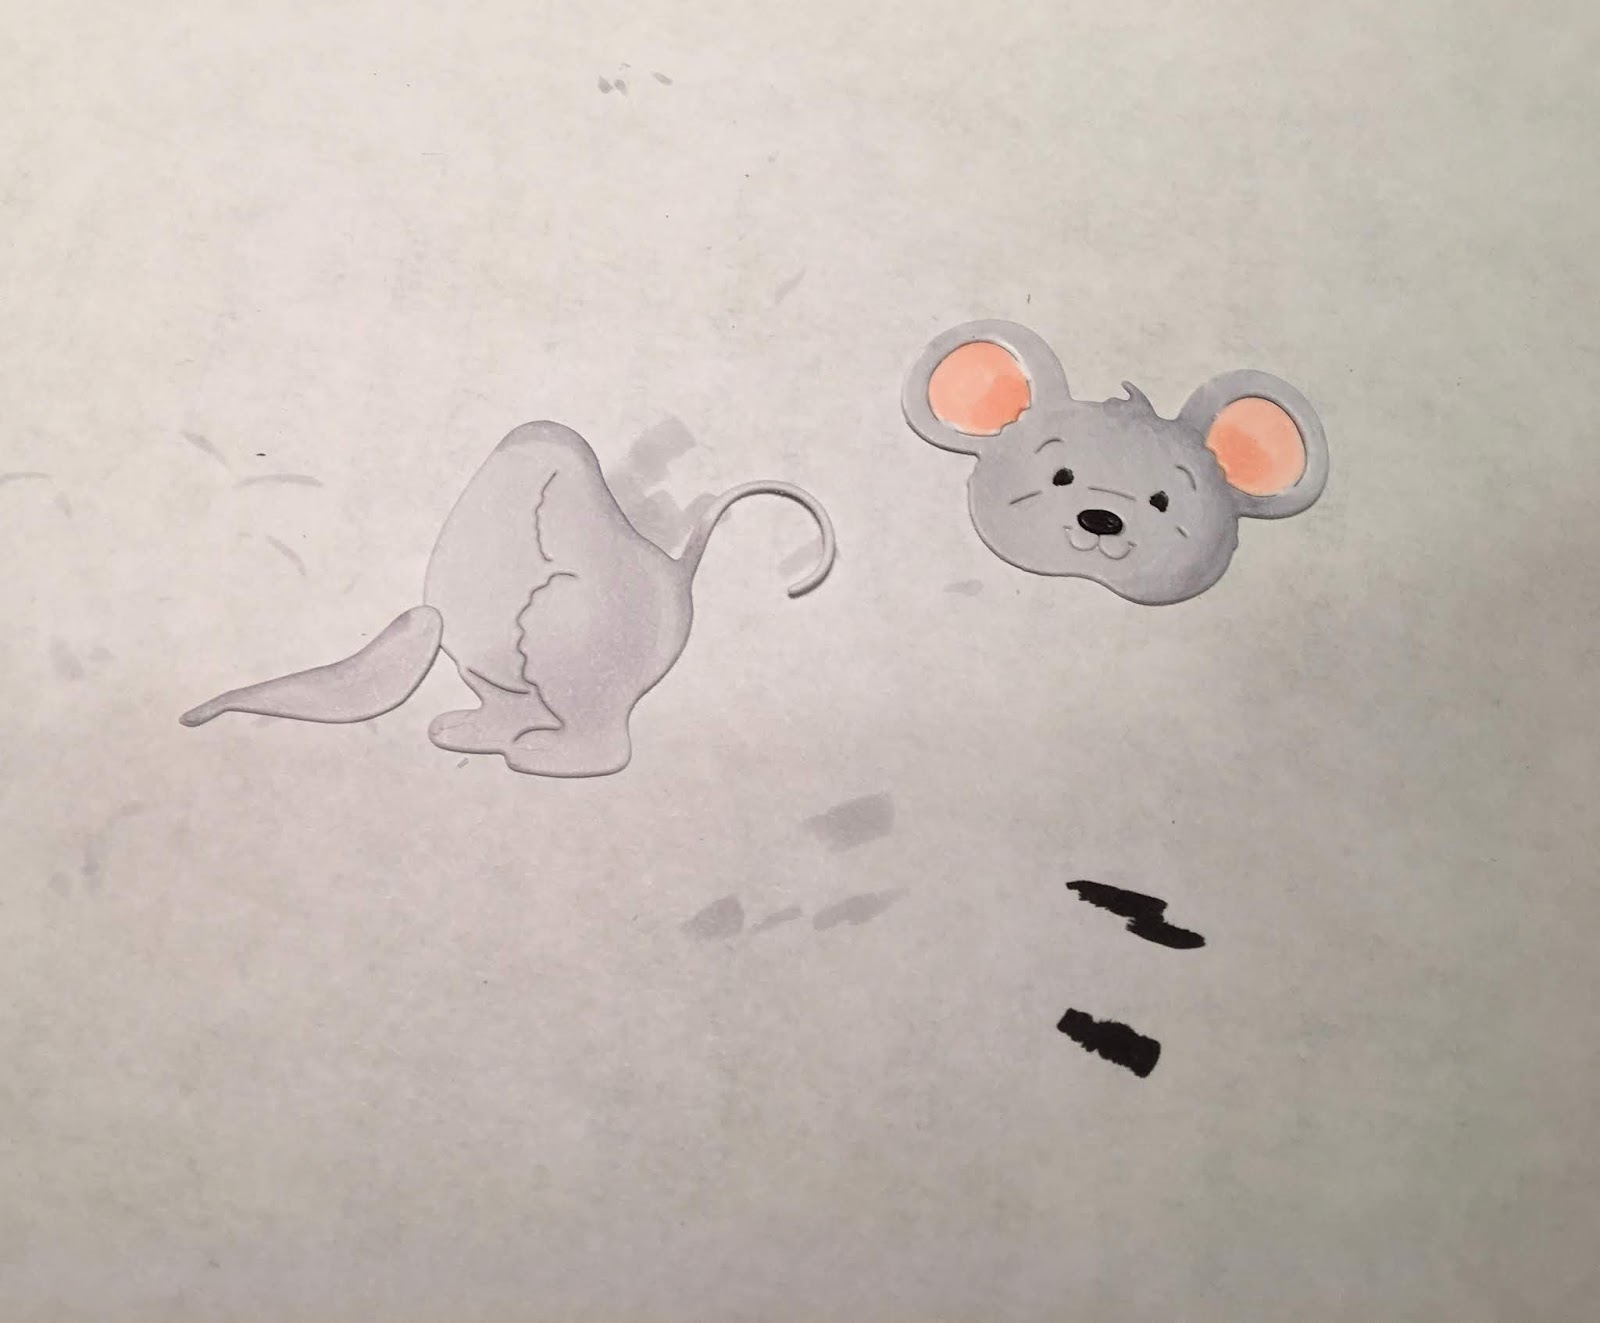
Birthday release dies. I love every single one of the new birthday mouse die cuts and wanted to find a way to include them on one card.
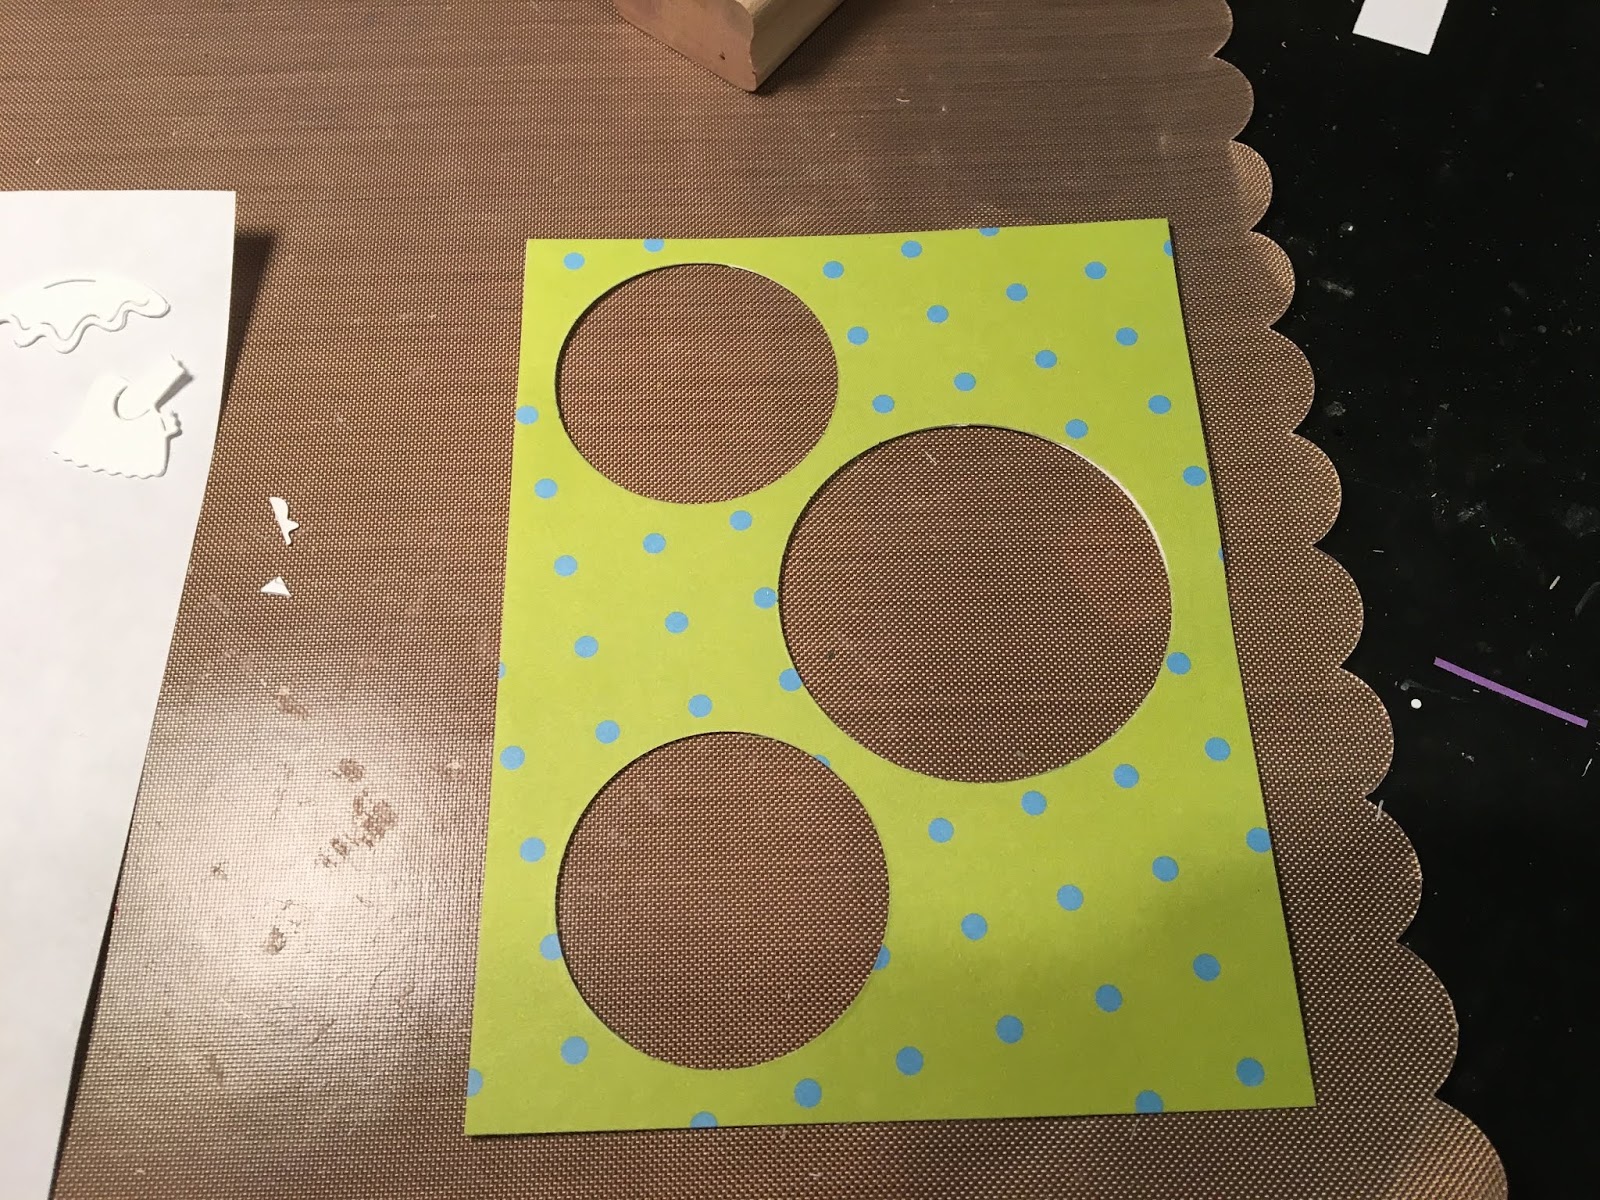
I cut out all of the pieces and shaded them with with my Oxide Inks. I used different shades of pink for a cohesive theme. All of the white die cuts were accented with some Wink of Stella for a sparkly finish.
I created a tea-length card (4"x9.25") for the mice to be placed along the bottom edge of my card. I used a single color of Oxide Ink to shade the background of my card.
I placed the
Birthday Mouse Cupcake on the left side of my card and the
Mouse with Cake on the opposite end.
The
Ballerina Mouse and the
Mouse with Cupcake filled in the center of my card creating a birthday parade. I used pop dots behind the die cuts for added depth and dimension.
The sentiment is from the
Festive Birthday Greeting die set. The pennant was tucked into the corner leaving the perfect amount of space for the birthday sentiment.
A balloon bouquet was nestled behind the Mouse with Cake. The bits and pieces of confetti were scattered throughout my card base as a finishing accent on my card.
Here are the dies used on my card, available in the
shop and currently on sale: