Showing posts with label Leaves & Stems. Show all posts

Friday, January 24, 2020

Happy Flowers

Happy Friday!  Are you ready for spring to arrive?  I am (and I live where the weather is nice most of the year!)  It's Jeanne today and I have a card inspired by spring.
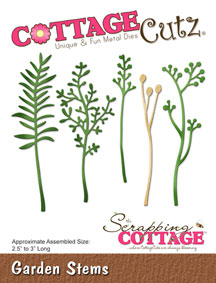
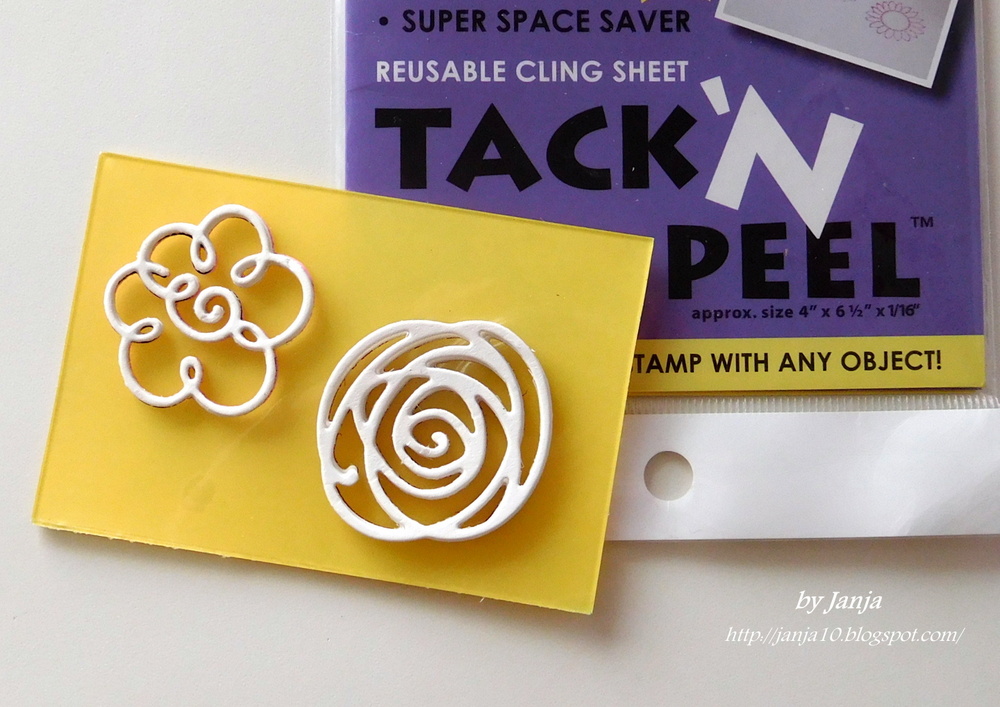
The Doodle Flowers are so much fun and can be used for many occasions.  I first cut all the piecs using colored cardstock.  I went through my scrap box and picked bright, warm colors.
Then I assembled the pieces.
I stamped my sentiment on a 5 1/2 x 4 1/4 inch white cardstock panel.
I cut off a little over 1/4 inch from the right side of the panel and roughly laid out where my flowers would go.
To get the stem behind the sentiment, I marked the section needing to be cut out in pencil and then used paper snips to cut it.
I glued the flowers, leaves and stems on the panel.
I used a piece of coordinating designer paper 1/2 x 4 1/4 inches  and glued it to the right side of a top folding A2 card base.

 The flower panel was adhered to the card base.
This is a very simple card to make but the boldness of the images gives it a lot of impact!  And since the flowers are so abstract, any colors will work beautifully.  Perfect way to use up scraps!
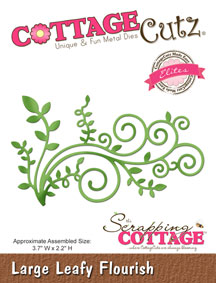
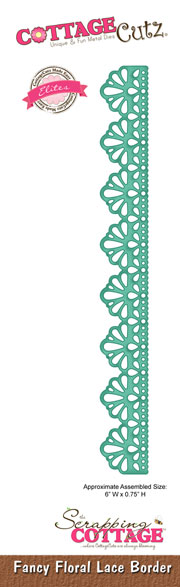
Dies used:
http://www.scrappingcottage.com/cottagecutzdoodleflowersset1.aspx

http://www.scrappingcottage.com/cottagecutzleavesandstems.aspx

I hope you enjoyed my card today.  May you have a fun and creative weekend!

Tuesday, July 26, 2016

In the color of lavender

Hi, Janja here!

Stunning scent of Mediterranean bush is expanding far and wide. Tiny flowers with its violet blue color catches the eye. Lavender is fully blooming.
I tried to catch some of its color and romance on a birthday card.
Let's see how it is made.


For the card we need:
- white card base: 5.3 x 5.3" (13,5 x 13,5 cm)
- patterned paper: two sheets in size of - 5.24 x 5.24" (13,3 x 13,3 cm) and four sheets in size of - 5 x 5" (12,7 x 12,7 cm)
- white and violet cardstock
- ribbon

We prepare two cutouts from a white cardstock with the die oval doily & frame. Also cut out two oval holes in a patterned paper with the die in which we will later insert white ovals.


From a white cardstock cut out birds with the die bird trio and 4 lace borders with the die fancy floral lace border.
For more contrast cut birds also from violet cardstock and the basic of two flowers. The upper part of the flowers and leaves is cut out from a white cardstock with the dies: doodle flowers set 1 , doodle flowers set 2, and leaves & stems.


Glue patterned papers with double-sided adhesive tape between themselves and insert white ovals in oval holes. On a card base we attach a ribbon.


Assemble the card.


Look on a spread card with a space for greetings and an inscription happy birthday.


Exterior of a card.


I would like to remind you on our challenge #4 - greenery
You still have time to share your projects with us.

I hope you have been inspired by my card today.
Janja

 List of dies used:


Saturday, July 09, 2016

A VICTORIAN CARD WITH ANITA KEJRIWAL


Hello everyone!!!

I hope you all are geared up to enjoy your weekend!! I'm Anita here to make it more creative and fun filled for you. How about some card making ??? CottageCutz has some fabulous new releases and a huge range of dies to get you going. Have you got the Home Sweet Home new release. Do check it out to see how beautiful they are.

Today, I am sharing a Victorian style Easel card with you that has lots of layers and dimension.


I have some close ups to describe the details of the card.


The CottageCutz 3D flower# 4 have been coloured with Archival inks Chrome Yellow and Olive Green and then embossed and shaped. On the base of the card, arrange the die cuts from CottageCutz Lace Border, CottageCutz Butterfly and CottageCutz Large Flourish


 To make the side panel from CottageCutz Stitched Rectangle frame, place the smaller frame in the left hand corner instead of placing in the middle. This way you will get a wider frame base. I have used the  Cottagecutz Stitched Oval frameto make the framed lady.


Arrange the flowers and leaves using CottageCutz Garden Stems and CottageCutz Leaves and stems


 The Complete Card


To make the base of the card, cut a white card stock measuring 12 inches x 6 inches. Score at 6 inches on the longer side . Then further score at 9 inches. Fold like an easel.
I have used a shabby green pattern paper as my mat layer. The base mat layer measures 5.75 inches x5.75 inches and the card front mat layer measures 2.75 inches x 5.75 inches.

Add two lace border die cuts from  as shown on the base of the card.


Have you seen the current challenge at the CottageCutz blog??? It's all about Greenery!!! So do share your work to win some awesome prize.


Tuesday, May 17, 2016

Gingerbread flowers

Hi, Janja here!

When I first saw the Doodle flowers die, I immediately got an association to gingerbread. And so today I share with you monochrome set (card and notebook) with my gingerbread flowers :).


For the card and notebook we need:
  • light brown card base: 10.6 x 5.3" (27 x 13,5 cm), folded in half
  • dark brown cardstock: 5 x 5" and 3.7 x 3.7" (12,6 x 12,6 cm and 9,5 x 9,5 cm)
  • white cardstock: 4.7 x 4.7" (12 x 12 cm)
  • 2 x light brown cardstock for notebook: 6 x 4.4" (15 x 11 cm)
  • inlay sheets: 5.8 x 4.1" (14,8 x 10,5 cm)
First we prepare the flower background. This I done with homemade stamp, using the die Doodle flowers set 1.
Cut out 6 pieces of flowers and glue them to each other. Apply adhesive across the entire surface. Because the adhesive is almost impossible to apply evenly, first place a flower with a sticky side on a piece of paper. With this, the adhesive is evenly spread across the entire surface and it is only then fasten to the second flower.
Once we have all the flowers glued to each other, place them on a transparent adhesive sheet which holds our stamp on an acrylic block.


With the stamp we prepare a unique background. Flowers can also be painted, or shadowed. Since my card is monochrome, I left the flowers unpainted. 


Now cut out the squares. Attach flowers and leaves to the cardstock, that is cut out with the largest cross-stitched square die from the set. Add the inscription with best wishes, and few sequins.
 

Assemble the card.
 

On the cover of the notebook, fix a frame cut out with a stitched wide rectangle frame die (the largest die of the set). Decorate the notebook like a card.


Covers and inlay sheets tack to each other with your favorite binding machine. The corners are treated with a corner punches.


And don't forget on our May challenge - Hello spring

Dies, which I used at work: 


Have a nice day.

Janja