Showing posts with label Kathy Roney. Show all posts

Sunday, February 02, 2014

Sweetheart Lovebirds

Happy Sunday everyone!

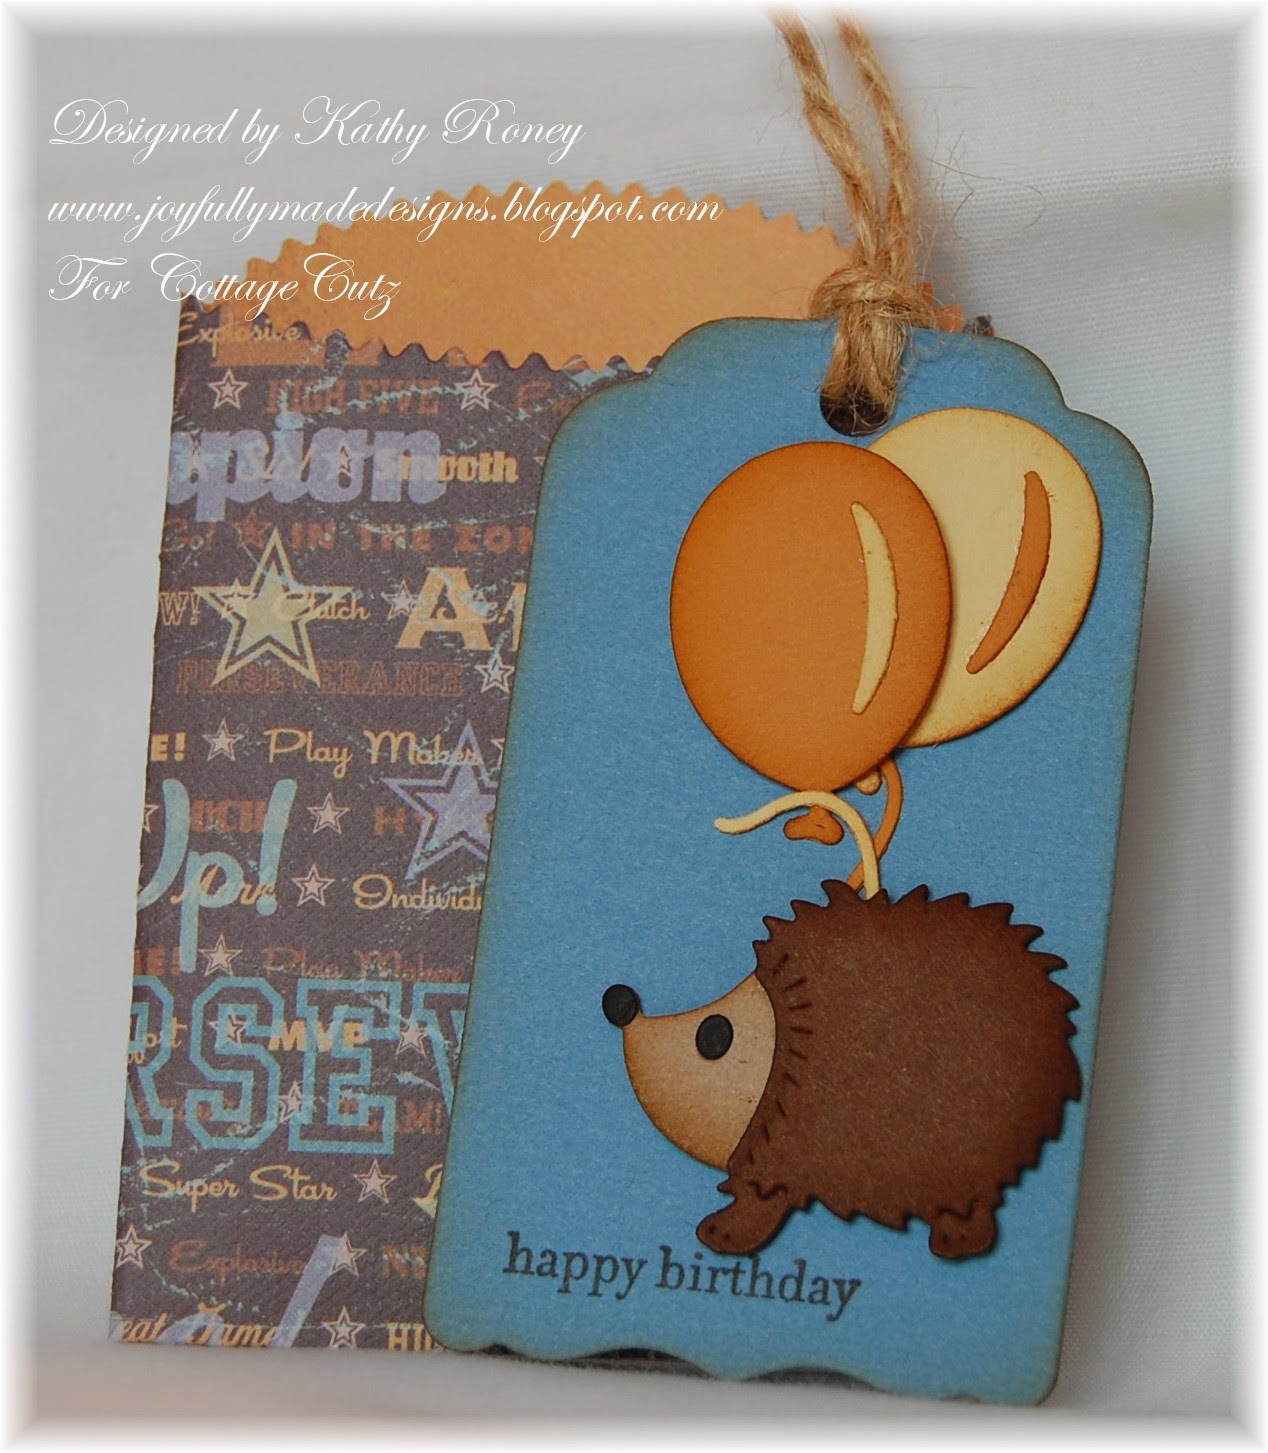
Today I have a darling Valentine's Day card for you using the Sweetheart Lovebirds CottageCutz Die from The Scrapping Cottage!


Aren't these little guys adorable?  I think they are the cutest thing!

To make my card, I cut all the die pieces with white card stock and colored them with chalk inks and make up applicators.  The colors I used are Perfect Plumeria, Thatched Straw, Aloe Vera (VersaMagic), and Mocha Mama (Powder Puffs).  I also shaped some of the pieces a little with my McGill Tool Kit & Mat.  Here's a close up for you.


I used a white card base and added a white mat embossed with the Framed Tulips Embossing Folder (SU).  The sentiment (Teeny Tiny Wishes - SU) is stamped with black ink.  I made the bow with Cotton Candy Baker's Twine (Really Reasonable Ribbon) and my Bow-Easy.  I glued one of the little flowers from the die on the bow center.  Then I added some adhesive pearls to finish!

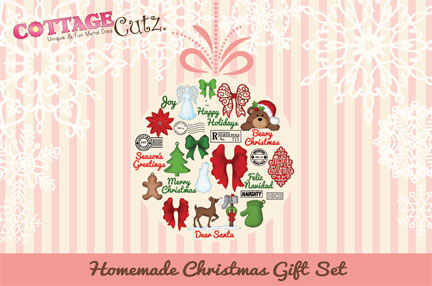
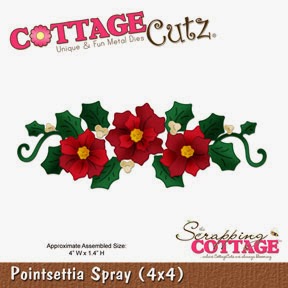
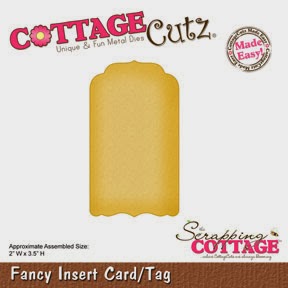
Here is the die I used:


Wednesday, January 22, 2014

Sweet Love Birdcage & Frame


Happy Wednesday everyone!


Today I have another CottageCutz project for you!  This time I have a card using 2 new dies from the Sweet Love Release, Sweet Love Birdcage and Sweet Love Frame.


Wouldn't this be perfect for a Valentine's Day Card?  I love the pink and brown color combo together with cream.

I die cut the birdcage with Natural White and Early Espresso card stock, trimmed the Natural White bird and "love" pieces from the main die cut, and inked them with Victorian Velvet Ink.  I then glued them over the Early Espresso die cut so they would stand out.


The frame was cut with Natural White and Concerto card stock.  I used the Natural White inside piece for the inside of the frame, inking it with Victorian Velvet.  I popped the birdcage on the frame and them popped the frame on a piece of Early Espresso card stock.

The card base is made with Early Espresso card stock.  The Natural White mat is stamped with a "love you" sentiment (Short & Sweet - Stampin Up) in Dark Chocolate Ink then wrapped with Ivory Pleated Satin Ribbon (Really Reasonable Ribbon) with trim (Jo-Ann's) glued down the center of it. I popped both mats on the base with pop dots, then added a pretty bow with a pearl brad over the center to finish the card.

For my card, I used the Sweet Love Birdcage and the Sweet Love Frame CottageCutz Dies.


Tuesday, January 21, 2014

Hedgehog Gift Card Holder


Happy Tuesday everyone!

I have a quick post today with an adorable Hedgehog Gift Card Holder!  Wouldn't this be perfect for a boy's birthday gift?


I used the Large Confectionery Bag to make the pocket using Sports Mat Pad (K & Co) that is double sided with the orange on the inside.  The tag is the Fancy Insert Tag die cut with blue card stock.  I decorated it with the adorable Hedgehog Mini and Round Mini Balloons using scraps of black, browns, yellow, and orange card stock.  The sentiment is Teeny Tiny Wishes from Stampin' Up.  I inked the edges of the tag and all the die cut pieces with Vintage Photo Distress Ink and used Natural Jute from Really Reasonable Ribbon for tie on the tag.


 Here's a photo of it inside the holder.


These are the CottageCutz Dies I used:


Sunday, January 12, 2014

Sweet Flourish


Happy Sunday everyone!

I have a new card for you today using one of the new CottageCutz dies, Sweet Flourish,  from the Sweet Love Release!


There are lots of dies in this new collection that I love, but I really like using this Sweet Flourish all by itself for a clean and simple look!  I cut the die cut and made the card base using Early Espresso Cardstock.  The mat is Cherish Designer Paper by Authentique that I cut so the flowered sentiment would be in the top right corner.  I then stamped a sentiment (Well Scripted by Stampin Up) on on the bottom right using Dark Chocolate Ink by Palette.   I added a small piece of Early Espresso to go across the card under the piece of lace trim, then the Sweet Flourish piece.  Petal Pink Liquid Pearls were added to the hearts on the Sweet Flourish, then a bow and pearl brad to finish.

Here's a close up of the Sweet Flourish for you!


Thursday, January 02, 2014

Boxwood Vine Wreath and Cup of Latte


Happy Thursday!

Kathy here with you and today I have two projects to show you!  First, is a card using the Boxwood Vine Wreath die and stamps.


I cut the die pieces using pink, green, and brown card stock.  After cutting the banner in pink, I stamped it with the "Merry Christmas" stamp from the set in black ink.  The pieces were shaped and inked before assembling.  I arranged them all on a white snowflake embossed background to make it all pop.

The second project is a gift card holder that I made using the Cup of Latte and Fancy Envelope Dies. Here is one side with the latte cups.  (The green is a little brighter in the picture than it should be, it's actually the same green as in the card.)


Here is the other side with the flap and velcro enclosure.


The Fancy Envelope base is cut with Certainly Celery card stock.  The pieces are cut with white, pink card stock, and the Merry Little Christmas designer paper by My Mind's Eye.  I then added a little lace, twine, and buttons to embellish it.

These are the dies I used on my projects.


Sunday, December 22, 2013

Merry Christmas


Happy Sunday everyone!

Kathy with you and today I have a couple of Christmas projects to show you!  The first is a very simple card I made for MY Christmas Cards this year!  I wanted something elegant and simple...this is what I came up with!


I just love the white and red combination on this showing the beautiful Elegant Flurry Snowflake Die cut.  Very easy card to put together!  I used a red card base and a white mat partially embossed with a snowflake die.  I stamped a sentiment on the bottom, wrapped some red ribbon around the mat, then added the snowflake and a bow!

My second project is a gift card holder I made using the Fancy Envelope Die, my new FAVORITE die!  It's perfect as a gift card holder, I love it!  I know I'll be using this one a lot!


To make the holder, I cut the envelope with white cardstock and again with some Christmas designer paper (Botanical Noel by Recollections).  I trimmed the designer paper piece to cover the flap and another piece for the back (taken from the inside of the pocket). 

The Poinsettia Spray was cut with various cardstock scraps that were shaped and slightly inked.  I also cut a bow with red cardstock using the Homemade Christmas Gift Set and added a button with a twine bow.   I also cut an additional poinsettia flower to decorate the flap with a couple of leaves.

These are the dies I used:


http://www.scrappingcottage.com/images/products/detail/GiftSet01.jpg


http://www.scrappingcottage.com/cottagecutzelegantflurrysnowflakeelites.aspx

http://www.scrappingcottage.com/cottagecutzpointsettiaspray4x4.aspx


(Note: Sorry, I don't have a picture of the Fancy Envelope Die.)

Thursday, December 12, 2013

Elegant Christmas Bell


Happy Thursday!

Kathy with you and today I have a Christmas card for you using the Elegant Christmas Bell, Holly Berry Mini, and The Homemade Christmas Gift Set dies from The Scrapping Cottage.


For my card I started with a red base and added a white mat embossed with a snowflake die.  The Merry Christmas sentiment is cut using The Homemade Christmas Gift Set and red cardstock.  I ran it through my XYRON Create-a-sticker machine to make it easier to adhere to the card.  The Elegant Christmas Bell was cut with red and green cardstock and gold designer paper from Glad Tidings Mat Stack.  I glued the bell to the mat and then added branches that were inked with green and shaped a little.  The bow was inked with red and shaped it a little before adding it the to bell with pop dots.

I wrapped the plaid ribbon around the mat and added a bow made with the Bow-Easy.  I used the Holly Berry Mini with red and green cardstock to add holly to the bow center after shaping them a little with my fingers and a stylus. 

To finish the card off I added a button with a floss bow.

These are the dies I used.

http://www.scrappingcottage.com/cottagecutzelegantchristmasbell4x6.aspx


http://www.scrappingcottage.com/cottagecutzhollyberryshapemini.aspx


http://www.scrappingcottage.com/cottagecutz-homemade-christmas-gift-set.aspx

Monday, December 02, 2013

Grandma's Goodies Tag


Happy Monday everyone!  It's Kathy here with you today with a cute gift tag I made using the Fancy Insert Card/Tag and In the Kitchen Clear Stamps by Cottage Impressions!


This tag die comes in handy for lots of things and I thought it would be perfect as a tag for baked goodies!  I LOVE the images from this stamp set, they're so cute and fun to color!  (Unfortunately, I just realized the stamp set is retired now!)

Here's a close up of the pie and cookbook images.


Aren't they cute?  I stamped them on white cardstock with black ink and colored them with pencils.  I then fussy cut them which was very easy, and inked the edges a little with black.

I die cut the tag using Visions of Christmas paper by K & Co. stamped it with "Grandma's Goodies" sentiment from the set, and inked the edges with brown ink.  I added the images to the tag with pop dots and added some baby rick rack.  I punched a hole in the tag and added some white jute for a tie and then added a bow, button and twine.

Here are the Scrapping Cottage stamp and die I used:


http://www.scrappingcottage.com/cottagecutzfancyinsertcardtagpre-order.aspx


Friday, November 22, 2013

Jolly Penguin


Happy Friday everyone!

Kathy with you and today I have a Christmas card I made using the Jolly Penguin CottageCutz Die from The Scrapping Cottage!


Aren't these little guys cute delivering presents on their sleigh?  I love the little one sitting on the sleigh with his candy cane!


I used a bunch of different colored cardstocks for the die pieces and a little bit of designer paper called Botanical Noel by Recollections.  I inked and shaped most of the pieces before gluing them together.  I added an extra sleigh to go under the sentiment and added some adhesive pearls to embellish it.  I embossed the upper part of the white mat with Perfect Polka Dots to make it look like it was snowing behind the penguins, I then matted it with Ruby Red Cardstock from Bazzills and popped it on a green card base using Forest by Coredinations.

Here is a picture of the Jolly Penguin Die I used.


http://www.scrappingcottage.com/cottagecutzjollypenguin4x6.aspx


Tuesday, November 12, 2013

Harvest Rooster Vane


Happy Tuesday!

Kathy with you today with a card I made using the new Harvest Rooster Vane Die from the Harvest Release and the Fancy Floral Lace Border Die.


As soon as I saw this rooster die, I thought about doing red and white with gingham!  I used Ruby Slipper Cardstock from Bazzills to cut the dies and paired it with white and old gingham paper I found in my stash from DCWV's Bright Mat Stacks.  The white under the rooster is embossed with the Square Lattice Embossing Folder to give it a little texture.  I matted this with more of the Ruby Slipper and added it to a white card base.  The bow is a black and white gingham ribbon from Michaels.  I added a red button threaded with white floss to the bow center and added 2 little heart buttons with glue dots on the top right corner.  The sentiment is from the Boards & Beams Set from Papertry Ink stamped directly on the gingham paper.

Here's a little close up of the rooster for you.


These are the dies I used:
 
 
http://www.scrappingcottage.com/cottagecutzharvestroostervaneelitespre-order.aspx
 
 
http://www.scrappingcottage.com/cottagecutzfancyflorallaceborderelites.aspx