Showing posts with label Honeycomb Background Slimline. Show all posts

Monday, August 23, 2021

Hello

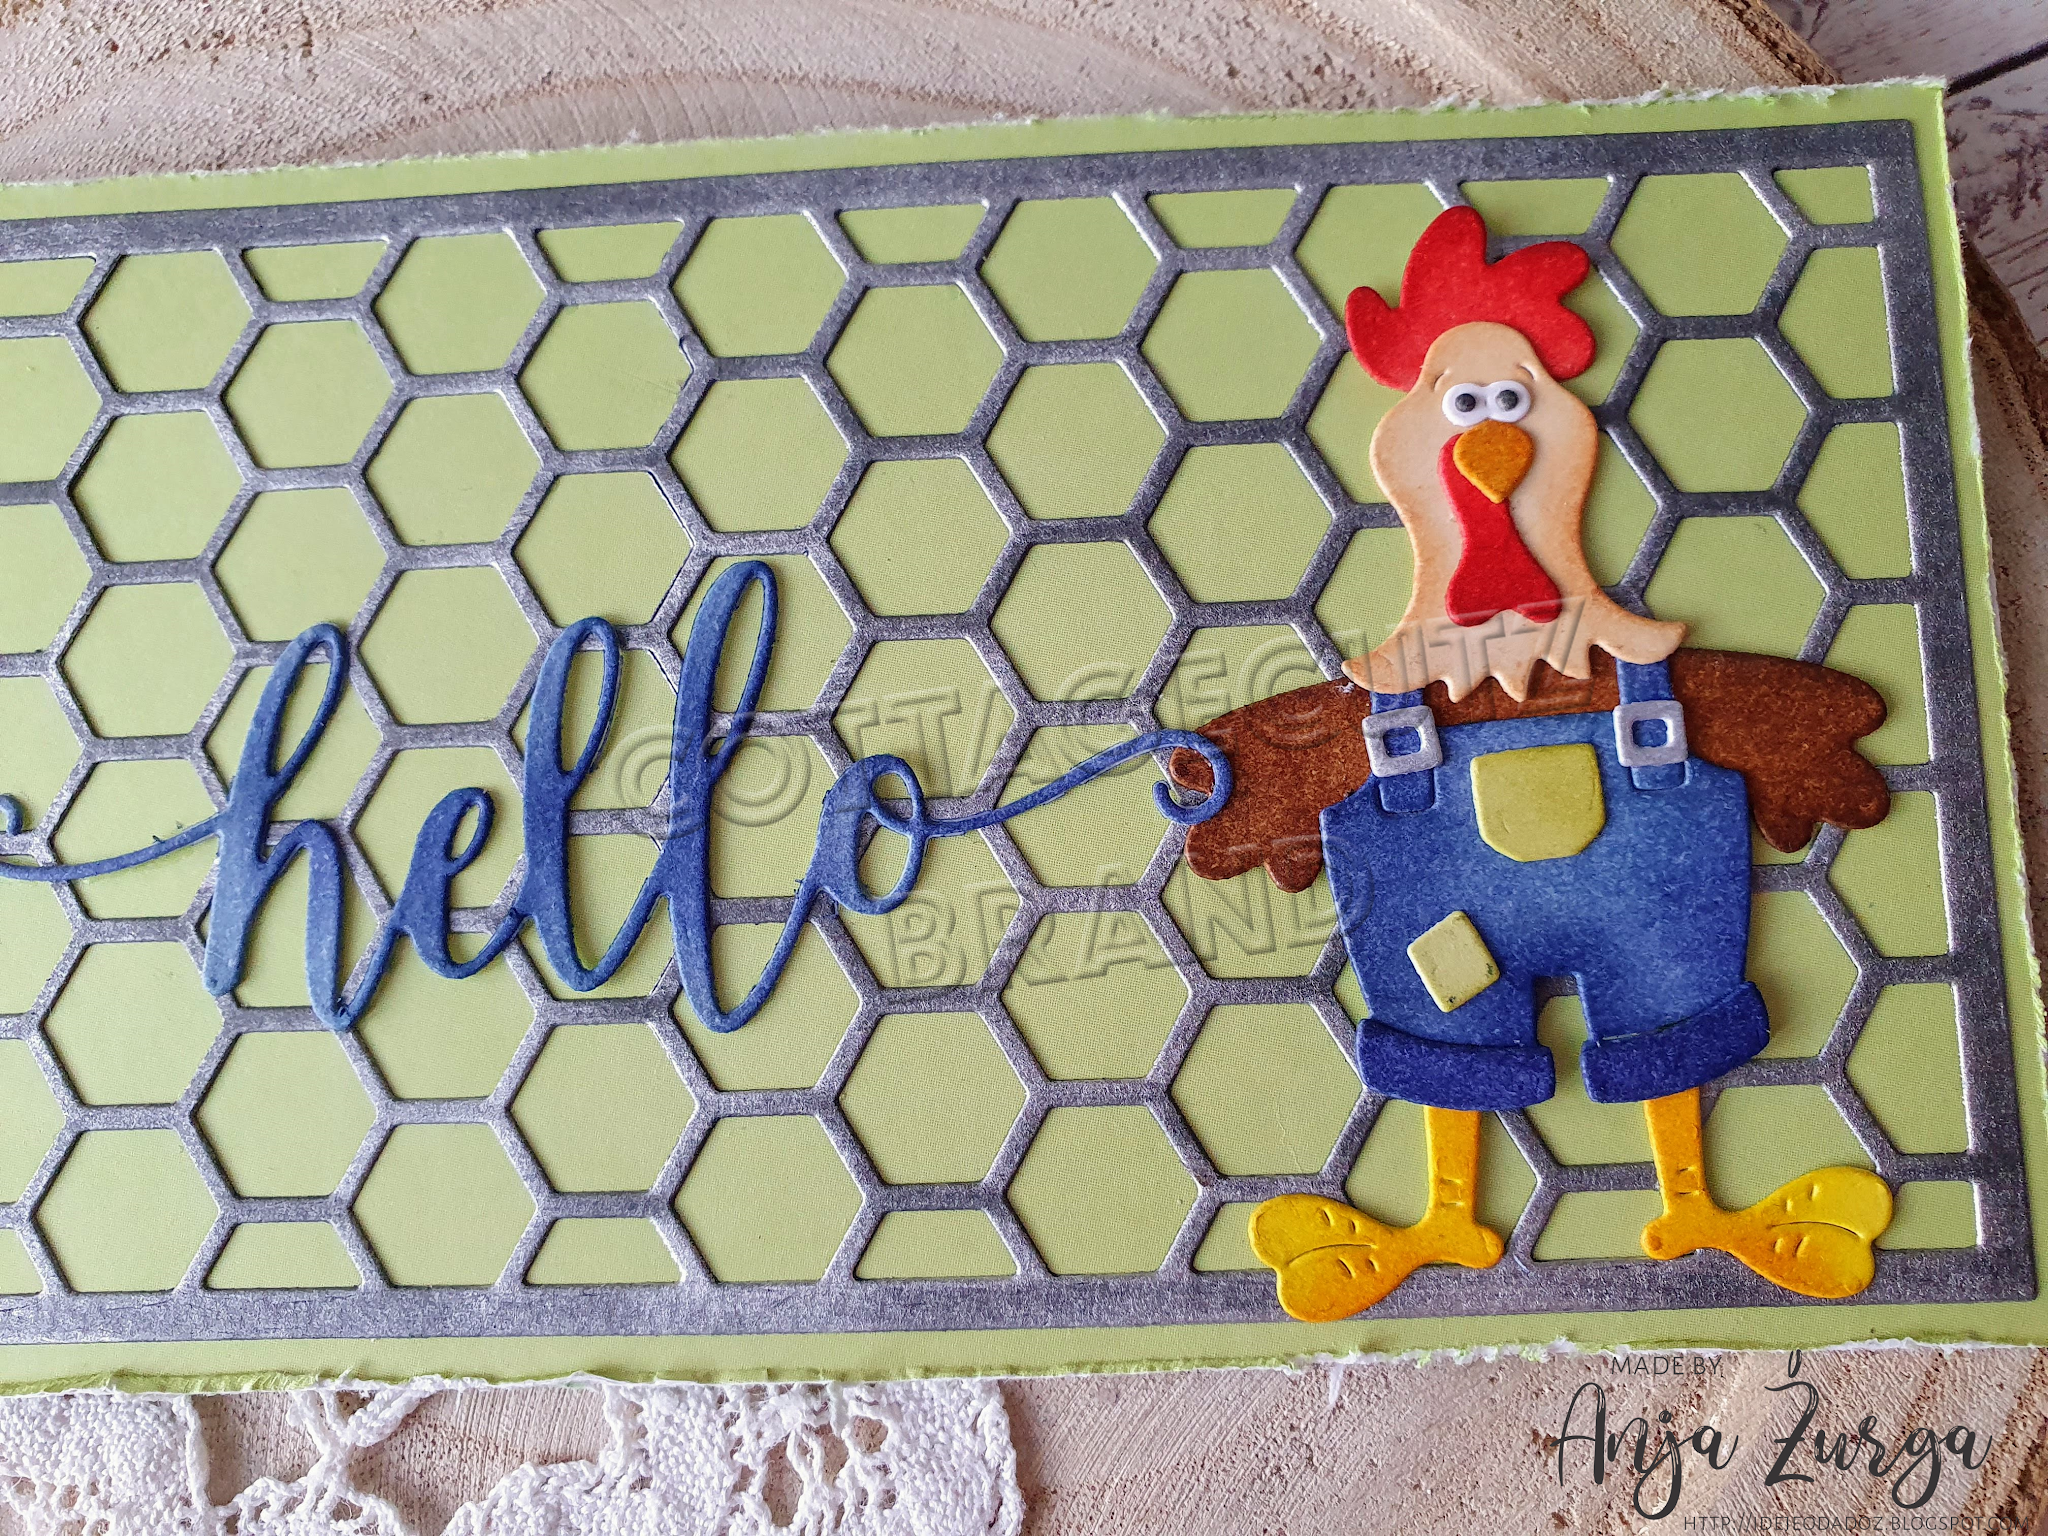
It's Anja here for my Monday post. I have a simple card for you today. I combined another slimline die with this cute rooster.


For this card I used:

- Cottage Cutz dies (Country Farm Rooster, Honeycomb Background Slimline, Phrase Hello),

- Distress Inks,

- white and grey card stock for die cuts,

- green card stock for card base (22,5x9,5 cm),

- silver pigment ink,

- scissors,

- paper glue. 


First I cut and colored the rooster. Next I made a card base form green card stock. I used scissors to distress the edges of the card base to give it more interesting look. Next I cut the honeybee background from grey card stock and colored it with silver pigment ink to give it more wire like look. I also cut the sentiment and then arranged everything and glue it on the card base. And my card was done.


And that's all from me for today. Before I go I want to invite you to The Scrapping Cottage online store to check the new Sentiments With Shadows release.
 
Have a nice week and see you again on Sunday.

Anja Z.


Cottage Cutz dies I used:


Thursday, July 22, 2021

Don't Worry Bee Happy

Hello Scrapping Cottage Friends

It is Pam on the blog with you today!

We have a HUGE SLIMLINE DIE RELEASE with 20 fantastic dies.  The dies are at a savings of 25% off right now in the store.  The new designs are just so amazing.  They are sure to put your imagination into overdrive!!  Check them out right HERE.

I am having fun with our new Honeycomb Background Slimline today!


Design Steps:

1.  Use a white slimline card base, cut a piece of yellow DP 3 3/8 x 5 3/8, use the Honeycomb Background Slimline and cut it out of white card stock
2.  Glue the yellow DP to the white card base then glue the honeycomb on top of the yellow set aside
3.  Using the Stitched Honey Bee die cut out the bees in yellow, black and vellum (for wings).  Cut the branch in dark brown and the hive in brown also cut the leaves in green
4.  Slightly shade the bees in orange and the hive in brown and then assemble using a fine tip glue.  For the eyes use a white Sukara Gelly pen
5.  Place the branch and hive on the card first and then arrange the bees and sentiment.  I popped up the bees using dimensional dots

CottageCutz Products


The slimline background dies make for a wonderful textured card.  The cards also come together very quickly.  I would definitely check them out.  Thanks so much for stopping by today.

Blessings and Take Care

Pam