Showing posts with label Gardening Tools. Show all posts

Tuesday, June 23, 2020

Happy Retirement

Hi! It's Janja here with you today.
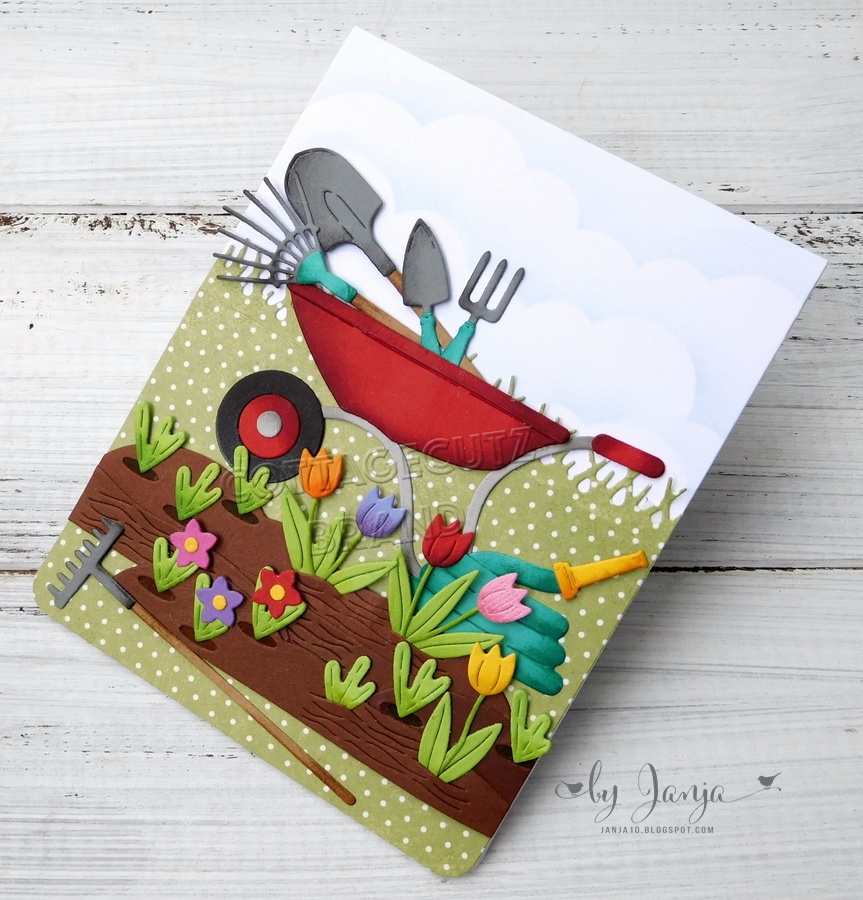
All the dies from gardening release are great for making a wide variety of cards for men. My card is for retirement.


- CottageCutz dies: Gardening Tools, Lawn mower, Gardening Hat & Gloves, Shelf w/ Plants
- blank card: 4 1/4 "x 5 1/2" (10,8 x 14 cm), folded
- patterned paper: 3 1/2 "x 4 3/4" (9 x 12 cm)
- different colors of cardstock
- embossing folder – lumber
- different colors of ink pads
- glue, double-sided adhesive tape, self-adhesive foam pads

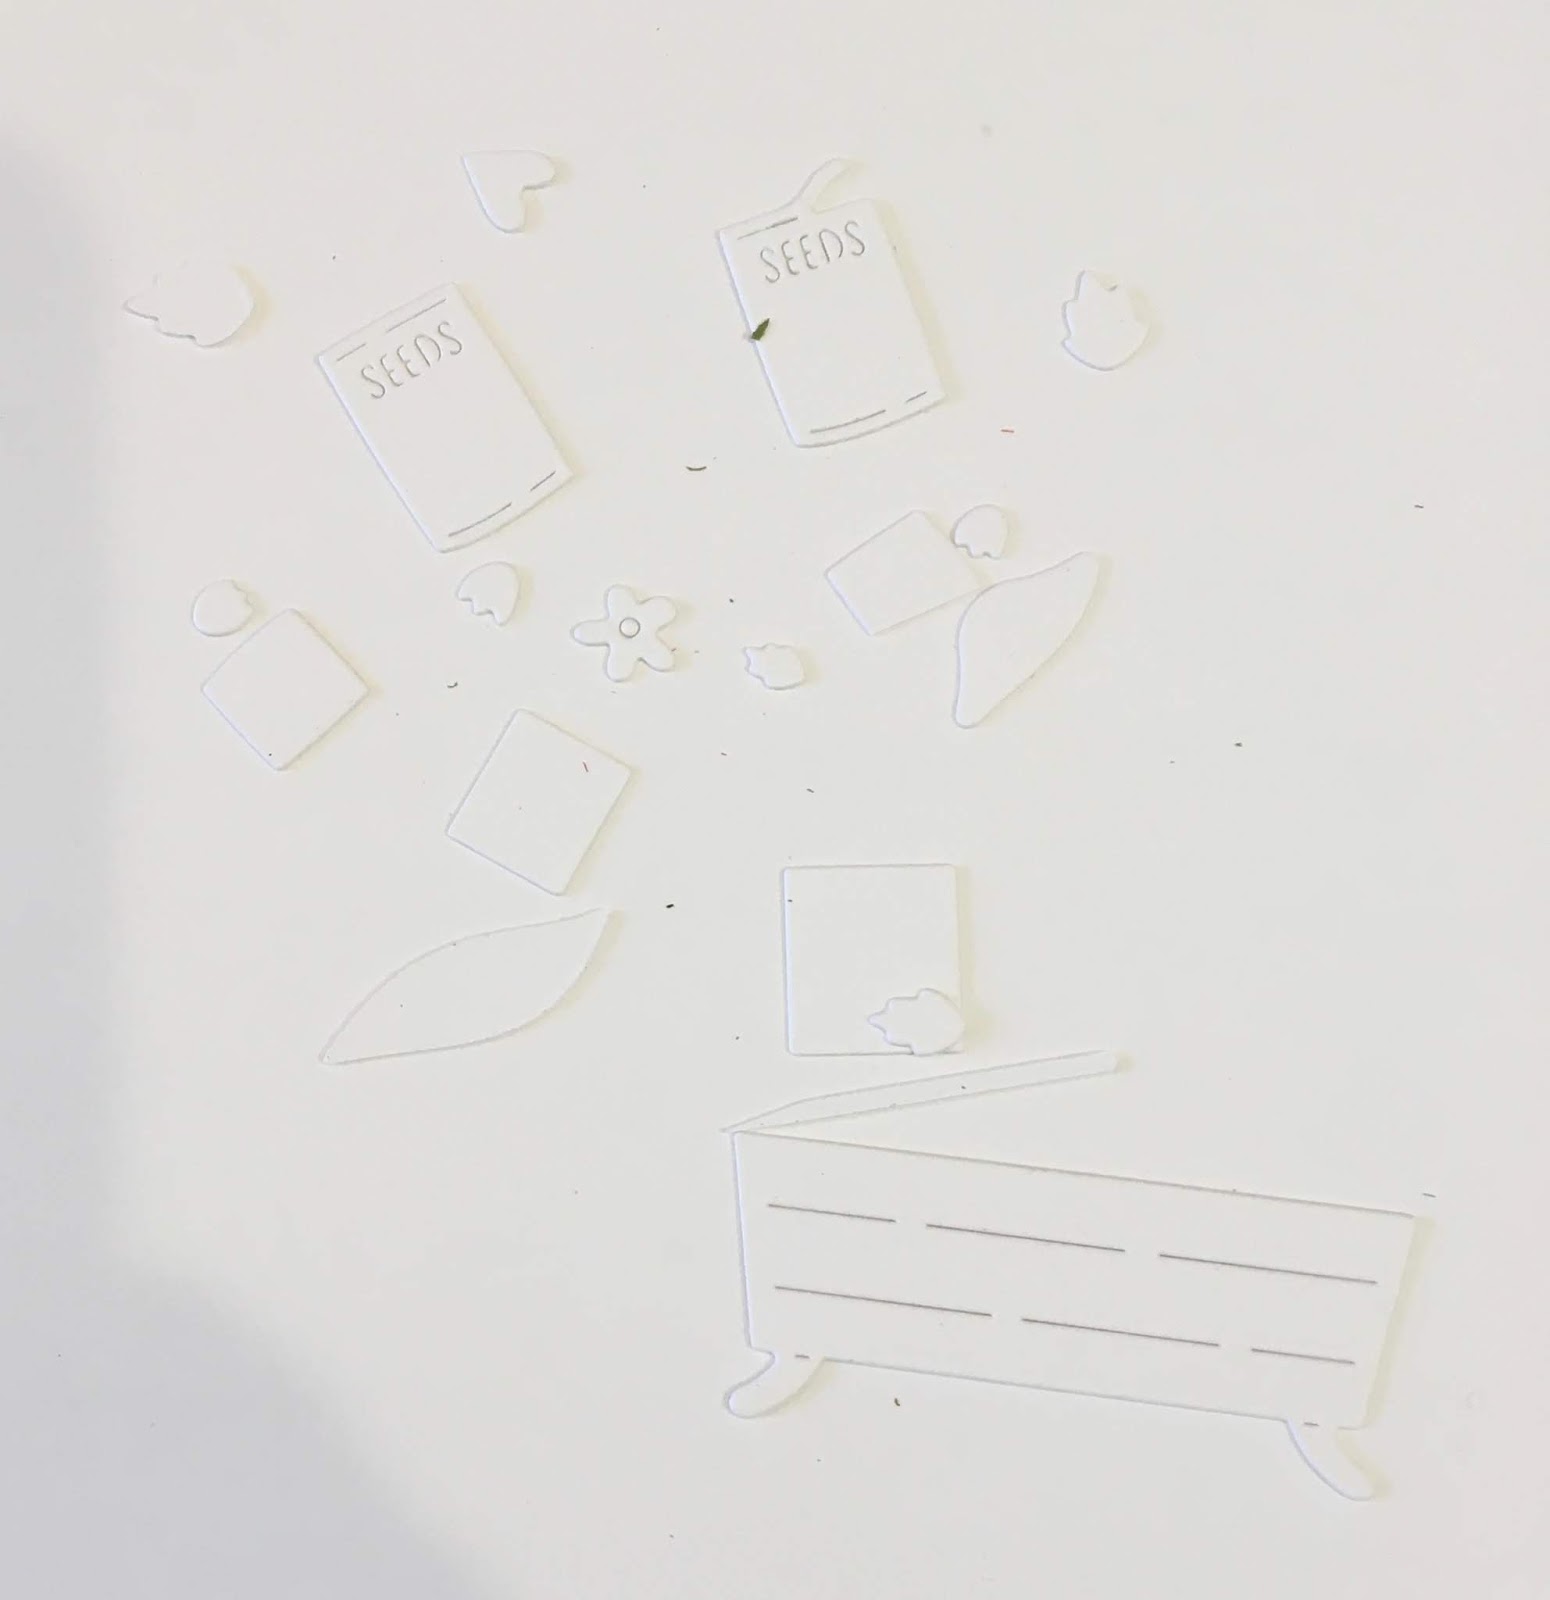
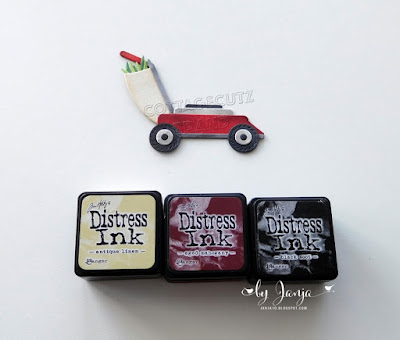
Cut out garden tools, a lawn mower, a shelf and a garden hat from colored cardstock. Shade all the pieces with colored ink pads.
I shortened the garden hat with scissors.


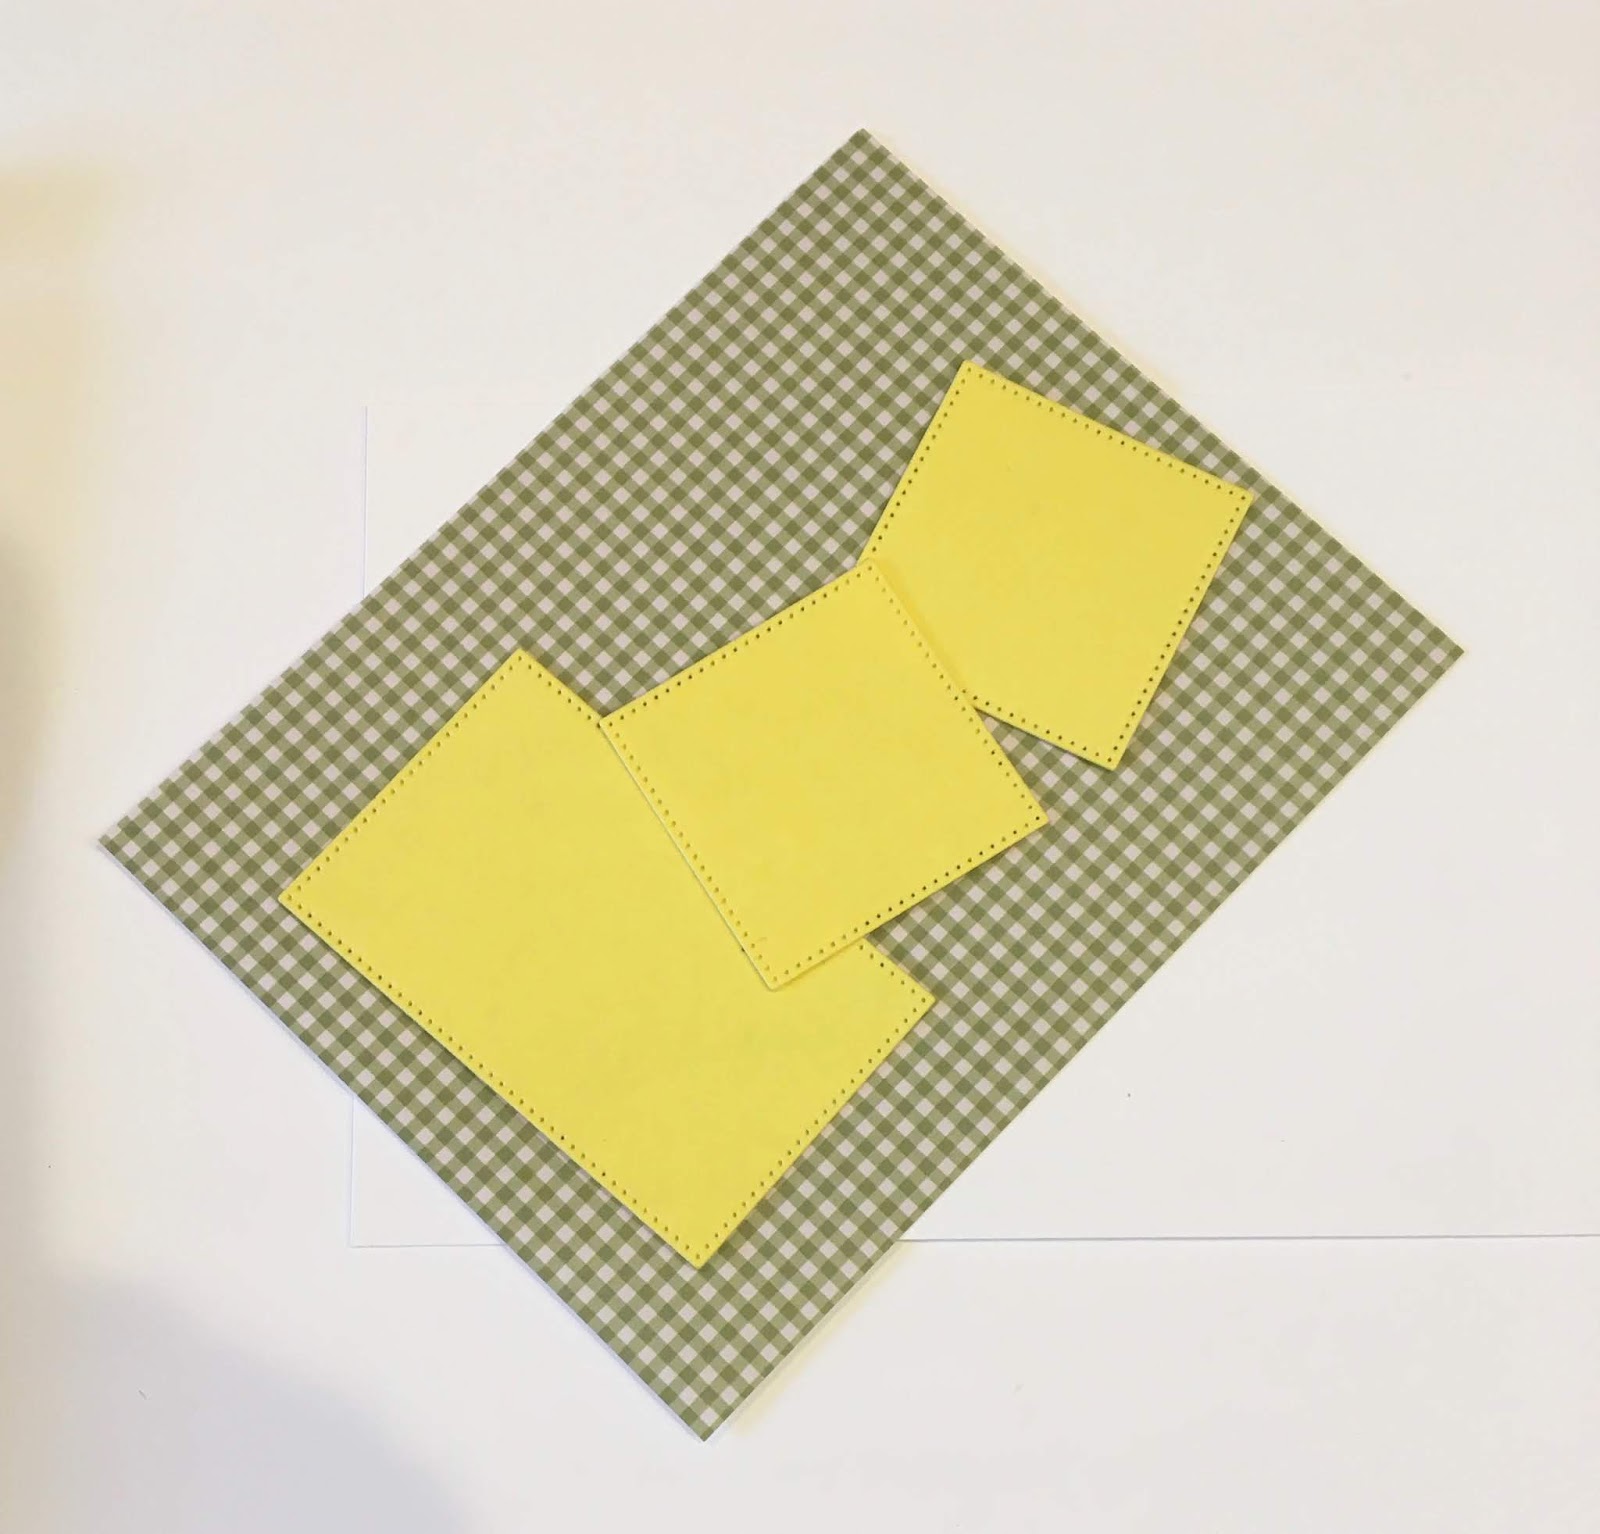
Trim the selected patterned paper to the size of the card base. Also cut out two rectangles. Stamp sentiment on a white strip.


For greater effect, I embossed wood-patterned paper with a 3D folder and shaded the edges with ink.


Paste the background to the front of the card with double-sided adhesive tape. Attach the other elements with self-adhesive pads and glue.


Thank you for stopping by.
Janja


Thursday, June 11, 2020

Planter Box

Hello Scrapping Cottage Friends

It is Pam sharing with you on the blog today!

I am using several different dies today to create this little garden card.  Plus some fun designer paper and ribbon.  Hope you can play along with me today!


Design Steps:

 1.  Using the Planter Box & Seeds die plus the Garden Tools die cut all pieces out of white card stock
 2.  Color the pieces using Tim Holtz inks and a sponge applicator.  Assemble the pieces using a fine tip glue
 3. Use a white A2 card base, Yellow card stock cut to 4 x 5 1/4 and Green checked DP cute 3 3/4 x 5.   Cut 2 yellow squares and 1 rectangle square using the Pierced Square and Pierced Rectangle dies.  Layer the squares and rectangle onto white card stock
 4.  Glue the checked DP to the yellow card stock layer.  Glue the yellow retangle and squares to their white layer then arrange onto the DP
 5.  Add the ribbon to the checked DP as shown.  Put pop dots onto the back of the squares and retangle then adhere to the check DP

6.  Add the die cut planter box, seeds, and tools to the squares and rectangle as shown.  Glue to the white card base.  To finish add the sentiment and rhinestones

CottageCutz Products

Thanks so much for stopping by!  I hope you are enjoying this release as much as I am there are a ton of different uses for these dies!

Blessings and see you next Thursday!
Pam


Wednesday, May 27, 2020

Plant Seeds of Kindness

Hello!  This is Sukie and today I'm sharing another card with the new Gardening die release.  I used several dies from this charming release.
I found the most darling patterned papers in my stash which inspired the colors for each of the die cuts. I used the Mouse w/Garden Wagon, Garden Hose Mini, Gardening Tools and Garden Border for my card. I only used the watering can from the Garden Border and discarded the remaining pieces.
The 2 sheets of paper were trimmed to incorporate all of the different patterns and floral border on my card base.  I stamped a fun sentiment along the top edge of my card.
After adhering the mouse with his wagon, I simply filled in the bottom half of my card with the hose and gardening tools.
The watering can was the final accent on my card to finish off the happy looking gardening scene.
Here are the dies used on my card, available in the store:

Tuesday, May 26, 2020

For a gardener

Hi Janja here. Welcome to the blog.
I have another card on the topic of gardening to share with you today.


- card blank: 4 1/4 x 5 1/2" (10,8 x 14 cm)
- patterned paper: 4 1/4 x 3" (10,8 x 7,6 cm)
- different colors of cardstock
- different colors of ink pads
- cloud stencil
- glue, double-sided adhesive tape, self-adhesive foam pads

Start making a card by cutting all the elements out from different colors of cardstock. Overshadow them with ink pads for more depth.


Cut out the grass border twice. Glue the lawn to white cardstock which is the same size as the card blank.


Create a cloudy sky with a stencil and a light blue ink. Paste the background on a blank card.


Gradually paste all the cutouts as shown.


Thank you for stopping by. And don't forget to check the Memorial Day Sale!
Janja