Showing posts with label CottageCutz Leafy Foliage. Show all posts

Saturday, July 02, 2016

Sweet Home With Flowers


Hello dear friends,

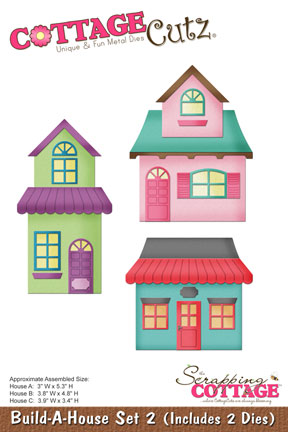
It's Saturday today I am Anita here and I have a new card for you made with the new release HOME SWEET HOME collection. Such minute detailed dies are included in this series that I am amazed. You can build your entire house with this release.
However, as my forte is flower making, I decided to make a delicate blue floral card adorned with pretty flowers and a sweet home. So here is my card along with the close up pictures to show you the details of the cards and how the dies have been used.


 The card measures 7.5 inches by 5.5 inches.
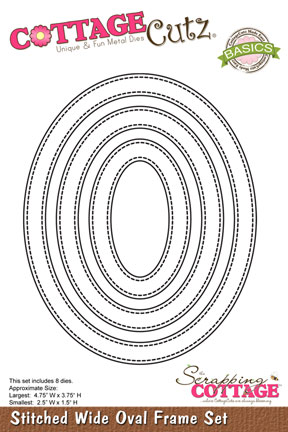
I have used an embossed dotted paper in blues and have added some zig zag stitching to it, to coordinate with Stitched rectangle die.
This card is all about layering.
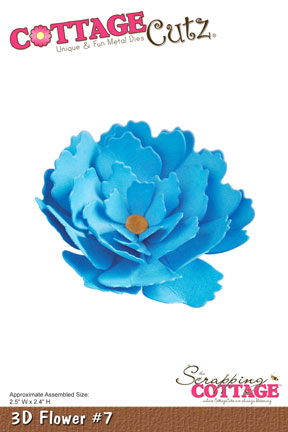
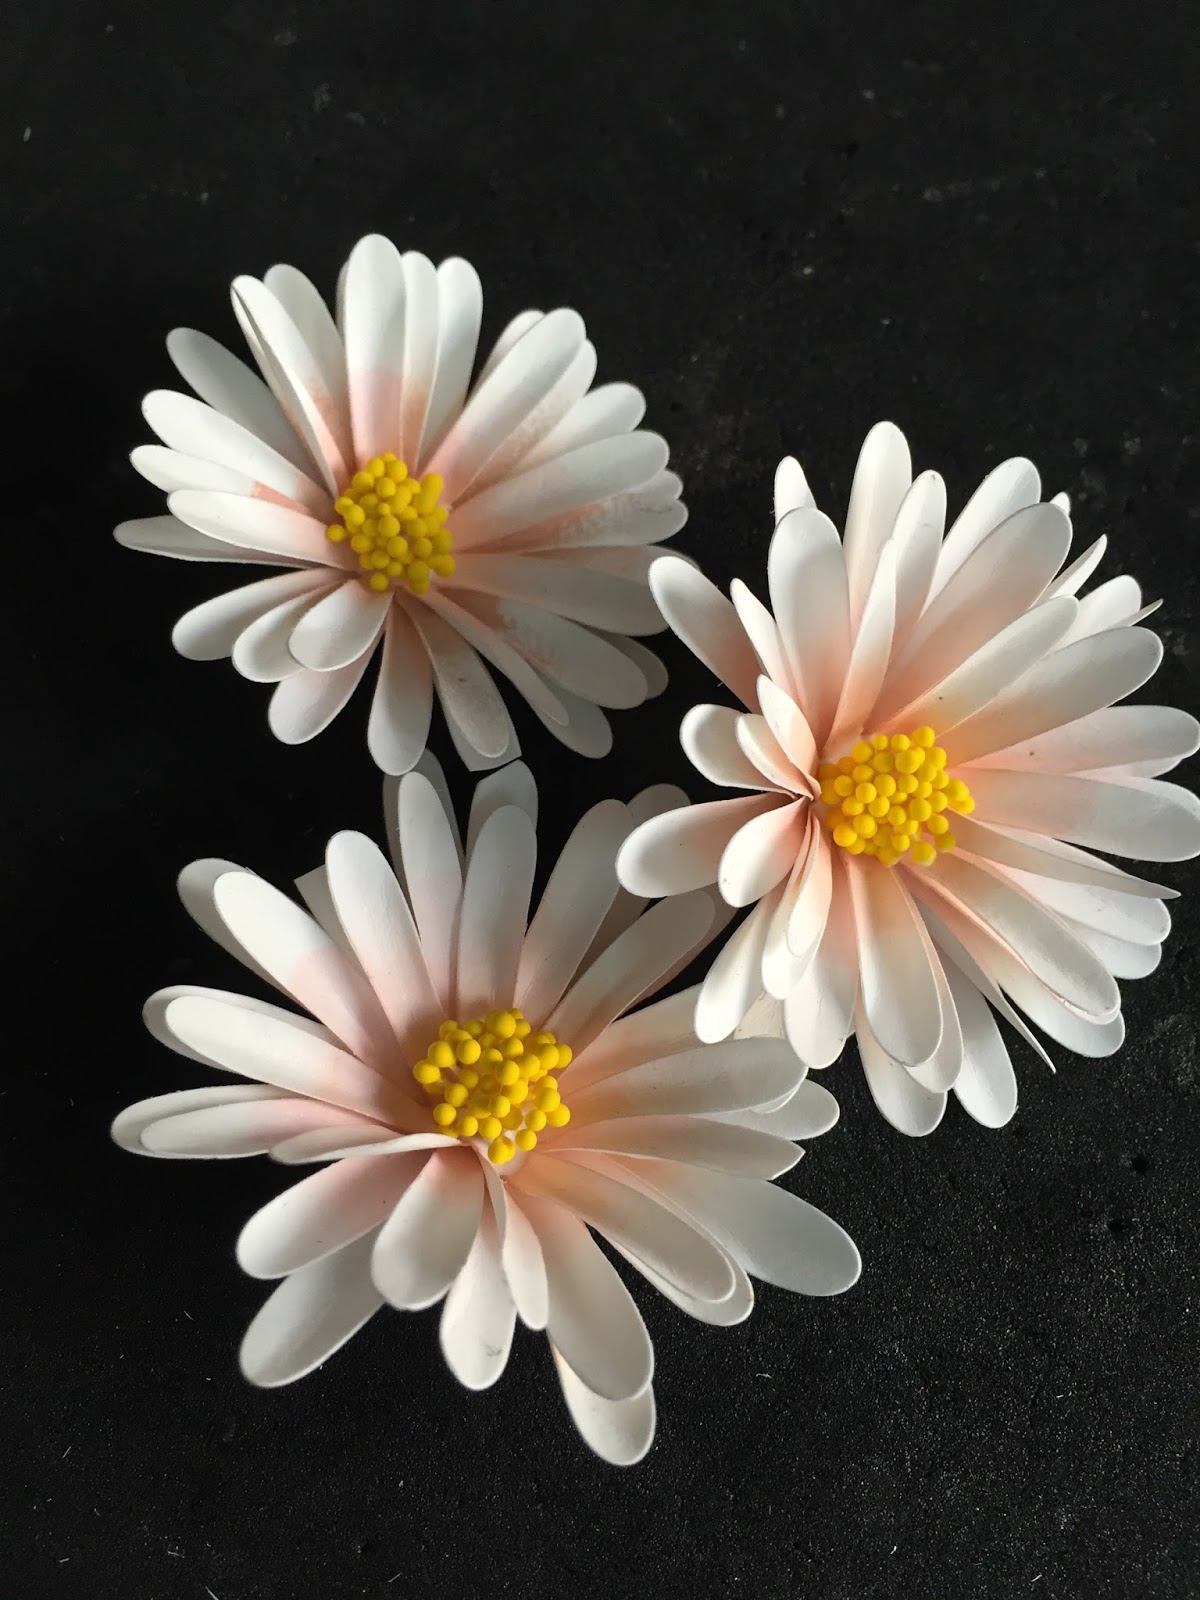
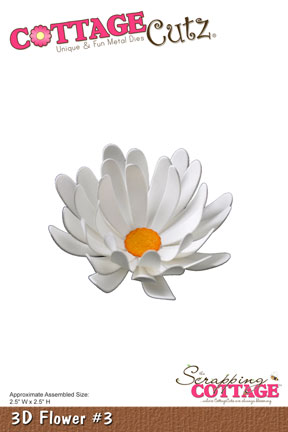
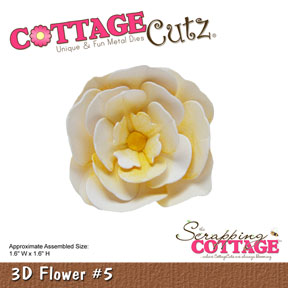
The flowers have been created using the CottageCutz 3D flower # 5 and many leaves. The leaves have been coloured with Distress ink Peeled Paint.


List of dies used.


Do leave your comments and happy crafting !!!


Saturday, May 21, 2016

DELICATE BLOSSOMS

Hello dear friends ,

It's Saturday today and I'm Anita here. It's time for my weekly post for CottageCutz. As I am so fond of making flowers, CottageCutz  has some amazing 3D flower dies and you can create most beautiful flowers with these.

I use various flower making techniques and you can find them all under my post at the CottageCutz blog.
Today, I have created very delicate flowers that are so easy to make and look fabulous on any project.

Here is the card that I made. Please follow the photo tutorial below to get a detailed description of creating this card.


Step by step tutorial
The finished card measures 6 inches by 7.5 inches.

Emboss two pieces from CottageCutz Stitched Wide rectangle frame and  CottageCutz stitched Wide oval frame on thick white cardstock. Then cut around to get two die cuts like this.

Using Distress  ink, distress the inside portion with the die intact on paper and stamp the sentiment on oval die cut.

Cut out many pieces from CottageCutz leafy foliage die and CottageCutz 3Dflower #7 die on 160 gsm white cardstock


To make a big flower, you will need three big size and two medium size flowers. For medium flower, you will need, three medium and two small size flowers. Use the rest as filler flowers.


                         Colour the flowers and leaves like this.


Spritz water on the rectangle frame and score on board at 1/4 inch interval. Mount on corrugated cardstock leaving 1/2 inch all around.

                                                  Attach the oval frame using 3d foam tapes


Adhere the whole thing on to the card base measuring 6 inches by 7.5 inches. Arrange the flowers using Tacky glue.


I hope you have shared your entries for the Spring themed challenge at the CottageCutz blog. If not, then do take part to win fabulous prizes.


I hope you liked my post. Do give your comments . It really inspires me.Thanks for stopping by.


Saturday, May 14, 2016

MIXED MEDIA WITH COTTAGECUTZ

HELLO !!!!

Its Saturday again and time for my new post !!!! I hope you will like this post as much as I enjoyed writing it.
Have you always thought that die cuts are usually for card making or scrapbooking. But after this post , you will change your opinion, for today I have for you-A Mixed Media Canvas with CottaageCutz dies. YES!!! you got me right !!!
CottageCutz has some most amazing dies that can used in mixed media to create beautiful backgrounds.
I have made a video tutorial on the making of my mixed media canvas. Do go through it to get detailed description of the project.
Here is the video tutorial.


Photographs of the project


CottageCutz dies used


Other products used

An 8x8 inch wooden board, Modelling paste , white gesso, White sand Texture Paste, Distress inks, Distress Sprays, Stamps, Black Ink, Glossy Accents, Distress Glitter, Stencils, Multi Medium Gel


I hope you liked  the project. We are having a brand new Challenge at the CottageCutz blog and the theme is Hello Spring. So do take part in it to win fabulous prizes.

Keep crafting and thanks for stopping by.


Saturday, April 30, 2016

DAINTY DAISIES WITH ANITA KEJRIWAL

Hello friends,

Its Saturday time and I am here with another bouquet of flowers for you using CottageCutz dies. CottageCutz has some most amazing flower dies and I simply love their 3D flower dies. In my previous posts , I have shown many ways as to how to use these dies beautiful. Today, I am here with one of my most favourite flowers--DAISY.
The CottageCutz 3D flower #3 die can give you most beautiful daisy flowers and they are so simple to make.
Here I have a very simple card that highlights the beauty of these flowers. Please follow the step by step pictures on making of the flowers.


Here is the step by step instruction for creating the flower

 Cut out die cuts from white card stock with the CottageCutz 3D flower #3 

       Colour the centre of each flower using the Archival Pink Peony ink

        Shape the flower by placing a stylus in the centre of each petal and by  pinching.


        Layer the flowers together-four layers in one flowers and cup deeply in the middle to make the  flowers stand upright. Add pollens in the centre.


            Cut out leaves from CottageCutz Leafy Foliage die and colour Archival leaf green ink


Cut a card base measuring 8.25 inches by 4 inches. Cut a mat layer 8 inches by 3.75 inches and adhere to the card front. Cut a pattern paper 7.75 inches by 3.5 inches and distress the edges. Add texture using modelling paste and stencil.


Arrange the flowers, leaves and CottageCutz tea time doily as shown. Add sequins to the card.


The Anything Goes Challenge is still going on and you just have few hours to join in. Do send in your entries for amazing prizes.
See you next week. Please do leave a few words and thanks for your time.


Monday, June 23, 2014

Happy Birthday card


Today I am sharing with you my new Happy Birthday card I created with beautiful CottageCutz Collections of dies.

For this card I used different dies (Leafy Foliage, Garden Delight Butterflies and Fancy Floral Border).

First, I cut all image out using different colors of papers. The leaves I colored with Copic airbrush system using YG67 Moss color. 

 
 I also used border punch to make beautiful edges on card.

 
All done cut pieces I put on card
  front as shown in picture above.
Decorated card with Clear Dew Drops and rhinestones.

For this project I used:


 Have A Wonderful Week! Olena