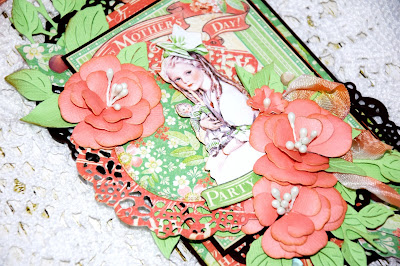
Hello Scrapping Cottage Friends!
Yuliya here. Today I share with you my new card I will be sharing how to make this card using the CottageCutz 3 D Flower dies!
Supplies:
Other: White Cardstock for Cardbase, Scissors, Paper trimmer, Sizzix machine, distress Ink
Please follow the step by step pictures on making of the card
1. Prepare cardstock for base and prepare the details for our card. Additional piece of white cardstock or watercolor paper.
Add some volume with the help of chipboard.
2. With CottageCutz Cross-Stitched Circle Set (Basics) cut the frame out with patterned paper
3. Cut out many pieces from CottageCutz 3D Flower 1 die on 160 gsm white cardstock (Canson). You can color it with paint brush, distress inks and water, like I did it here. Spray the water on it and let it dry. I used 2 colors Distress ink - Span Sugar and Candied Apple
4. Cut out many pieces from CottageCutz Leafy Foliage (4x6). With Mowed lawn paint Distress Ink color all the leaves. I used bruch to do this.
5. I like this 3 D Flower!! Add the Expression Hello from the CottageCutz Expressions Thanks
I hope you have shared your entries for the Spring themed challenge at the CottageCutz blog. If not, then do take part to win fabulous prizes.
Have fun and thank you!)


