Showing posts with label Coffee & Cocoa Warm Wishes. Show all posts

Friday, December 07, 2018

Warm Wishes

Happy Friday!  I had two motivations for today's card: 1) it's getting closer to Christmas so I need quick cards to make (I'm a little behind) and 2) I wanted something cozy.  We've had some cold weather here for the past two days (okay, 52 degrees, but COLD for Southern California!)  So my card fits both those criteria.
The cable knit embossing folder coupled with a plaid that reminds me of flannel is the perfect pairing for the sweater from Ugly But Cute Sweater die.  This card goes together quickly.
I die cut all pieces in white using the sweater from Ugly But Cute Sweater, mittens from Coffee & Cocoa Warm Wishes and snowflake from Season's Greetings w/ Snowflakes dies.
I used markers to color all the pieces except the snowflake.
Then I assembled them.
I embossed an A2 white panel using the cable knit embossing folder and cut a 5 1/2 x 1 1/2 inch panel from the plaid.  I also used a self adhesive sheet and cut "Warm Wishes" from green card stock.
I glues all the pieces down except the sweater which I popped up using foam dots.  After I had it assembled I decided the sentiment didn't stand out enough for my liking so I cut another using gold card stock.  By using the self adhesive sheet under the card stock it was easy to just adhere the gold sentiment over the green one.  I like how it turned out.  It gives the sentiment a little dimensions and you can just see a bit of green shadow!

Dies used:

Thanks for stopping by today.  I hope you have a wonderful and creative weekend!

Friday, September 28, 2018

Pumpkin Latte

Happy Friday!  It's Jeanne posting a card today using a super versatile die from the Christmas Part 2 collection.

Before I get to my card I'd like to encourage you to  check out the Christmas Part 3 and Halloween dies that are on sale right now on the website.  Look for samples from the design team coming soon.

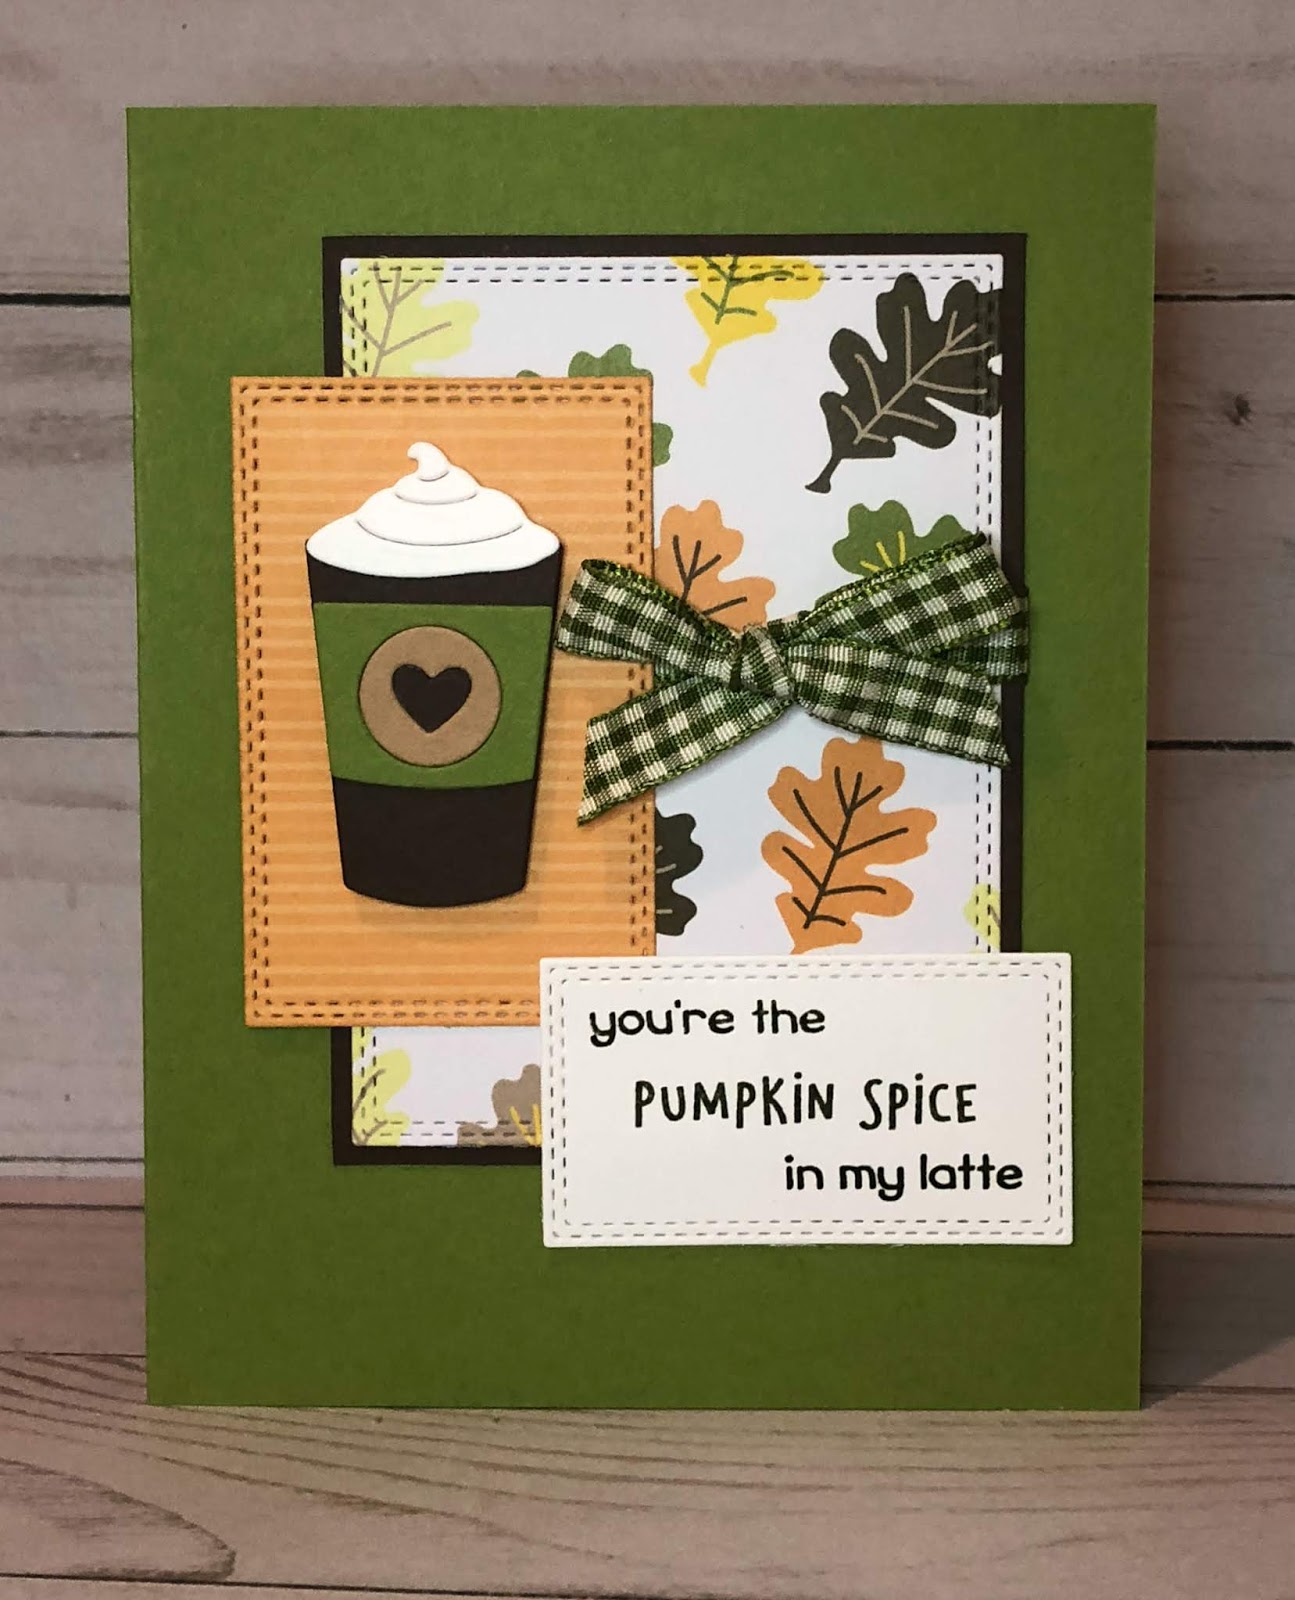
Now on to today's card.  I used the Coffee and Cocoa Warm Wishes set.  With all the coffee sentiment stamp sets out there, this die set with it's variety of mugs and cups could be used for virtually any occasion.  Today I went with a fall theme - I love my pumpkin spice!
To make this a fall themed card all I needed to do was change my paper and colors to go along with my pumpkin spice sentiment.
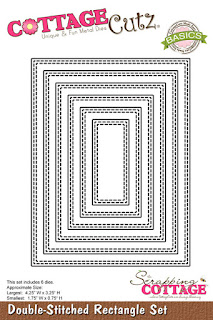
I used three dies (the second and third from largest and the second smallest) from the Double Stitched Rectangle set.
Then I cut the latte pieces from coordinating card stock.
And glued them together.
For the card base, I decided to use a green A2 base.  I don't normally use colored bases much but the color really worked well on this one.  I cut a rectangle from brown card stock 1/16" larger on each side than the leaf rectangle to give it some definition.
I cut a piece of ribbon 15" long and tied it around my leaf panel.
I then assembled the card and used foam dots to pop the latte cup off the orange panel.
This was a super easy card to make but really makes an impact.  Just by elongating one of the rectangles you could use several of the mugs instead of just one.  I LOVE this set!

Dies used:
http://www.scrappingcottage.com/cottagecutzcoffeeandcocoawarmwishes.aspx


http://www.scrappingcottage.com/cottagecutzdouble-stitchedrectanglesetbasics.aspx

Thanks for stopping by - have a relaxing and creative weekend!


Thursday, September 20, 2018

Warm Wishes!

Hello Scrapping Cottage Friends

It is Pam crafting with you today.  But before we get started I wanted to let you know we now have more new dies in the store.  Christmas Part 3 has arrive and some adorable Halloween dies as well.  Both of these sets are on sale for a limited time at 25% off.  So make sure you don't miss out on this great sale on new dies!!

I am using a die from the Christmas Part 2.  It can be used for a Christmas card, a thank you or even a winter birthday.

Design Steps:

 1.  Cut out the pieces in white card stock using the Coffee & Cocoa Warm Wishes die
2.  Use your favorite markers to color the pieces.  I used my copics
 3.  After you have colored the pieces assemble each cup.  Add glitter to the cups if you desire
 4.  Use an A2 white card base, cut a slightly smaller piece of red card stock and glue it to the base.  Cut a piece of snowflake DP slightly smaller then the red card stock.  Glue it to the red card stock
 5.  Using white card stock cut a doily using the Tea Time Doily die.  Glue it to the middle of the snowflake paper
6.  Pop up the three cups as shown on top of the doily
7.  Cut out warm wishes twice and glue them together.  Position them on the card as shown below and add glossy accents then glitter.  Your card is complete!

CottageCutz Products


As always thanks for stopping by!  We really appreciate your visit and take time to get crafty!
Blessings

Pam