Showing posts with label Christmas Deer w/Mailbox. Show all posts

Sunday, January 02, 2022

Christmas Deer Valentine Love Card Idea

Happy 1st Sunday of 2022 Scrapping Cottage friends! 
Melinda here with my first Cottage Cutz project for 2022! I created this super sweet card featuring the Christmas Deer w/ Mailbox and Gingerbread Cocoa House dies.
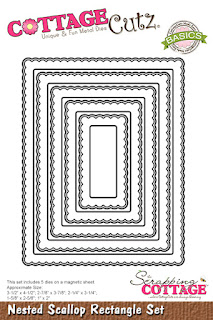
Here's a look at my completed card. It features the sweet little Christmas Deer w/ Mailbox die and some of the elements from the Gingerbread Cocoa House die. I also used some of the Rectangle Stitched scallop dies from that set.


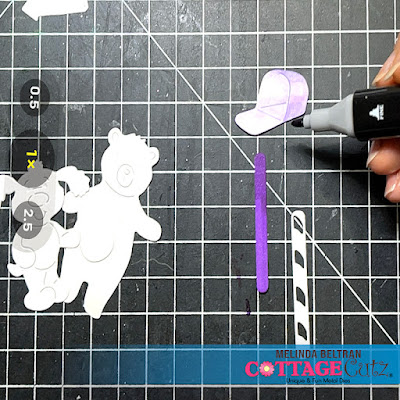
I started by die cutting all of my pieces in white. I then used my various markers to color in my pieces. This is by far one of my favorite techniques. 

I then used my chalks to add some depth to my little deer as well as rosy up his cheeks. This is my other favorite technique for dressing up my die cuts. I love using the dies for projects outside of it's obvious use.

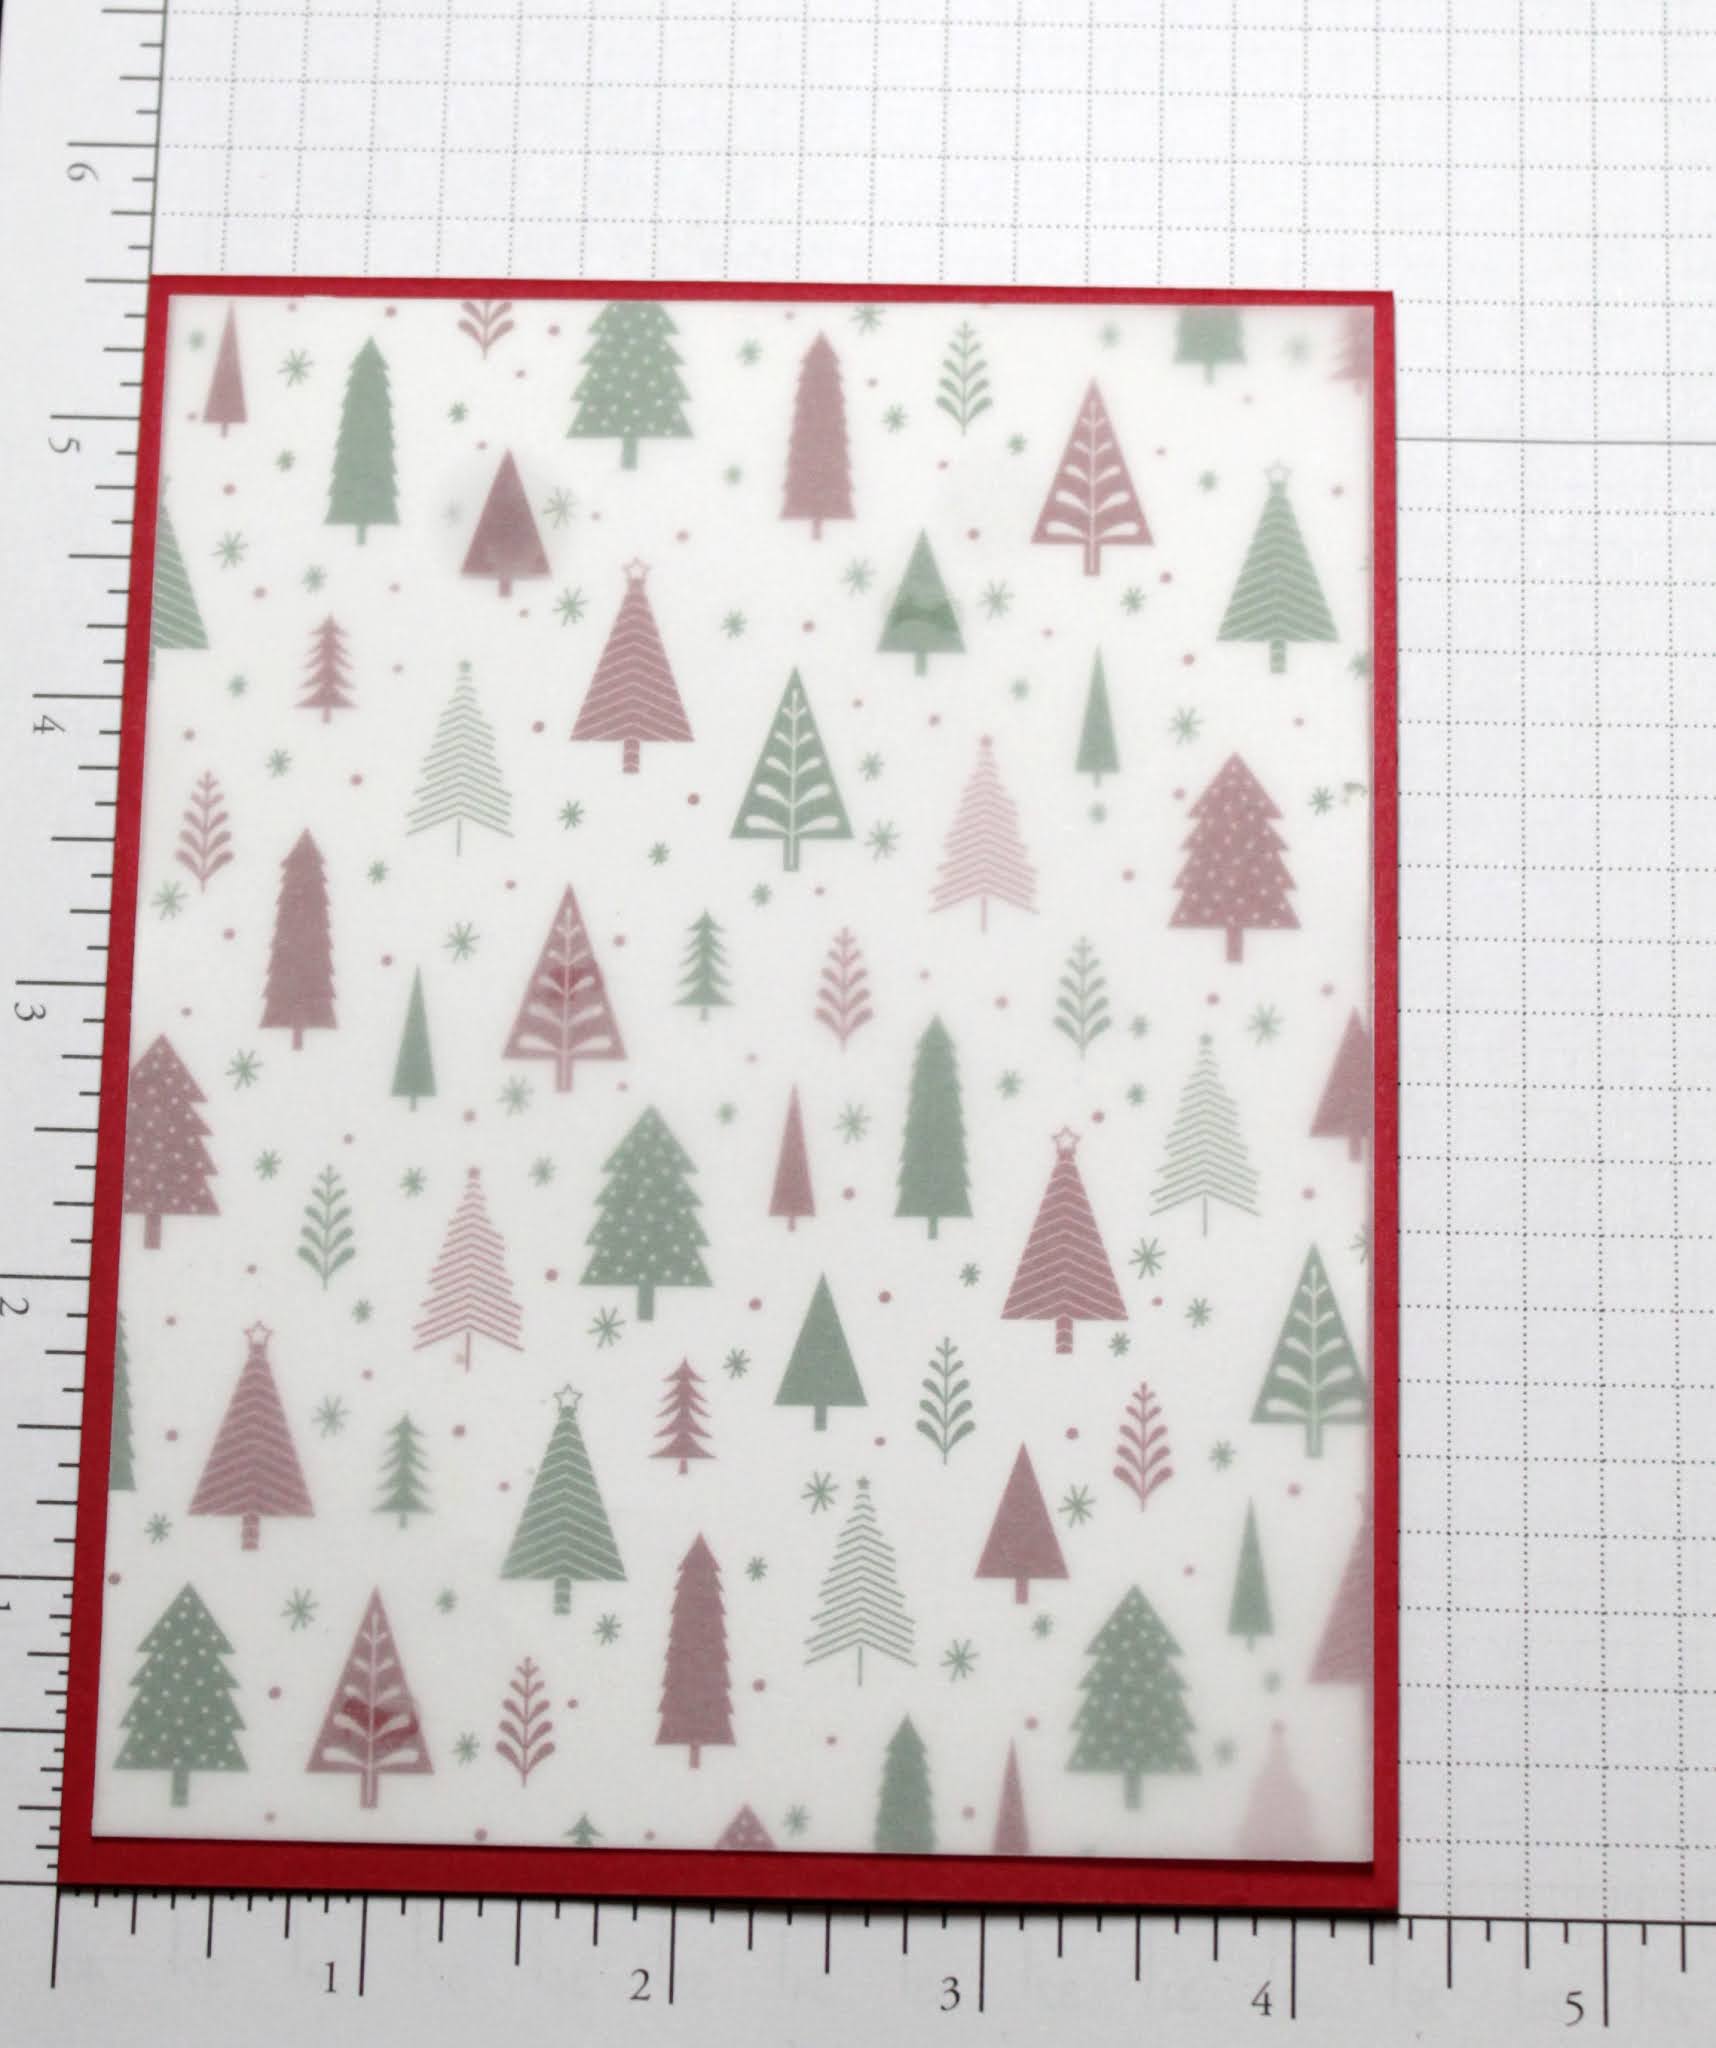
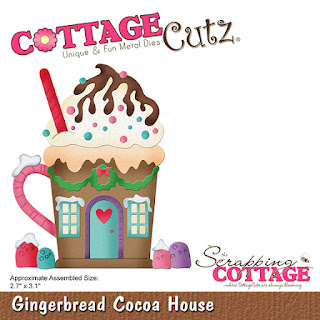
I then cut the second largest scallop stitched rectangle from that die set in white cardstock. I cutout a piece of Doodlebug patterned paper for a mat. I cut two of the "whipped cream" toppings from the Gingerbread Cocoa House die set. I lightly inked the edges and then added them to the bottom of my mat.

Here is a closer look at the various layers. I used several pieces from the Gingerbread Cocoa House. I even used one of their small snow pile pieces and put it on top of the mail box.

Here's another angle. You can see on the top of the small mat, I added a couple of the Gingerbread Cocoa House's Drips along the top for a border. I added several of the small hearts from that die too.

Here is one last look at my completed card. I love the super cute and very festive paper from Doodlebug. They are a perfect compliment to the adorable Christmas Deer w/ Mailbox die. I love to take pieces from various dies and use them in unexpected ways. It really helps you get more mileage out of your dies.

The Dies I used to create these projects:


STOP THE PRESSES!!!!
DID YOU SEE COTTAGE CUTZ ARE ON SALE FOR A LIMITED TIME!
HEAD OVER AND SPEND SOME OF THAT CASH FROM SANTA AND PICK UP SOME GREAT DIES AT UNBEATABLE PRICES!!!!


In case you didn't hear, The CottageCutz YouTube channel is up and running. We are featuring videos every Wednesday. Drop by and subscribe so you don't miss one and give us a thumbs up on our videos.

Until the next time, have a wonderfully crafty day!
Melinda Beltran

Saturday, October 30, 2021

Christmas Deer at Mailbox

Hello CottageCutz friends! Thanks for taking the time to stop and visit with us today. It's Mary Marsh here bringing you the Saturday edition of the Blog.

IT'S NEW RELEASE TIME! The new Christmas dies are in the online store with 40 new designs from Christmas Part 1 and 19 new designs from Christmas Part 2 and they are on a limited time sale at 30% off.

Today for your viewing pleasure, I am featuring the whimsical Christmas Deer w/Mailbox and The Merry Christmas w/Shadow dies. This one will go to my sister-in-law who loves woodland animals and feeds the deer regularly. So let's get started on some details of how I created my card. 

Design Steps:

This week I started my card with my layout. As I have said so many times before having the sketch in mind helps start as well as simplify the card making process for me. I liked the sketch #877 at Splitcoaststampers. I thought it would work well for this cute little Christmas deer. 
Next, I cut the images and stuck with the traditional Christmas colors of red and green. 
Then I looked through my selection of Christmas paper to see what would work for the sketch I chose. I found one that I liked. I thought I would use some vellum over the designer paper to tone down the somewhat busy pattern. 

red card base: 4 1/4" x 5 1/2"
designer paper layer: 4 1/8" x 5 3/8"
white layer (element 3 of sketch: - 1 3/4" x 4 1/8"
Next, I cut my Merry Christmas w/Shadow sentiment in red and green. Love this new shadow die
Now that my card elements are prepared I am ready to start assembly. I attached the vellum to the designer paper with glue dots. I put them in places that I new would be covered with the white panel and then the images.  
The white panel with the sentiment is attached with double sided tape. I trimmed the design paper layer a bit because I was going to attach a snow bank.
The images are attached next with dimensional adhesive. I cut two snow banks from the North Pole die and attached them with double sided tape. I added two snowflakes for elements 4 & 5 of the sketch to complete my card.
Well, that's it for me for this week. I hope I have given you an idea for a way to use these new Christmas dies. See you next Saturday. 

The CottageCutz YouTube channel is up and running. We are featuring videos every Wednesday. Drop by and subscribe so you don't miss one and give us a thumbs up on our videos

dies I used to create card: