Showing posts with label Build an Easter Egg. Show all posts

Tuesday, August 13, 2019

Let’s Celebrate With a Cake

Hi, Janja is here with you.
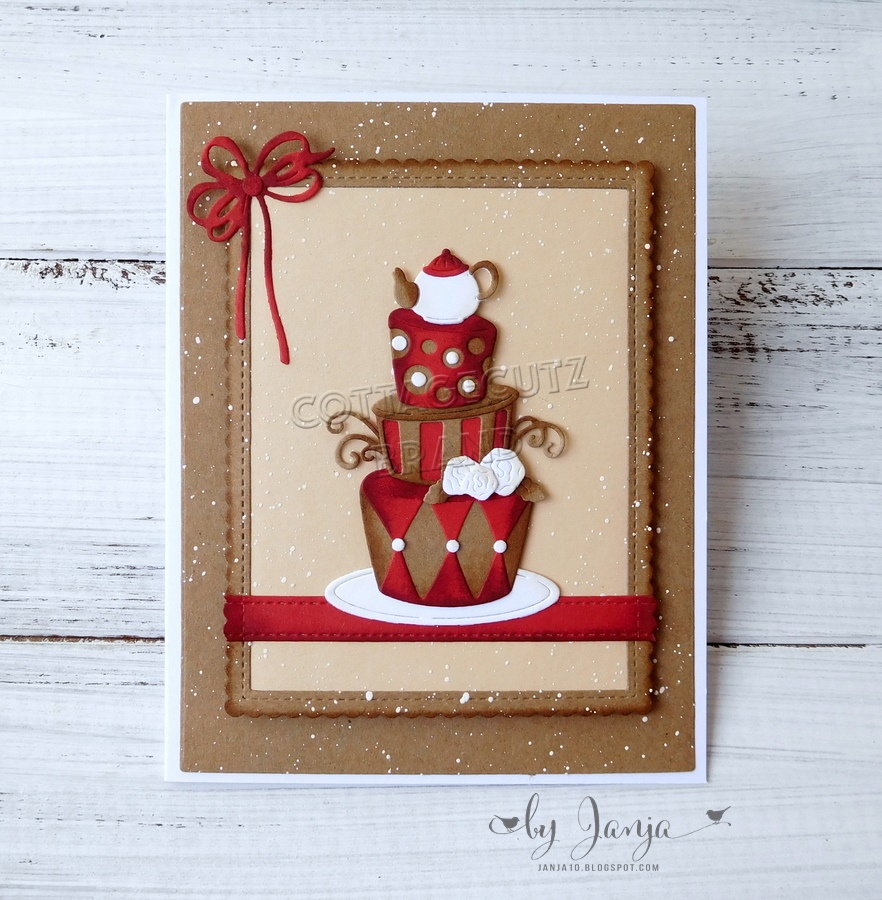
Today I have two simple birthday cards with a cake for you. Let's see how they look in different color combinations.


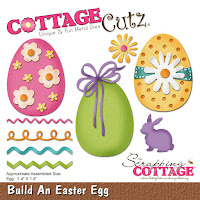
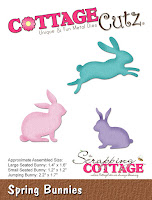
- CottageCutz dies: Mad Hatter Cake, Nested Stitched Scallop Rectangle Set, Rectangle Set, Build An Easter Egg (bow), Stitched Wide Rectangle Frame Set
- card base: 4.48 x 5.66" (11,4 x 14,4 cm), folded
- colored cardstock
- colored ink pads
- self-adhesive foam pads, glue
- white craft foam

First, cut out all the pieces for the cake from colored cardstock. Assemble and paste them together.


Prepare the card base and cut two rectangles out of beige and kraft cardstock - 4.21 x 5.47" (10,7 x 13,9 cm).
Cut out the red ribbon with the largest die from the Stitched Wide Rectangle Frame set.
Use the largest die from both basic sets for the frame.


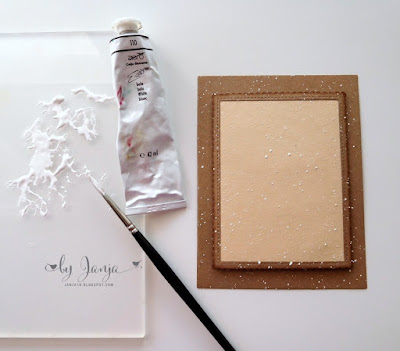
Apply glue to the back of the frame and paste it to the rectangle. Create an extra dimension with craft foam.


Now spray the background with white paint. Use a brush.


Once all the elements are ready, assemble the card.


Have a nice day.
Janja


Tuesday, March 21, 2017

Happy Easter

Hi, Janja here!

Today I share with you two Easter cards created with Spring CottageCutz collection of dies.


Supplies:
- CottageCutz dies: Easter bunny & chicks, spring bunny with flowers, build an Easter egg, stitched circle set
- white cardstock for card base
- patterned paper
- white and colored cardstock
- Distress ink pad Spiced Marmalade
- Color Box pigment ink pad Frost White

Cut a circle with the largest die from the stitched circle set.
For card base, fold cardstock in half. Mount the die on cardstock, so that the upper part is slightly sticking out over the edge and cut. Glue circles to each other to obtain an easel card base.


From patterned paper also cut out two circles. Use eighth die in a row from the middle of the set. Stamp sentiment Happy Easter.


Cut out Easter bunny with chicks. Shadow all elements and compose them.


Attach patterned paper on white card base. To finish the card, attach all the elements as shown to a card base using foam pads.


On another card with kitty I added some Easter eggs. 


Supplies:
- white card base: 4.25 x 5.5" (10,8 x 14 cm), folded
- patterned paper: 4 x 5 " (10,2 x 13,2 cm) 
- white and colored cardstock 

Shadow cutouts. 


Completed card.


Thank you for coming over. Have a nice day.


Saturday, March 04, 2017

Easter Basket + Tutorial


Hello Scrapping Cottage friends! Thanks for taking the time to stop and visit today. It's Mary Marsh here bringing you the Saturday edition of the Blog.

We have some fabulous new Spring dies in the store. Today for your viewing pleasure, I am featuring the Build an Easter Egg and Spring Bunnies dies. I made an Easter Basket with them.

I have seen quite a few baskets made using the Envelope Punch Board and I may try one of those soon. But, I realize that not all of you may have that tool. So my basket is made with dies and a scoring tool. I have loads of pictures for the process but here is a link to a video.

So let's get started on what I did for my project.

Step 1: The basket uses one sheet of 8 1/2" x 11" cut as shown in the following template.

 My first cut was at 4 1/2" x 11". Then cut this piece in half to measure 5 1/2" x 4 1/2". Used these pieces for my basket sides. The next piece used for the basket itself was cut at 4" x 6 1/2".  My last cut was 4" x 4 1/2". I used this piece to cut the basket handle.

Step 2: I used the largest Stitched Oval die for my basket sides. I cut 2 ovals using the 4 1/2" x 5 1.2" cardstock piece.  For the handle, I used the Oval die set -  Choosing the 1st and 3rd largest dies in the set. The cardstock piece is the 4" x 4 1/2" panel.


Step 3: I was now ready to complete the scoring on the 4 x 6 1/2" panel.  First score was at 1/2" on both sides of panel in portrait mode. The 2nd score is at 2". This was done on both sides of cardstock. Used a bone folder to crease all score lines. Also make cuts as shown in photo.


Scor-Tape added to top and bottom of panel
Step 4: I also scored the stitched ovals. This just made it easier to fold it under the basket base. Scored this at 1/2".  Used an embossing folder for added texture on the basket sides. I didn't emboss the 1/2" that was scored.

 
Scor-Tape added to oval panels
 
Step 5: Basket Assembly begins. The basket sides get secured to the base.
 
Both sides secured


Step 6: Die cut the elements for decorating the basket. Used lots of bright spring colors. Elements adhered with Ranger Multi-Matte medium and glue dots. Added the handles to basket with glue dots. I simply cut the oval that I made in  Step 2 in half.


Step 7:  Basket completed and time to fill with some goodies for gift giving.
That's it for me for this week. I hope I have inspired you to make a basket of your own for Easter or as a Spring gift. See you next Saturday!


 Dies I used to create card: 
 
http://www.scrappingcottage.com/cottagecutzbuildaneasteregg.aspx
 
http://www.scrappingcottage.com/cottagecutzspringbunnies.aspx
http://www.scrappingcottage.com/cottagecutzovalsetbasics.aspx
 
http://www.scrappingcottage.com/cottagecutzstitchedovalsetbasics.aspx