Friday, May 31, 2024

A Tropical Hello

Aloha & happy Friday friends!

It's Kris sharing with you today.  Flamingos seem to be the "in" thing in the cardmaking world at the moment, so today I've gone beachy with this simple die cut window card with an ink blended sunset inside, featuring the Flamingo w/ Hibiscus die, Hibiscus Flowers, and just the fern from the Tropical Fruit die.


Design Steps:

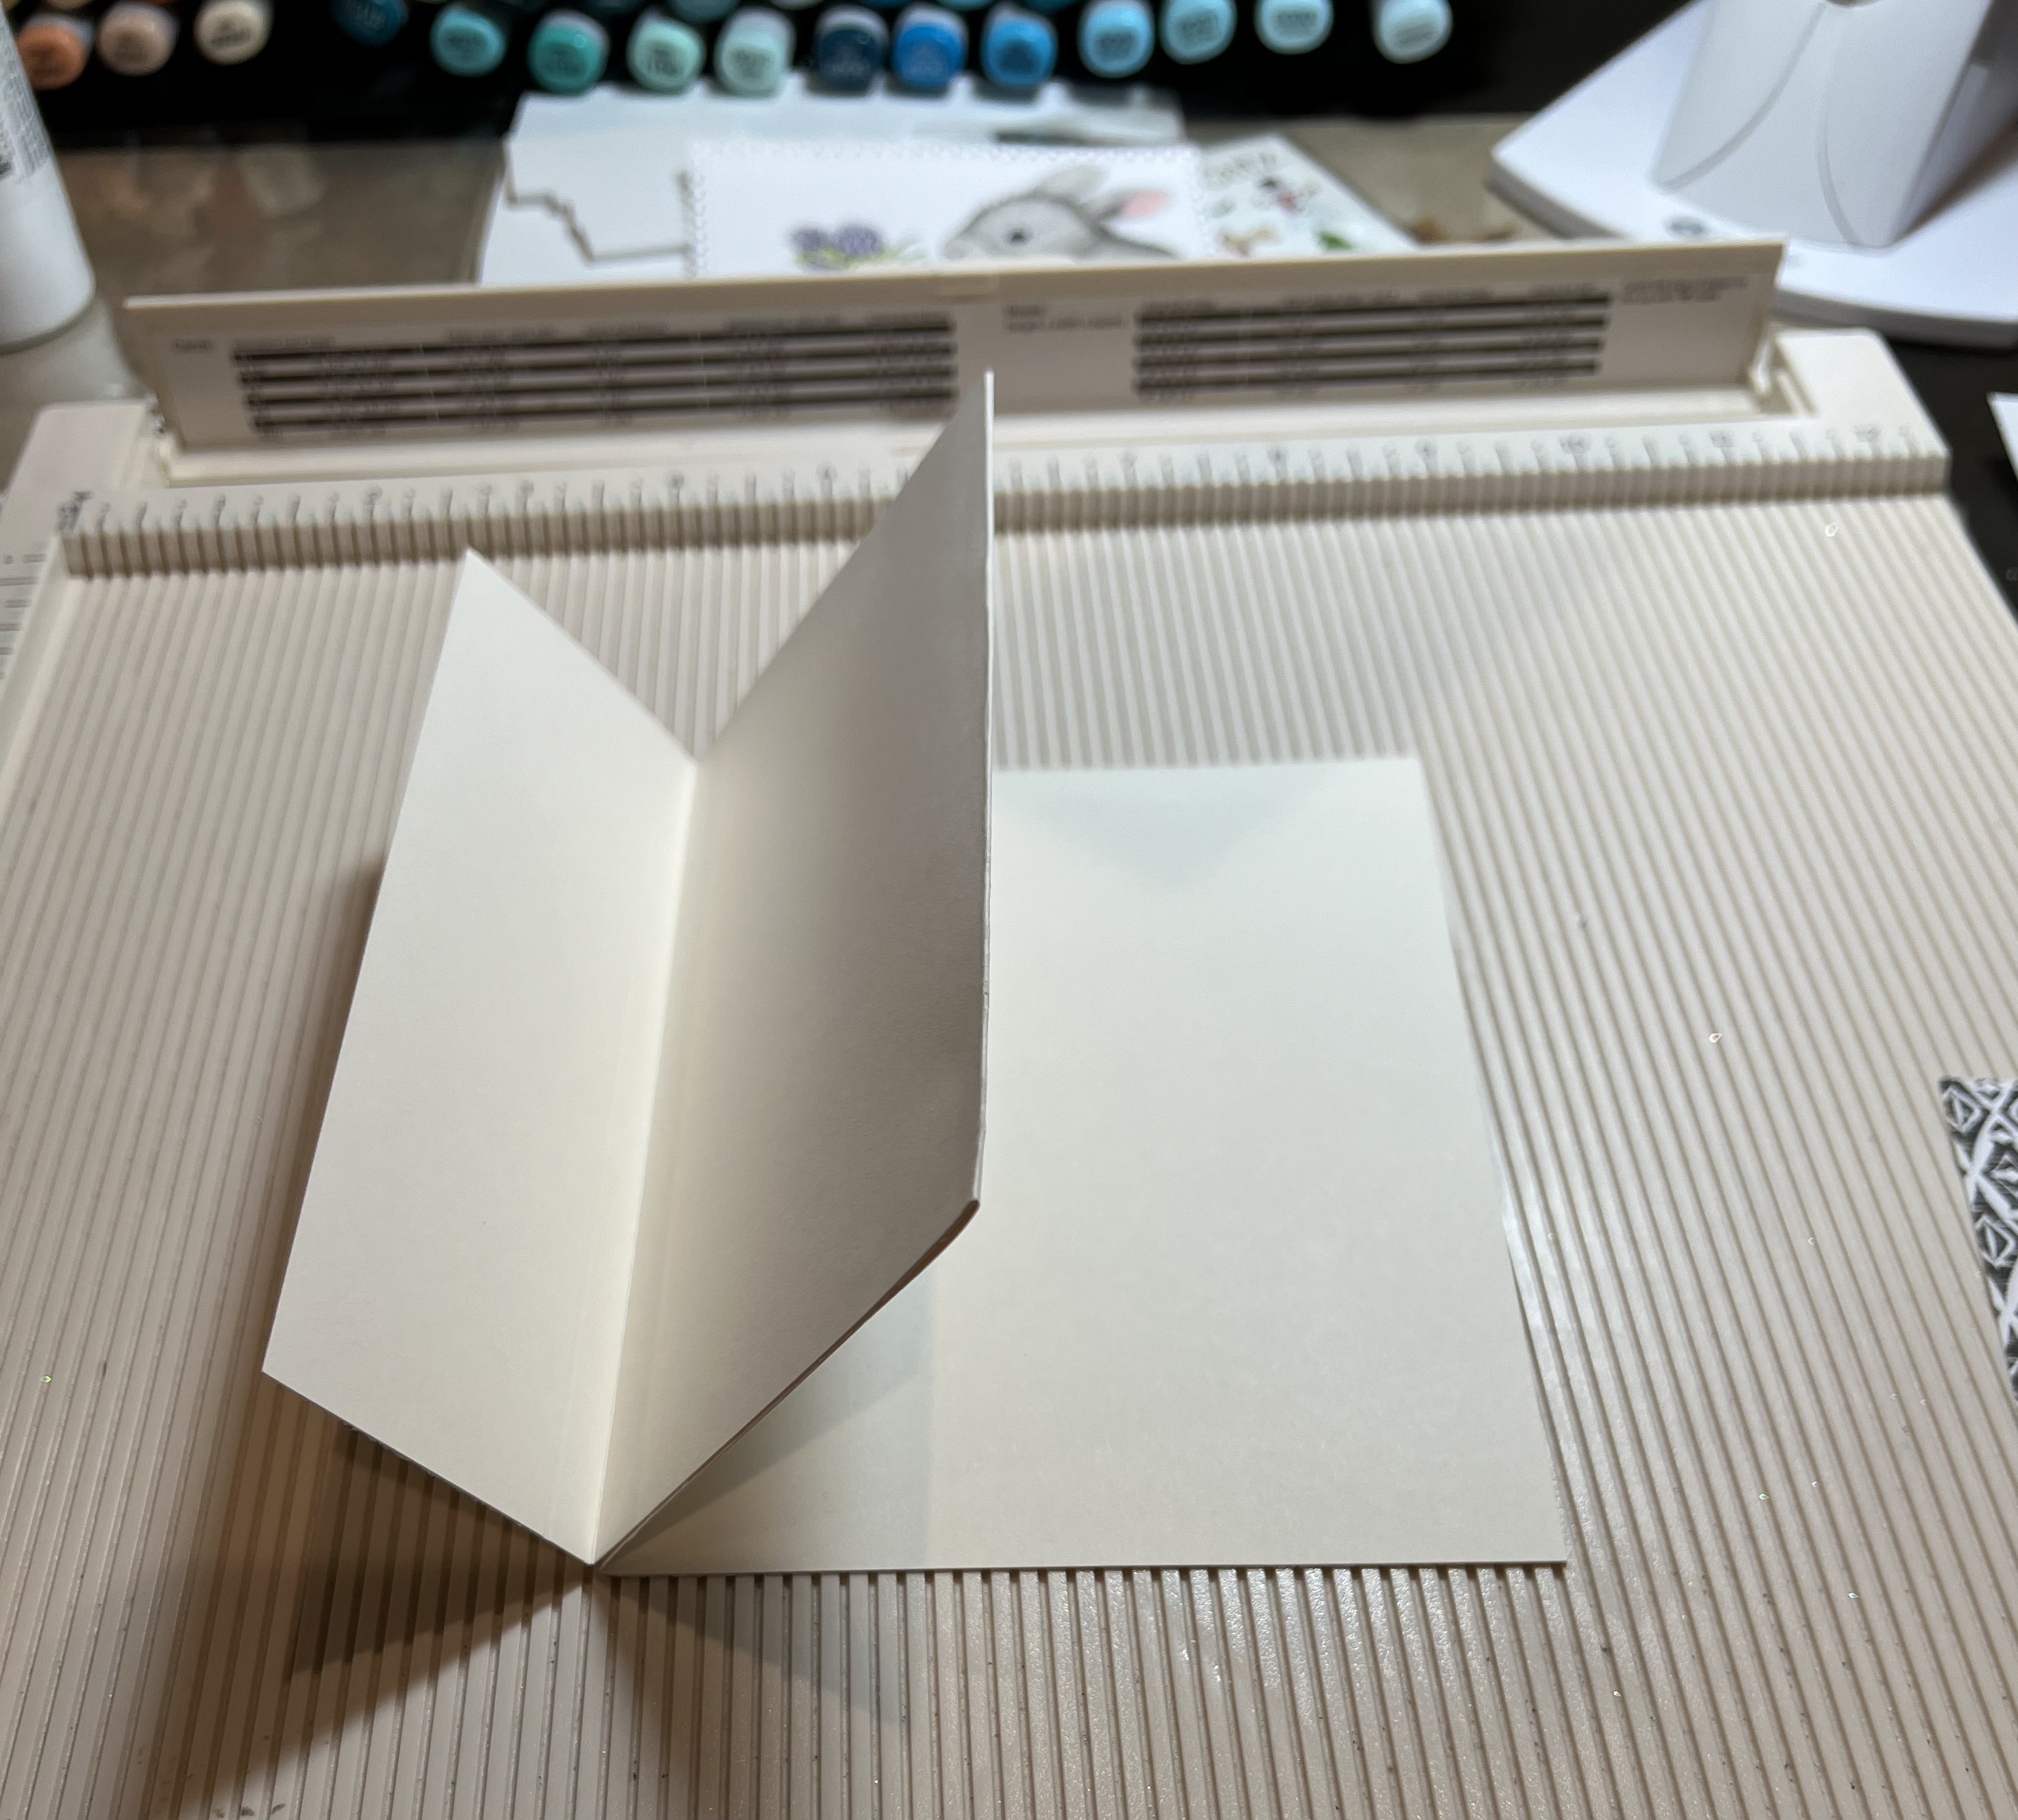
1.  Start with an A2 top folding card base (4-1/4" x 5-1/2") and die cut a window out of the front of card (can be any shape you want). 

2.  On the inside, use light tack tape like Post-it tape to mask off a line to separate the water from the sky.  Not shown in photo below, but you will also want to mask off the top part just above the score line.


3.  Using Distress Oxide inks and blending brushes (or other blending tool), lightly ink Squeezed Lemonade from the sides inward, leaving a li'l bit of white in center for light.  Next, Add Picked Raspberry from the top down, blending into yellow.  

4.  Remove Post-It tape and move it to cover the bottom of yellow.  Then add blue ink from sides inward, again leaving a lil bit of white for the reflection as shown below. 

5.  *OPTIONAL:  I die cut the Waves Slimline die to cover up a boo-boo (I accidentally touched the bottom part with a picked raspberry finger!) but I like the detail the waves border added!  


6.  Die cut your Flamingo w/ Hibiscus, Hibiscus Flowers, and just the fern from the Tropical Fruit die and color.  I used Copics for the flowers and Distress Oxide inks for the flamingo and leaves. 


7.  Before gluing die cut pieces to the front, you may want to insert a piece of paper (I used a waxy sheet) inside so you don't accidentally get glue on your ink blended background!  

As you can see, I hung my elements off my card.  This will fit into a 5x7" envelope.


8.  And lastly, I stamped and embossed a simple "Hello" onto black c.s. and cut a fishtail with scissors.  I then added some white gel pen stitch marks to it, and some dotty highlights on my pink flower.  That's it! Voila!  ☺


 Ink Something Crafty!
♡  ♡  ♡
~Kristine

Head over to Cottage Cutz and do a little shopping today!

Get Social With Cottage Cutz

Tuesday, May 21, 2024

Safari Story Book

 Hello Friends

I have a cute card today that I call the Mini Story Book fold. I was inspired by a YouTube video by Karen Titus who demonstrated this fold.  I decided to use some cute jungle animals from the Safari Collections to create my fancy fold card.  This fun design will probably go to my great niece or nephew!  I am featuring two dies Safari Adventure Gang and Safari Phrases.


 Background Photo by Freepiks

Designer Steps:

1.  Using the Safari Adventure Gang die cut out the animals and leaves using the following color: two shades of green, black, mustard yellow, dark brown, tan, light and dark gray, rust, and light blue.  Using the Safari Phrases die cut out the Go Wild and Adventure awaits in black
2.  Assemble the animals with a fine tip glue
3.  Using the largest Pierced Wide Circle Frame die cut out nine circles.  Glue 3 circle frames together so you will have a sturdier thicker frame
4.  Cut out some cream colored circles to fit behind the frame.  And before gluing them to the back of the frame stencil on some light blue clouds
5.  After stenciling glue to the back of the circle frame
6.  Assemble the three frames as shown above
7.  To create the base start with a piece of cream card stock 12 x 5 1/2.  Score at 1 3/4, 4 3/4 and 7 3/4.  Fold valley first score line, mountain next score line and finally a valley fold on the last
8.  Flip the card over and place glue on the side right next to the smallest flap and close the fold
9.  Your card should look like this after you glue.  You will have 3 flaps
10.  Cut 1 piece of DP 4 1/8 x 5 3/8, 2 pieces of DP 2 7/8 x 5 3/8 and 2 piece of DP 1 5/8 x 5 3/8
11.  Glue the DP pieces to your card base and then add your circles and a few extra leaves


We have more inspiration on our YouTube Channel check it out HERE

Thanks so much for stopping by! 

Blessings and Take Care

Head over to Cottage Cutz and do a little shopping today!

Get Social With Cottage Cutz

Friday, May 17, 2024

Tiered Accordion Farm Card

Happy Friday friends!

It's Kris  sharing with you today.  I've made what I call a Tiered Accordion Card in a farm theme and I love how this turned out!!  So much so that I want to make a couple more, so I need to get more farm papers a.s.a.p.!   I'm featuring the Farm Cow Peeker, the Farm Pig Peeker, and the Cowgirl Chick dies.


I made up my own measurements for this 5" x 7" card, however.... it's a super tight fit into a 5-1/4" x 7-1/4" envelope because of the bulk, so next time I will make this 4-3/4" x 6-3/4".   I will go ahead and give you the measurements I should have created this at, not what I actually made it so you can easily fit it into a 5x7 envelope.  ☺


The patterned paper is all from the Down on the Farm by Doodlebug Design. The sentiment is from the Cow's it Going? stamp set by La-La Land Crafts.

DESIGN STEPS:

1.  Cut 4 pieces of white cardstock: (back to front)

    • 6-3/4" x 4-3/4"
    • 7-1/2" x 4-1/2"  - score at 1/2", 1", and 1-1/2" on each end parallel to short side
    • 7-1/2" x 3-1/4" - same as above
    • 7-1/2" x 2" - same as above


2.  Cut Designer Paper: (from back to front)

    • 4-1/2" x 6-1/2" (or 6" if you are using 6" dp - leave the gap at the bottom)
    • 4-1/4" x 4-1/4" 
    • 4-1/4" x 3"
    • 4-1/4" x 1-3/4" 

3.  I also cut the paper that has strips of different patterns and trimmed the one on back layer (farm scene) at 4-1/2" and the other 3 at 4-1/4" wide. 


***TIP:  If you don't like the look of the white flaps showing on top of the designer paper (see 5 photos down) then NOW is the time to make that change.  Simply adhere the tiered panels before you adhere the designer papers. 

4.  I glued the strips to the tops of each coordinating designer paper, then adhered to the white coordinating panels, leaving an even white space all around (except the largest one as my dp was only 6", so I left larger space at the bottom that will be covered up. Fold and burnish score lines on 3 smaller panels. 


5.  To attach the accordion panels, start with the tallest one, add double sided adhesive or glue to the outter flap.  Ahere it by aligning the bottom with the bottom of card base, and so the first score line is at the edge of the base designer paper (not the edge of white card base).  Repeat on opposite end.


6.  For the middle sized panel, align the first score line with the white edge of previous panel (not the dp as you did with the first panel).  Repeat or the shortest panel.  


Now it's time to decorate!!  

7.  Die cut animals from white and color with Copics and Distress inks or medium of your choice.  

8.  For the pig and cow, I cut a long strip of thick white cardstock and attached to back of animal for sturdiness.  I then added tape to the front of white strip and attached it behind the tiered panel. 


9.  Die cut the flag banner from the  Windows Slimline set from the designer paper that has all the bandana squares on it.  

10.  Die cut the sentiment from the smallest Pierced Circles set, then adhere to blue banner.  Adhere to top of card base and ... DONE!


I just LOVE how this turned out!!  Like I said, I would make those 2 changes (1/4" smaller w & h) and I would attach my papers over the flaps when adhering my tiered panels.  But overall, these COTTAGECUTZ dies make the cutest cards for this farm-lovin' girl!!

Thanks so much for stopping by!  I hope you get crafty with your favorite CottageCutz dies!

~Kristine


Head over to Cottage Cutz and do a little shopping today!

Get Social With Cottage Cutz