Sunday, June 30, 2019

Gnome On Tree Stump


Hi!

It's Anja here. I have a cute and simple card for today's post.


For this card I used:
- Cottage Cutz dies (Gnome On Tree Stump, Magical Forest),
- Distress Inks (Peeled Paint, Vintage Photo, Black Soot, Tattered Rose, Fired Brick, Stormy Sky, Faded Jeans, Pumice Stone, Mustard Seed) and Oxides (Broken China, Faded Jeans),
- craft card base (18x13 cm),
- gold pigment ink,
- water spritzer,
- heat gun,
- black pen,
- adhesive foam pads,
- paper glue.

First I cut and colored the gnome.


Next the stump. I used some of the greenery from the die.


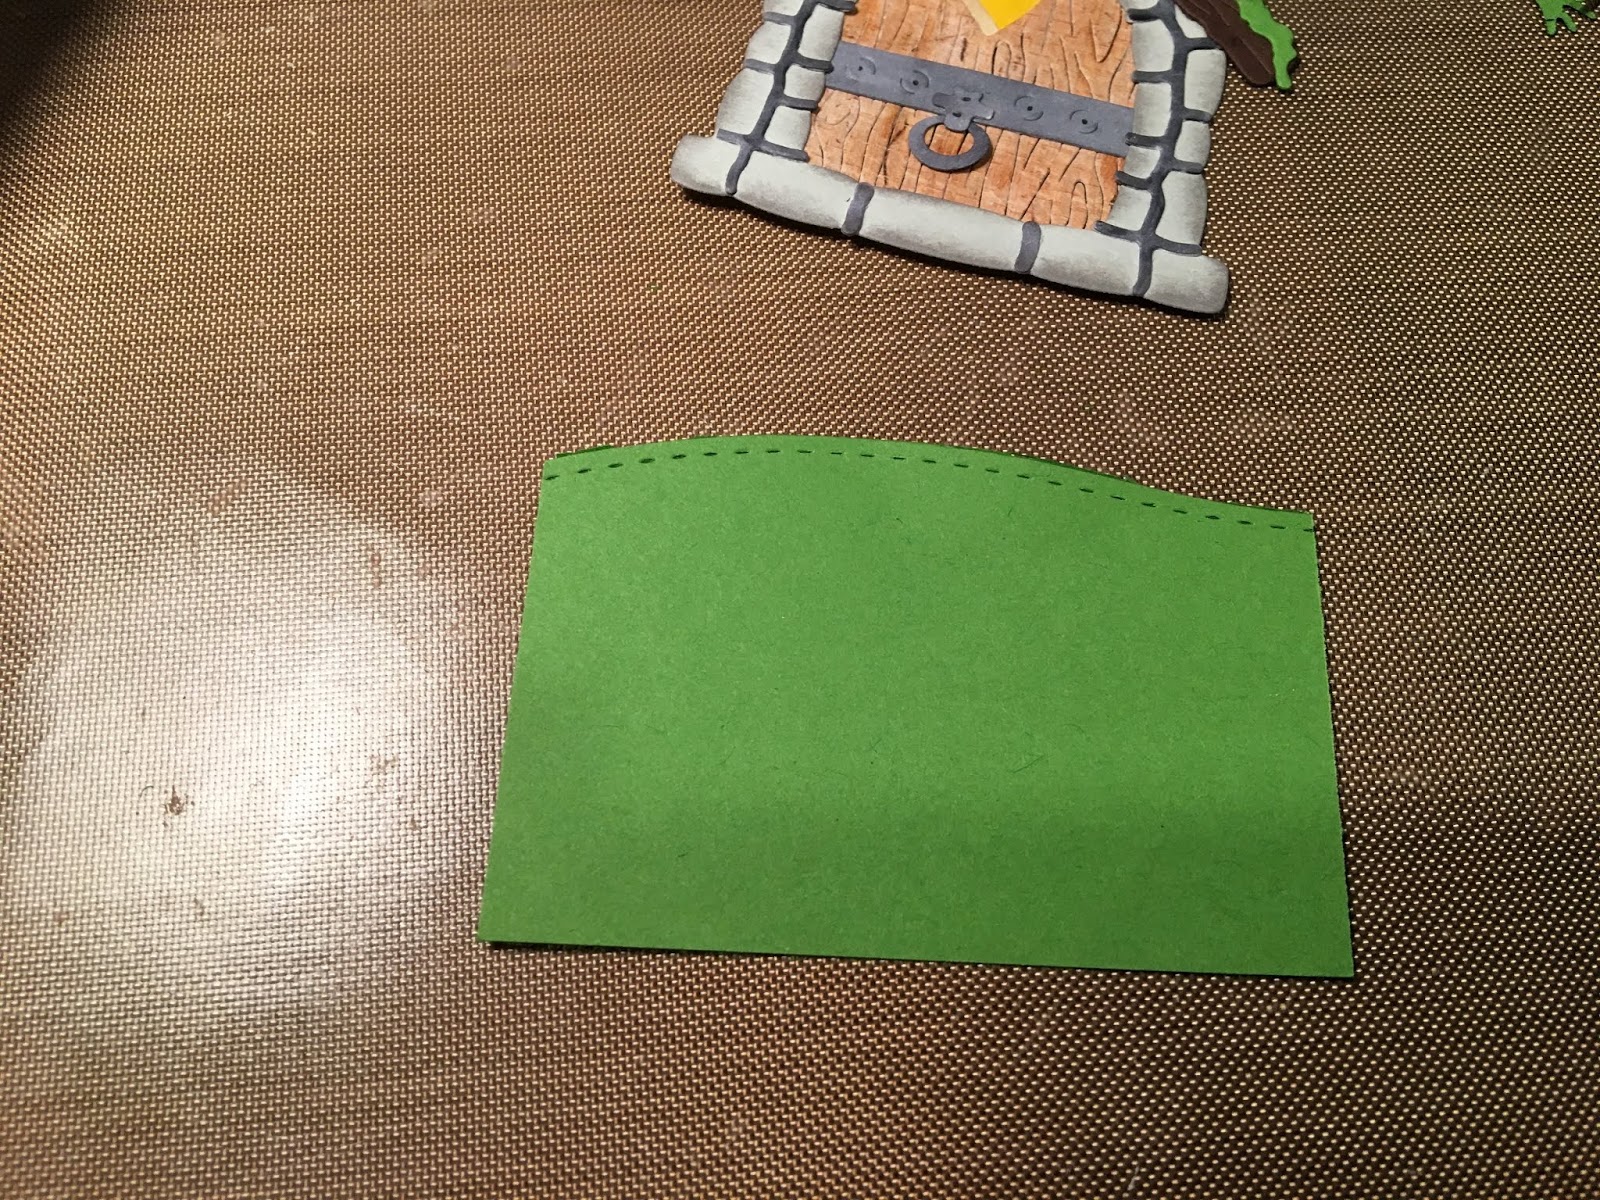
Last I made the background. I used Oxides for coloring. I spritzed a few water drops over it and dried it with the heat gun.


When I had everything cut and colored I adhere all the pieces to the background. I used adhesive foam pads for the gnome. And my card was done.


Before I go I want to invite you to the Scrapping Cottage online store. All the new dies are still available for 25 % off.

Have a nice Sunday and see you again next week.

Anja Z.


Cottage Cutz dies I used:


Saturday, June 29, 2019

Make Gnome Mistake

Hello Scrapping Cottage friends! Thanks for taking the time to stop and visit with us today. It's Mary Marsh here bringing you the Saturday edition of the Blog. 
We have released the new Magical Garden dies. There are 14 new designs and they are currently on sale at 25% off.
If you love fairies, fairy gardens, gnomes and flowers, you will love these dies.  Today, I am featuring the new Gnome on Tree Stump die. Let's get started with some details on how I created my card. 

Step 1:  As I have said so many times before, having a layout in mind at the start of my card is always a big boost for me. It jump starts my creative thought process. I love working with the sketches that are out there in the online world. That way I just choose the colors and designer paper and I am good to go.
I liked this week's sketch #755 from Splitcoaststampers.
I used this blue watercolor wash patterned paper for my background. It has an outdoor sky look to it. Then I found this other paper that had a rainbow in on it and decided to use it for the circle that the gnome is sitting on. The paper is also element 2, 3 and 4 of the sketch.
Blueberry Card Base: 4 1/4" x 5 1/2"
Patterned Paper Background: 4 3/8' x 5 3/8"
Sketch Element 2: 2 3/8" x 7/8" 
Sketch Element 3 : 1/2" x 1"
Sketch Element 4: 1 3/8" x 5 3/8"
Sketch Element 5: 3/8" x 5 3/8"
Circle: 2nd largest of double stitched circle die. 

I cut my gnome image in different colored cardstock. I used the colors that were on the packaging. I colored his face, ears and hands with Copic markers. I used E000, E00, and E21. 
I stamped my sentiment directly on the patterned paper in blueberry ink. Used my MISTI for placement and also I knew I was going to stamp twice to make sure it was dark enough. It's element 2 of the sketch. I started off with a larger piece of paper than what I needed and then trimmed it down to the 2 3/8" x 7/8".
Step 2: I am ready to start card assembly. Attached the background layer and element 2 and 3 of the sketch to the card base with double sided tape. 
I am ready to attach the image panel. I used dimensional adhesive on the gnome and double sided tape on the circle. 
To finish off my card, I added a few glitter enamel sequins. Well, that's it for me for this post See you next Saturday! I hope I gave given you an idea for another way to use this Gnome die. 

dies I used to create card:


Friday, June 28, 2019

Wishing You Well

Happy Friday!!!  It's Jeanne today with a card that is great for multiple occasions - birthday, retirement, new job, even get well. This wishing well die is the perfect image for all of those.
Just changing the sentiment to any one of a number of "wish" sentiments changes the card instantly.  And it is gender neutral - I love having cards on hand that I can give to my male or female friends!
I started by cutting all the pieces from white card stock.  I used a combination of Distress Oxide inks and Copic markers to color them.  I used the Copics on the small flowers as I find that easier than using a sponge dauber and ink.
I assembled the well on a silicone mat.
 Next I chose the paper for the background, frame and sentiment.  The various shades of green in this patterned paper really sets off the wishing well.  I cut it to 4 1/4 x 5 1/2 inches.  I also cut a white panel 3 1/2 x 4 1/2 inches, a dark green frame using the largest of the Stitched Wide Rectangle Frame dies and a light green sentiment panel using the tag shape from the Fancy Pocket Plus dies.
The white panel is glued behind the frame with the wishing well adhered to the panel.  I wrapped linen thread around this framed piece several times before gluing the panel to the patterned paper.
This was then put on a white card A2 base. I added the sentiment using foam dots for dimension and some small floral trinkets I had in my stash.
I hope you enjoyed my card today.  The Wishing Well die is part of the new Magical Garden release and is on sale for a limited time.  Stop by the online store and see the other great dies that are part of this beautiful release!

Dies used:
http://www.scrappingcottage.com/cottagecutzwishingwell.aspx
http://www.scrappingcottage.com/cottagecutzstitchedwiderectangleframesetbasics.aspx
http://www.scrappingcottage.com/cottagecutzfancypocketplus.aspx

Thanks for stopping by today.  I hope you have a fun and creative weekend!


Thursday, June 27, 2019

Welcome!

Hi Scrapping Cottage Friends!

It is Pam on the blog creating with you today.

Our New Release Magical Garden is just perfect for fun projects in the summer months.  There are lots of wonderful whimsical dies and all of them just let your imagination go wild!  They are 25% off in the store right now so please stop at the online store and take a peek.  The card I am showing you today is made with the popular Bridge Fold. Hope you enjoy!


Designer Steps:
 1.  Cut all of the pieces using the Stone Fairy Door.  I used white, green, gray and dark brown card stock plus DP for the door.
 2.  Shade and color your pieces with your favorite inks and markers
 3.  Assemble the door and set aside
 4.  I colored all the little accessory pieces and then assemble them
 5.  Glue the mushrooms to the top of the door and the door is complete


6.  To begin the Bridge fold you will need a piece of white card stock 8 x 4 1/4.  Scored at 1 1/4, 2 1/2, 5 1/2, and 6 3/4.
 7.  Cut (4) 1 x 4 strips and (1) 2 3/4 x 4 piece of DP then layer them on blue card stock just slightly bigger then the DP. Cut a green strip of green card stock 1 1/4 x 5 1/2.  Cut the top of it to resemble a rolling hill.

 8.  Glue the strips to the scored white card base
 9. Then fold the front flap on the left in and glue the grass to it.  The right side fold is open and you glue the grass it it.  The glue is only on the front left flap and last right flap
 10.  You should be able to stand the card up at this point
 11.  Cut another piece of green card stock 2 3/4 x 2 1/2 and cut the top to look like a rolling hill.  Glue this piece to the bottom of the middle in the center of the card
 12.  Place dimension tape on the little door and pop it to the middle of the card as shown below
13.  Using the Mushroom Fairy Garden die cut out 2 mushrooms in white and color with you markers
 14.  Add the extra large mushrooms and the mailbox to the small front flaps and then add your sentiment.  Your card is finished
CottageCutz Products

Have a wonderful summer day and thanks for stopping by!
Blessings
Pam