Friday, September 30, 2022

Hangin' with my Gnomies

Hello CottageCutz friends! Thanks for taking the time to stop and visit with us today. It's Mary Marsh here bringing you the Saturday edition of the Blog.

It's new release time!!! We have new dies in the online store. It's our Halloween release with 22 new designs. So many whimsical designs that are perfect for your Halloween card-making.  They are currently on sale with 30% off individual dies. The sale is just for a limited time so hurry over to the online store to make your selections.

For my card sample today, I am featuring the new Spooky Tree Gnome die. So let's get started with some details of how I created my card. 

Design Steps:

I started my card this week with the colors from the Splitcoaststampers color challenge #915. We were to use soft suede, pale papaya and pear pizzazz. Optional was to add any darker or lighter shades of the challenge colors. 
I wanted to see if I could use one of the new dies to create a Halloween card. I took the option and used darker shades of all the colors. 
soft suede, pale papaya, pear pizzazz
I also found this sketch online and thought it would work well for my card. Sketches always help to give my creativity a jump start.
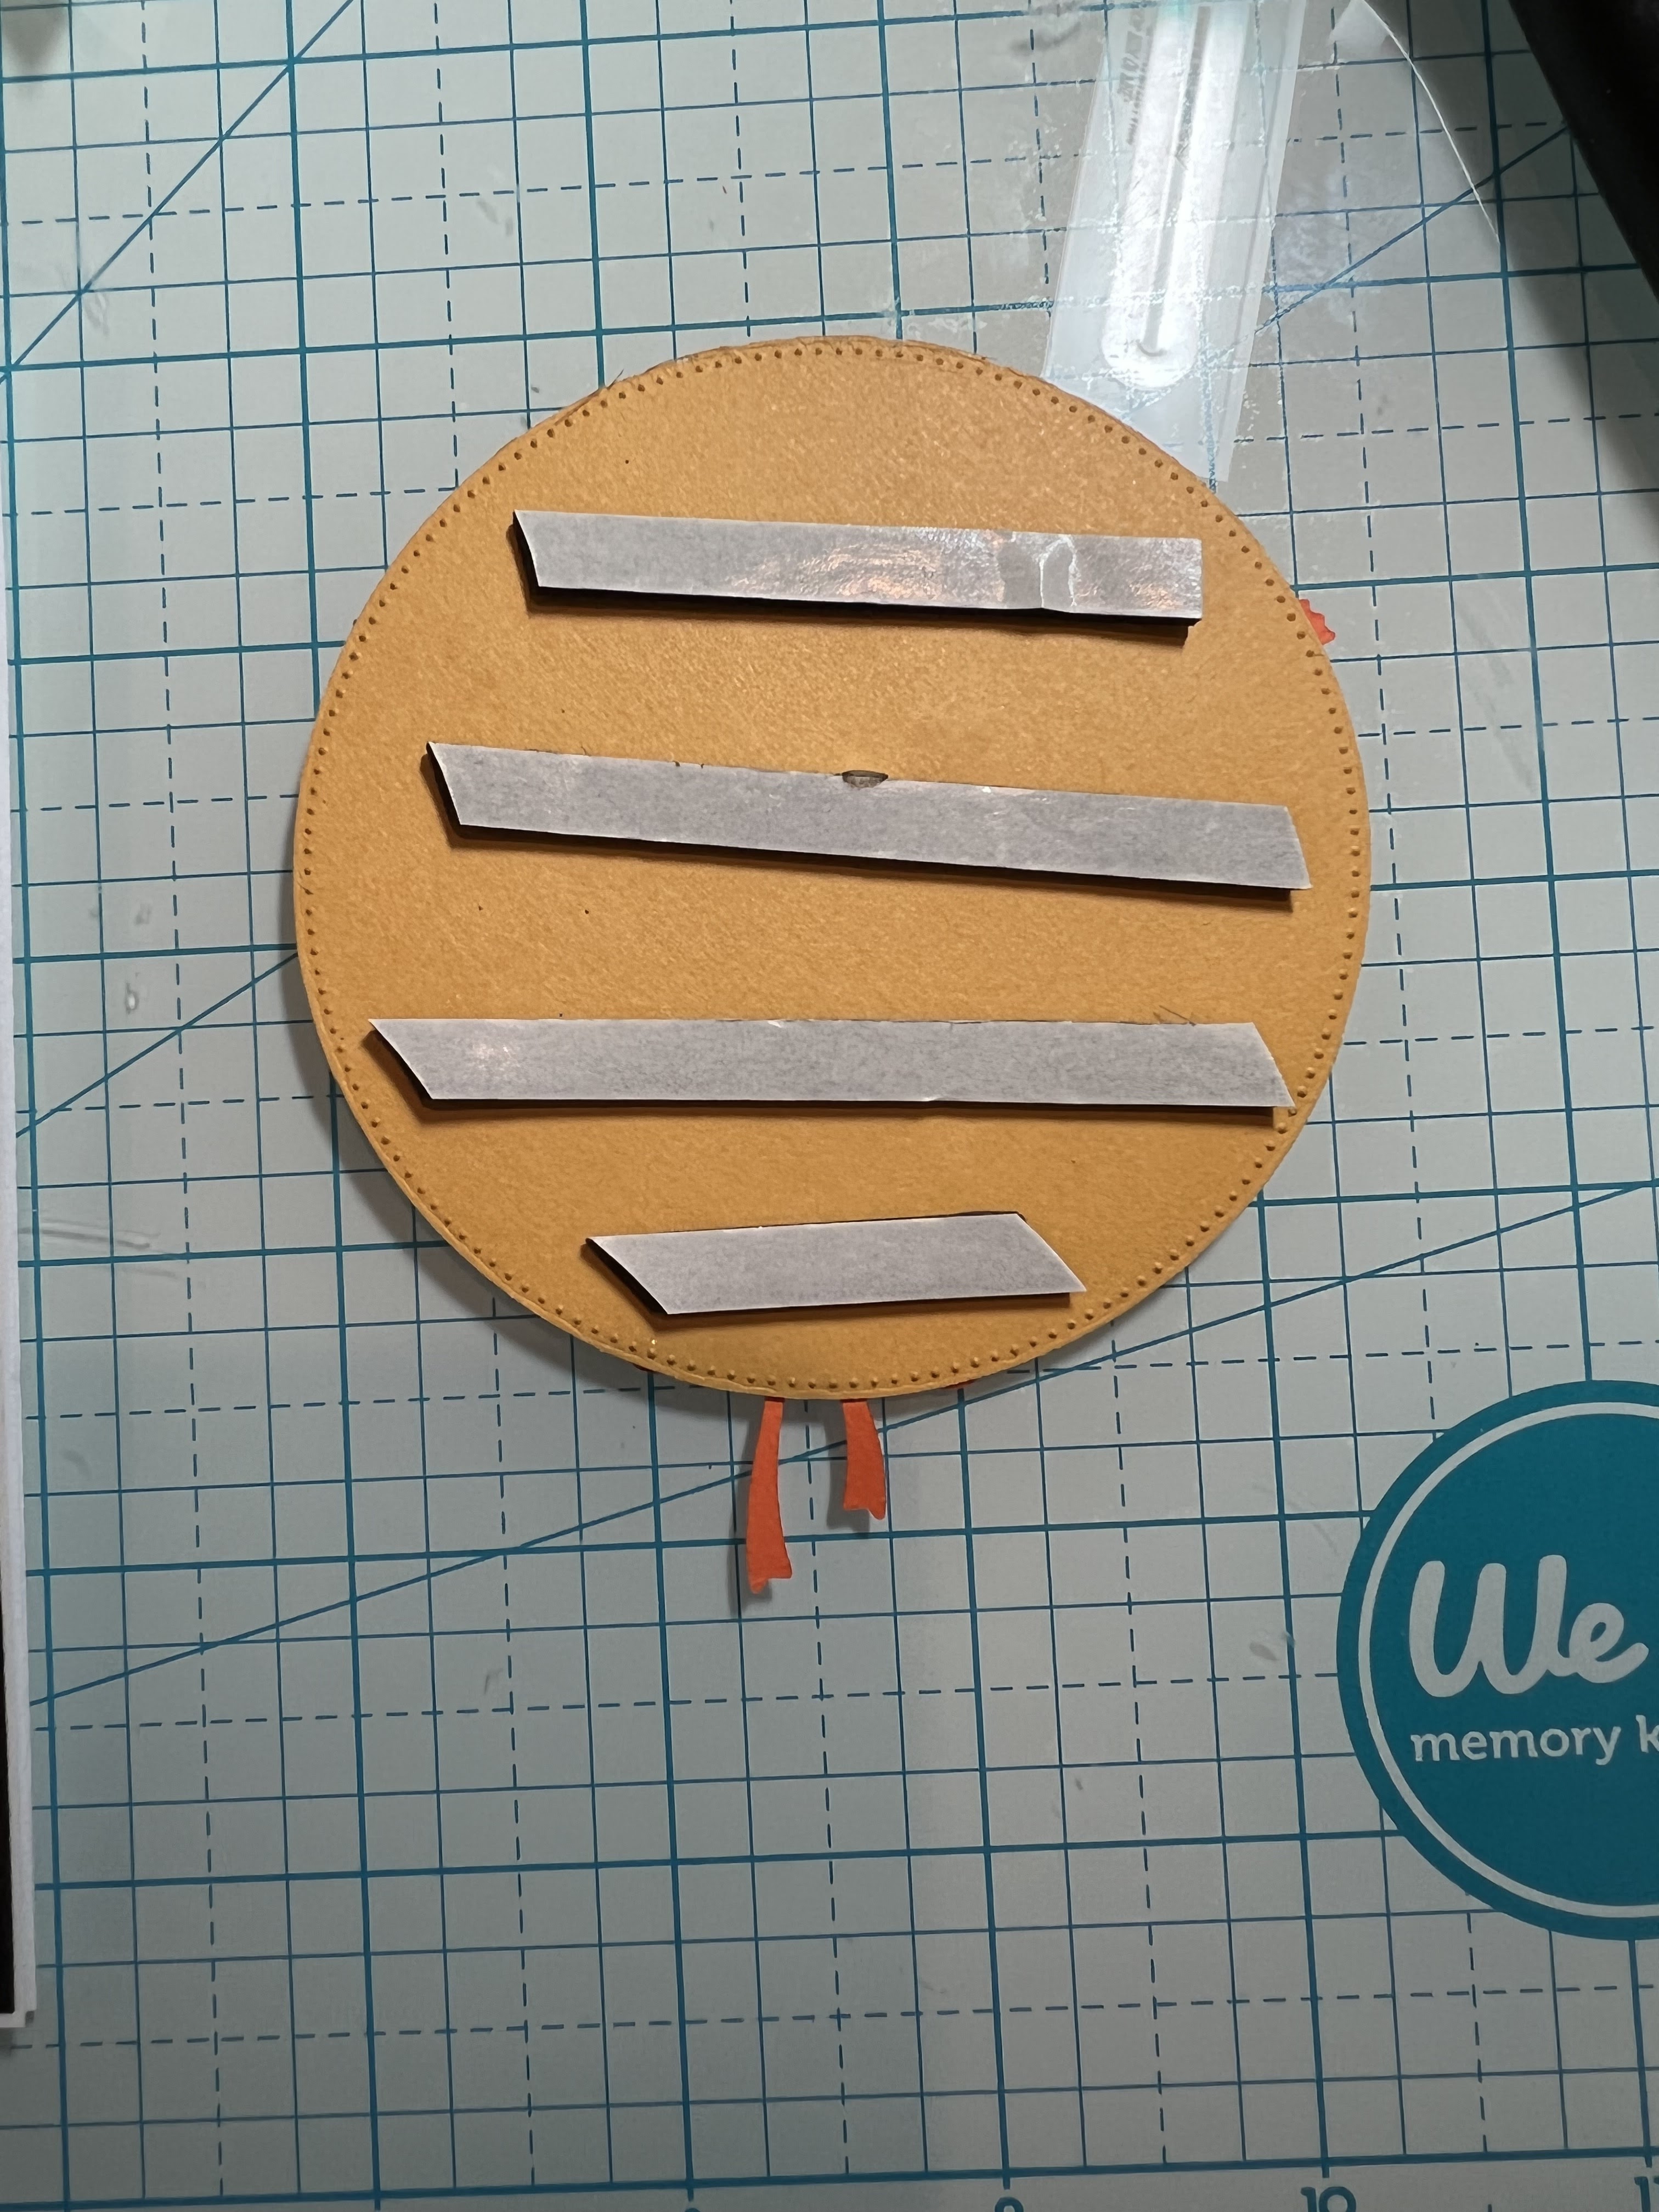
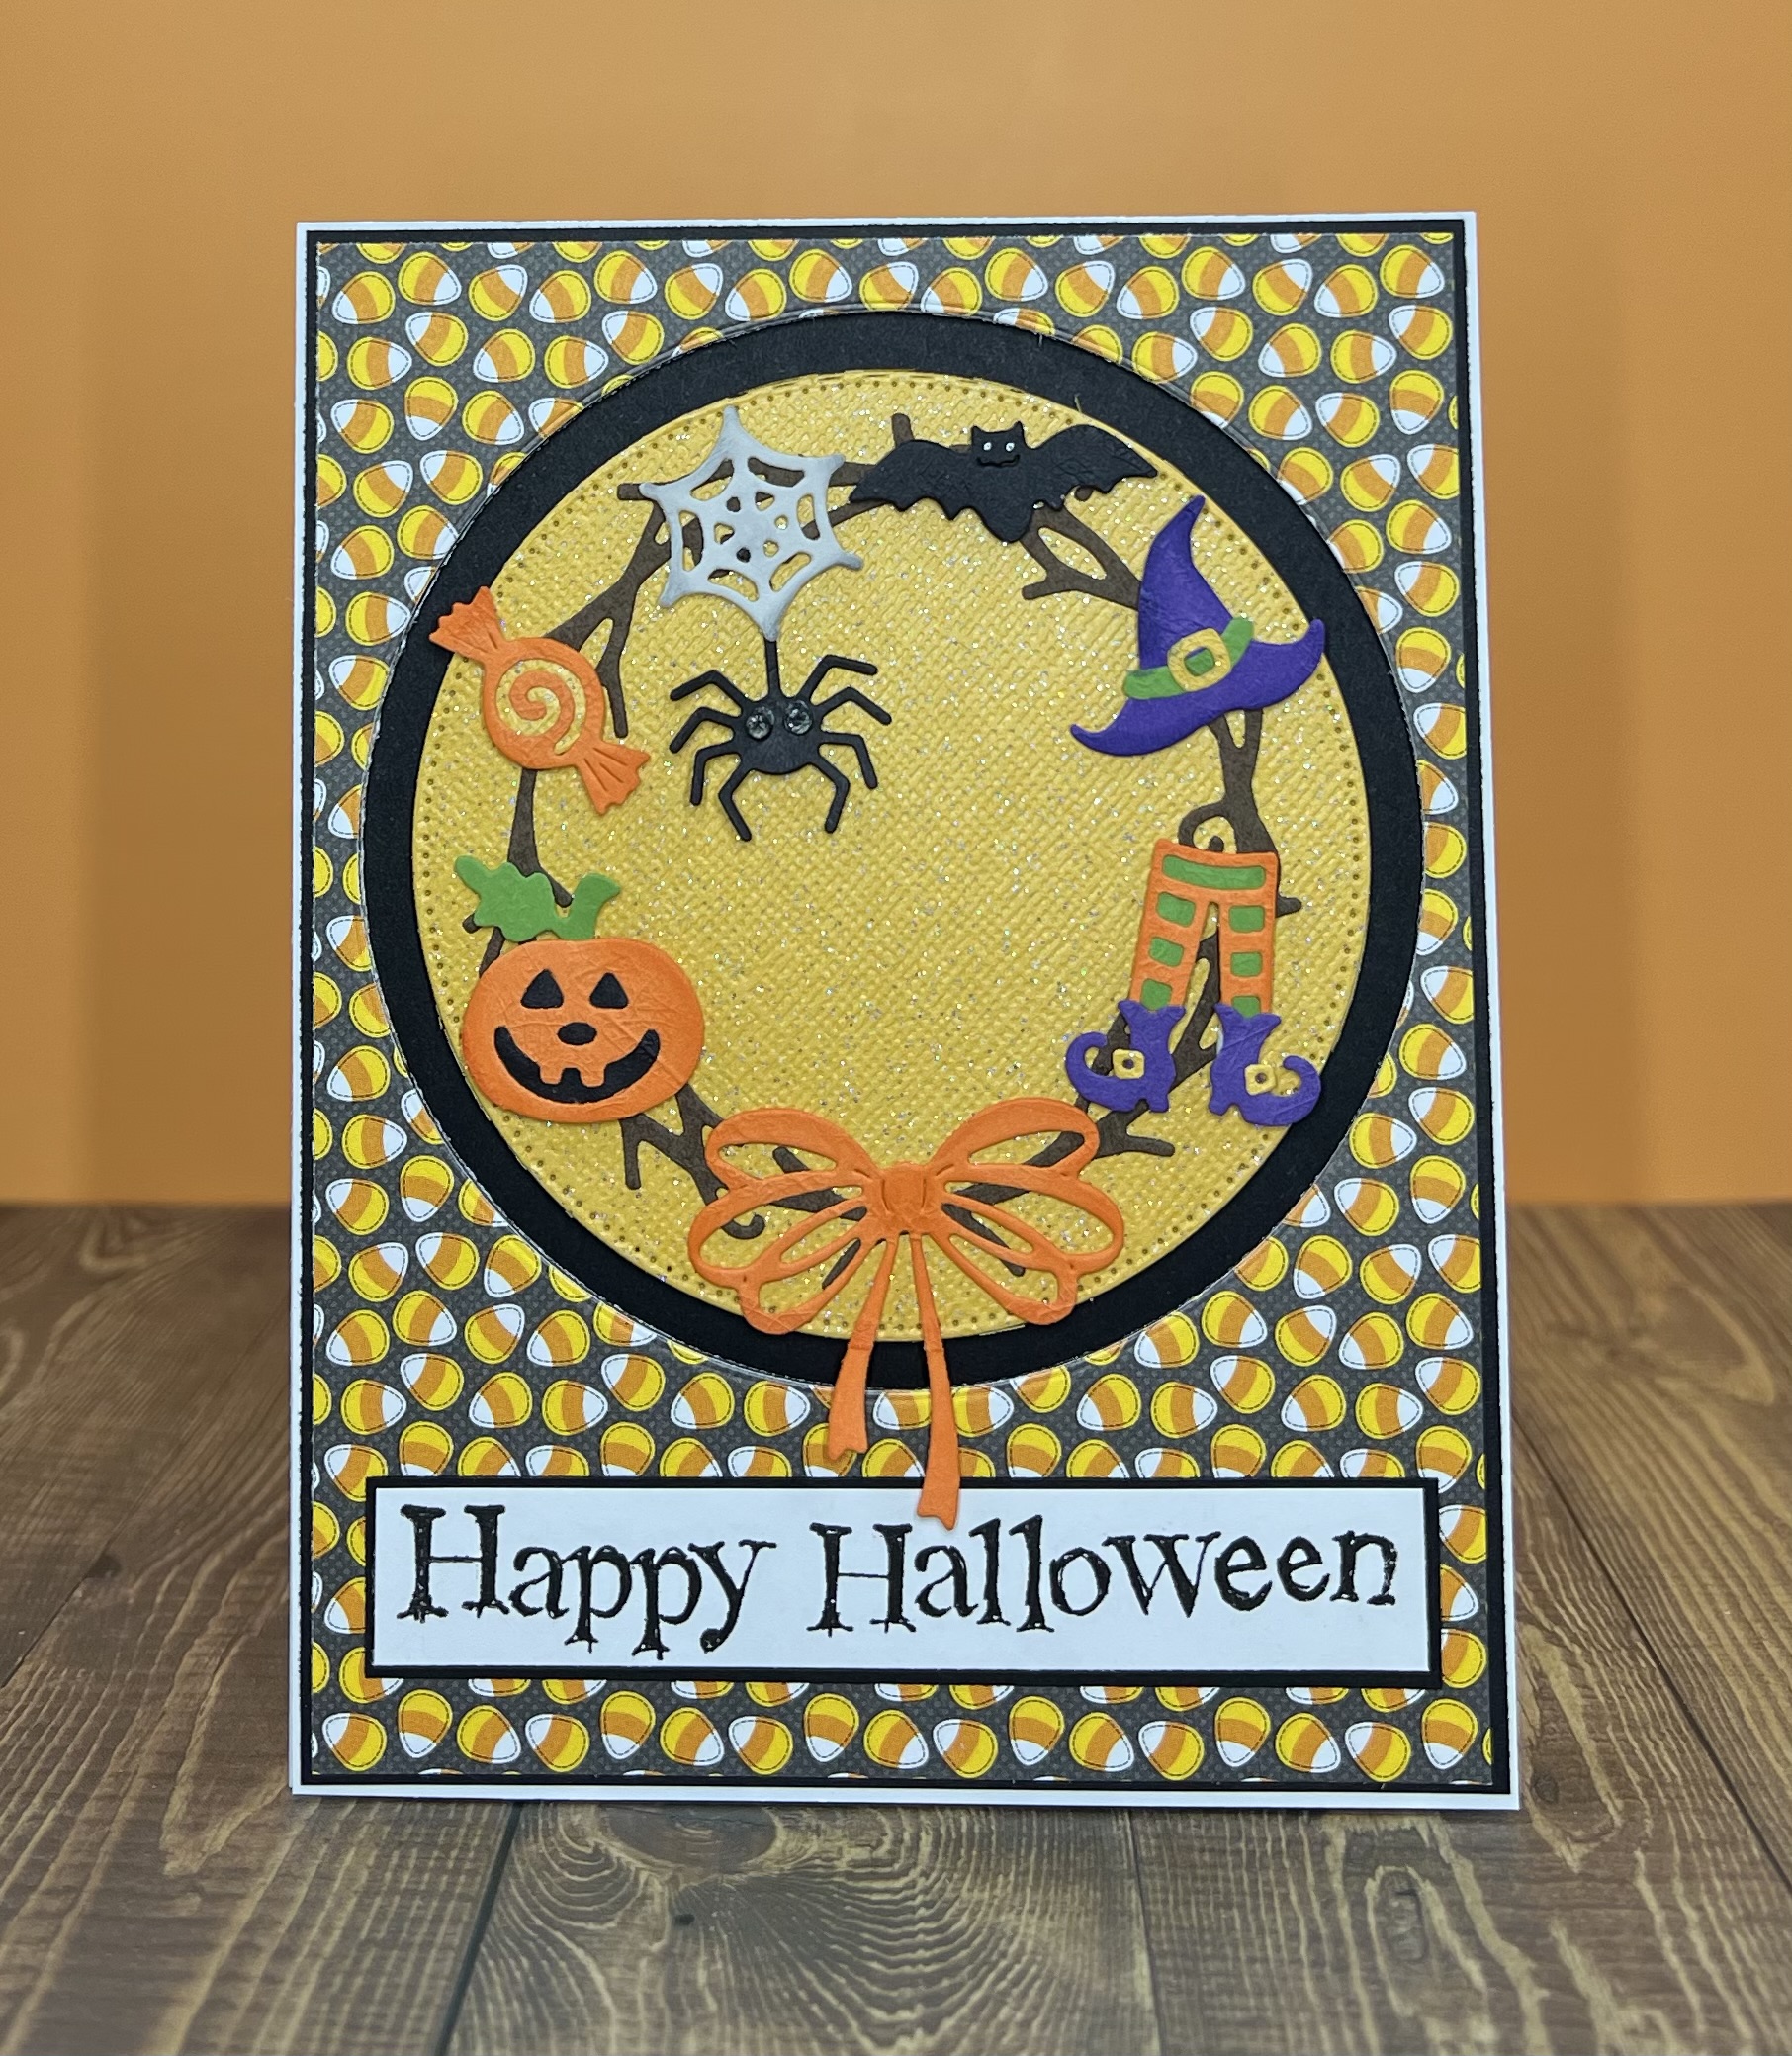
I selected a designer paper from my collection for the card background. I liked the leaf design on the paper and thought it complemented the sleeping gnome. For the image panel I used the largest die (3 1/4" x 4 1/4") from the Double Stitched Rectangle set. 
I cut the images from the Spooky Tree Gnome die in cardstock using darker shades of the color challenge. For the pale papaya, I used pumpkin pie, for the pear pizzazz I used old olive and mossy meadow and for soft suede I used choc chip and a metallic brown cardstock (cat's bowtie).
Next, I stenciled a few stars with pumpkin carved ink and stamped my sentiment in choc chip ink. When I started card assembly I realized, I stamped the sentiment too low on the panel, so I redid it. But I forgot to take another photo. You can see the re-do in the photo below.
Now that all my elements are prepared I am ready to start card assembly. I attached the spooky tree gnome with clear drying glue. 
Attached the designer paper to the card base with double sided tape. 
To finish off my card I attached the image panel to the card base with dimensional adhesive. Scatter a few pale papaya gems for added interest. 
That's my sample for this week. I hope I have given you an idea for a way to use this new Spooky Tree Gnome

Make sure you stop by the Blog on Sunday. We are having a group post with samples featuring the Halloween dies. 

Reminder: Our YouTube Channel has a new video featuring a shaker card from Marla Harris. There is a giveaway for being a subscriber, liking the video and leaving a comment. Click here.

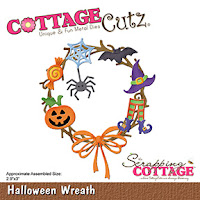
Dies I used to create card:


Thursday, September 29, 2022

New Halloween Release -- Halloween Wreath

Hello Scrapping Cottage Friends

It is Pam sharing with you today!

Super Excited to announce we have a brand new release just in time for all of those amazing Halloween cards everyone makes!! The collection has 22 fabulous dies that are going to make those scrapbook layouts and cards look SPOOKTACULAR!!!  The dies are currently on sale so make sure you get them while they last at this special introductory offer!!

Today, I am using the Halloween Wreath! It has so many cute pieces.  These pieces could be used in a variety of different ways!

Design Steps:


1.  Use an A2 white card base, cut 2 pieces of black card stock 4 x 5 1/4, piece of white cut 4 1/8 x 5 3/8, and a piece of candy corn DP cut 4 x 5 1/4.  Glue one of the pieces of black to the white card base.  On the piece of white card stock glue down the black card stock and the candy corn DP.  Using a the largest of the  Pierced Circle dies line it up on the Candy Corn panel just slightly above center and cut the circle as shown above
2.  Place dimension tape on the back of the candy corn panel and stick it to the card front over the black piece of card stock

3.  Using the Halloween Wreath die cut out all of your pieces on: orange, brown, black, gray, purple, green and yellow glitter paper.  Shade the pieces with ink and then assemble with a fine tip glue

4.  After assembly place a dimension dot on the back of each piece
5.  Cut a circle using the second from the largest Pieced Circle out of yellow glitter paper.  Glue the wreath flat to the circle and then pop on the Halloween pieces
6.  Add dimension tape to the back of the yellow glitter circle
7.  Pop the yellow circle inside the black circle.  Stamp your sentiment and layer onto black.  Glue the sentiment flat to the card front as shown below

CottageCutz Supplies for this card


Please make sure to check out this amazing Halloween release right HERE!


We have more inspiration on our YouTube Channel check it out HERE

Thanks so much for stopping by!  And I will see you next Thursday.

Blessings and Take Care


Wednesday, September 28, 2022

Faux Snow Globe


Hi, Marla here today with a fun and festive card featuring the "Nordic Santa and Reindeer" from the Christmas Part 1 release.  When I saw this die, I knew I needed to create a scene card.   I had several CottageCutz dies from last year's Christmas release that I thought would complement this darling die.  After much consideration I settle on using the Snowman w/Country Shed.

I wanted to create a faux snow globe shaped card with of course falling snow.  What I really like about this card is that the snow is on the ground when the card is upright; but when shaken, it appears to be a blustery night.   I share all of the details for creating this faux snow globe in my video on the CottageCutz YouTube Channel.  


In my last video, I was giving away the "Christmas Tree Peekers."  If you entered that giveaway head over to see if you were the lucky winner and don't forget to enter for a chance to win the "Nordic Santa and Reindeer" die.

I have linked the CottageCutz products I used in my card below for easy shopping.  Until next time... Marla


Tuesday, September 27, 2022

Treats For You Halloween Card

Happy TuesDIE Cottage Cutz Friends!
Melinda here with you on this terrific Tuesday. Today I am sharing a fun and very easy card I created featuring dies that are part of the new Halloween Release.

Here's a look at my completed card. 

It is a standard A4 Top Folding card. I started with a black cardstock base. I then adhered a black and white dot patterned paper mat to the base. At the bottom I also added a yellow, white with black stitching strip of ribbon for a border.

I cut my die cuts out. Most of them were in white cardstock and I colored them in.

I cut the largest scallop circle in white cardstock but then decided I wanted to change the color. I didn't have the right color yellow, sooooo I decided to color the edges with my marker. This made matching the yellow pieces perfect.

Here's a closer look at the completed wreath with all the fun little elements. I layered it onto a piece of purple polka dot paper. And I adhered all that to a black pierced circle  mat. Then I finally put all of that onto the yellow scalloped circle. In the center I added the smallest scallop stitched rectangle and handwrote my little sentiment.

For the bottom border I added three of the bottles from the Potion Bottles die.


Don't forget to head over to the CottageCutz YouTube channel and check out all of the amazing projects on there. Our video team is doing a wonderful job of filling the channel with all sorts of creative content! You don't want to miss it!


Dies I Used


Potion Bottles


Nested Scallop Die set


Pierced Circle Set


Here's a look at the entire release. Be sure to head over and grab them while they last!


Well that about covers it for today! Until the next time, have a wonderfully craft-die day!
Melinda Beltran

Monday, September 26, 2022

Spooky Castle Pop Up Card

Happy Monday, crafty friends!  Kris here with a super easy-to-make inside pop up card featuring dies from our Halloween Release!

Here's the inside of my card...

And here's the front...


There are 21 dies in this release and they're currently on sale with a 50% discount on the entire bundle or 30% off individual dies for a limited time ~ so hurry over to the online store to make your selections!!

I used the Spooky Halloween Castle, the Spooky KittiesSpooky Fence Mini, the Web and Graveyard for the inside of my card - and for the front, I also used Trick or Treat Phrase, and Spooky Truck (just the spider).  As always, you can click on the pictures to see them larger. ☺

Design Steps:

I started with a piece of white cardstock cut at 5-1/8" x 3-7/8".  

I made a circle stencil from a scrap piece of cardstock by die cutting the 4th largest of the Pierced Circle set from the middle of my paper and alternating the positive and negative die cuts to sponge Distress Oxide inks.  I then misted with water and let dry.  Then I spattered white paint mixed with a li'l water over the top and heat set it to dry.


I cut my card base from Granny Apple Green cardstock at 5-1/2" x 8-1/2," scored at 4-1/2" 

I layered a piece of black cardstock, 5-1/4" x 4" to the inside upper half of my card, then attached my sponged piece on top.

I cut a piece of blue patterned paper at 5-1/4" x 3-1/4" and attached to the lower inside half of card. (see photo below for placement) 

I computer-generated my sentiment onto white cardstock, then cut it to 4-3/4" x 2-3/4".  I sponged the edges with Rich Razzleberry ink and centered it onto the blue patterned paper.

I then added my black silhouette tree and web to my inked layer before adding the mechanism as it will cover up part of the tree.


Now to make our POP UP feature!  

I cut a piece of black cardstock at 5-1/2" x 3-1/2" and then with the short edge along top of score board, I scored at 3/4", 1-1/2", 2-1/4", and 3".  Then I added tape to the last 1/2" piece and attached the other end to it to make a long box!


To add it inside my card, I added tape to the bottom side of my box and laid it down so it's just up to the score line w/out going over it.  (see photo below)

Then, I added tape to the adjacent side that will be attached to the "Back".  Then I closed my card front down over it and pressed.  Easy Peasy!!


I created a smaller pop up box to give dimension to the gravestone by cutting a pc. of black cardstock at 3/4" x 2-1/2" and scored it at 1/2", 1", 1-1/2" and 2" then folded score lines and attached the ends. I glued it in place by pressing it up against the inside back (blue) part and down.  Then I added the gravestone to the front section with glue.


And then I added all my elements as pictured  ☺


For the front, I cut a piece of rainbow glittered cardstock at 5-1/4" x 4".  Then added my die cuts and made them pop a li'l with a white gel pen... and DONE!!  ☺

PRODUCTS I USED:


Check out the whole HALLOWEEN RELEASE HERE!


I hope I inspired you to get crafty with your favorite CotageCutz dies ~ Have a blessed week ☺

~Kristine

❄❄❄

We are happy to announce that CottageCutz dies will be available for purchase in a boutique in Southern California. If you're in the neighborhood please drop by!

Wild Skyes
42050 Main St.
Temecula CA 92590

❄❄❄