Thursday, August 31, 2023

Frankie's Night Out

Hello Friends,

It is Pam sharing with you today!

I am doing another Halloween card for today's crafty share.  This card is featuring the Trick or Treat Frankie die.  Frankie's balloon puts a smile on my face! I like Halloween cards with bright colors and fun sentiments.


Design Steps:  

1.  Using the Trick or Treat Frankie die cut out the pieces in the following colors of card stock: yellow, orange, green, black, white, dark gray, and purple (I colored his nose with a Copic marker to make it stand out a little more)
2.  Assemble Frankie using a fine tip fast drying glue
3.  The card base is a gate fold.  Cut a piece of black card stock 8 1/2 x 5 1/2.  Score at 2 1/8 then fllip the card over and score at 2 1/8 again
4.  Using the Double Stitched Oval die (Second from the largest) cut out a piece of spider DP.  Using the Pierced Oval die (Second from the largest) cut out a piece of black card stock.  Cut out 2 purple panels 2 x 5 3/8.  Cut out 2 DP panels 1 7/8 x 5 1/4
5.  Glue the purple panels to the front of the black card base and then add the DP panels

6.  Glue the Spider DP oval to the black oval. Glue Frankie to the lower half of the oval as shown above

7.  Place glue on the left side of the Frankie oval making sure you are only getting glue on the left front panel.  Use the Stitched Alphabet die and cut out EEK in black.  Then glue to the top of the oval again making sure you don't put glue on the part of the K that is hanging over the right panel

8. I used a piece of purple on the inside measuring 4 1/8 x 5 3/8 and glued a piece of white on top measuring 4 x 5 1/4.  I then added the Happy Halloween sentiment and your card is complete


We have more inspiration on our YouTube Channel check it out HERE

Thanks so much for stopping by!  And I will see you next Thursday.

Blessings and Take Care


Tuesday, August 29, 2023

Lady bug and gnome piecing die cut cards.

Happy Tuesday crafty friends,
I hope your day is going well. If you are like me, and live in Central Florida, you are getting prepared for the impending storm. I am hoping and praying all goes well and that it passes without too much trouble. In the meantime, I am sharing a fun card I created with some fun Cottage Cutz dies along with a cute gnome piecing. Take a look.


Here is my Berry Sweet card. 

Here is a shot of the pieces. I started with all of my pieces as white cardstock. I did my usual and colored my pieces in. I so enjoy doing that. I made the card in a pretty straightforward manor. I assembled the cupcake and the cute little ladybug and the surrounding pieces. I decorated the card with some patterned paper I created and then aded all of that onto the wacky stitched square die. As I was creating this card I had inspiration strike. With the pieces, I ended up creating the below little Gnope paper piecing.

This cutie was made by utilizing the pieces of the various dies.


I used the wing piece to create the feet and arms of the little gnome.


Here is how I created the mustache. I used the cute little daisy flower by cutting it and piecing two of the pieces together. His body is the cupcake wrapper and sponge. His nose is the center of the daisy flower. His hat is the whipped cream or frosting topping piece. And of course the berries, flowers and hearts are die cuts as they are.


Here is one last look at both of the projects.


 Lady Bug Cupcake


Berry Phrases


Nested Wacky Stitched Set

Make sure you come back by each day to see what all the other super talented designers create! Don't forget to also head over to the Cottage Cutz YouTube Channel for more super creative inspiration!


Well that about covers it for this project. I hope you are inspired to think and look at your die cuts in different ways.  Until the next time, have a wonderfully crafty day!

Monday, August 28, 2023

Say YES to New Adventures

Hello CottageCutz friends!

Kris here, sharing some Monday inspiration with you!  


DESIGN STEPS:

1.  I started with an A2 side-folding card in Crumb Cake cardstock.  

2.  Next I cut a piece of Pecan Pie cardstock at 5-1/4" x 4" and die cut an oval using the Pierced Oval Set.  I then used a stencil to emboss that layer, then brushed Distress Oxide ink lightly over the embossed parts.


3.  I cut a piece of jungle patterned paper a bit smaller than the top layer and glued it to the center of my card front.  

4.  Then I added foam tape to the back of top layer and adhered to card front.


5.  Next, I die cut the Safari Adventure Gang and Safari Cruiser with Banner from white cardstock and colored all the pieces with Copic markers and Distress inks. 


6.  I stamped a sentiment onto the Pecan Pie cardstock in Versamark and embossed in white.  I layered it onto a blue c.s. that I inked with Distress inks and fishtailed the ends.  I then adhered it with foam tape.  

7.  I tucked the giraffe under the oval frame as well as some of the leaves and glued the rhino and rest of the leaves on top.  


PRODUCTS:


Thanks for looking today!  I hope you are inspired to get crafty with your favorite CottageCutz dies. 

~Kris


Saturday, August 26, 2023

Folk Art Deer Christmas

Hello CottageCutz friends! Thanks for taking the time to stop and visit with us today. It's Mary Marsh here bringing you the Saturday edition of the Blog.

Our new Folk Art release is still available in the online store at 35% off individual dies. There are 19 new designs that are so perfect for cardmaking, journaling, and scrapbooking.

In fact, all of the releases from 2023 through Halloween of 2022 are currently on sale. Check them out here if you want to pick up any that you may have missed and still want. The sale won't be on long.

Since we are coming into my favorite holidays of the year, I decided to make a Christmas card using the new Folk Art Deer die. So, let's get started with the details of how I created this card. 

Design Steps:

I started by cutting the Folk Art Deer. I used a medium blue, green and red cardstocks. I used an older die to cut the pine trees to create my outdoor scene. I added a hat to my deer after all he is a Christmas deer. The hat is from the Christmas Flamingo die. It fits him perfectly. 

Next, I embossed my background using a swirly snow embossing folder. I attached it to my white card base.

White image panel: 4 1/4" x 5 1/2"
White card base: 4 1/4" x 5 1/2"
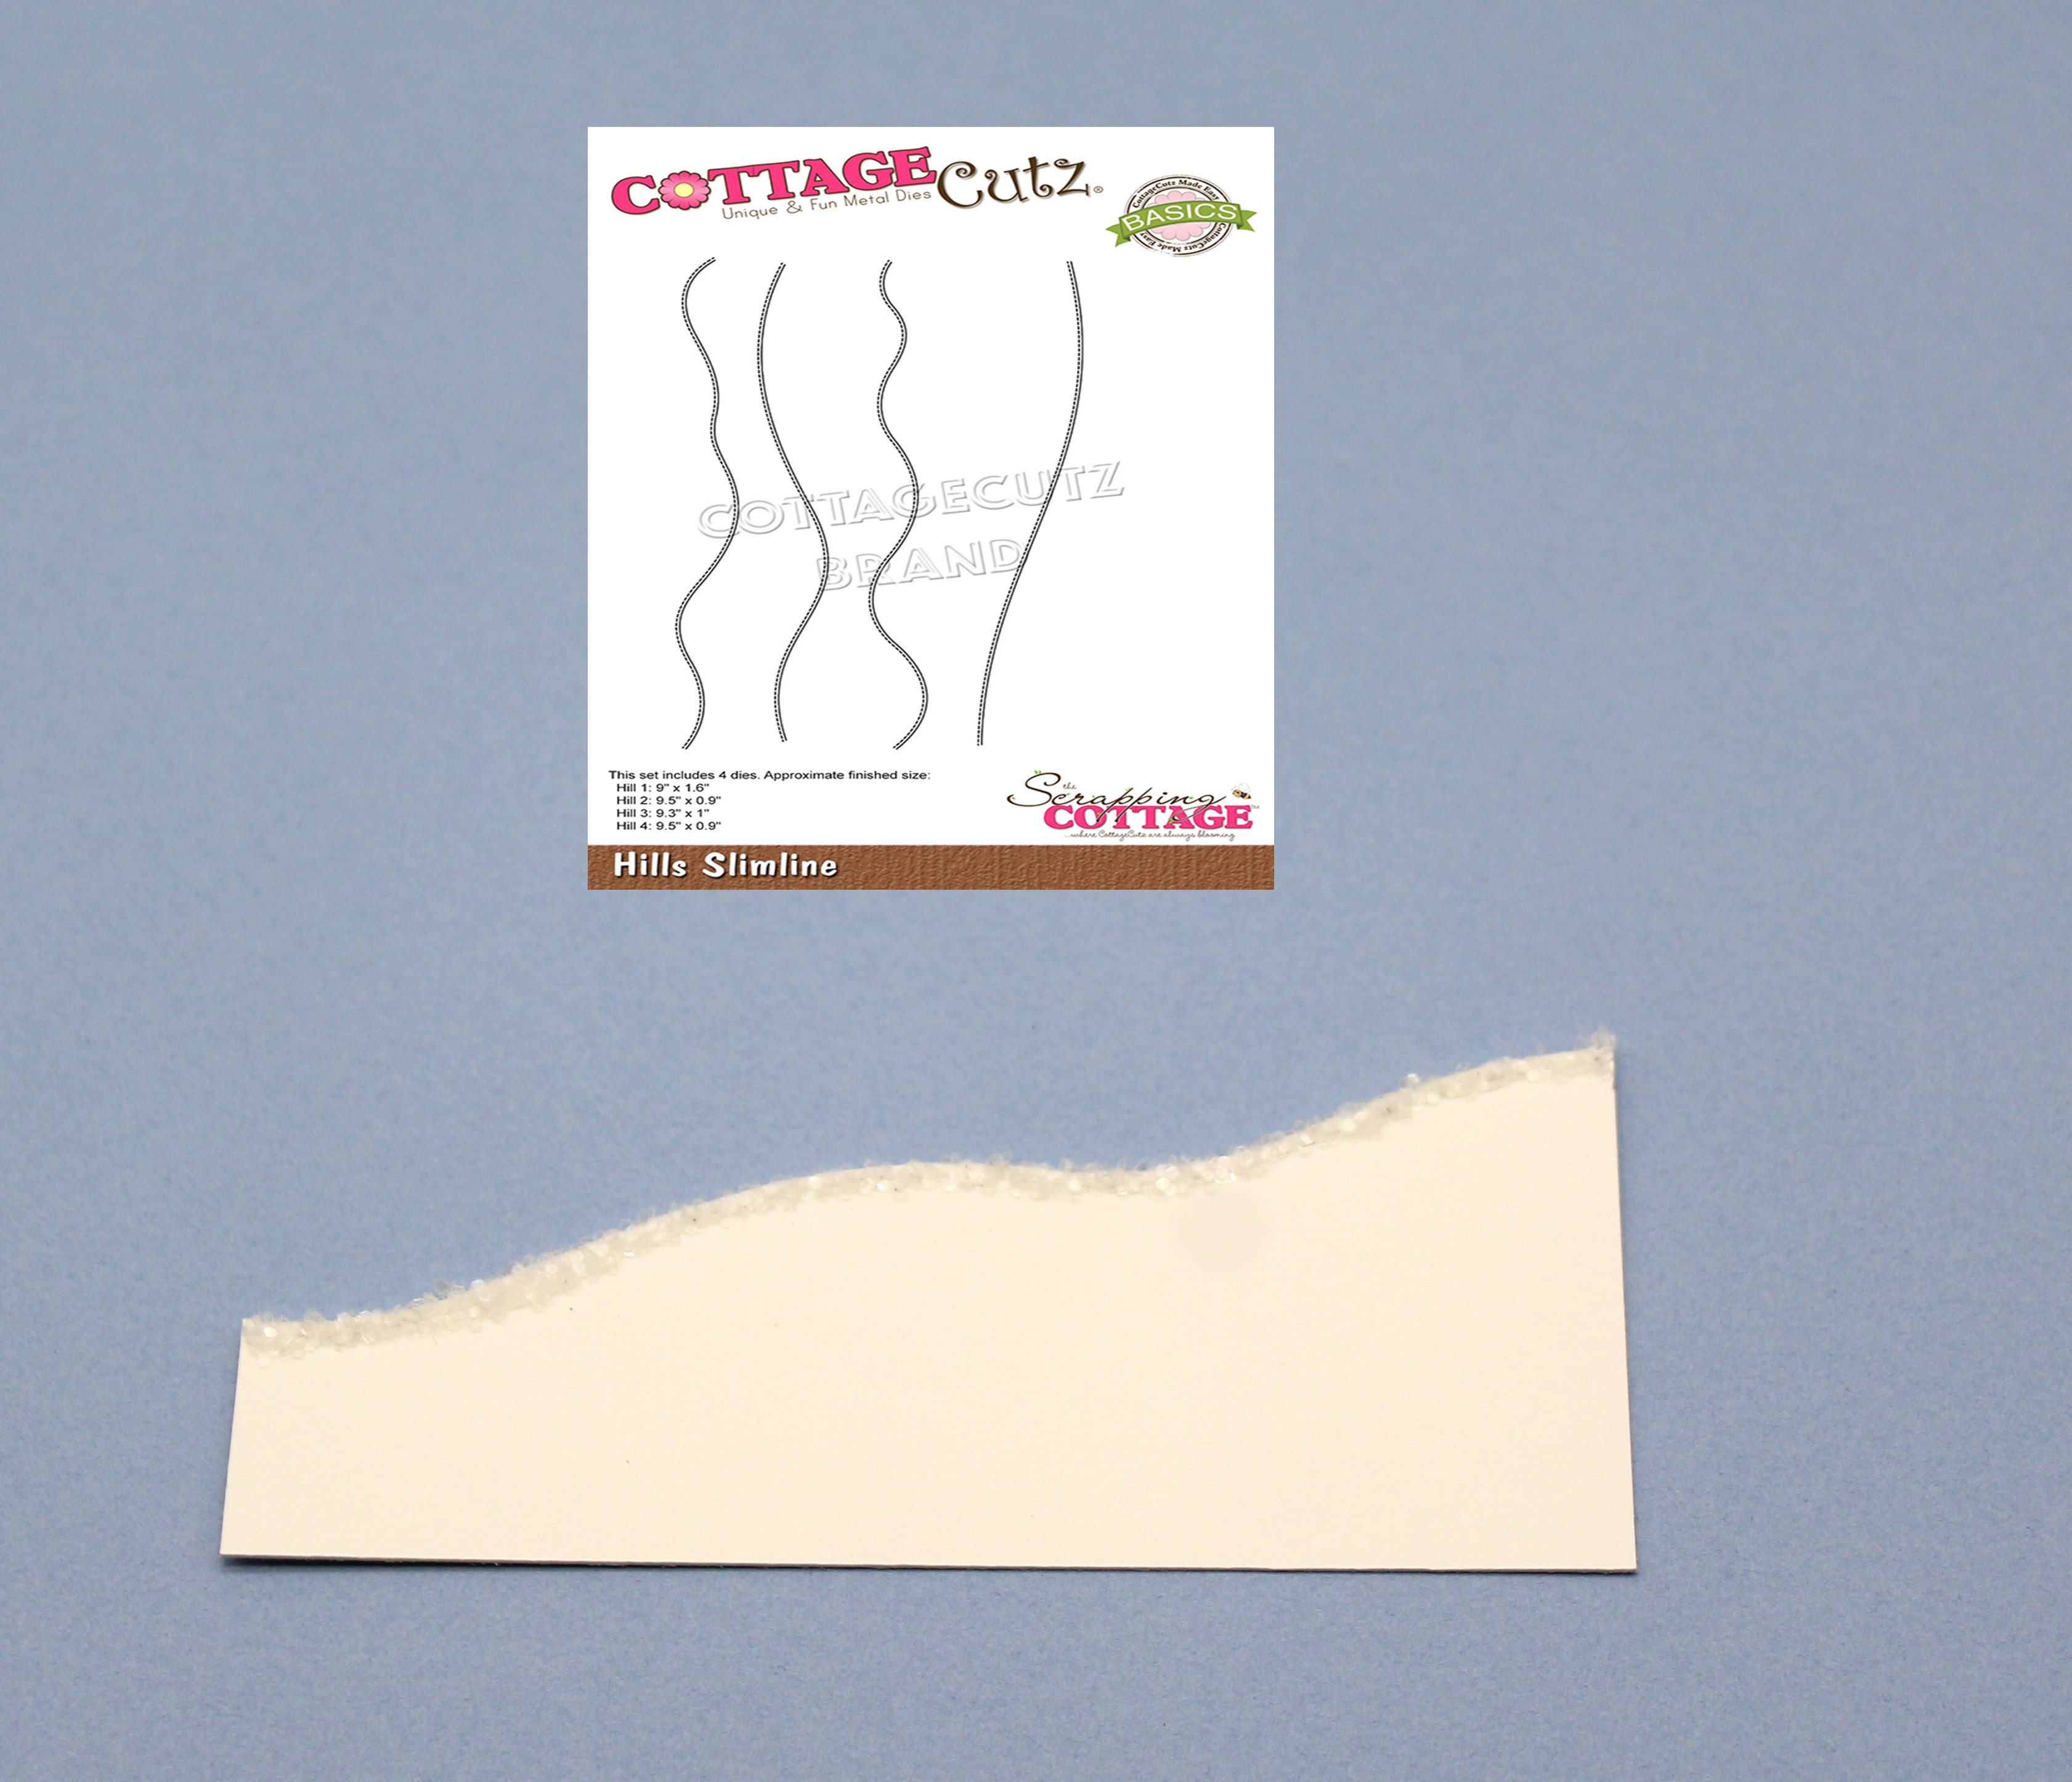
Then I cut the snowbank using the Hills Slimline die. I added some chunky glitter for added interest. 
I cut my peace and joy phrase from the Peace and Joy Wreath die in red cardstock.  
I attached the Joy phrase to the snowbank and stamped my sentiment in black ink. 
Now that my elements are prepared, I am ready to start card assembly. I attached the deer with dimensional adhesive and the snowbank with double sided tape. 
I added the pine trees using double sided tape. 
To finish off my card I attached the Peace and phrase using a clear drying glue. 
That's it for me for this post. See you next Saturday.

Reminder: Marla has a video up on the CottageCutz YouTube channel. Click here.