Sunday, May 31, 2020

Special Delivery

Hi!

It's Anja here. I have a card in red for you today. I used this cute mouse with a wagon die for a special delivery card.


For this card I used:
- Cottage Cutz die (Mouse w/ Garden Wagon),
- Distress Inks,
- craft card base (15x15 cm),
- red card stock for background (11x15 cm and 8x15 cm),
- patterned card stock for background (10x15 cm),
- white card stock for die cuts and background (7,5x15 cm),
- silver pigment ink,
- black pen,
- white pen,
- Versafine black ink,
- sentiment stamp,
- acrylic block,
- paper trimmer,
- paper glue.

First I cut and colored the mouse and the wagon.


I used a sentiment stamp and stamped it directly on the wagon.


Next I trimmed all the background paper.


And when I had all the pieces ready I put the card together.


Thank you for stopping by. Have a great Sunday.

Anja Z.


Cottage Cutz die I used for this card:


Saturday, May 30, 2020

Puppy Hugs


Hello Scrapping Cottage friends! Thanks for taking the time to stop and visit with us today. It's Mary Marsh here bringing you the Saturday edition of the Blog.

We have a brand new release of dies in the online store. This one is garden themed and has 
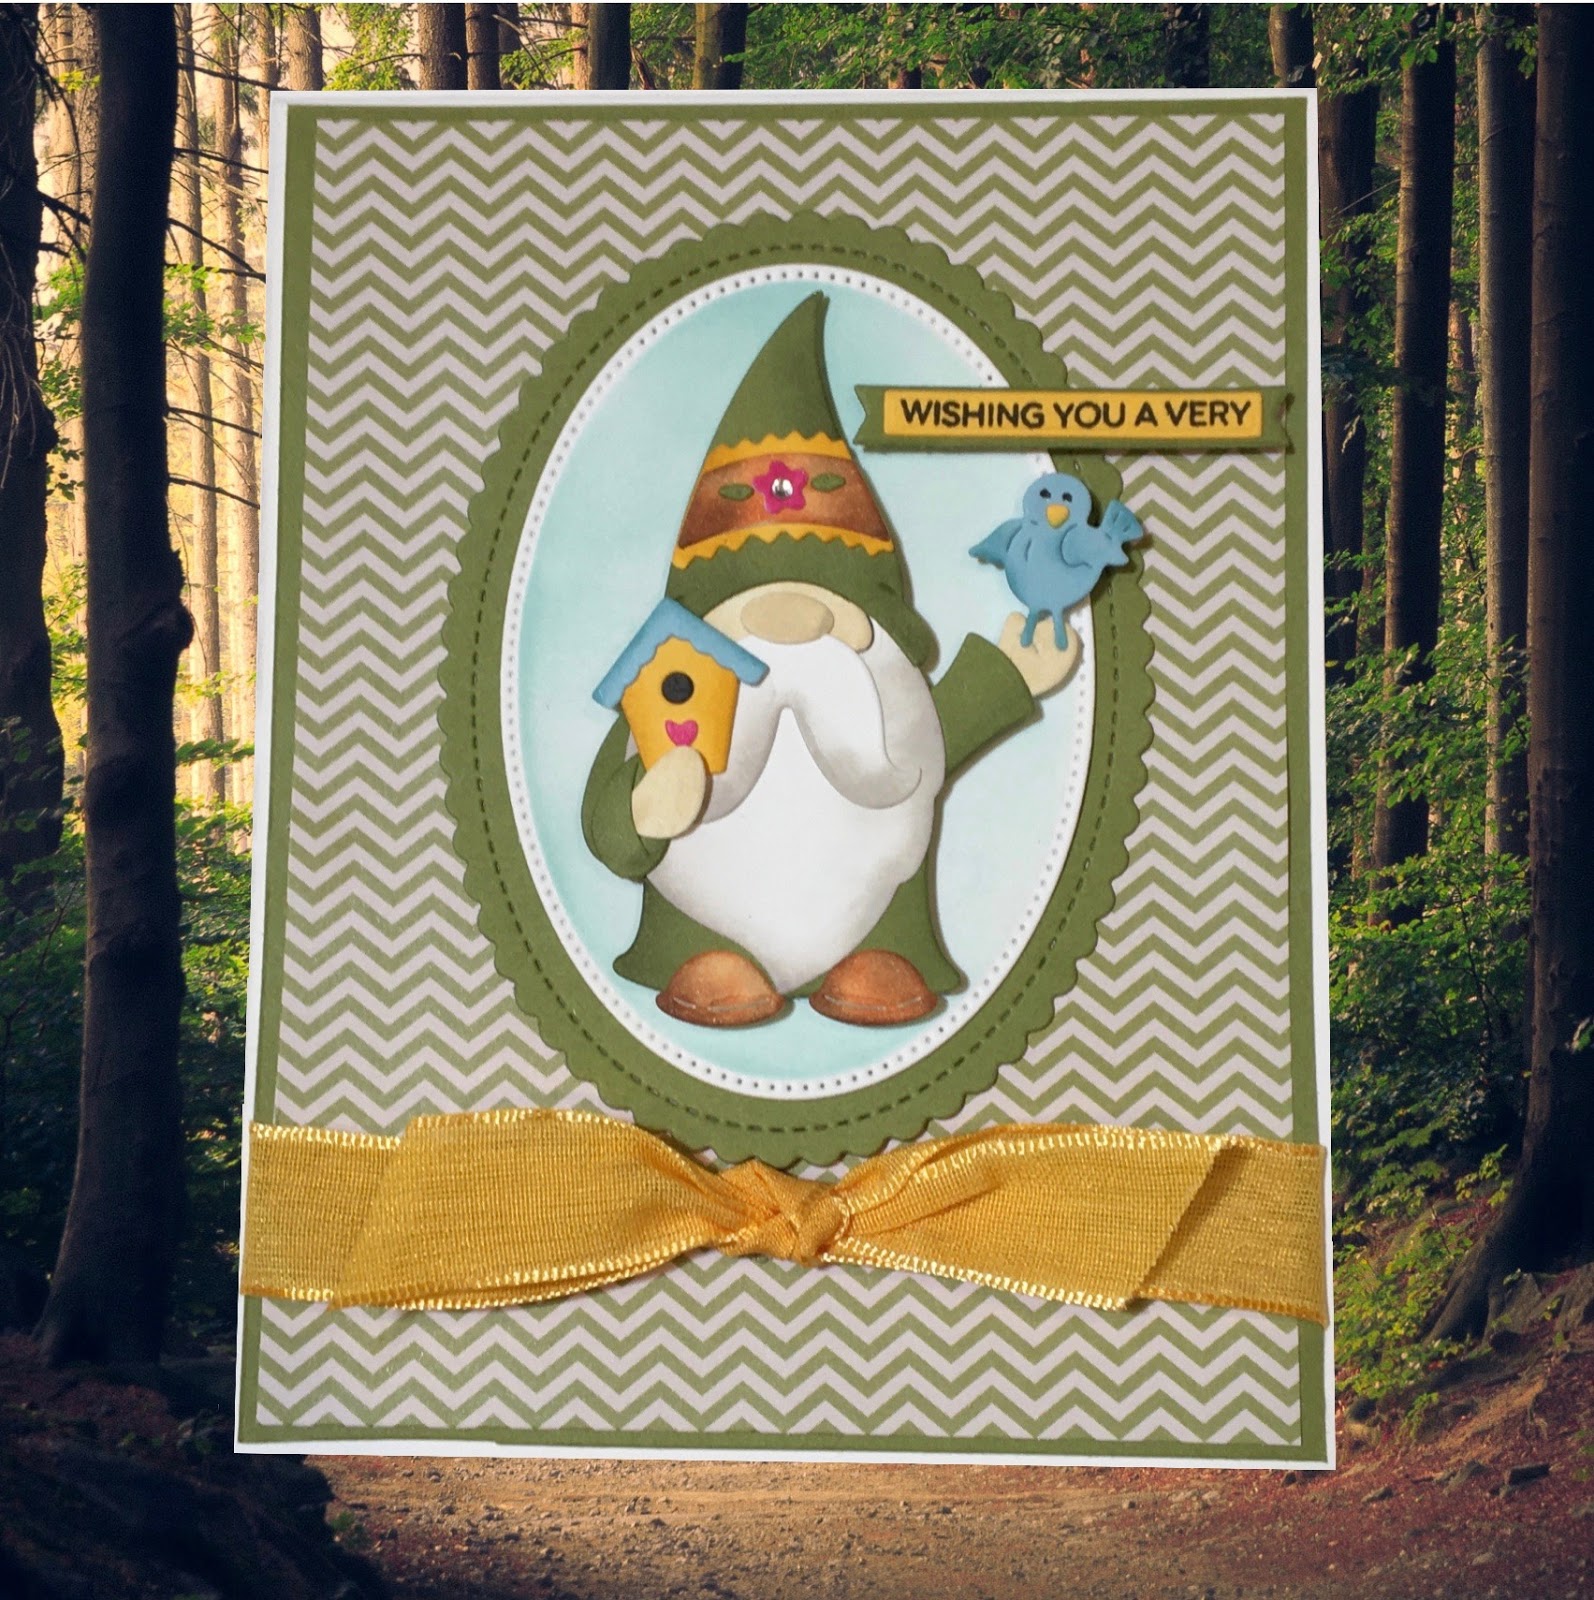
19 new designs. These new dies are perfect for Mother's Day, Father's Day, birthdays, thank you, or even a thinking of you card for the person who loves to garden. 

For my card today, I am featuring the new Puppy in Garden Cart die and created a thinking of you card for one of my dog loving friends. This one could even be used for a birthday card with a birthday sentiment on the inside. So let's get started with some details on how I created my card.

Design Steps:

I started this card with my sketch. I had one saved on my Pinterest board that I thought would work well with this die image. It calls for a square shape that I also liked. It changes things up just a bit. 
Once the layout was decided on I chose my card colors. I decided to go with a medium blue shade and use the matching gingham designer paper. 
Card Base: 4 1/2" Square
Gingham Designer Paper: 4 1/4" Square
I cut the images in various shades of cardstock. For the garden cart I used a brown striped designer paper for added interest. 
The circle is the 2nd largest from the Stitched Circle set. I used a cloud stencil to sponge in some background clouds with tumbled glass distress ink. Sponged some mowed grass distress ink at the bottom of circle for a grassy area.
The "Big Hugs" sentiment  is stamped in a dark blue ink.
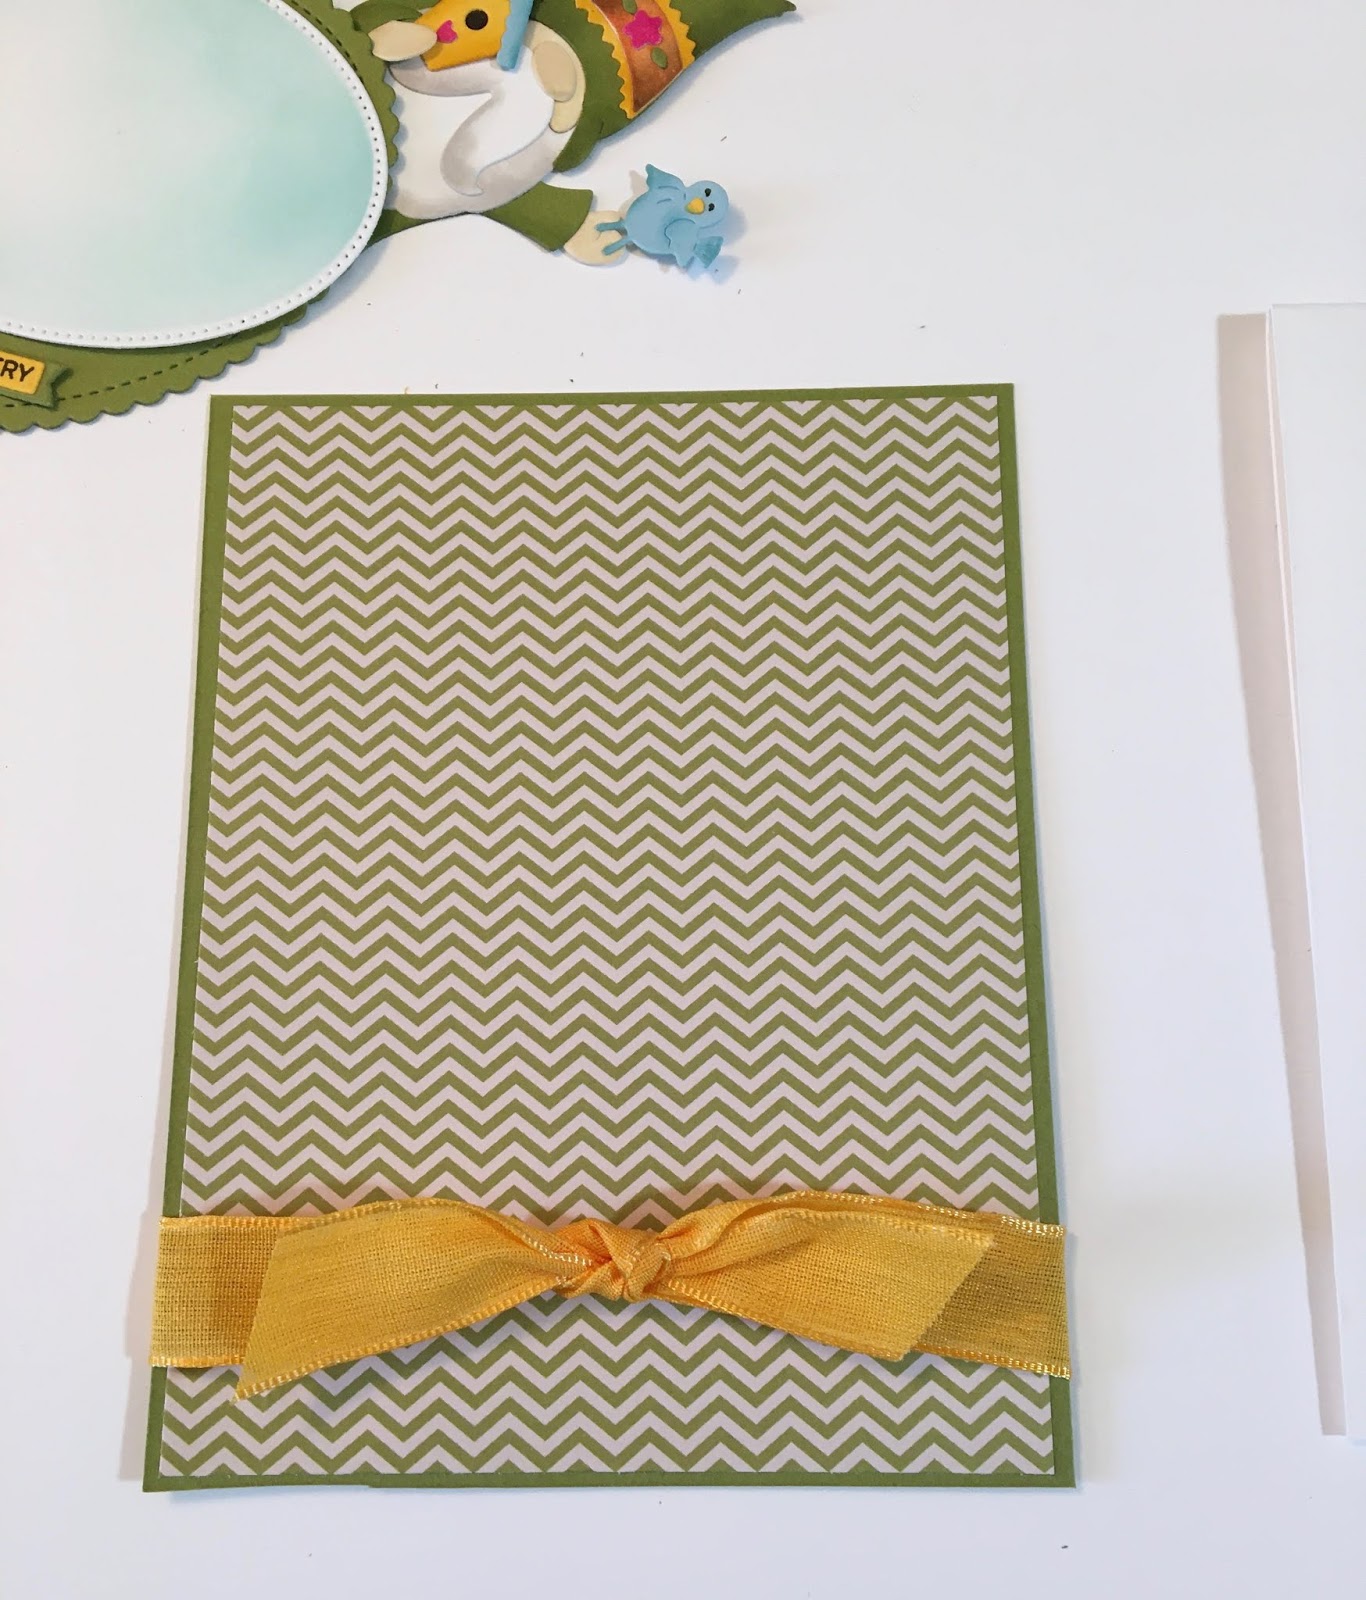
Now that everything is cut and stamped, I am ready for card assembly. Started by attaching the images to the circle using double sided tape. 
For the rectangle strip across the middle, I decided to use ribbon that matched the designer paper. 
I used dimensional adhesive to secure the image circle. I wanted it lifted slightly off the designer paper. The side leaves are cut from the Planter Box & Seeds die.
To complete my card, I attached the image panel to the card base. Scattered a few blue glitter enamel dots - just because I like using them on a card (lol)!! 

Well, that's it for me for this week. I will be back on Monday with a Father's Day card using the new Potting Shed die. 

Dies I used to create card:


Friday, May 29, 2020

Grown with Love

Happy Friday!  I hope everyone had a great "short" week.  I love holiday weeks - they seem to fly by.  Today I used the Gardening Cat from the new Gardening release, the Stitched Squares dies and a sketch from Splitcoaststampers to create my card.
The sketch this week reminded me of a garden trellis.  When I lived in Oklahoma we had one with clematis on it that bloomed a beautiful purple.
I chose paper that had a leafy feel without being an actual leaf pattern and cut 10 squares using the fourth smallest die from the Stitched Squares set.  On a 4 1/4 x 5 1/2 inch white panel I vey lightly drew a line down the center.
I placed the panel on grid paper aligning the center line, then laid out the squares set an angle.  I left 1/4 inch between the points.  After these were glued down it was very simple to add the extra squares, aligning them by eye.  I used scissors to clip off the extra and could use those points to fill in the small sections.

I went to work on the kitty next and cut all the pieces from various colors of cardstock.
Although hard to tell in the photo the watering can is a "galvanized metal" foil cardstock.  In person it contrasts nicely with the cat.
I assembled the basket.  All pieces were edged with just a little bit of gray ink to give some shading.
I wanted my sentiment to be a stitched strip.  I originally planned to fishtail each side so I used the largest of the Stitched Squares and heat embossed my sentiment near the bottom, centering it.
Then I used the same square to cut the top.  Because I was planning on cutting off the sides I  did not worry about that stitching.  Had I wanted the stitching on the sides all I needed to do was use a larger die (a Stitched Rectangle) and that would leave the side stitching intact.
As it turned out, on one side the stitching lined up perfectly so I left it and trimmed off the other end.  I was covering that end with flowers so it wouldn't show.
I glued the sentiment directly to the panel on the upper part of the card.  Using alot of foam tape I popped the cat up off the card.  I probably use more foam tape than most but I like it when the die cut has a solid feel underneath.
Finally I added a few extra flowers to the sentiment and near the cat's gardening boots.

Dies used:
http://www.scrappingcottage.com/cottagecutzgardeningcat.aspx

http://www.scrappingcottage.com/cottagecutzstitchedsquaresetbasics.aspx

Thanks for visiting today!  I hope you have a fun and creative weekend!


Thursday, May 28, 2020

A Little Birdie Told Me!


Hello Scrapping Cottage Friends!

It is Pam creating with you on the blog today.

Just for your information this is the last day for the Memorial Day sale!!  You can save up to 70% off on most of the dies and the new Gardening release is 25% off.  You don't want to miss this money saving sale!

Today I am using the Tomte.  He has many different looks and little tools you can use with him.  I think is is just adorable!

Background Photo by Lukasz Szmigiel on Unsplash

Design Steps:


1.  Cut all of the pieces using the Flower Power Tomte die.  I used yellow, green, blue and white card stock
2.  Using a variety of inks shade the pieces and then assemble using a fine tip glue
3.  Use an A2 white card base cut a piece of green 4 x 5 1/4 and DP 3 3/4 x 5.  Use the 4th from the largest Pierced Oval die to cut out a white oval.  Use the 2nd from the largest Stitched Scallop Oval die to cut out a green oval
4.  With the pieced oval die in place shade in the opening with a light blue.  Also stamp your sentiment on yellow and layer onto green
5.  Glue the DP to the green card stock then add the ribbon tying a knot in the center.  I use a glue dot to keep the knot in place
6.  Glue the ribbon panel to the front of the A2 white card base.  Add the green oval and then the shaded blue oval
7.  Place pop dots to the back of the little Tomte and add him to the oval on the front
8.  For the inside I used the Happy expressions die to cut out a yellow and green happy. Glued them together slightly off center then placed inside card.  Add the Birthday sentiment and the strip of DP to the bottom with the little flowers.  To finish I added some rhinestones to the front and inside

CottageCutz Products


I appreciate you stopping by today!  It was so much fun creating this card. I hope you are able to take sometime for yourself today!  And don't forget the awesome sale!

Blessings and see you next time!
Pam