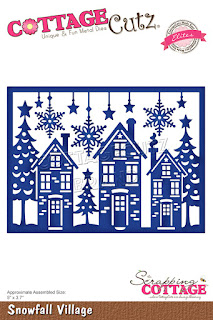
I started by cutting my main image from white pearlized cardstock and the tag from white glitter cardstock.
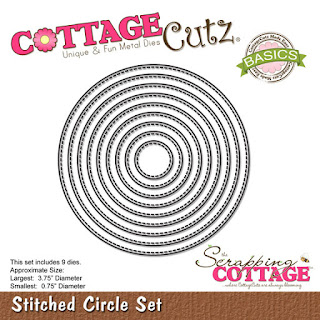
Then I cut a circle from red foil cardstock using the third smallest circle from the Stitched Circle dies. I also cut a gold panel 5.5 x 4.25 inches.
I glued my circle behind the tag - it is a perfect fit!
Next, I glued the village scene to the gold foil panel leaving the space between the right snowflake and the right star unglued.
I slipped my ribbon through the opening.
And I tied my tag on. I will admit I needed another pair of hands and my daughter held the tag in place while I tied the bow.
You can flip the tag over and write a message on the backside.
The tags swings freely creating a fun motion effect. I took a video and am attempting to post it here. I hope it works!
Everything was glued to a top fold A2 card base and I added rhinestones to the center of the snowflakes for a bit of bling!
I hope you enjoyed today's card. Don't forget to visit the online store to see all of the wonderful new Christmas dies!
Dies:
Thanks for stopping by. Ihope you have a fun and creative weekend!


4 comments:
Very pretty card! It looks so elegant with the gold background! The addition of the snowflake charm is a great finishing accent!
So pretty Jeanne- love the motion you created using the charm die
Love your creative card with motion! Great idea!
This is so beautiful!
Post a Comment