Thursday, August 17, 2023

Happy Haunting

Hello Scrapping Cottage Friends

It is Pam sharing with you this fine Thursday. 

 I have a lot of fun sending out Halloween cards.  So I am getting a head start on one today.  I am using several of our older release dies featuring the Graveyard die.


Design Steps:

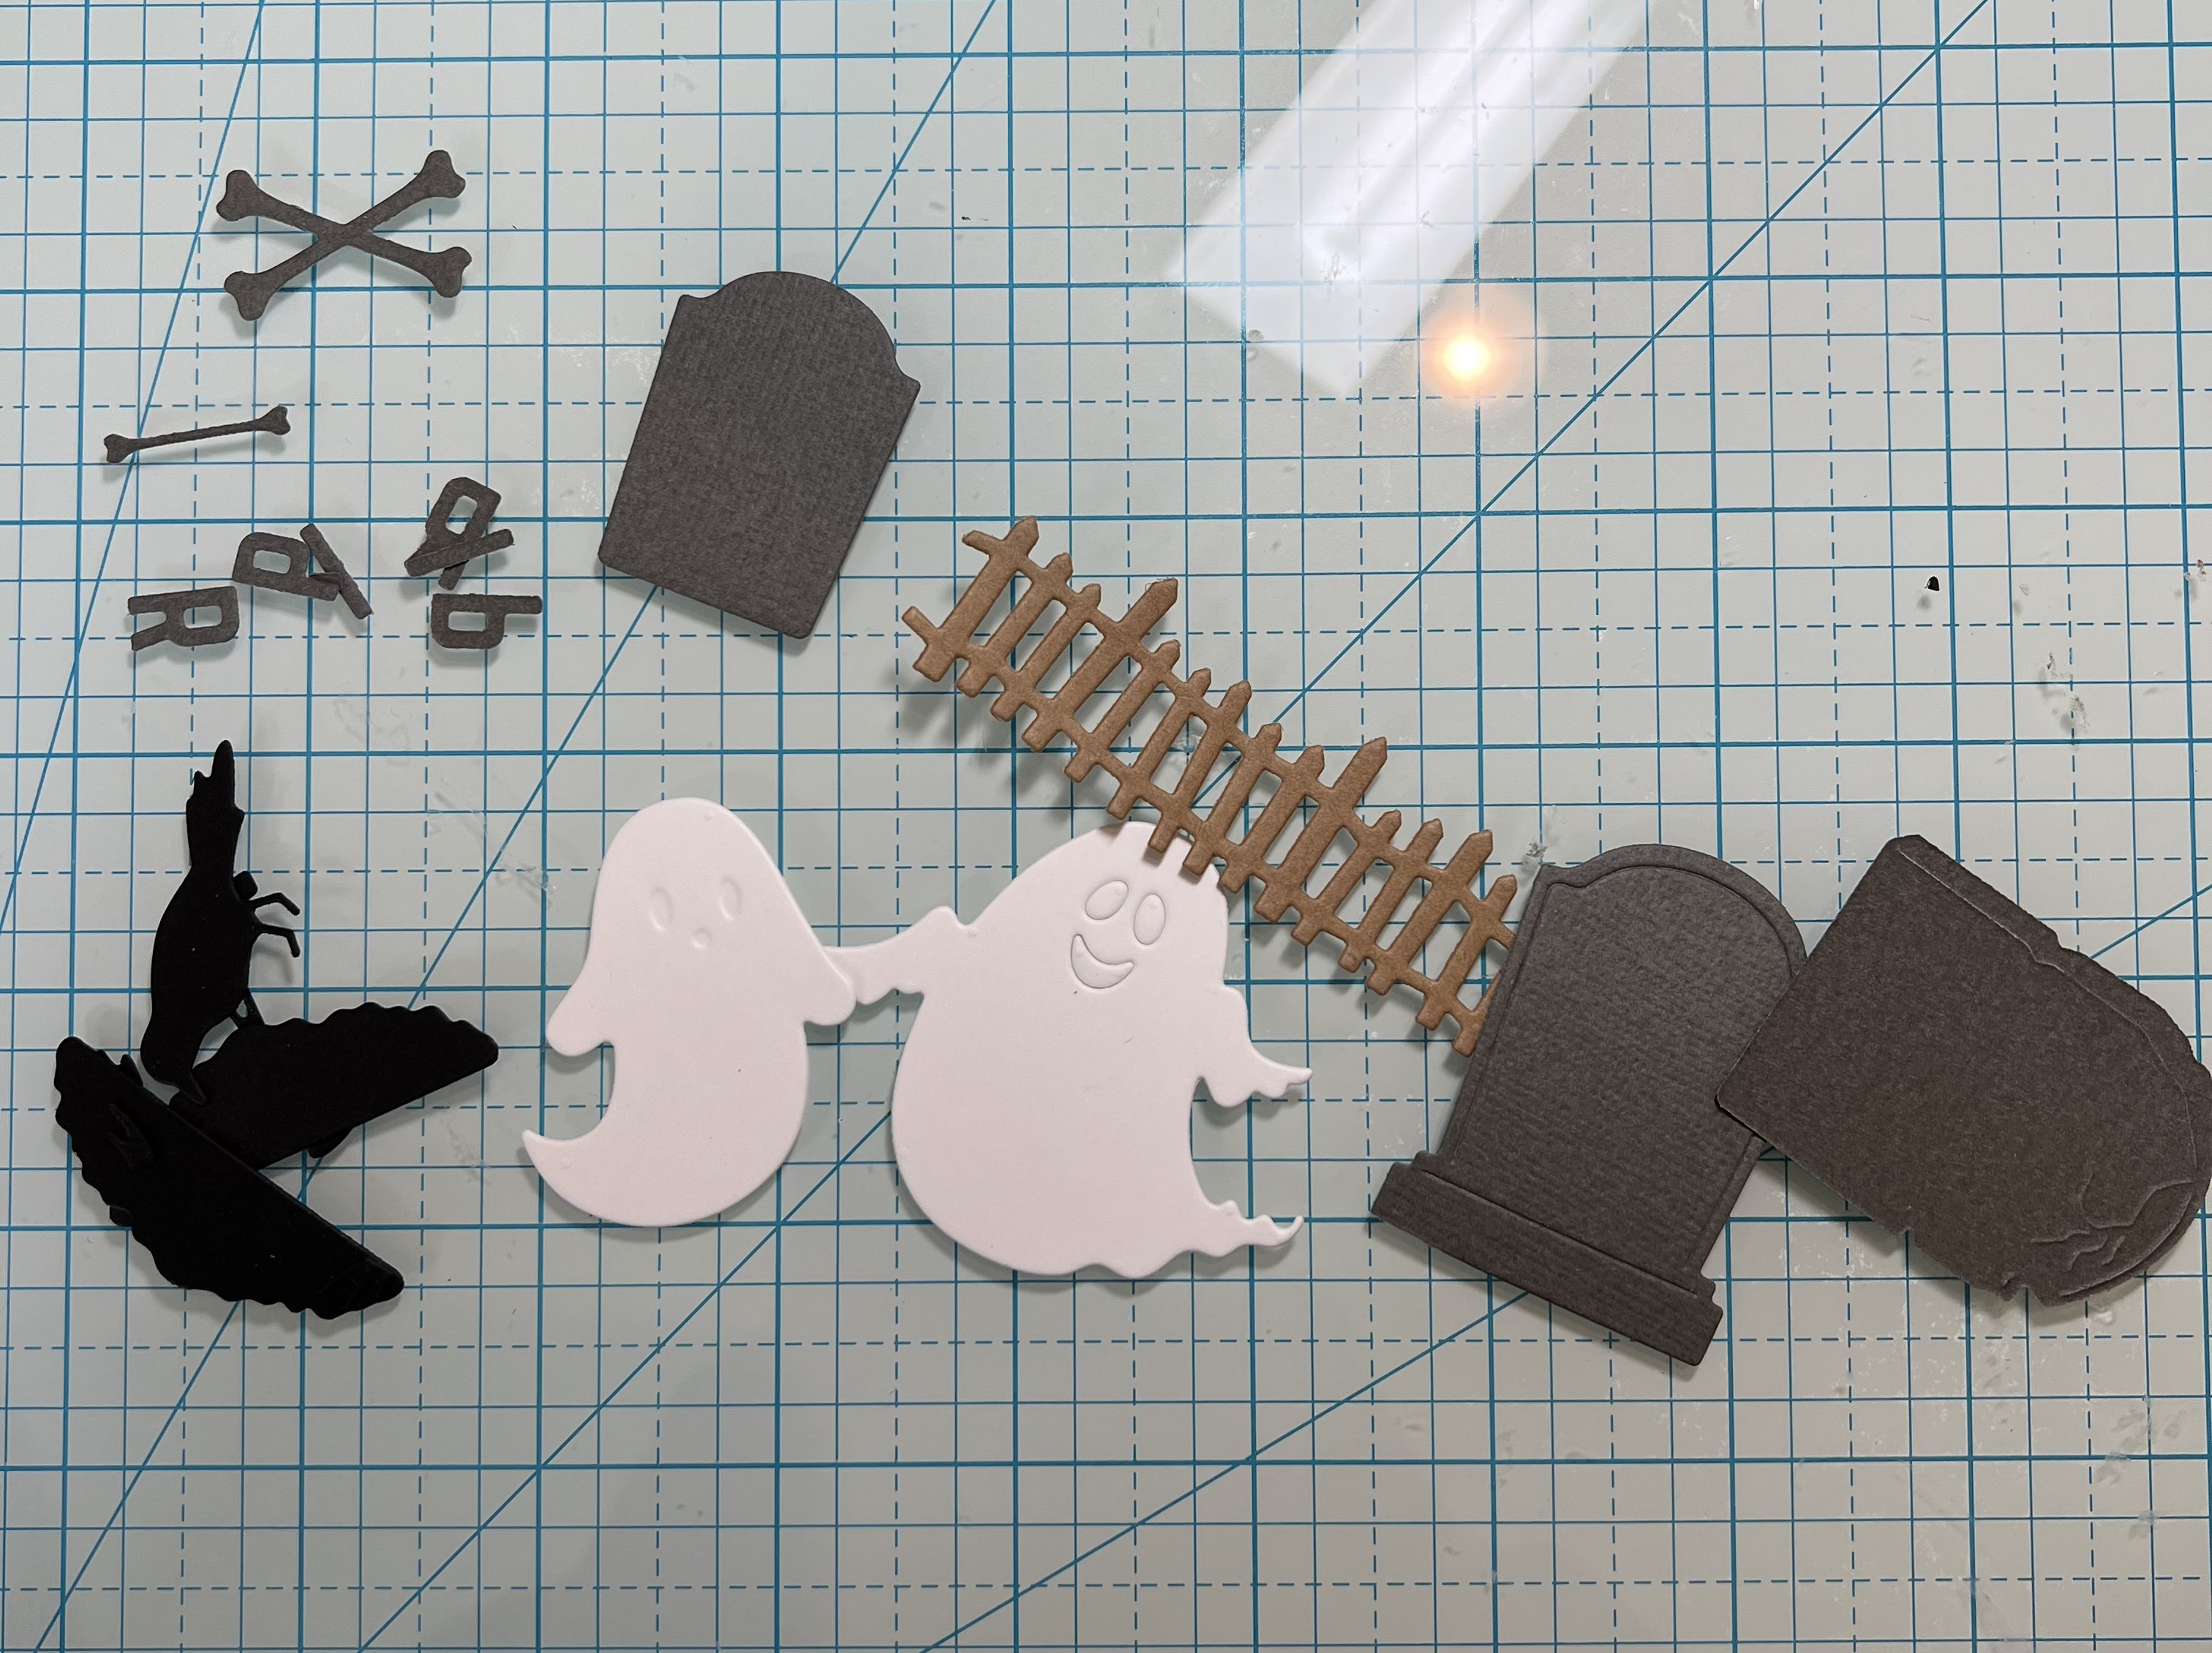
1.  Using the following dies Graveyard, Old Farm Fence, and Halloween Ghost cut out the following colors of card stock: white, black, gray, and brown
2.  Shade the pieces using a black ink and then assemble with a fine tip glue
3.  The card base is white A2, cut a piece of black 4 1/8 x 5 3/8, cut a piece of bat DP 4 x 5 1/4.  Glue the DP to the black
4.  Build your scene by adding a black 3/4 x 5 1/4 inch strip (which I cut slight hills on) then glued to the bottom of the card.  Next add the fence and then the graves with the mounds
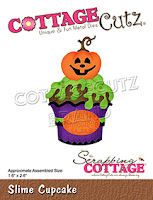
5.  Glue down the ghost, crow and the black grass to the mounds.  I thought I needed a pop of color so I used the Halloween Ghost die which has a pumpkin and the Slime Cupcake which also has a pumpkin.  I cut out two pumpkins and added them as shown above.  Glue the panel to the white card base add the sentiment and your card is complete
6.  I had some left over pieces so I decided to decorate the inside of the card for an extra surprise!


We have more inspiration on our YouTube Channel check it out HERE

Thanks so much for stopping by!  And I will see you next Thursday.

Blessings and Take Care


Tuesday, August 15, 2023

Fall Floral Card

Happy Terrific Tuesday crafty friends!
I hope you are doing well and staying cool! Here in the south, in the United States, it has been very hot! Plus our schools are now back in session, so the hustle and bustle is in full swing! It is hard to be thinking about the fall season already but alas, as crafters, you always want to be a bit ahead of the season!So here is a lovely card I created with a wonderful fall theme.
Melinda Beltran Fall Die Cut Card
I created this top folding A4 card with a festive fall theme. I used a Christmas die called Christmas Farmhouse Floral as my main focal piece. I did use the flowers from the Deer Floral Spray die instead of the Poinsettia's that come with the Christmas Farmhouse Floral die. I started by cutting all my die cut pieces from White cardstock.

I started by takin the white can and dressing it up. First I splattered my can with some gray ink. It gave the can a nice speckled look. 

Next, I blotted some gray onto the can with my finer paint bruch. This gave the can the appearance of an authentic milk can.


I then turned to my leafy branches. I had cut several out in Kraft cardstock. I set about coloring in the leaves with some vibrant fall colors.

Here's a photo as I am coloring the stems a darker brown,.

here is a closer look at the cute flowers that I used. They are so very cute.


here is another view of my completed card. Once I finished creating and coloring all my pieces, I assembled my can onto a double stitched oval cut from some Kraft cardstock. I layered all that onto a scalloped oval die cut from some white cardstock. For the sentiment, I used a double stitched rectangle and then a scalloped white rectangle. I hand wrote For You with a brown fine tip marker. I used a little foam tape to give it some lift and adhere it and then added all that to a base of Kraft cardstock with a piece of patterned paper for a mat.


Dies Used


Well, I hope this gave you a little fall insp in spite of the heat! It is never too early to start on your fall decor and cards! While I am a Spring girl, my whole family loves fall so we really do it up here!

Don't forget to check out the CottageCutz.com You Tube Channel! You will find some great inspiration there too!Until the next time, have a wonderfully crafty day!

Monday, August 14, 2023

Hello Crocodile

Hello crafty friends!

It's Kris here to share some Monday inspiration with you! 


For my card today, I combined 2 challenges from Splitcoast Stampers:

Our very own DT Leader here at CottageCutz, Mary Marsh, was the Color Hostess for CC960 and I LOVE this pretty combo, so I played along:


I actually substituted the Lost Lagoon with Just Jade (closest I had to it)

and then I also played with this week's sketch challenge -- turned vertically


I had the idea to make the front a split diagonal fold card, so the focal image is only attached to the upper left of card front.  INSIDE you get the upper left half of card to write or stamp your message ☺


Design Steps:

I started by cutting my top folding A2 card base (4-1/4" x 11" - scored at 5-1/2"

I then opened the card and cut diagonally from the top right corner (at score line) down to the bottom left corner.

I then cut (4) different patterned papers at 4" x 5-1/4" -- although I only used 3 of them.  I just couldn't decide which I wanted.  Then cut all of them in half diagonally.  

*Tip:  use the other halves to make a 2nd card!


I then cut the green patterned paper in half (line up the SHORT edge and cut at 2") as shown.


Next, I repeated that process with the pink/white/green striped pattern then attached all 3 pieces as shown below.


I then die cut the largest of the Nested Stitched Doily dies, and the Crocodile from white cardstock.

I die cut the Tropical Bouquet from Bubble Bath and Berry Burst cardstocks.

I die cut the Crocodile and [leaves from the] Safari Adventure Gang from Just Jade and Mossy Meadow cardstock.


I glued just half of the white doily circle to the top (left) of card front, and then popped the Croc in middle with foam dots.  This allowed me to tuck the flowers and leaves in under and around him (some I glued, some I popped up with more foam dots).  

I decided to die cut the Hello w/ Shadow from the Bubble Bath and Berry Burst and glued to left right corner (which is inside the card!  ☺


I would be done, however I was not following a tutorial on this, and noticed this style of card does not stand on it's own for displaying ... SO, I remedied that by adding a "kick stand" to the back of my card.

I used the left-over triangle piece from my card base, and trimmed it down to 2-3/4" x 3-1/2" and scored it at 3/4" as shown.


I should probably also tell you, that if you glue this now to the middle back of your card, it still won't stand well because the front is "top heavy" with all the die cuts.  SO... to remedy this, I turned the piece so the 3/4" score line is horizontally at the bottom, then I measured 1/2" in from the top right corner, placed a mark, then with scissors, I trimmed from the bottom right corner up to that 1/2" mark.  


I glued the tab to the back of card to that the bottom of tab is flush with bottom of card.  That slight angle allows the card to tilt back a li'l bit and counters the heaviness of card front.  ☺  Win-Win!!!


PRODUCTS USED:


I hope you enjoyed this tutorial!  I really enjoy working with the cute CottageCutz dies!  

For more inspiration and tutorials, see our YouTube channel here.  Happy Crafting!

~Kristine


Saturday, August 12, 2023

Fall Farm Scene

Hello CottageCutz friends! Thanks for taking the time to stop and visit with us today. It's Mary Marsh here bringing you the Saturday edition of the Blog.

Our new Folk Art release is still available in the online store at 35% off individual dies. There are 19 new designs that are so perfect for cardmaking, journaling, and scrapbooking.

In fact, all of the releases from 2023 through Halloween of 2022 are currently on sale. Check them out here if you want to pick up any that you may have missed and still want. The sale won't be on long. 

For my card today, I chose an older die to create a Fall scene. It goes back to 2013 but it is still available in the online store. It's the Fall Farm Scene. This will be one of my Thanksgiving cards. So let's get started with some details of how I created my card.

Design Steps:

I started by cutting the scene from a pecan cardstock. The scene itself measure 4 1/2" x 3 1/2". 
Next, I used the die inlay and overly technique to add some color to the scene. For the inlay part, I gave the barn a red door and a red roof and added red apples to the basket. For the overlay part, I cut the sun in a yellow cardstock and glued it over the brown sun. And for the tree I gave it a Fall look by cutting the tree a 2nd time with white cardstock and used distress inks for the color.  
I was going to do ink blending for the background then decided to try and use patterned paper in blue and green shades. 
The blue measures 3 1/2" x 2 1/2" 
and the green measure 3 1/2" x 2 1/8"
I secured those with clear drying glue. I glued the green paper up just a teeny bit high and because I glued it down it wouldn't move. So, to cover that I added some leaves to the base of the tree. Cut the leaves from the Campfire Clothesline die. 
I added a layering panel using a terracotta cardstock. My card base is a mossy green.
terracotta layering panel: 3 3/4" x 4 3/4"
mossy card base: 4" x  5"
I wanted to add a sentiment, but I didn't want anything to large and take away from the Fall scene, so I decided to stamp a simple "Give Thanks" on the tree. I used pecan ink. 
That's it for me for this card. I hope I have given you an idea for using this scene building die. See you next Saturday!