Wednesday, March 01, 2023

Fresh Lemonade!


 Hello Friends

I am having a little fun with our new release!  I thought I would make a card that I could use this summer.  I was thinking it could be an invite to friends.  It would be a cute way to say come on over and enjoy our pool along with a glass of fresh lemonade!  It is making me wish the warmer weather would get here soon! This technique for creating a glass has been around and I finally get a chance to try it.  I used the Fresh Lemonade Pharse to create my card.  


Design steps:


1.  Use a a 6 1/4 x 4 1/4 white card base
  • cut 6 1/8 x 4 1/8 black card stock
  • cut 6 x 4 lemon designer paper
2.  Glue the black to the white card base and then glue on the lemon designer paper.  Set aside

3.  For the vellum I started out with a piece measuring 4 1/2 x 4 1/4.  I am linking to a video that shows you just how to make the glass.  It is the video that I used to make mine https://www.youtube.com/watch?v=0qXUm3eBAuk thank you Dawn Olchefske for the wonderful instructions
4.  After you make your glass use a brayer to coat the vellum with an ink color of your choice.  I am thinking you could make limeade too!


5.  I decided to make a liner for my glass because I used a pattern paper for the background and I didn't want it to show through.  I just traced my glass on white cardstock to make it.  Using the Fresh Lemonade Phrase cut out 4 lemon slices in 2 shades of yellow and the words fresh lemonade in black.  Glue 3 of the slices to your white liner
6.  Slip the liner inside of the vellum place double sided tape on the flaps and to the front top of the glass so you can add glitter
7.  Take off the protective strips from the double sided tape and slightly bow the glass and attach to the card front.  Remove the protective strip from the double sided tape on the front of the glass and sprinkle with glitter.   Cut the slice of lemon in the center and attach to glass.  Add the straw and glue down the fresh lemonade sentiment and your card is complete

CottageCutz Products


We have more inspiration on our YouTube Channel check it out HERE

Thanks so much for stopping by!  And I will see you next Thursday.

Blessings and Take Care


Monday, February 27, 2023

Sweet as Lemonade

Happy Monday crafty friends!

Kris here with a cute Box Card!  I really love to make box cards like this because they are easier than they look and you can fit more dies/images on them to create cute scenes and really gives your recipient a fun surprise!  ☺ 

I've used several brand new sets from the Flowers & More Release -- which are all 30% off for a limited time!


*The girl is an image I drew as part of my own  digital stamp collection (2015) and is not currently available, however this boxcard would also be cute with only the CottageCutz dies listed or add your own favorites from the shop!


Design Steps:

1.  I cut all my cardstock and patterned paper pieces:

Pink Cardstock:
• 4-7/8" square
• (2)  2-1/2" x 1-1/4" - scored 1/2" in on each end;  mitered top flaps

White Cardstock:
• die cut the largest Nested Wacky Stitched Rectangles

Lime Green Cardstock:
• 1-1/4" x 4-7/8"
• (2) 5-5/8" x 1-1/4" - score 3/8" in from each end; miter top flaps

Patterned Paper (green):
• 4-3/4" x 1-1/8"

Patterned Paper (pink):
• 1-1/8" x 1-3/8"


2.  I stenciled sun rays onto the Wacky Stitched Rectangle with Squeezed Lemonade Distress Oxide ink.


3.  I mounted my patterned papers and sun rays to their corresponding pieces as shown below.


4.  To assemble the shelves, I used the same technique as my cow box card HERE (follow steps 8-14).


5.  I die cut all my decorative pieces, then colored and assembled them.  

*Note:  I die cut 2 of the lemonade stand, one in a wood pattern and one in white and glue together to make it more sturdy.  

6.  I attached all my pieces!  

*Note:  I stamped "You're as" onto the sun rays panel.  Then glued the Sweet w/ Shadow in place.  I attached the stand, fence and my stamped girl with a piece of heavy acetate that extended an inch below the die cut/image and attached that to the shelves.  You could use cardstock, but the acetate I used is sturdier than c.s.  Here's a couple of process photos.


One more look at my finished card.


It folds to the side and fits into a 5" x 7" envelope.


Products I Used:


Sunday, February 26, 2023

A Sweet Thank You

Hello CottageCutz friends! Thanks for taking the time to stop and visit with us today. It's Mary Marsh here bringing you the Sunday edition of the Blog.

We have a brand-new release of dies in the online store. It's our Flowers & More release. The individual dies are currently on sale for 30% off. This release has what we are calling "simple cuts". Meaning not as many pieces to put together so they assemble quickly.

They are so perfect for the many card making occasions that we all have. Birthdays, Thank You, Sympathy, Mother's Day or even a scrapbook layout just to name a few. For your viewing pleasure today I am featuring the
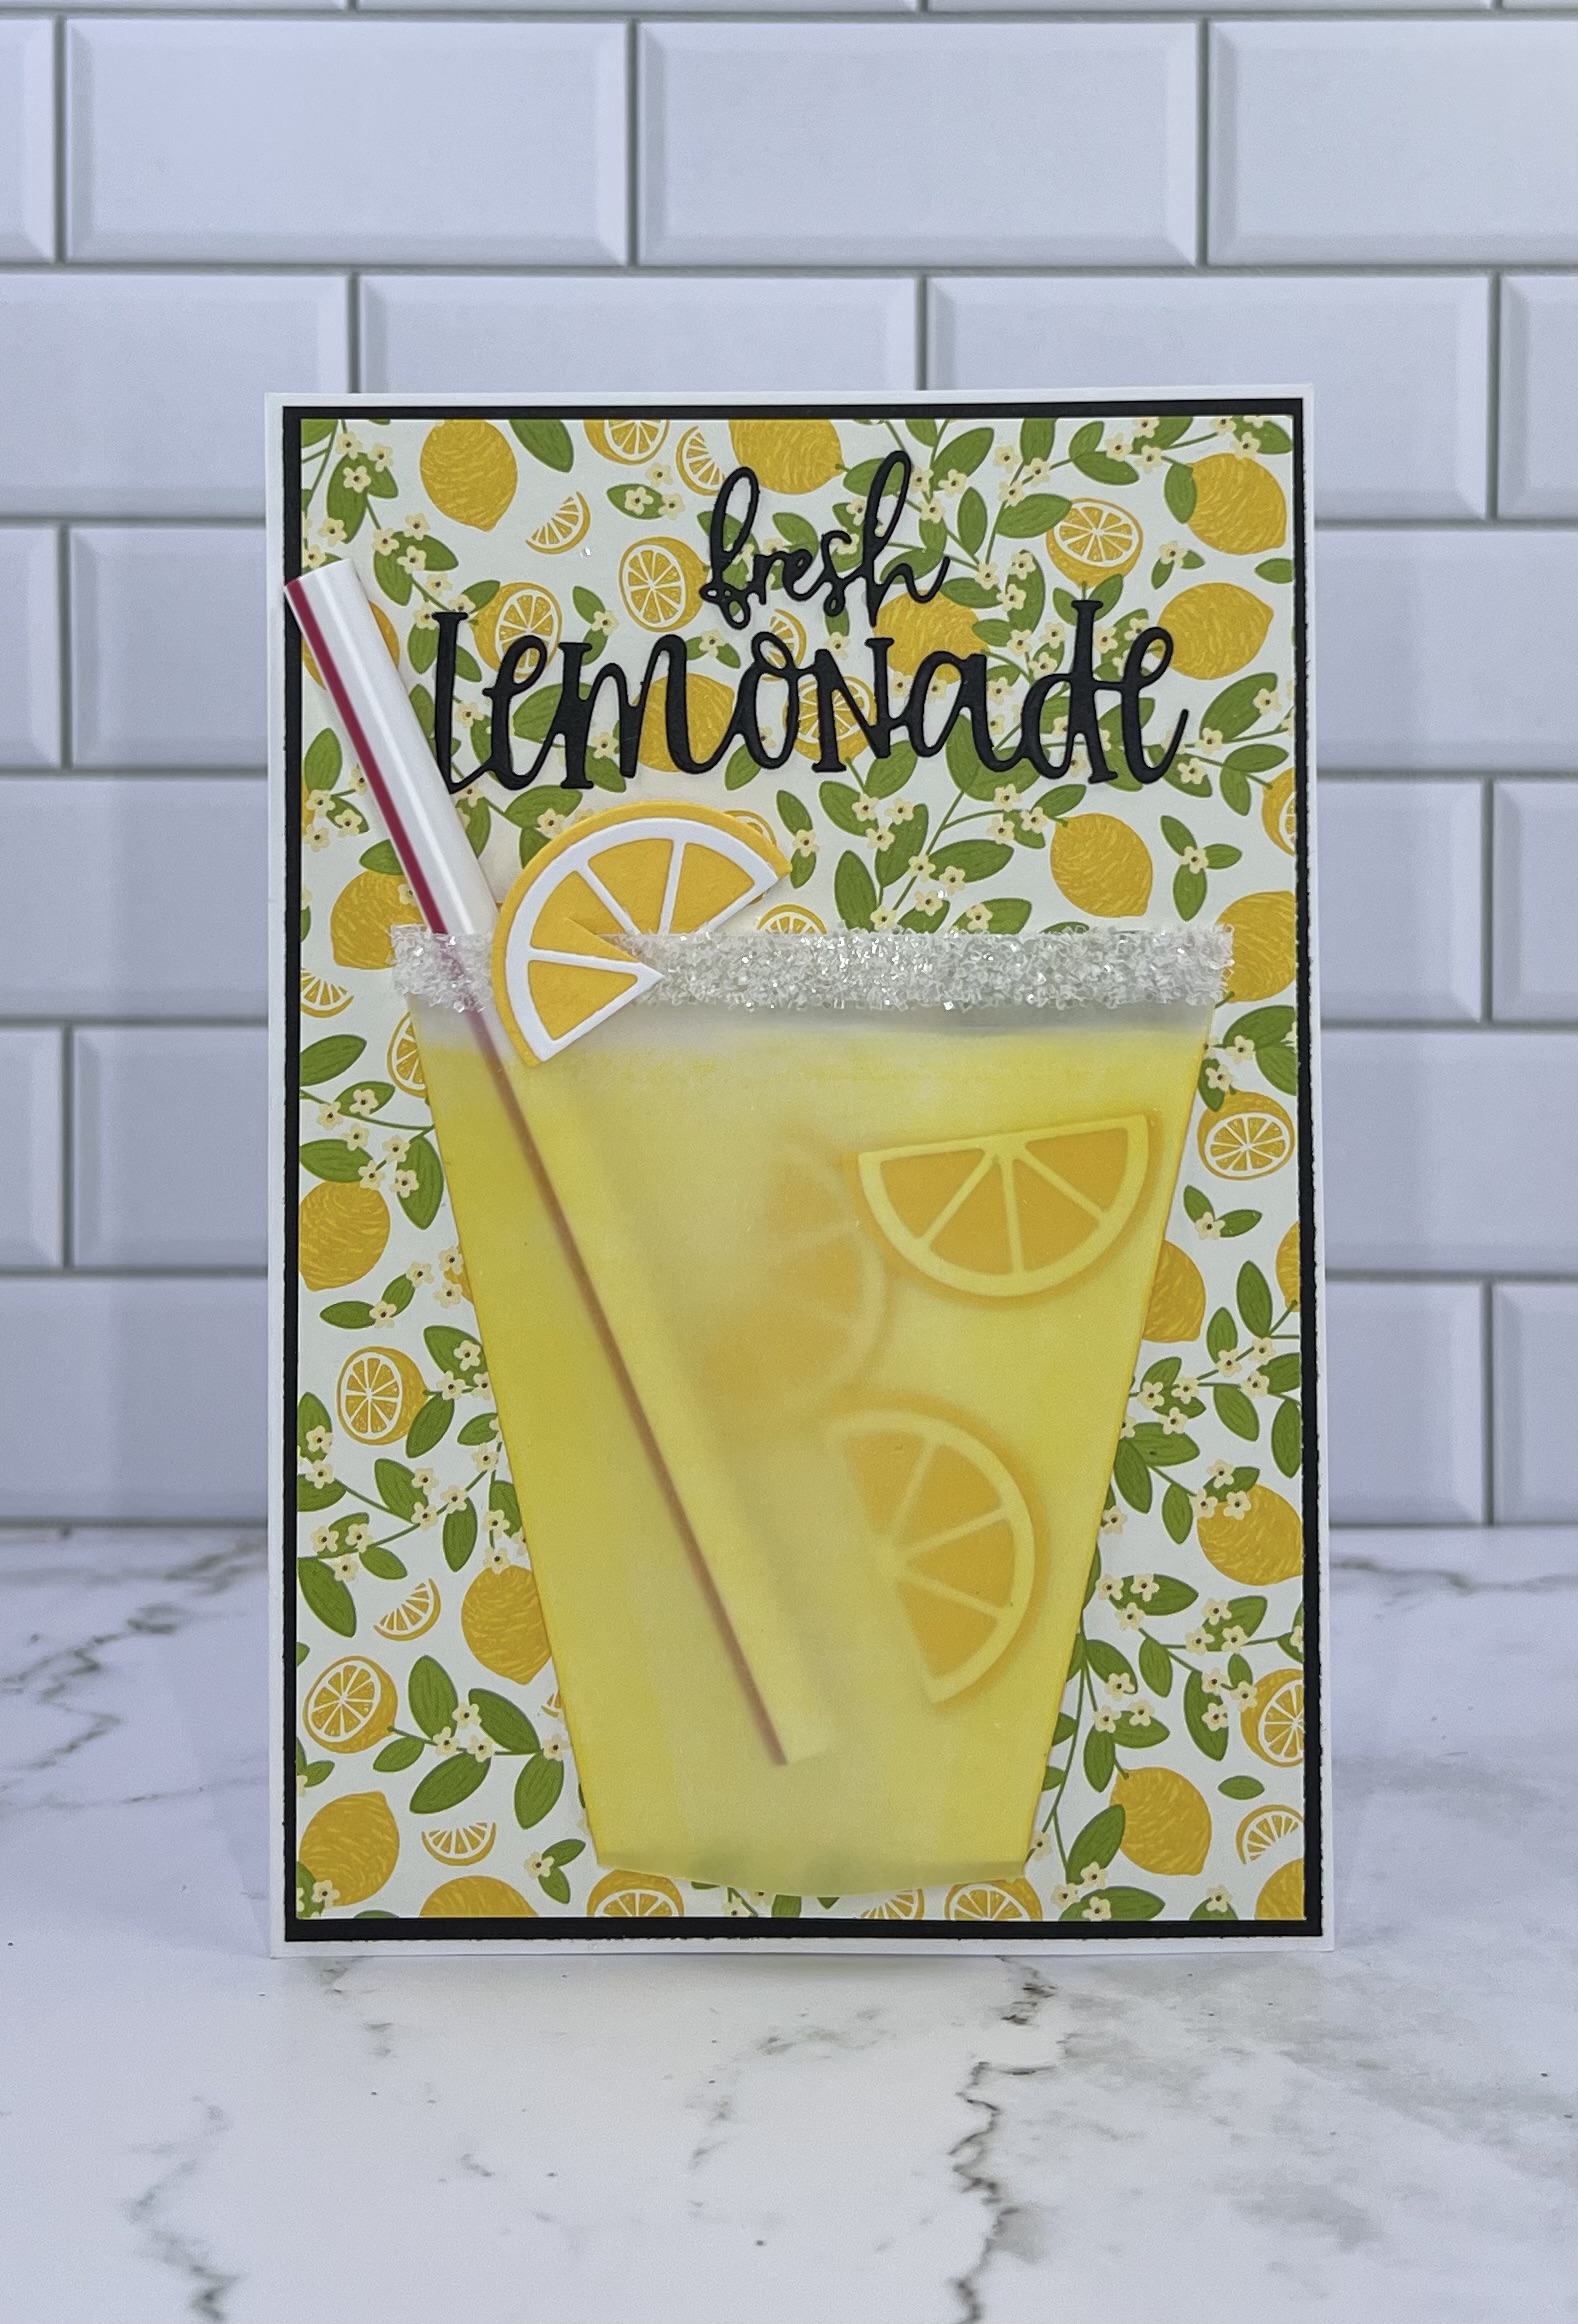
 Lemonade Stand and Celebrate Banner dies.

I was in need of a thank you card to send to a friend who invited us to visit with them at their Florida home for a week. It was such a wonderful time and a handmade thank you card was in order. 

I recently found out she saves all the cards I send her. That's so heartwarming for a card maker to hear. So, let's get started on some details of how I made my card.

 Design Steps:
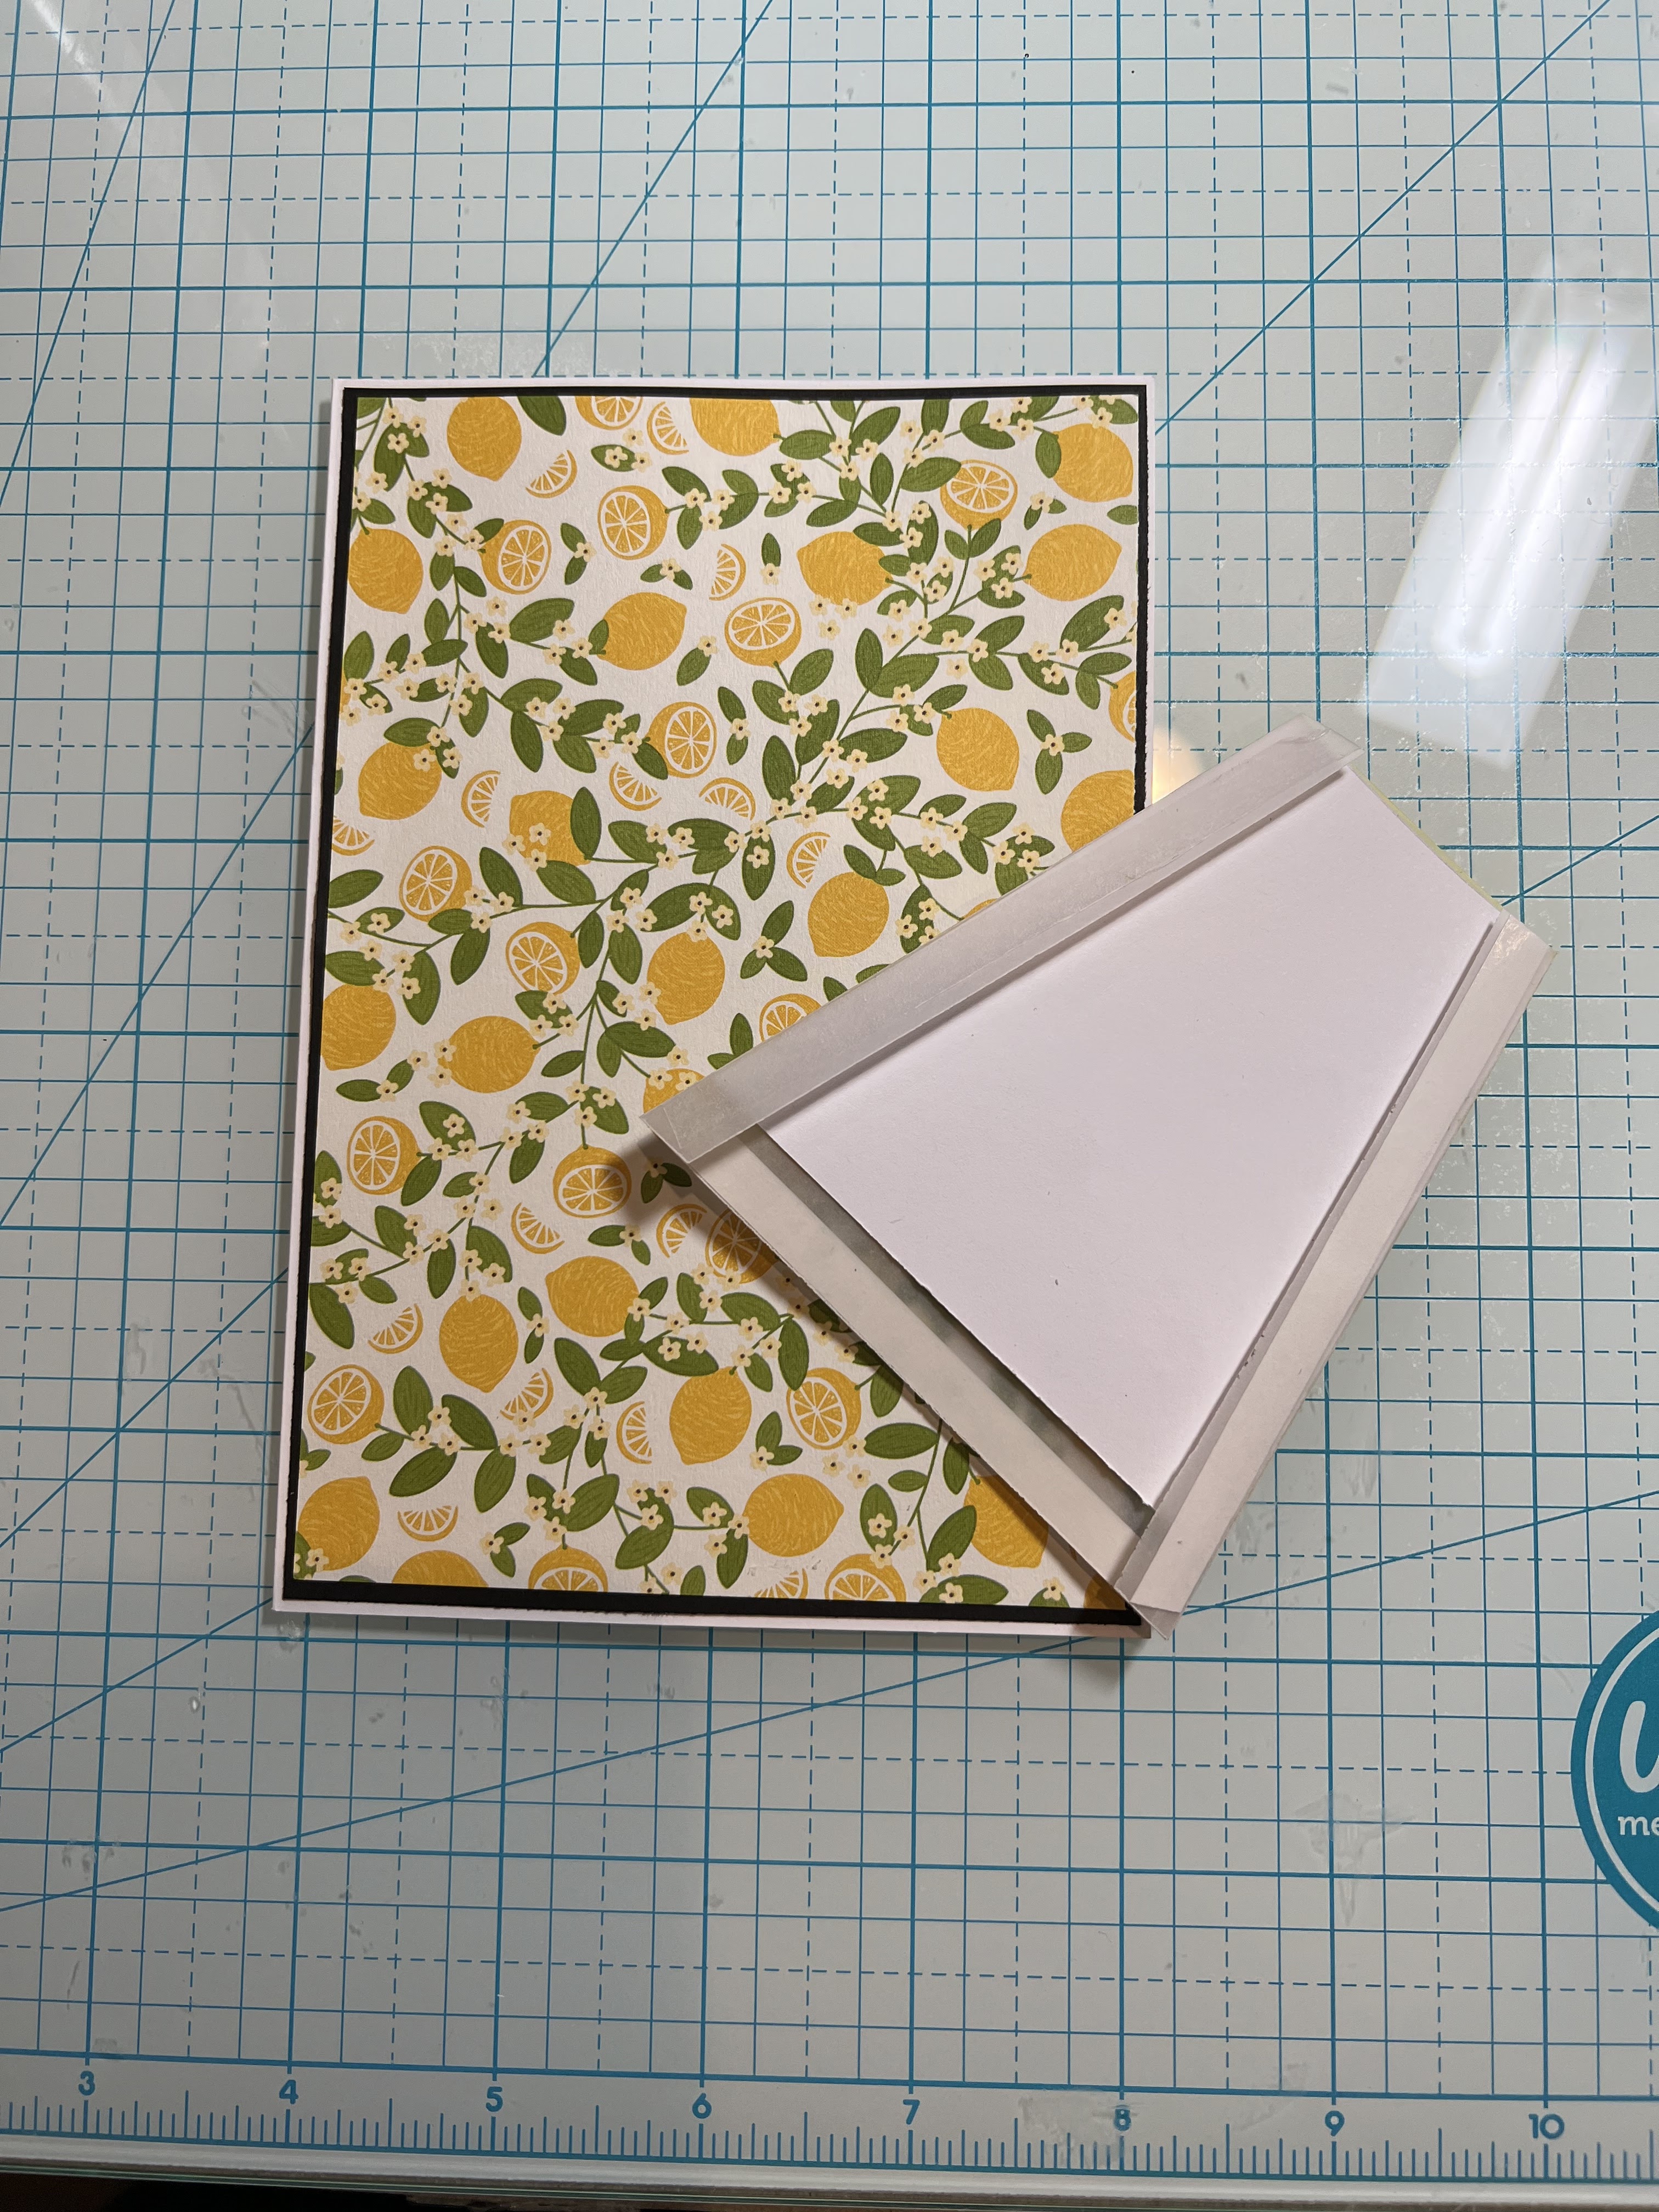
I started my card by stenciling clouds on white cardstock with tumbled glass, broken china, spun sugar and mowed lawn distress inks. 
Image Panel: 4 1/4" x 5 1/2"
Next, I cut the lemonade stand and the celebrate banner from different colored cardstock. You could cut in white cardstock and then use your favorite coloring medium to color the images. Our team does a variety of ways. I usually use cardstock.  
My card elements are prepared and ready for card assembly. I attached the lemonade stand with double sided tape. I decided to use the Arch Sun die and attached it to the side of the lemonade stad for added interest. 

Before I added the celebrate banner, I stamped my sentiment in a bright pink ink. I used my MISTI for placement, and this also needed a double inking. The MISTI is so perfect for this feature alone.
Added my celebrate banner with clear drying glue. 
To finish off my card, I attached the image panel to a white card base with double sided tape. I kept the base the same size as the image panel. 
White Card Base: 4 1/4" x 5 1/2"


That's my card for this week. I hope I have given you an idea for a way to use the lemonade stand die. See you next Saturday!

Reminder: Our YouTube Channel has a new video from Linh Van. There is a giveaway for being a subscriber, liking the video and leaving a comment. Click here.

Dies I used to create card:


Friday, February 24, 2023

Flowers for Mom


Hi everyone! Linh here and I have a new video up on the Cottage Cutz YouTube channel. Here are some of the gorgeous flowers from the Flowers & More release combined with Spring Kitten w/ Envelop die for a Mother's Day card. These flowers are so fun to snip and rearrange! It's a great way to fit the flowers into different things like these fun little mini envelopes. 


Thursday, February 23, 2023

Happy St. Patrick's Day Pup

Hello Scrapping Cottage Friends,

We have a huge Presidents Sale going on in the store right now!  The sale ends tomorrow at midnight EST time.  You can save as much as 70% on some of the items.  It is a great time to stock up and cross off some of those dies on your wish list!! Check it out HERE.  

Today,  I am using 3 of the dies that are currently on SALE!  The Shamrock and Valentine ScottiePierced Oval Set,  and Spring Meadow.


Designer Steps:

1.  Use the Shamrock & Valentine Scottie die and cut the following colors of card stock: light gray, gray, green, light green, yellow, brown and black. Not pictured is the grass cut with the Spring Meadow die on green card stock

2. Ink the edges of the pieces with matching inks.  Assemble the pieces with a quick drying glue

3.  For the card base use an A2 cream card stock
  • Cut light green card stock 4 x 5 1/4
  • Cut cream card stock 5 x 3 3/4 and use the second from the largest Pierced Oval to cut the oval out of the center
  • For the oval backing cut a piece of cream card stock 4 7/8 x 3 5/8 
4.  On the 4 7/8 x 3 5/8 piece ink the bottom half with green
5.  Glue the cream inked card stock to the light green card stock.  Glue the pieces of grass as shown.  Use dimension tape on the back of the cream card stock with the cut out oval. Then pop it over the grass
6.  Glue the pup to the center of the grass
7.  I added 3 four leaf clovers to the edge of the card.  To give the clovers dimension I used a stylus, white ink pen for the little veins and to soften the white I went over it with my YG03 Copic maker.  I inked the edges of the leaves with a darker green ink.  I also decided to change up the sentiment to make it pop a little more.  Your card is complete

CottageCutz Products


Stop by the store today and save!!! 


We have more inspiration on our YouTube Channel check it out HERE

Thanks so much for stopping by!  And I will see you next Thursday.

Blessings and Take Care