Saturday, April 15, 2023

Congrats On Your New Home

Hello CottageCutz friends! Thanks for taking the time to stop and visit with us today. It's Mary Marsh here bringing you the Saturday edition of the Blog.

We have a brand-new Easter release with 17 new designs available in the online store. There is something for every card maker with faith-based dies, beautiful floral images, whimsical with bunnies and frogs and several lovely birds and butterflies.

You will be able to take the images beyond the Easter or Spring season. And for a limited time you can get individual dies at 30% off

Today for your viewing pleasure I am using the new Spring Birdhouse Cup die to create a congratulations on a new home card. My brother-in-law is building a new home and this is a card for him. 

Design Steps:

Since I knew the theme of my card, I started off thinking about my background. I have a paper pad with different heavenly skies backgrounds. I selected this one with a blue sky and sun rays. I thought it would work perfectly with the die images. 
The paper is 6" x 9" so I carefully cut it at 4 1/8" x 5 1/2". 

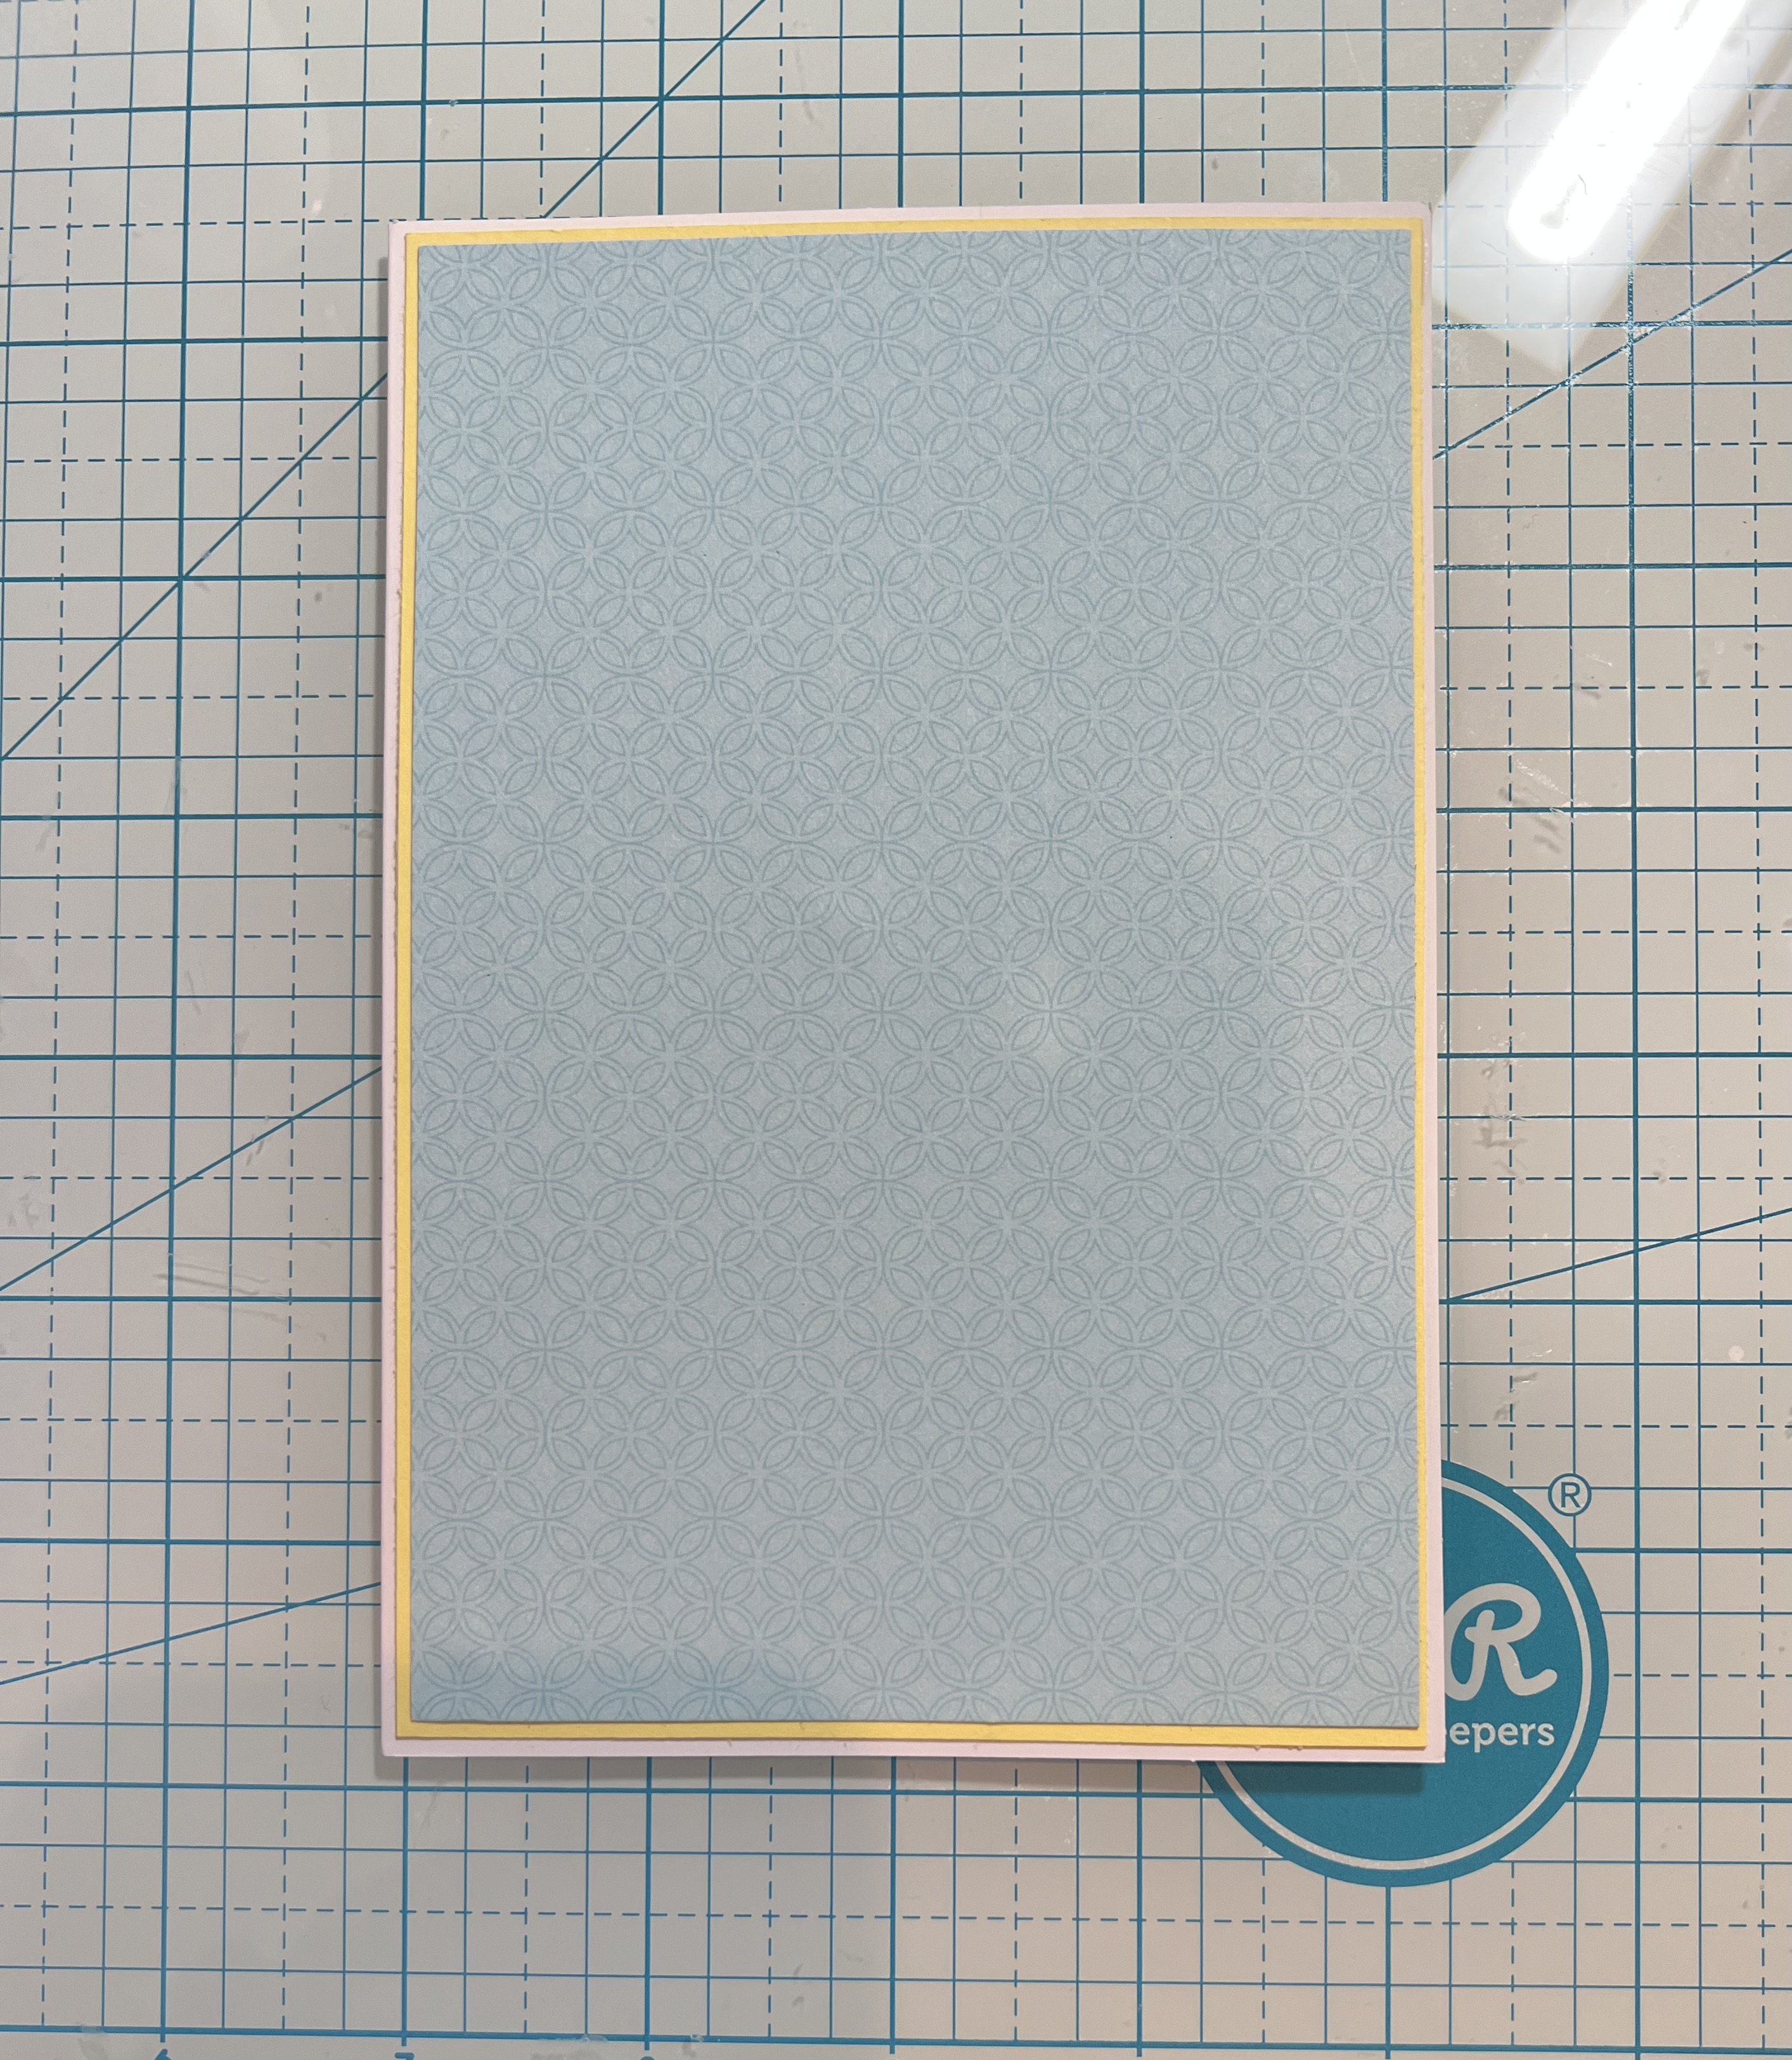
Yellow Card base: 4 5/8" x 5 3/4"
Blue Layer: 4 1/4" x 5 5/8"
Designer Paper Layer: 4 1/8" x 5 1/2"
Next, I cut the birdhouse & bird images in cardstock with colors that would coordinate with the background paper. 
I used an older die for my die cut phrase. It's the "Our New Home" die. I cut it in a darker blue shade of cardstock. 
Now that all my elements are cut, I am ready to start card assembly. I attached the layering panel and designer paper to the card base with double sided tape. 
Next, I attached all the images with dimensional adhesive. On the windows I cut a pale-yellow cardstock to give the illusion of inside light. I placed this in the window openings. 
That completes my card for this post. I hope I have given you a way to use this die. See you next Saturday.

dies I used to create card:


Friday, April 14, 2023

Spring Bunny Car Scrapbook Page


Hey Krafty Friends, Jen from Katahdin Krafts, back with another CottageCutz YouTube video on the CottageCutz Channel.  I used two dies from the latest "Easter" release, "Spring Bunny Car" and "Spring Party Car."  I also used one of my favorites "Spring Sentiments" to finish my layout.


My purple base paper is 8" x 8", the floral paper is 7.75" x 7.75".  The photo mat is sized to fit a 3" x 5" photo, but you can size this to your discretion.  

I really love coming up with ways of using the Cottage Cutz dies to embellish scrapbook pages.  I love how versatile they are, and how accomplished I feel when I finish a layout!

You can find all the layout details over on the  YouTube Channel!

While over on the channel, make sure you like and comment for a chance to win the "Spring Bunny Car" die!

The winner of the "Bunny Tree Cottage" die from my last video is Mary's Card Craft, the details for collecting your giveaway prize are over on YouTube!  

Thanks for stopping in, and happy krafting!


Thursday, April 13, 2023

Butterfly Sympathy

Hello Friends!

It is NEW RELEASE TIME!  The collection is called EASTER and it has 17 incredible pieces!  They are so perfect for Easter and Spring.   Right now you can save up to 30% on these individual dies. This sale will not last so stop by the store today right HERE

Sympathy cards are always difficult to make especially when the death is close to your heart.  So I decided to make a couple just to have in my stash. I used the Spring Butterflies


Designer Steps:
1.  Using the Spring Butterflies die cut out two on black card stock and set aside
2.  Cut a 4 x 5 1/4 piece of heavy white card stock.  Use red and yellow inks to blend along the top, bottom and left side of the card (as shown above)
3.  Give the ink time to dry and then stamp the sentiment on the right side of the card in black ink
4.  To add texture use a stencil and some white embossing paste.  Place the stencil over the inked white card stock and apply the paste.  Give the paste time to dry
5.  For the card use a yellow A2 base.  Cut a piece of black 5 3/8 x 4 1/8 and glue it to the yellow card base.  The final step is to glue the inked panel to the black card stock and add the butterflies.  Your card is complete

CottageCutz Product

I think this is one of our most beautiful collection so don't miss out!  I think it will sell out fast!


We have more inspiration on our YouTube Channel check it out HERE

Thanks so much for stopping by!  And I will see you next Thursday.

Blessings and Take Care


Tuesday, April 11, 2023

Mother's Day Bouquet


Hello CottageCutz friends! Thanks for taking the time to stop and visit with us today. It's Mary Marsh here bringing you the Tuesday edition of the Blog.

We have a brand-new Easter release with 17 new designs available in the online store. There is something for every card maker with faith-based dies, beautiful floral images, whimsical with bunnies and frogs and several lovely birds and butterflies.

You will be able to take the images beyond the Easter or Spring season. And for a limited time you can get individual dies at 30% off. Today for your viewing pleasure I am using the new Spring Lilies to create a Mother's Day card. So, you see how easy it is to move these dies to another occasion besides Easter.

My card started with the colors from the Splitcoaststampers color challenge #943. We are to use calypso coral, fresh freesia and parakeet party for our color trio. Optional is to make it Spring and Mother's Day falls in the middle of Spring.
fresh freesia, parakeet party, calypso coral

I decided to use calypso coral as the background color. I embossed it with a new to me 3D embossing folder- it's named Vine Canopy. I ran a white pigment ink pad across to highlight the embossing. 
Tip: when you use a 3D folder spritz the cardstock with water to break up the fibers. This way your cardstock doesn't crack. 

My lilies are cut in fresh freesia cardstock and I used the calypso coral color for the pistil. I stamped my Mother's Day greeting on a flag from my stash that is edged in the calypso coral color. 

That's it for me for this post. See you again on Saturday.

dies I used to create card:


Saturday, April 08, 2023

Daffodils for Mother's Day

Hello CottageCutz friends! Thanks for taking the time to stop and visit with us today. It's Mary Marsh here bringing you the Saturday edition of the Blog.

We have a brand-new Easter release with 17 new designs available in the online store. There is something for every card maker with faith-based dies, beautiful floral images, whimsical with bunnies and frogs and several lovely birds and butterflies.

You will be able to take the images beyond the Easter or Spring season. And for a limited time you can get individual dies at 30% off. Today for your viewing pleasure I am using the new Spring Daffodils to create a Mother's Day card. So you see how easy it is to move these dies to another occasion besides Easter.

Design Steps:

I started my card this week by cutting the daffodil images. I used a bright yellow cardstock (daffidil delight) and an orange cardstock (mango melody) for the floral images. The stems are a brighter green cardstock (granny apple green). 
I wanted to layer the daffodil images on black cardstock. I saw a card recently on Pinterest and it was so striking on black. I used a 3D textile embossing folder for a bit of background interest. It's more of a subtle embossing which is the look I was going for. 
Tip: when you use a 3D folder spritz the cardstock with water to break up the fibers. This way your cardstock doesn't crack.
I wanted a stamped sentiment on the card and after a bit of thought I decided to use one of the banner images from the Windows Slimline die. It was the perfect size for my sentiment. I cut the banner in the mango melody cardstock and stamped in black ink. 
I am now ready to start card assembly. I secured the embossed panel to the black card base.
Black card base: 4 1/4" x 5 1/2"
Black embossed panel: 4 1/8" x 5 3/8"
Attached the flowers with glue dots. I used these just in case I needed to move any of the floral images. It's much easier to do that with glue dots than liquid glue. Attached the banner sentiment and scattered a few green sequins on the card. 
That's it for me for this post. See you next Saturday. Have a wonderful Easter celebration. 

Dies I used to create card:


Thursday, April 06, 2023

Easter Lilies

 Hello Friends!

It is NEW RELEASE TIME!  The collection is called EASTER and it has 17 incredible pieces!  They are so perfect for Easter and Spring.   Right now you can save up to 30% on these individual dies. This sale will not last so stop by the store today right HERE

I think the flowers in this release are beyond beautiful.  So I decided to feature the Spring Lilies on this card.

Designer Steps:
1.  Using the Spring Lilies die cut out the pieces in white card stock.  Use green ink and a small applicator to shade the inside of the flower and the stems.  Use Copic markers to add additional shading and soft yellow and brown details.  Glue the pieces together with a fine tip glue
2.  Using the Oval Doily & Frame die cut it out of yellow card stock.  Arrange the flowers onto the yellow oval
3.  The card base is white measuring 6 1/4 x 4 1/4
  • Cut a piece of yellow card stock 6 1/8 x 4 1/8
  • Cut a piece of blue DP 6 x 4
4.  Glue the yellow card stock to the white card base adhere the blue DP the yellow card stock
5.  Glue the oval with the lilies to the card slightly above center
6.  Add the bow to the base of the flowers and then add the stamped sentiment

CottageCutz Products

I think this is one of our most beautiful collection so don't miss out!  I think it will sell out fast!


We have more inspiration on our YouTube Channel check it out HERE

Thanks so much for stopping by!  And I will see you next Thursday.

Blessings and Take Care