Monday, October 24, 2022

Do You Want to Build a Snowman?

Happy Monday CottageCutz peeps! ☺ 

Kris here with a FUN scene card and I'll admit, this may be a bit busier than I had planned, but I couldn't help myself... I LOVE these cute dies from the Christmas Part 2 Release!  There's also a Christmas 1 Release  so there's a ton of options and variety from cute snowmen to gingerbread kids to rustic wreaths, traditional poinsettias and more! The best part... all the individual dies from both of these releases are 30% off for a limited time!  


For my card today, I started by choosing my dies:  The Snowy Village Buildings, the Snowy Village Accessories, the Snowmen Friends and the "joy" is from the Peace & Joy Wreath from this Christmas 2 Release.  I also used some dies from the shop that were previously released such as Hills Slimline and Snowflake Set.

Then I thought I'd pop over to SCS to see if the weekly color challenge (CC918) would work with my card and once I pictured green for trees, orchid/blue for sky and a yellow house, I went with it!  (I actually DO have a yellow house with a white fence!) ☺ 


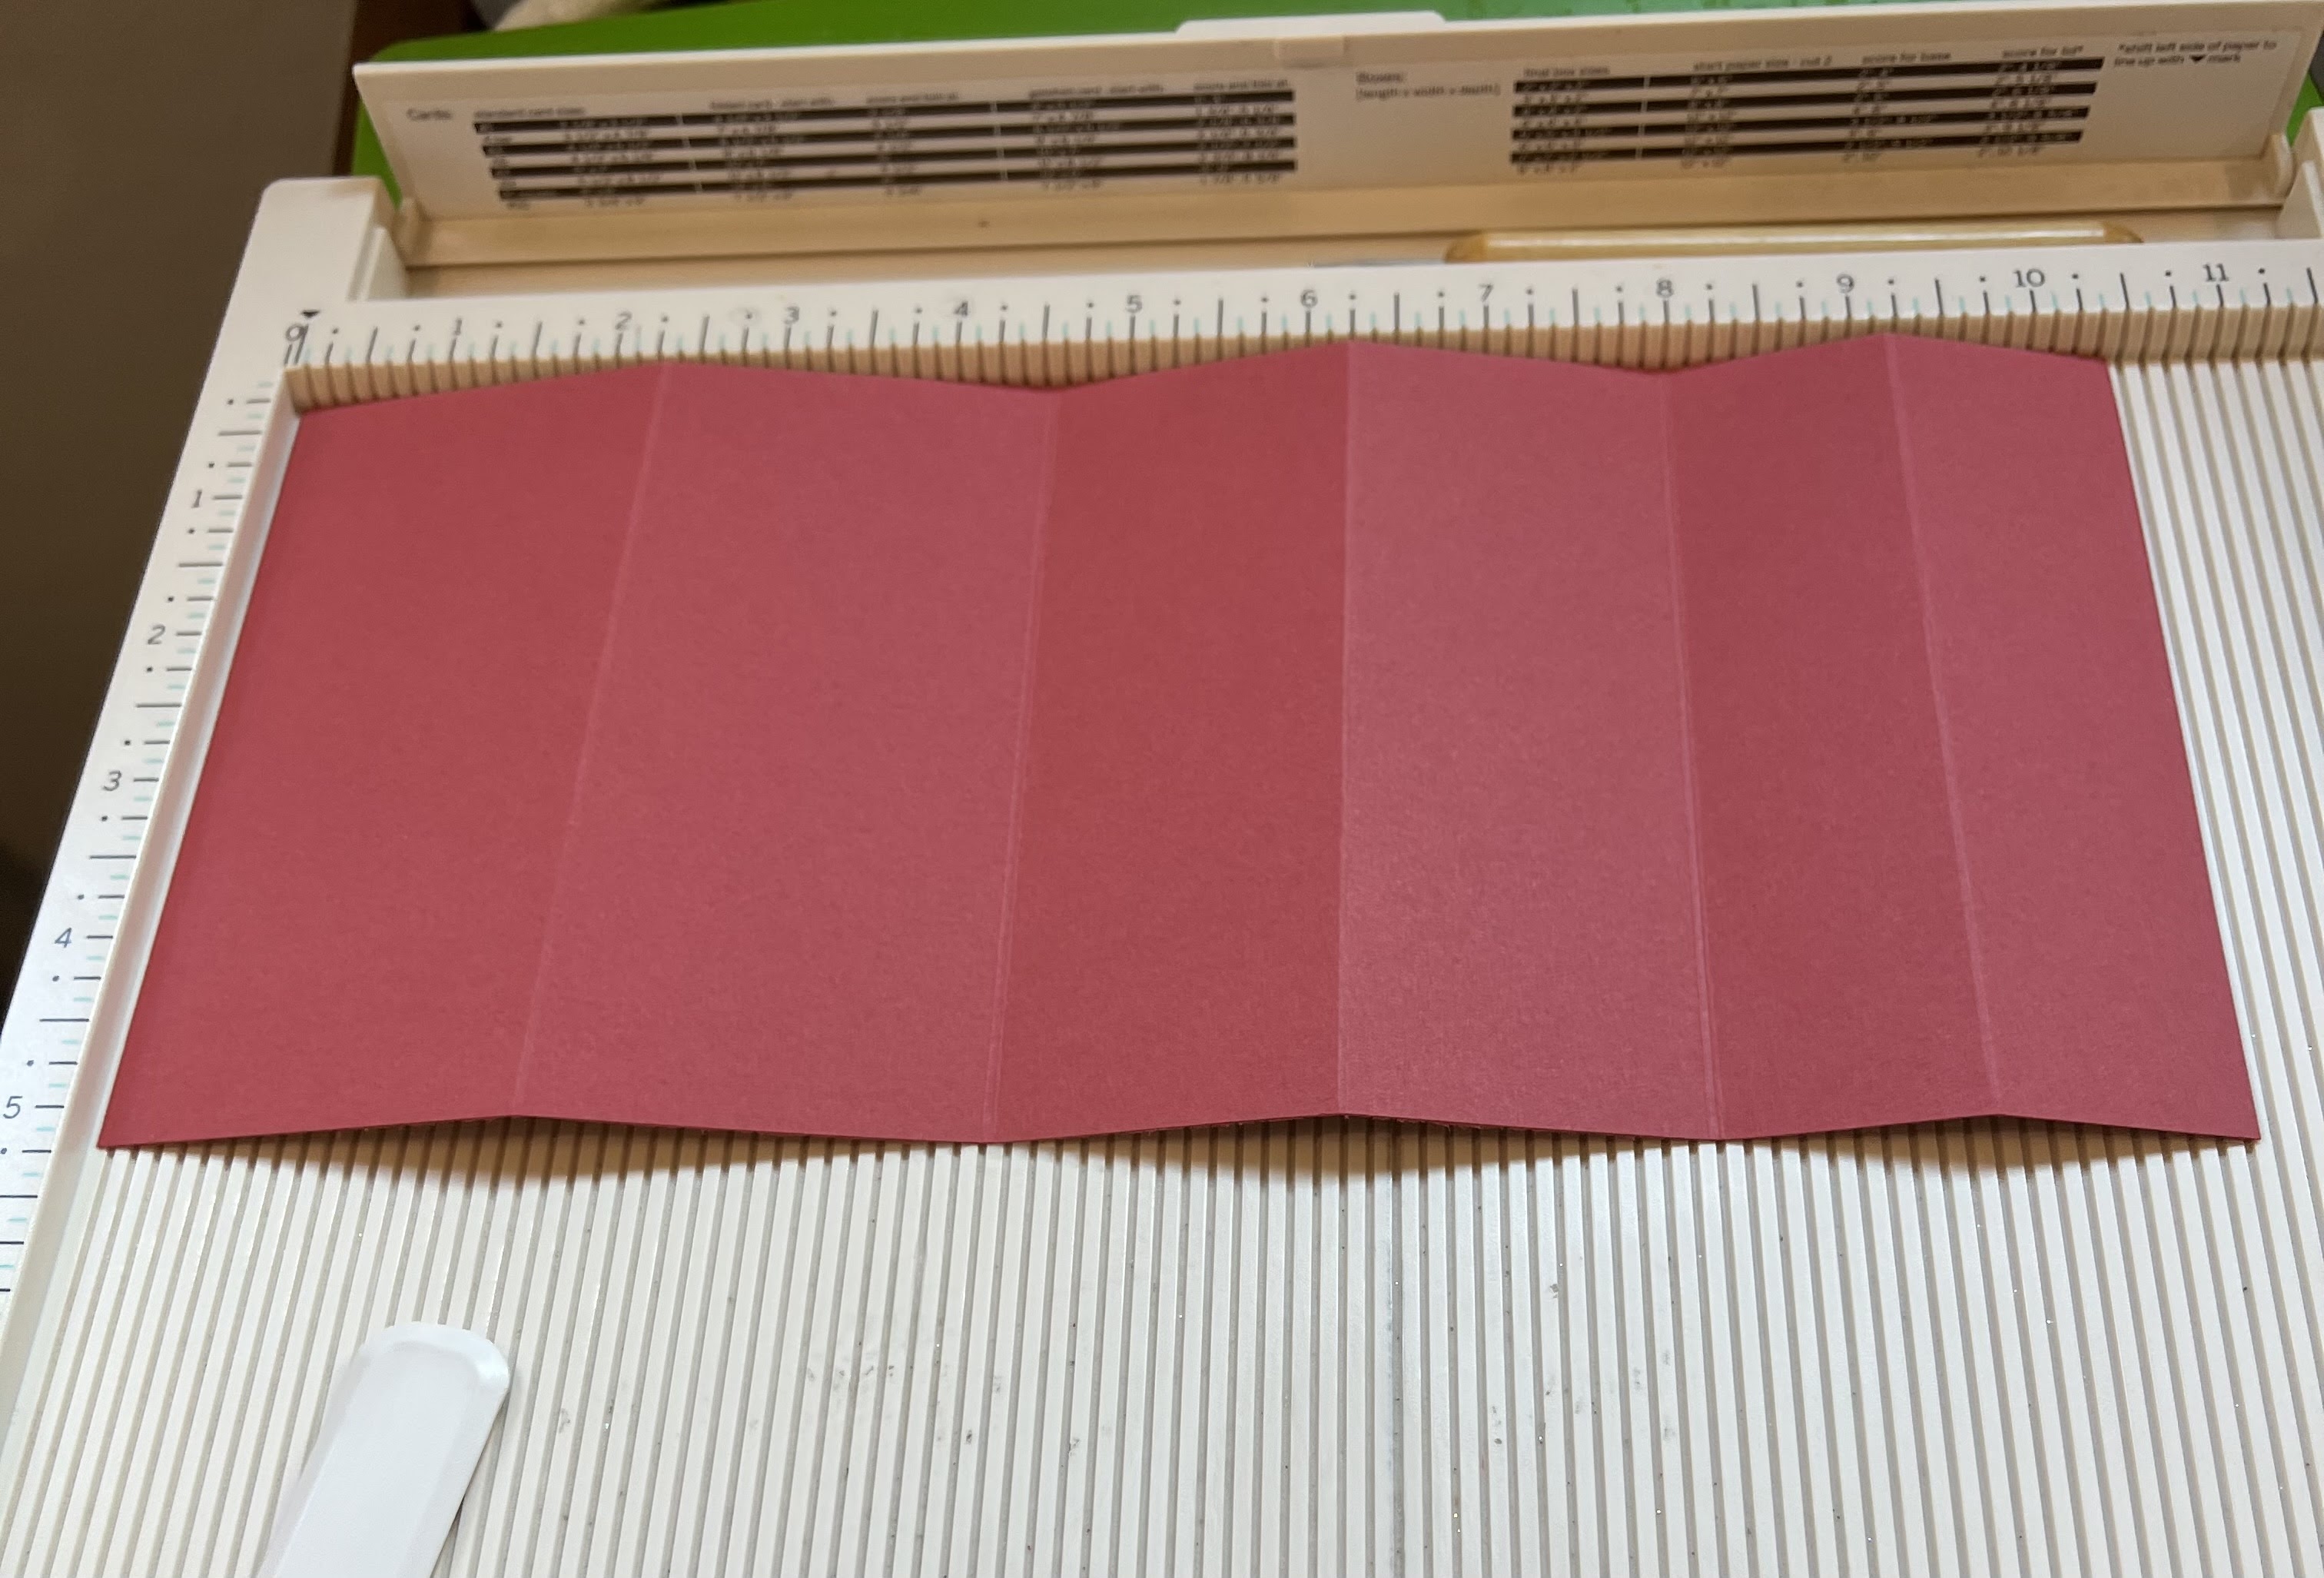
I cut a 5-1/2" square card base (top folding) and layered some pretty patterned paper with tiny snowflakes that was cut to 5-1/4" square.  I then cut 2 snowy hills using the Hills Slimline die, gluing the tallest one to my blue layer and I popped the front one up with foam strips.  I then glued my snowflakes to the top portion.


After die cutting my elements, I used Distress Oxide inks to add color with a blending brush.


I then spattered some white acrylic paint onto the trees with a paint brush.  Some pieces I used Copic markers like the hats/scarves and windows, wreaths, and I added some very pale blue highlights to the snow and snowmen. 


At first, I was going to use both snowmen, one house and 2 trees, but I just kept going and built up my scene and I really think it turned out cute!  Here's the final result again...


Thanks so much for popping by today!  I hope you are inspired to get crafty with your favorite CotageCutz dies! Have a blessed week 

~Kristine


PRODUCTS I USED:


Sunday, October 23, 2022

HoHoHo Screen Divider Card

Hello CottageCutz friends! Thanks for taking the time to stop and visit with us today. It's Mary Marsh here bringing you the Sunday edition of the Blog. 

It's new Christmas release time!!! We have new dies in the online store. Our Christmas Part 2 release with 36 new designs is available and ready for shipment. The individual dies are on sale for 30% off. It's only for a limited time so don't delay. You are going to love all the whimsical designs that are available in this release. There is something for everyone to make your Christmas cards extra special this year.

We also have Christmas Part 1 in the store and those dies are also available at 30% off.  There is a great selection of religious, whimsical and some super cute birds and animals. All of your Christmas card making ideas are covered in this release. 

Today for your viewing pleasure, I am using dies from the Christmas Part 1 release - Happy Reindeer & Snowman, Snowman w/Tree and the Christmas Tree Peekers. I also used an older die- Happy Ho Ho Ho for my sentiment from the 2019 release. 

I created a fun fold card called a Screen Divider. I made a card with this fold previously. Check here on this post for all the details. If you would like a video tutorial check this one from Splitcoaststampers. 

I used some non-traditional colors for my card. They are from the Splitcoaststampers color challenge #914.  We were to use granny apple green, melon mambo and highland heather for the color trio. I thought I would try these non-traditional colors for a Christmas card.
granny apple green, melon mambo, highland heather

I embossed the background panels with a "softly falling snow" embossing folder. On the first panel I used the Snowman w/Tree, the 2nd panel is the Christmas Tree Peekers and the 3rd panel is the Happy Reindeer & Snowman die. The "happy ho ho ho sentiment " was spread across the 3 panels.  The last panel I used for my stamped greeting.

That's it for me for this post. The team will be featuring dies from the newest Christmas Part 2 release all week so check back every day.

Reminder: Our YouTube Channel has a new video from Linh Van. There is a giveaway for being a subscriber, liking the video and leaving a comment. Click here.

Dies I used to create card:


Saturday, October 22, 2022

Peace Dove


Hello CottageCutz friends! Thanks for taking the time to stop and visit with us today. It's Mary Marsh here bringing you the Saturday edition of the Blog.

It's new Christmas release time!!! We have new dies in the online store. Our Christmas Part 2 release with 36 new designs is available and ready for shipment. The individual dies are on sale for 30% off. It's only for a limited time so don't delay. You are going to love all the whimsical designs that are available in this release. There is something for everyone to make your Christmas cards extra special this year. 

Today, I am featuring the new Holiday Dove w/Floral die. I created a Christmas card in non-traditional colors and one that would be easy to make multiples of. We are all looking for ways to save time during the busy Christmas season. So let's get started with some details of how I created this card. 

Design Steps:

What determined my colors for the card were these designer papers from a card kit that I had in my stash. I had the card base in a light blue and the designer papers in a teal and a bright pink shade. Pinks and blues are trendy colors right now for Christmas tree decorations, so I decided to use them for my card.

Pool blue card base: 4 1/4" x 5 1/2"
Teal designer paper layer: 3 5/8 x 4 3/4"
Pink designer layer: 3 1/8" x4 1/4"
Next, I cut the dove and greenery from cardstock. The greenery is in an apple green shade that again I am seeing in Christmas ornaments. In fact, I have Christmas tree ornaments in this very shade. 
I also cut the Peace phrase using the Peace and Joy Wreath die. The smaller size of this was a perfect fit for my card panel. 
Card elements are prepared so I am ready to start the assembly. I used double sided tape to secure the paper layers. I attached the greenery and peace phrase with clear drying adhesive. I used dimensional adhesive on the dove to lift it slightly off the background.
To finish off my card I attached the image panel to the card base. To balance off the right side I scattered a few teal sequins. 
That's it for me for this week. I will be back again tomorrow with another sample from the Christmas Part 1 dies. See you then.

Dies I used to create card:


Friday, October 21, 2022

Lush Holiday Wreath


Hi everyone! Linh here and I have a new video up on the Cottage Cutz YouTube channel. I love all the new Christmas sets in the latest release. In particular, I love that there are so many winter florals that can be beautifully combined together. Here I've used just two of the sets and have created a lush wreath without needing to die cut anything a second time! Not only does each set have several floral elements but they are all unique, lending to a very organic and natural arrangement.


Here's a close up of this wreath and bird.


Thursday, October 20, 2022

New Release - C is for Cookie!

 Hello Scrapping Cottage Friends

We have Part 2 of the Christmas release available today! This amazing release has 36 designs!  This time we have Gingerbread Cookies, Gnomes, Santa in a Cadillac and much much more!!  Check it out HERE.  The best part about this new release is that it is on sale now!!

The die I am creating with today is Ginger Friends.  I have made a fancy fold to show off these adorable gingerbread cookies!!


Design Steps:

1.  Start with a piece of red card stock cut to 4 1/4 x 10 1/2
2.  Score at 1 1/4, 2 1/2, 4 1/4, 6, and 8 1/4.  Fold your card stock along the score line with mountain folds being the first and last folds

3.  Cut 3 strips of designer paper to add to the front of the stair steps:  4 1/8 x 1 1/8, 4 1/8 x 1 3/4, 4 1/8 x 2 1/8
4.  Glue the designer paper to the front of each of the steps as shown above

5.  Using the Ginger Friends die cut out the pieces of the gingerbread boy and girl: DP polka dot light brown DP, Brown Checked DP, Turquoise Check DP, white, red, and yellow.  Assemble the pieces using a fine tip glue

6.  Begin to glue the pieces to the steps.  I had some premade sentiments that I added plus some snowflake embellishments.  After you add the sentiments and Ginger Friends your card is complete

CottageCutz Products


Please take a peek at this Cheery Christmas collection!  I promise you will want every single one of this incrediable release!!! Click HERE to see all the cuteness!!

We have more inspiration on our YouTube Channel check it out HERE

Thanks so much for stopping by!  And I will see you next Thursday.

Blessings and Take Care


Wednesday, October 19, 2022

Cozy Winter Fireplace Layout


Hey Krafty Friends, Jen from Katahdin Krafts, back with another  CottageCutz YouTube  video on the CottageCutz Channel This week I am featuring the "Cozy Winter Fireplace" die, from the latest "Christmas Part 2" release.  There are 36 designs in this release, and they are all so adorable!


I created a 12 x 12 Christmas Layout, and embellished it with this cozy scene.  I have really enjoyed scrappin' again, and I have found the Cottage Cutz dies work so well with my pages.  

I prepared my page for future photos, and a title.  I also left an area to add vertical number stickers for the year I choose to document.   My photo mats are 2 - 6.5" x 4.5", 1 - 4" x 4" and my title space is 6.5" x 1.75".  


You can find my tutorial with the rest of the details over on the YouTube Channel!

While over on the channel, make sure you like and comment for a chance to win the "Cozy Winter Fireplace" die!

The winner of the "Cute Witchy" die from my last video is Wendy Rector, you can find all the details over on YouTube!  Thanks for stopping in, and happy krafting!