Wednesday, July 06, 2022


Hey Krafty Friends, Jen from Katahdin Krafts, back with another  CottageCutz YouTube  video on the CottageCutz Channel.  This week, I am sharing a "Berry Sweet" flowered layered card.  


For this card I used several dies from the new "Strawberries & Bees Release", this release is so adorable I can't wait to keep creating with it!


Please head over to the channel and watch my video to learn how I created this fun project, also enter for a chance to win the "Flowers" die!  

The winner of the "Build an Ice Cream Cone" die from my last video is Funtography_makes, you can find all the details on the YouTube Channel!


Tuesday, July 05, 2022

Christmas in July Card and Sale Reminder

Happy TuesDIE Cottage Cutz Friends!
Melinda here with you today. If you are one that celebrates the 4th of July, I hope you had a wonderful holiday yesterday! Mine was low key...just the way I like it! So today I am sharing a card featuring a Christmas in July theme. While I wait for the fantastic new 
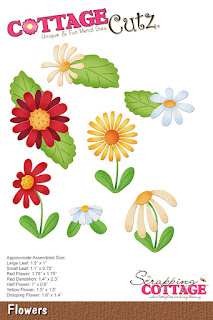
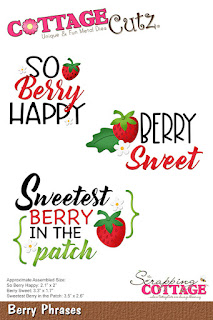
Strawberries & Bees release! release to hit my doorstep, I thought I would share a project featuring some dies that are ON SALE RIGHT NOW!  Here's my project.

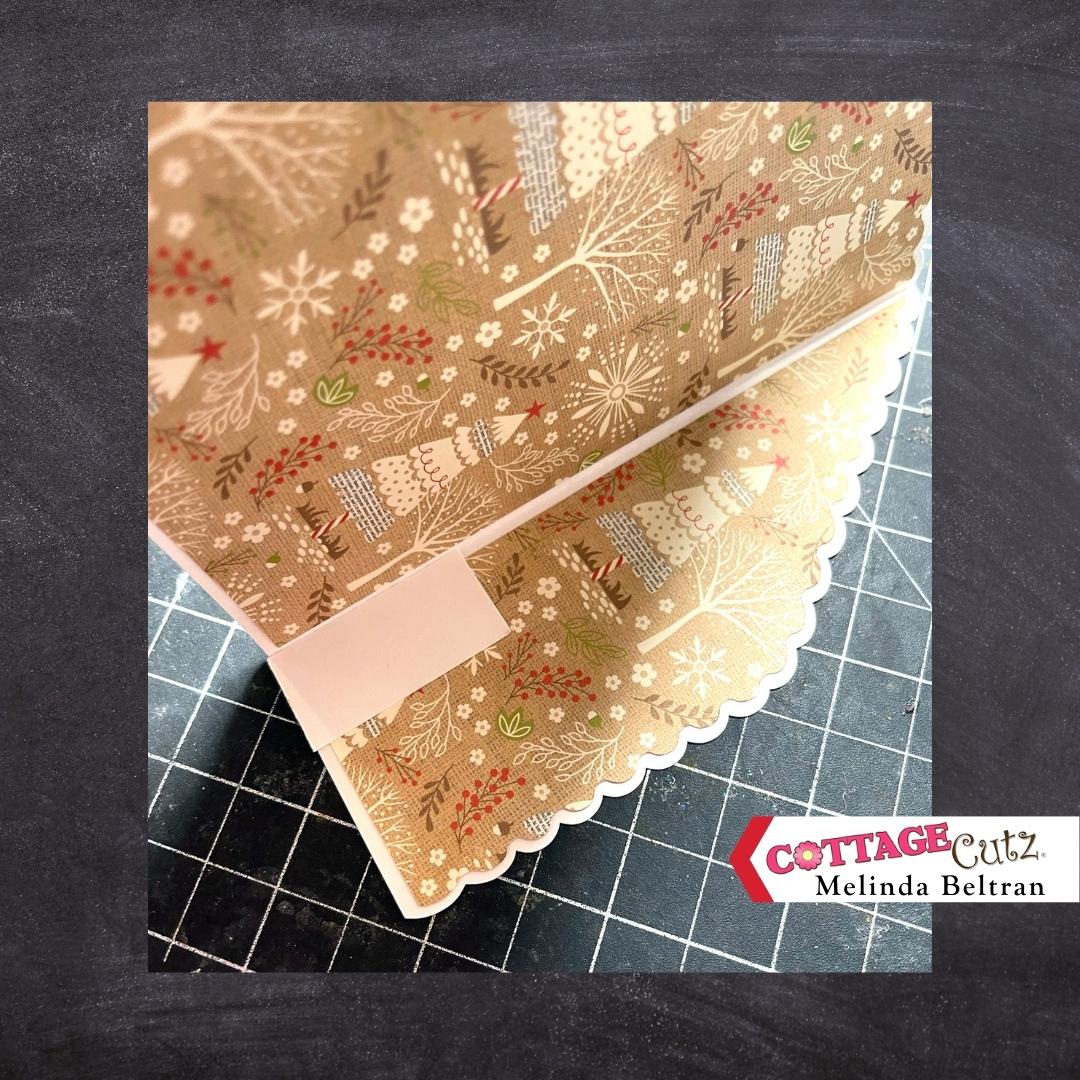
I created a scallop edged open faced box card. Here is a view of it standing open and looking straight on. The back panel is 4.25 x 5.5. So it is an A4 size.
Here's a quick little video showing what the finished card looks like.


Here's a view with it facing to my left.

Here's a view with it facing to my right. I started by creating my base in Adobe Illustrator and converting it into an SVG for my electronic machine. I also cut out mats for the background and the side panels. I covered the inside with my patterned paper and covered the outside panels with my patterned paper.

Next, I went to work creating the "base". I cut out a strip of 1.5" x 11" white cardstock. With the 11" along the horizontal plane, I scored my paper at .75" and then at 5.25" and then at 6" and then 10.25"

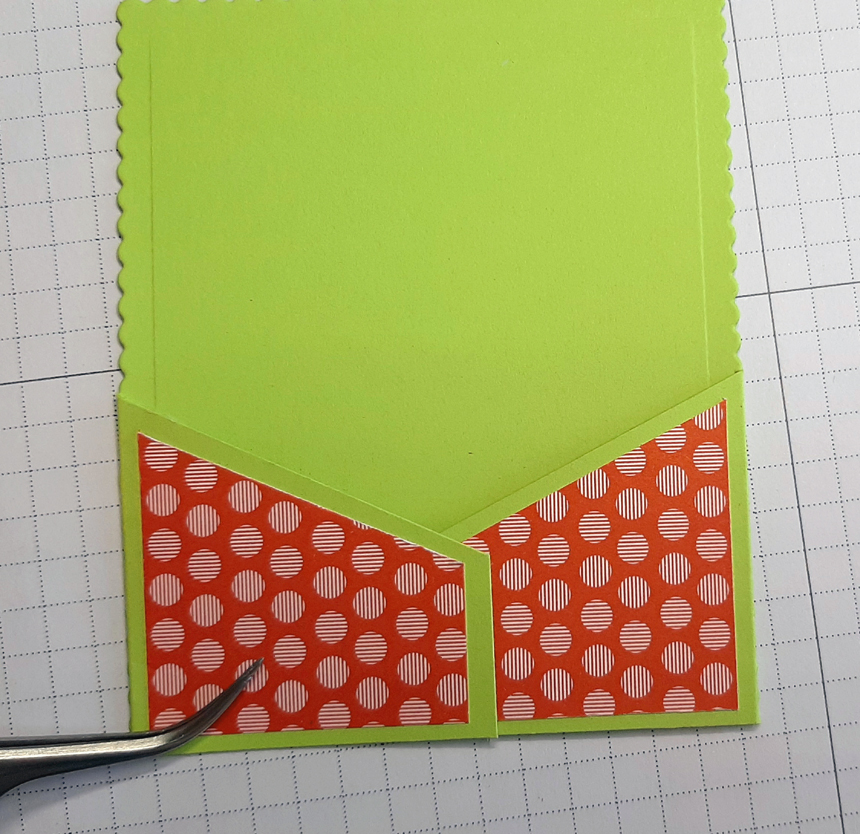
I started by folding one flap up and then gluing the first .75 score flush with that side panel and the bottom.

For the other side, I cut a piece of .75 x 1.5 cardstock from some scrap. I glued that piece the same as the other, flush with the other side and base. I am using this piece as a guide only to know where to glue the next fold that is on the strip. See the photo below.

I continued by gluing the next .75" piece to that side. I have one more strip of 4.25 and the last little piece to glue. For that last one, I folded it back in so that it would be flush with the other, very first piece glued. Hopefully that makes sense.

Once I got the base glued in place, I cut out a piece of my patterned paper at 1.5 x 4.25. I wanted to cover the white cardstock with matching paper. This shot also shows you how the inside looks after I glued them in. You can also see that folding that last little flap back seats the little box part well within the side panels. This gives it a nice clean look.

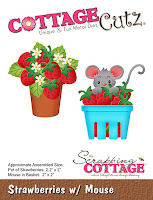
Next, I went to work die cutting all my pieces. I cut out several of the double stitched ovals. The largest in white, the next largest in cream x2 and then the next one down in cream. I layered the largest white and the next one down cream together. I then used the beautiful Farmhouse Floral to cut and create my can and floral arrangement. Once I colored all my pieces, I layered then into the can. I added a little thin twine bow for a little extra touch.

For the sentiment, I glued the Merry Christmas sentiment onto a couple layers of the double stitched ovals dies. I added one of the poinsettias for a little extra pizzazz and added a red dew drop to its center.

It is hard to tell, but it does "fold flat" in case you want to mail it. If you do, then you may want to lower the floral arrangement so it will fit into a standard A4 envelope.

Dies I Used


Make sure you head over to the CottageCutz YouTube channel and check out all of the amazing projects on there. Our video team is doing a wonderful job of filling the channel with all sorts of creative content! You don't want to miss it!


Well that about covers it for today! Until the next time, have a wonderfully craft-die day!
Melinda Beltran

Sunday, July 03, 2022

Berry Sweet Box Card

Hello and happy Sunday!  Kris here to share a "Berry Sweet" and easier-than-it-looks box card with you showcasing the NEW Strawberries & Bees release!  

Before I get to my project, I just want to say.... NOW is the perfect time to go shopping as this whole release is 50% off for a limited time.... individual dies in this release are 30% off.... and the store is having a huge 4th of July sale going on with up to 70% off other dies! Run, run -it won't last long ☺

Okay, onto my card...


CUTTING & SCORING

I began with the fun stuff first ... die-cut all my cute images and sentiments from white cardstock, colored with alcohol markers and pieced together.  Next, onto making the box!

BACK: 
Green cardstock:
•  Die-cut (1) using largest die from the Nested Scalloped Rectangles - then, trim off 1/4" from the bottom 

White cardstock:
•  Die-cut (1) using the 2nd from largest Wacky Stitched Rectangles

SIDES:
Green Cardstock:
•  With paper trimmer, cut (2) 2-3/8" x 2" and score at 3/8" on just one of the 2-3/8" sides.  One of the sides will have the score line on the LEFT, and the other one will be on the RIGHT (see photo below). Then, measure down 1" on the opposite side from the score line and place a pencil mark.  Cut from the TOP of the score line diagonally down to the mark.  Repeat on other piece.

From patterned paper:
•  Cut (2) 1-3/4" squares.  On one side, measure down 7/8" and place a mark.  Cut from top of the opposite corner down to the mark. *On other piece, you'll cut from the other corner.  (See photo below)

FRONT:
Green Cardstock:
•  Cut (1) 4-1/4" x 1" and score 3/8" from each end

White Cardstock:
•  Cut (1) 3-1/4" x 3/4"

MIDDLE SHELVES:
Green Cardstock:
•  Cut (3) 4-1/4" x 3/4" - and score at 3/8" from each end.  Miter the top only of each of the 2 scored flaps on each shelf.  (see photo below)


ASSEMBLY:

1.  Glue your patterned papers onto the side pieces.  Add glue to the flaps and adhere to the front lower sides of scalloped piece so that they both angle down towards the center of card.  The scored line of flap is FLUSH with the scallops, and the bottom edges are aligned.


2.  Adhere white Nested Wacky Stitched Rectangle to the front center, paying attention to the top and side borders for placement - not the bottom as remember we cut off 1/4" ;)


3.  Stamp on the front white piece if desired, and  adhere to FRONT green piece.  

4.  Add glue only to the LEFT flap of your FRONT piece and adhere the left side piece so that it bumps up to the score line, not over it.  


5.  Open that side & front piece to the left while we work on the middle shelves. 

6.  Add glue to just the left flap of one shelf, then bump it up to the score line (of the side piece), making sure that the top of your shelf is below the edge of the side piece.  You can click on the pic to enlarge if needed.


7.  Fold that first shelf over to the right and leave it there.  Do not attach the other end - we'll do that after all our shelves are in. 

8.  Add glue to the next shelf, and place it according to the photo below, again, making sure the top of the shelf is lower than the edge of your side piece.


9.  Fold that shelf to the right as shown and continue with the 3rd shelf. 

10.  Fold all shelves and front piece to the right and add glue to the remaining flaps.


11.  Fold your right side piece over flaps, aligning that front piece, and rub to adhere.


12.  For the very BACK of my card, I die-cut another Nested Scallop Rectangle, in red this time, and another Nested Wacky Stitched Rectangle (same size as the front back piece), stamped it and adhered, lining up the scallops.


13.  And lastly, add your decorative die-cut elements for a BERRY SWEET box card that folds flat to mail in a regular A2 sized envelope!


I hope I've inspired you to try this or your own creation using our new

~Kristine

Here are the products I used today:


Saturday, July 02, 2022

Sweetest Berry in the Patch

Hello CottageCutz friends! Thanks for taking the time to stop and visit with us today. It's Mary Marsh here bringing you the Saturday edition of the Blog.

It's new release time!!! We have new dies in the online store. It's our Strawberries and Bees release with 16 new designs.  You can pick up the entire bundle for 50% off and the individual dies are 30% off.
The new dies are perfect for all your cardmaking needs. They would work for so many occasions.

Today for your viewing pleasure I am featuring the new Strawberries w/Mouse die and the Berry Phrases die, and I created a fun fold birthday card. So, let's get started with some details of how I created my card. 

Design Steps:

I found a cute fun fold idea on Pinterest and decided to use it for my card today. Here is a link if you would like to watch a video. I had this strawberry paper in my stash and thought it would work well for a strawberry themed birthday card. 

Red Card Base: 4 1/4" x 5 1/2"
Fun Fold Flap: 3" x 3 3/4"
Designer Paper: 1 1/2" x 4 1/8"
I took the 3" x 3 3/4" piece of cardstock and added glue to the scored part. This piece will create the flap. I glued it to the red card base. 
Then I added the 2 sections of designer paper using double sided tape. 
I used another piece of designer paper cut at 2 7/8" x 4 1/8" for the front of the flap.
I set the card base aside to start cutting my images. 
I cut the mouse image and berries from cardstock to complement the designer paper used. The Berry phrase was cut in complimentary cardstocks as well. I attached them with Art Glitter glue. I like this one because it dries clear. 
This panel was attached to the card front flap. I attached the image panel to a white card base measuring 4 3/8" x 5 5/8".
I also decided to finish off the card inside. I cut a piece of white cardstock measuring 2 7/8" x 4". I stamped my birthday sentiment and added a few additional strawberries. 
That complete my card for this week. I hope I have given you an idea for a way to use this cute new die. See you next Saturday!

Reminder: Our YouTube Channel has a new video from Marla Harris. There is a giveaway for being a subscriber, liking the video and leaving a comment. Click here.

We are also having a big July 4th sale with savings of up to 70%. So, shop early for the best picks.


Friday, July 01, 2022

June 2022 Release Strawberries & Bees


Hello CottageCutz Fans. We have a new release in the online store. It's our Strawberries and Bees release with 16 designs. You can pick up the entire bundle for 50% off and the individual dies are 30% off.

The new dies are perfect for all your cardmaking needs. They would work for so many occasions. We are also having a big July 4th sale with savings of up to 70%. So, shop early for the best picks.

Here is a quick YouTube video showing all the new dies. 


Stop by the Blog tomorrow for a card using these new dies.