Tuesday, June 07, 2022

Happy Birthday Gnome Paper Piecing Card

Hello Scrapping Cottage friends!  
Melinda here with you on this Terrific Tuesdie!  Today I am sharing a FUN card featuring more dies from the New Sweet Treats Release! Last week I shared this cute little gnome piecing I created with some leftover pieces. This week I will show you what I used and share the cute little card he is on!
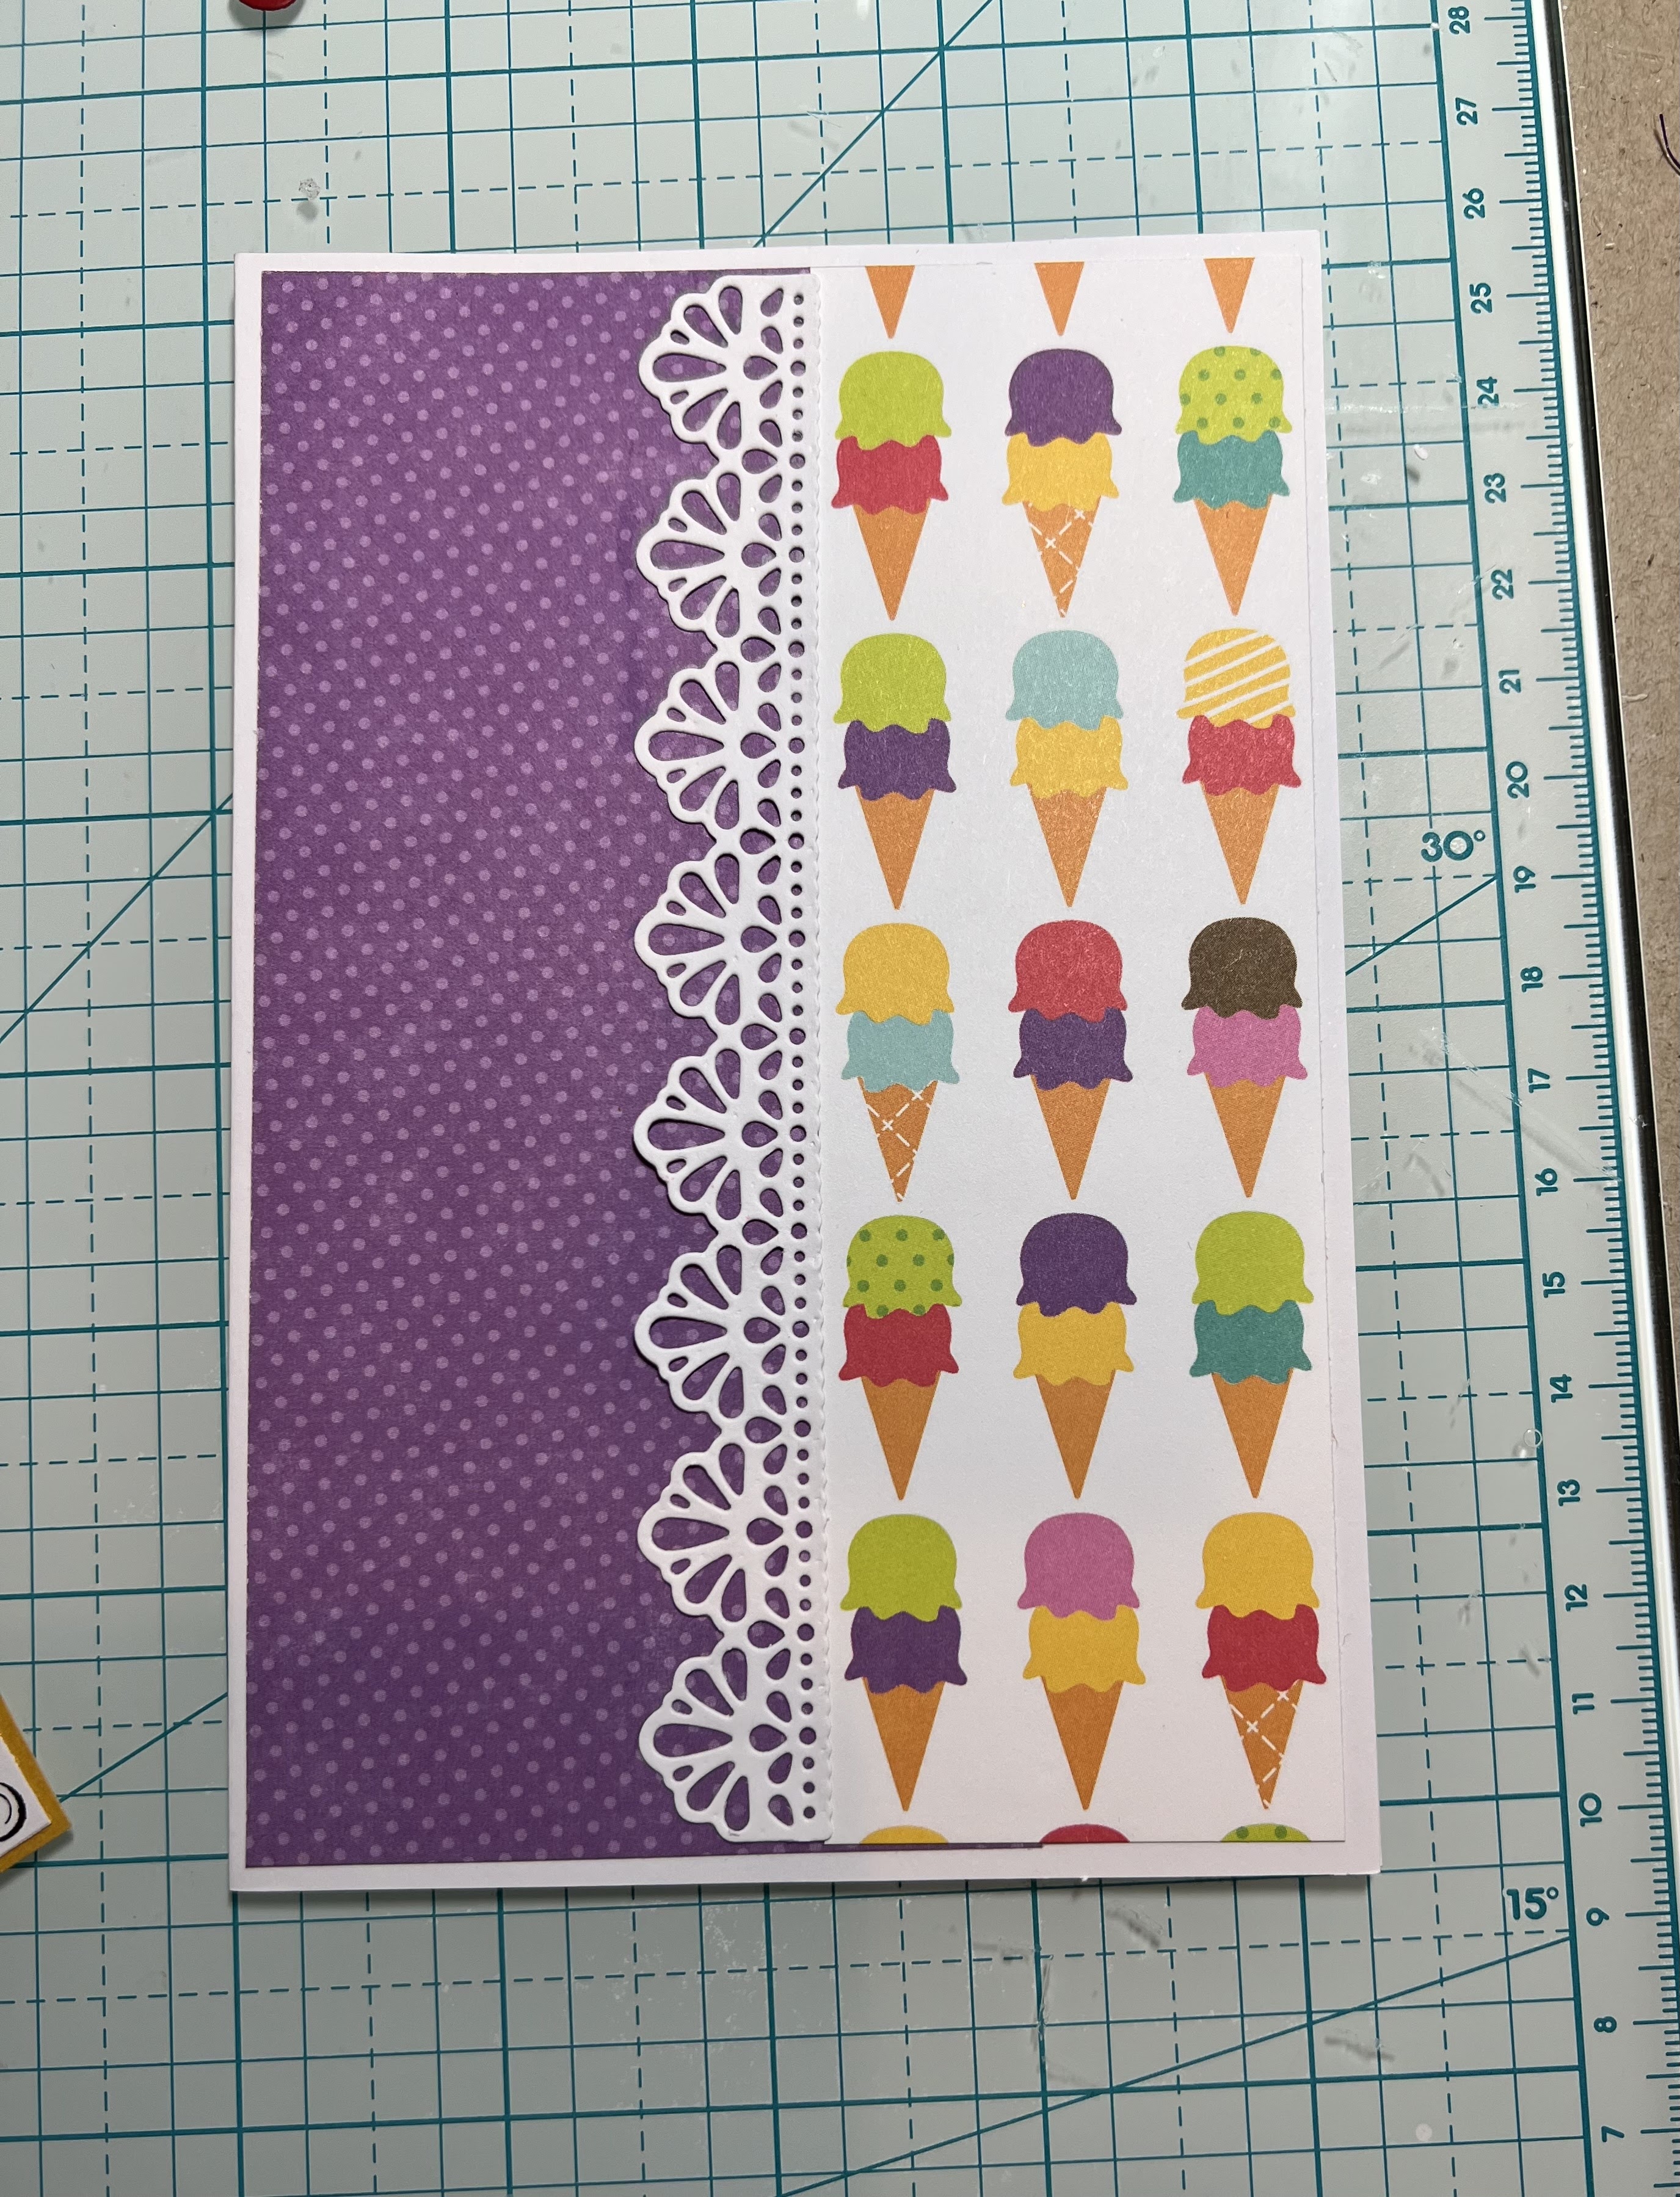
Here's a look at my completed card. I started with a horizontal top folding card base. I used some white cardstock for that. I then cut a piece of some colorfully cute diagonal striped patterned paper I had in my stash. I cut it to 4x5.25 for the mat. 

Here's the photo I shared last week of the little Gnome I made with some leftover pieces.

So here are the pieces I used to create this cute little fella. They are all pieces from various dies in this "SAHWEEET" release! 

So here's a closer look at the pieces I used for his arms (the top pieces). I cut off the bottom part and used that for his "hand". I also cut off that extra piece around the edge and it made a little lip at the bottom to look like a slight cuff.

Here are the pieces that I used for his "head". I added the side pieces to fill in the sides for the "hair". I did cut off the extra  once his beard was in place.

Here is what his head pieces look like. I loosely layered them onto each other to give you the idea.


Here is his body along with his two "shoes". I just cut the extra lip off the bottoms.


Here's another look at little Mr. Gnome. I mounted him onto a stitched rectangle scalloped mat with a yellow cardstock mat. I put some of those super cute cupcakes along side. I added some glaze to that tiny cherry, but it doesn't really show on the photo. I also added some stickles to the top cupcake and the centers of the flowers on the bottom cupcake.


Here's a closer look at the large cupcake and the Happy Birthday sentiment. I did add some foam tape underneath them all to give them just a little lift. I also added some cinnamon stickles to the brown swirls. It didn't show up too well in the photo but the swirls are nice and sparkly.

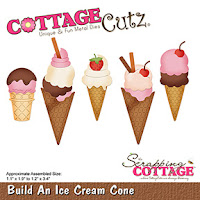
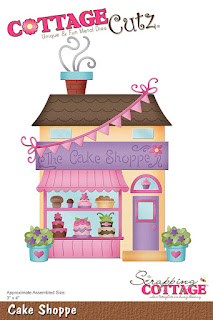
Here is the new sweet treats release.

Sweet Treats Release


The Dies I used to create this project:


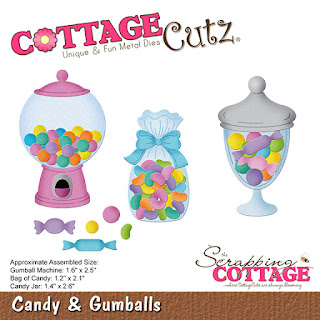
The jar piece on the right is what I used for the gnomes arms


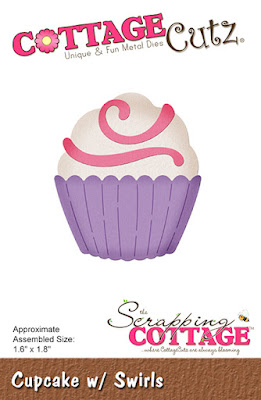
I used this cupcake and the top for the gnomes head and beard. I also used the top right "pink" piece for his mustache.

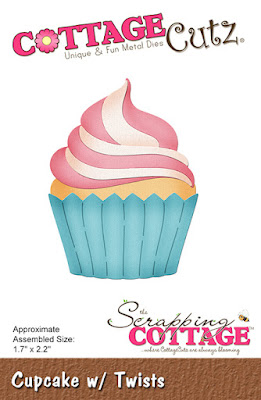
I used this cupcake top piece for his hat and the longer swirl piece for his "hair". I did also use this complete cupcake to decorate my card.

I used the sundae cups top ruffled piece (just above the heart) for the Gnome's hat brim.

I used the brown frosting on the cupcake on the top right for the gnomes hat top. I also used some of the cupcakes from this die to decorate my card.

Nested Scallop Rectangle Set


Make sure you head over to the CottageCutz YouTube channel and check out all of the amazing projects on there. Our video team is doing a wonderful job of filling the channel with all sorts of creative content! You don't want to miss it!

Well that about covers it for today! Until the next time, have a wonderfully craft-die day!
Melinda Beltran

Monday, June 06, 2022

Stickle Frosting

Hi everyone I am back on the blog with another card that features: Cupcake w/Frosting a new release and Celebrate Expression plus for my sentiment.

I created a card with an extended lip if I couldnt think of a good description basically it doesnt close where the edges meet one extends out an inch.  As seen below you can see how it folds over.

Next I covered my card in patterned from Doodlebug 
Now its time to diecut 3 sets of cupcakes and decorate them using stickles for icing
I put everything all together to complete my card 🥰

Products Used


Sunday, June 05, 2022

New Guest Designer

Hello CottageCutz Fans. Today I have the pleasure of announcing a new addition to the CottageCutz Design Team.  

Kris Breach
I'm Kristine and so excited and honored to be a guest designer here at CottageCutz! A li'l about me... I live in the high desert of Central Oregon with my hubby of 25 years and our Street Dog Rescue, Ava (a Rhodesian Ridgeback mix). We have 2 adult daughters away in college and grad school. I have recently retired from a 28-year career as an Administrative Secretary for a non-profit organization and now have more creative time, woop woop!
I grew up in a crafty family - my dad loved making things out of wood (ie. clocks, pens, etc) and my mom ran an in-home daycare and incorporated lots of crafts into our daily schedule. She also sewed many of our clothes and sold her handmade dolls in the local shops. 

As an adult, I've dabbled in lots of things including cake decorating, crocheting, beading, scrapbooking, cardmaking, drawing and digital art. However, what I keep finding myself coming back to is card making! There's just something about walking into my craft room and taking an hour (or 2) to craft a card or gift that not only makes me feel accomplished and happy, but I know will make someone else SMILE when they receive it! 

This past year or two I've especially taken a fancy to fun folds and interactive cards! The whimsical, cute dies that CottageCutz offers makes whipping up a cute card a snap and I can't wait to share my creations with you all and get to know this community better.

Kris will have her first Blog post up next Sunday. She will be guest designing for the next 3 months. 

Our newest release- Sweet Treats- is in the online store. They ae still being featured at a 30% savings. 


Saturday, June 04, 2022

Father's Day Cupcakes

Hello CottageCutz friends! Thanks for taking the time to stop and visit with us today. It's Mary Marsh here bringing you the Saturday edition of the Blog.

It's new release time!!! We have new dies in the online store. It's our Sweet Treats release with 13 new designs. They are so perfect for any card making occasion you may have. The individual dies are currently 30% off.

Today for your viewing pleasure, I have created a slimline card for Father's Day card using the new Cupcake w/Cherry die and the Cupcake w/Twists die. I am giving this one to my next-door neighbor. He loves sweets of all kinds. I am going to pick him up a cupcake from our local bakery and give it to him along with this card. So, let's get started with some details of how I created my card. 

Design Steps:

I decided to use the Circle Windows Slimline die to display the cupcake images. I cut it in a designer paper that I thought would work for a masculine card. The card base is white, and I rounded the corners of the base with the envelope punch board. It has a corner rounder.

White card Base: 3 1/2" x 8 1/2"
Designer Paper Layer: 3 1/2" x 8 1/2"
Next, I cut the cupcakes in colors I thought are complementing the designer paper. I used chocolate for the swirls and icing because my neighbor is a big chocolate lover. So his "real" cupcake will be a chocolate one. 
I stamped the Father's Day sentiment in the center circle with grape ink. Then I cut a label shape from the Windows Slimline die set and stamped the "sweet treat" sentiment inside that with grape ink. 
Now that all elements are prepared, I am ready to finish up the card assembly. I attached the designer paper window panel to the card base with double sided tape. 
The Cupcakes & sentiment label are attached with dimensional adhesive. I scattered a few grape enamel dots to complete my card.
Well, that's it for me for this week. If you have a father in your life that loves cupcakes this die is just for you. See you next Saturday.

Reminder:  Our YouTube Channel has a new video from Jen Hartsgrove. There is a giveaway for being a subscriber, liking the video and leaving a comment. Click here.

dies I used to create card:


Thursday, June 02, 2022

Sweet Birthday Wishes

Hello Scrapping Cottage Friends

The design team is continuing to give you some great ideas for our new release Sweet Treats!  There are 13 different designs and everyone of them can be used for a variety of occasions especially Birthdays!! The individual dies are 30% off.  This sale price won't last long so click HERE to hop on over to the store!

Today, I am using the ultimate sweet treat die Build an Ice Cream Cone.  My husband could eat ice cream everyday and after every meal! So this card is going to him for his birthday!  The only thing he would say should be different is that every scoop of ice cream has to be chocolate!!!

Design Steps:
1.  The card base is a white  4 1/4 x 6 1/4, the purple DP is 6 x 3, the ice cream DP is 6 x 2 and finally I cut a piece of white card stock with a lacy border die
2.  Glue down the purple dotted paper first and then add the ice cream paper.  Next glue down the lacy border as shown above
3.  Using the Build an Ice Cream Cone die cut out the follow colors of card stock: yellow, burnt orange, pink, yellow green, turquoise, white, red, dark brown and green
4.  Glue the pieces together as shown above using a fine tip glue
5.  Stamp the sentiment and layer with yellow, pink and turquoise card stock
6.  Pop up the cone and the sentiment pieces and your card is complete

CottageCutz Products


We have more inspiration on our YouTube Channel check it out HERE
Thanks so much for stopping by!  And I will see you next Thursday.

Blessings and Take Care


Wednesday, June 01, 2022


Hey Krafty Friends, Jen from Katahdin Krafts, back with another  CottageCutz YouTube  video on the CottageCutz Channel.  This week, I am sharing a Graduation Card using the "Easel Sign w/ Flowers" die.   My eldest daughter is graduating high school this year, so I based my card on her school colors; black, red and white.  I will be making several of these cards to hand out to her friends! 


 Please pop over to the channel to watch my video and learn how I created this fun project, also enter for a chance to win the "Easel Sign w/ Flowers" die!  

The winner of the "The Cake Shoppe" die from my last video is Tracy aka Stay True to God, you can find all the details on the YouTube Channel!