Sunday, July 24, 2022

Christmas in July Sale


Hello CottageCutz Friends! We are having a huge Christmas in July sale over in the online store with savings of up to 65% off retail. The sale runs through July 29th. So shop early to get the best buys. 

Today for your viewing pleasure, I am featuring a few cards made with dies that are on sale. 

This card features the Poinsettia & Holly Flower die. It's currently on sale for $6.98 (65% savings). 
This card features the Festive Farm Calf. It's currently on sale for $6.98 (65% savings).
This next slimline card features the High Flying Snowman,($6.98), Santa's Delivery ($8.03) and Snowman w/Woodsy Friends ($6.98). These are all 65% off. 
This card features the Gingerbread Family die currently on sale for $8.03 (65% savings)
This next card features the Santa Gnome w/Silly Reindeer ($6.98) and the Merry Christmas w/Snowflakes ($5.58). These are both 65% off. 
Our last sample features the Baking Spirits Bright die currently on sale for $8.03 (65% savings)

Hope you enjoyed this little trip down memory lane featuring some of the sale dies. There are many more dies on sale in our online store. Drop by and check them out. 


Saturday, July 23, 2022

Buzzin' By

Hello CottageCutz friends! Thanks for taking the time to stop and visit with us today. It's Mary Marsh here bringing you the Saturday edition of the Blog.

It's new release time!!! 
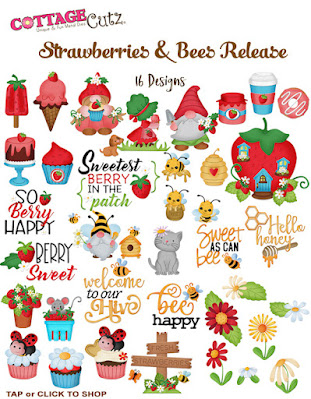
We have new dies in the online store. It's our Strawberries and Bees release with 16 new designs. You can pick up the individual dies at 30% off.

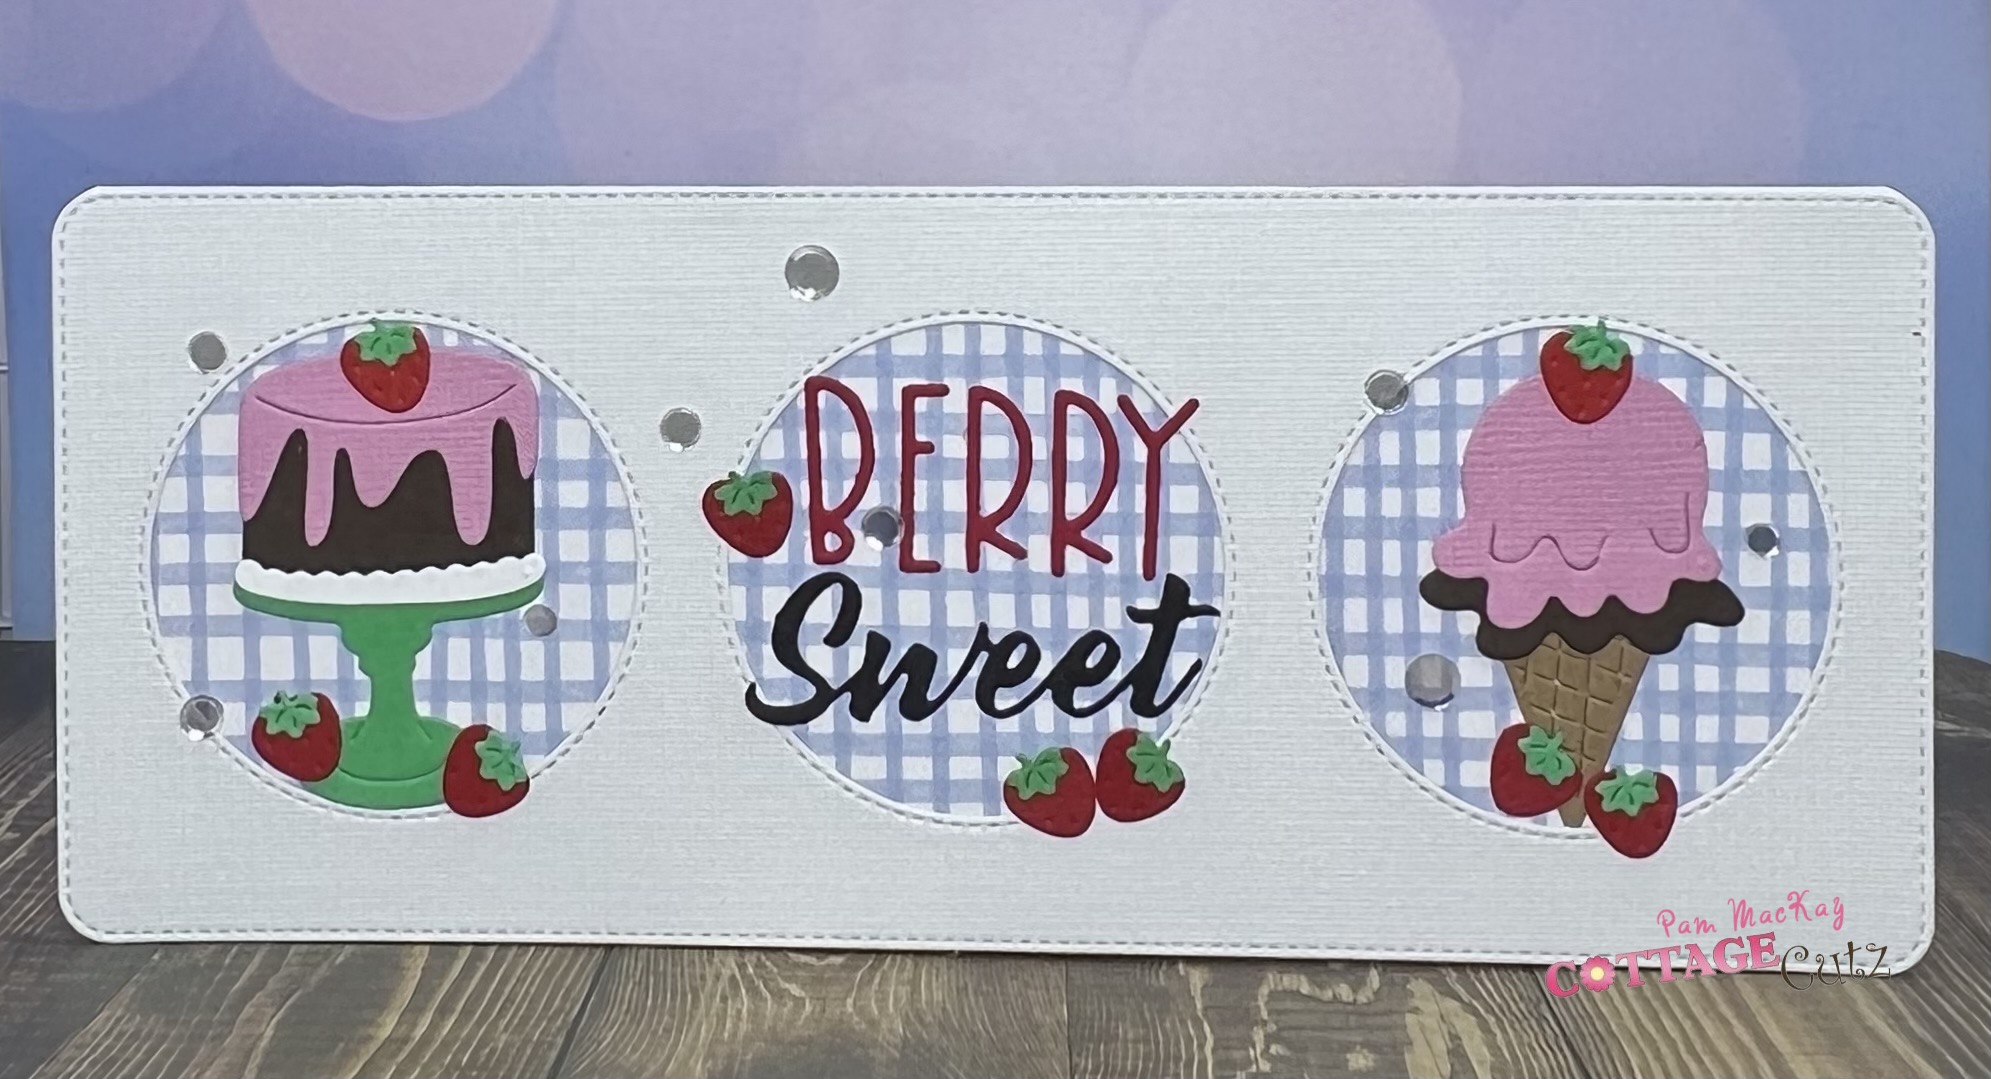
The new dies are perfect for all your cardmaking needs. They would work for so many occasions as our design team have been showing.

And speaking of sales, we are having a Christmas in July sale with savings of up to 65% off retail. The sale runs through July 29th. So shop early to get the best buys. 

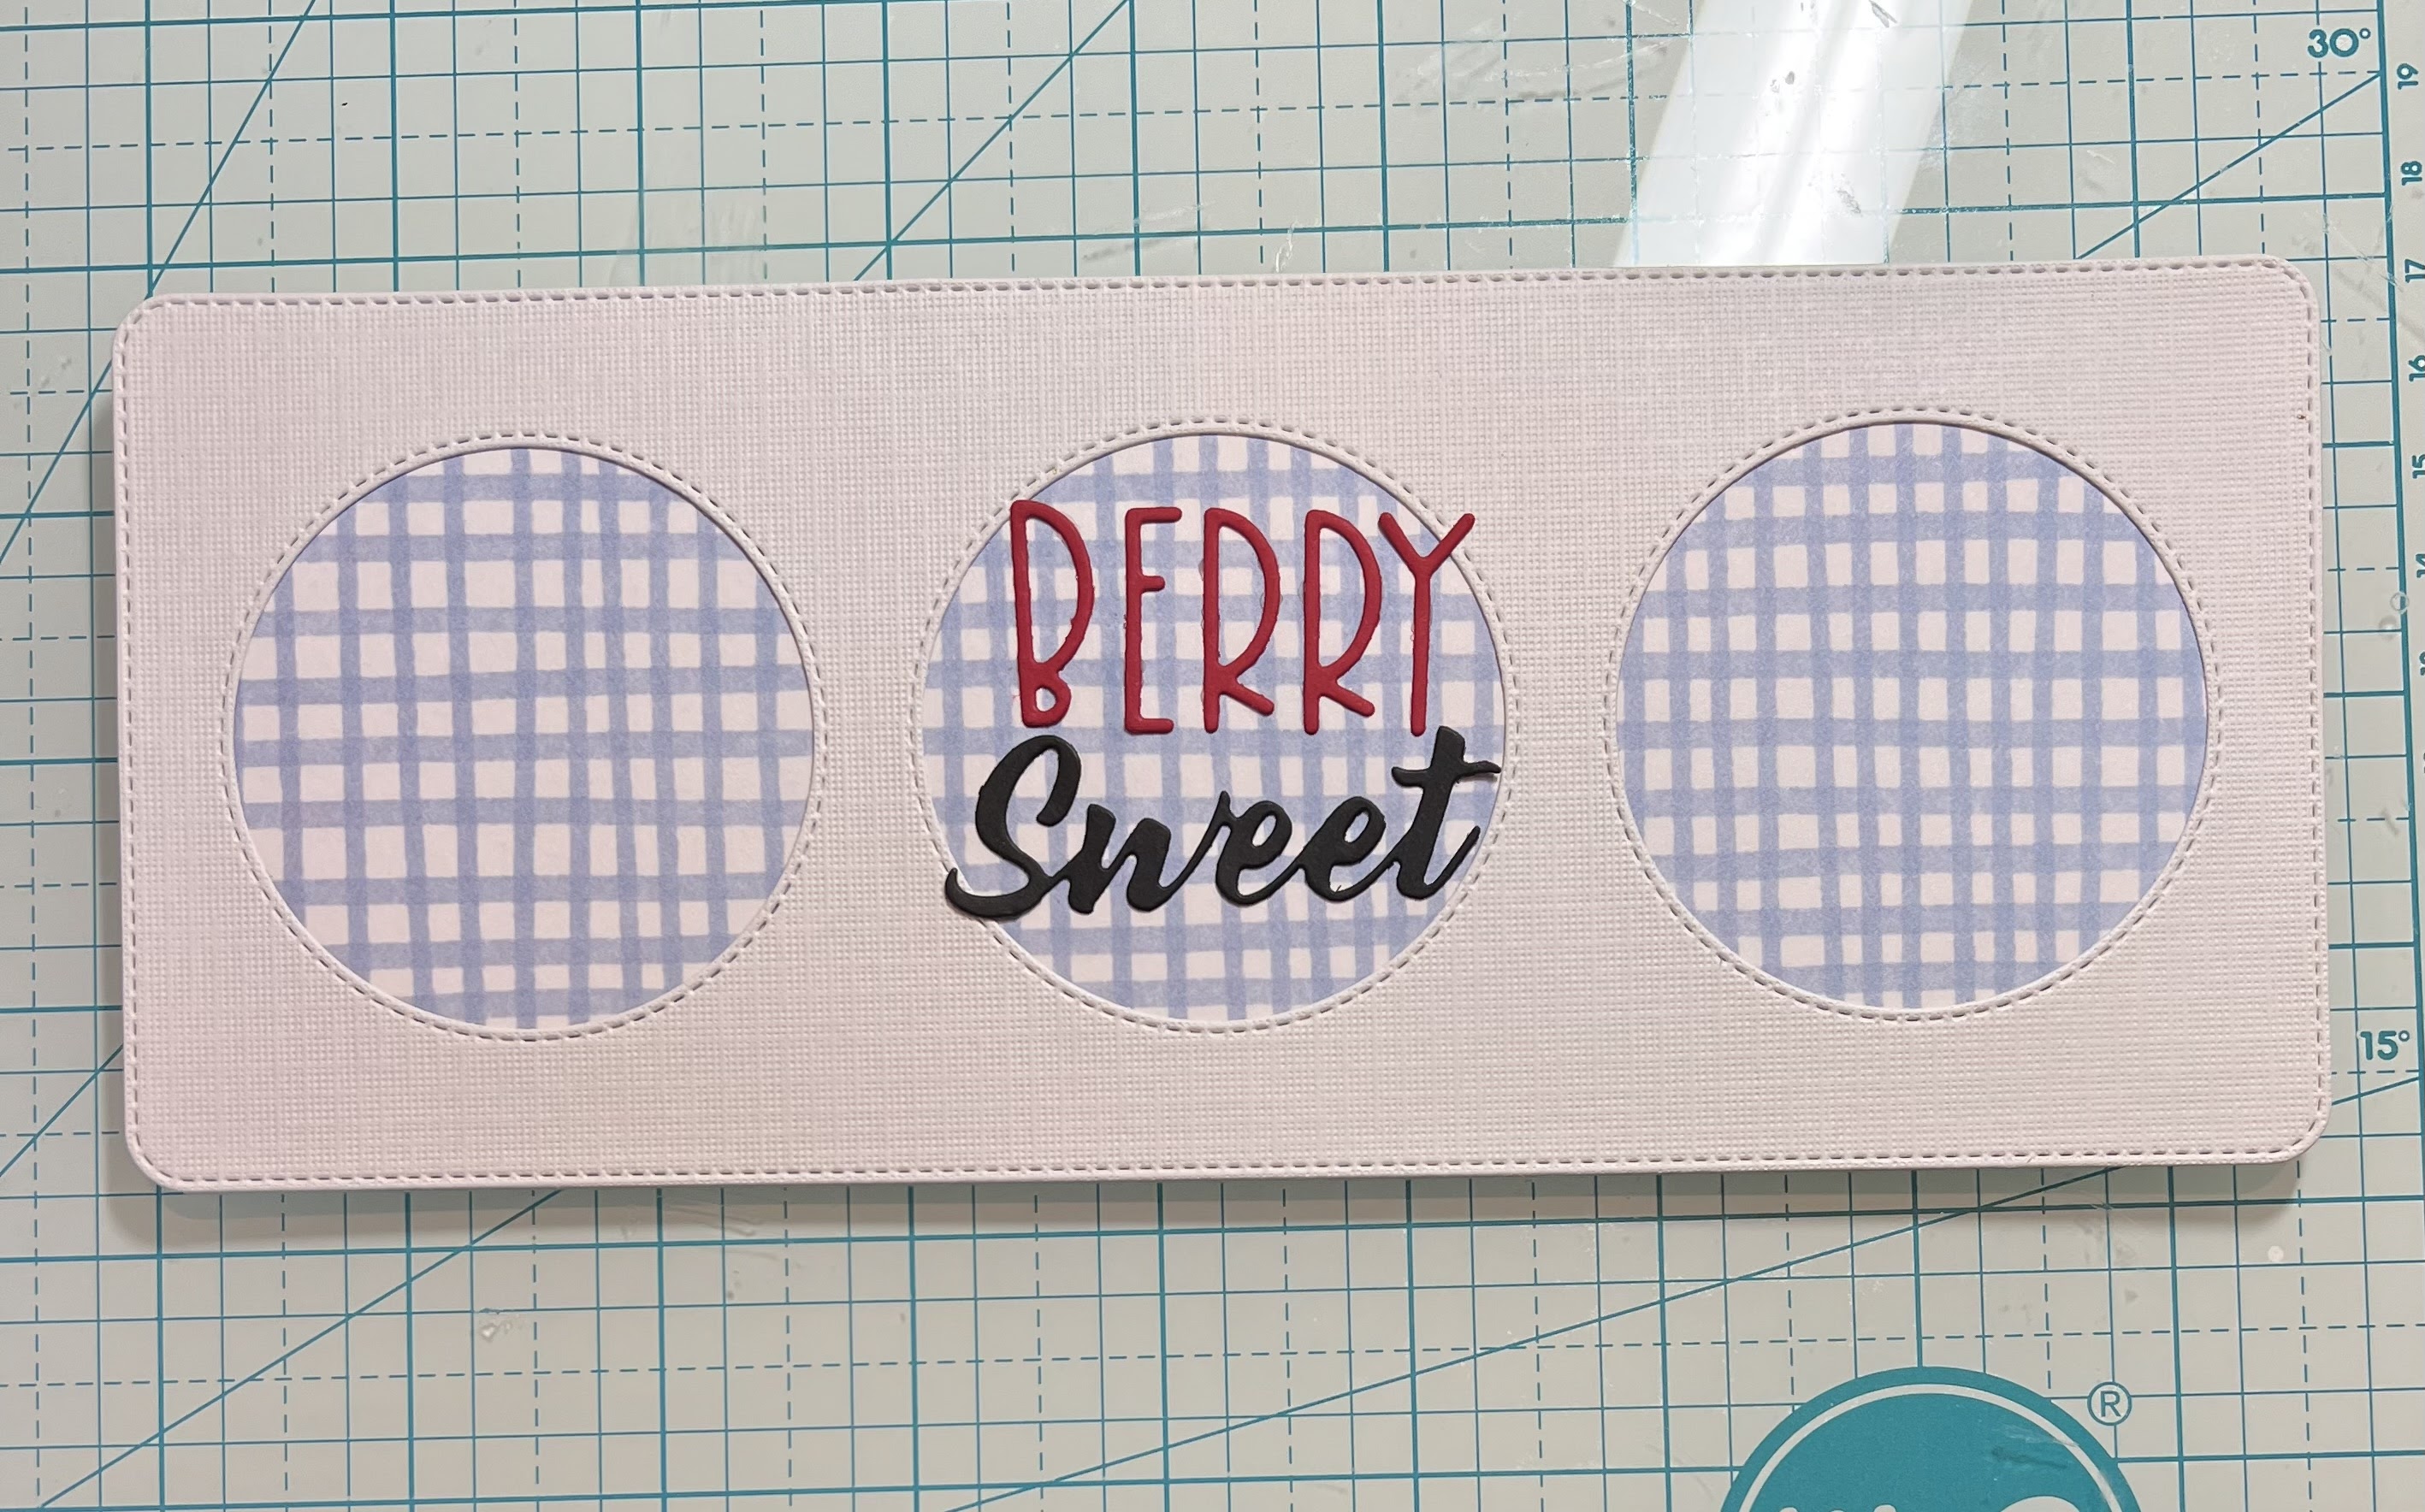
Today for your viewing pleasure, I am featuring the new Bee Gnome and Bee Phrases die. My friend has been sick with a lingering sinus infection and her hubby with complications from Covid. I want them to know I am thinking of them as well as praying for them. So, let's get started with some details on how I created my card. 

Design Steps:

I started my card by stamping my sentiment. It is such a large one that I wasn't sure how many images I would be able to use. I wasn't getting a good image with this stamp even using my MISTI. After wasting several pieces of cardstock, I tried Versafine instant dry pigment ink. That was the ink that worked on this stamp. 

After I stamped the sentiment, I used a Nuvo glitter gloss pen for some interest. It looks splotchy in some of the photos but IRL it's a nice even sparkle. 

Daffodil Yellow Card Base: 4 1/4" x 5 1/2" 
Black Layering Panel:  3 7/8" x 5 1/8"
Daffodil Image Panel: 3 5/8" x 4 7/8"
Next, I cut the images from cardstock. For the gnome wings I used velum and then shaded with some tumbled glass distress ink. I was going to use the hive from the Bee Gnome die But I thought the gnome would be perfect with the sentiment wording. He looks like he is saying "hi" and bringing some flower love!
My elements are prepared I am ready to start card assembly. I secured the image panel to the black layering panel with double sided tape. The gnome is attached with dimensional adhesive. 
I laid out the honeycombs until I was satisfied with their placement and then secured them with Art glitter glue (clear drying). For a little added interest, I paper pieced some dotted designer paper in the honeycombs. 
To finish off my card, I attached the panels to the card base and scattered a few sequins and black enamel dots. That's it for me for this week. I hope I have given you a fresh idea for these new dies. see you next Saturday!
Reminder: Our YouTube Channel has a new video from Linh Van. There is a giveaway for being a subscriber, liking the video and leaving a comment. Click here.

Dies I used to create card:


Friday, July 22, 2022

Faux Embossing with Dies


Hi everyone! My name is Linh and I'm honored and excited to be here as a guest designer. I have a new video up on the CottageCutz YouTube Channel. I've used a couple of die sets from the Strawberry & Bees Collection to create a faux embossed panel using on this sweet and simple card.


Watch this video to see how I create this wonderful texture as the background for my card.


Thursday, July 21, 2022

So Berry Sweet Gnome Card

Happy ThursDIE Cottage Cutz Friends!
Melinda here with you on on this Terrific Thursday! I hope you are enjoying your week thus far and if you are state side...hopefully you are beating the heat! Staying in and crafting is always a great refreshing way to relax in these dog days of summer! Today I am sharing a very simple but sweet card I created featuring dies from the new Strawberries and Bees release

The focal point of this simply sweet card is the adorable little Strawberry Gnome Girl Die. She is part of the new Strawberries and Bees release. I also used the Berry Phrases Die from the same release. My finished card size is a standard top folding A4 size. The base is white cardstock and then I added a piece of red cardstock. To that, I added a mat of some patterned strawberry paper. I designed the paper and printed it out. I purposely made the strawberries on the paper tiny so they wouldn't be disproportionate to the rest of the composition.

Here's a closeup of that sweet little Strawberry Gnome Girl.

She was very easy to assemble. I just cut all her pieces out in white and then colored them in. That really is my favorite thing to do. Coloring your die pieces is very relaxing. She comes together very easily and is so sweet.

Here's another view of her closeup. Once I assembled her, I added some foam tape to give her a little lift off the mats. I used a pink and red cardstock mat and put those on top of Wacky Stitched mat. I added just a tiny touch of stickles to the centers of her hairbows and the centers of the little flowers on her berry hat.

Here's a closeup of the sweet title and two berries. I did the same with the title pieces. I cut them all out in white and then colored them in. 


Dies I Used


Be sure to check it out and all the amazing creations from the design team!


Also, don't forget to head over to the CottageCutz YouTube channel and check out all of the amazing projects on there. Our video team is doing a wonderful job of filling the channel with all sorts of creative content! You don't want to miss it!


Well that about covers it for today! Until the next time, have a wonderfully craft-die day!
Melinda Beltran

Wednesday, July 20, 2022

So Berry Happy


Hey Krafty Friends, Jen from Katahdin Krafts, back with another  CottageCutz YouTube  video on the CottageCutz Channel.  This week, I am sharing my "So Berry Happy" strawberry house card.  


I used several dies from the latest "Strawberries & Bees" release, along with the "Flower Pot House" die for my card this week.  I looked at that flower pot and saw a strawberry planter waiting to be created! 


Please head over to the channel and watch my video to learn how I created this fun project, also enter for a chance to win the "Strawberry Girl" die!  

The winner of the "Flowers" die from my last video is Lori U'ren, you can find all the details on the YouTube Channel!


Tuesday, July 19, 2022

Berry Sweet

Hello Scrapping Cottage Friends, 

It is Pam sharing with you today!

We have a new release and it is just plain adorable.  It is called Strawberries and Bees perfect for those fun summertime cards. There are 16 designs in this new collection and you can get the individual dies for 30% off right now! This sale will not last so shop today to get the incredible savings.

Here is my card for today using three new release dies Strawberry Treats 1Strawberry Treats 2, and  Berry Phrases.


Design Steps:
1.  Use a white slimline for the card base measuring 3 1/2 x 8 1/2, cut a piece of white card stock 3 1/2 x 8 1/2 with the Circle Window Slimline die and your final piece is a checked blue DP at 3 1/4 x 8 1/4
2.  Glue the blue checked DP to the white card base and then glue down the Circle Window piece.  Using the Berry Phrase die cut out the Berry in red and the Sweet in black.  Glue to the center circle
3.  Using the Strawberry Treats 1 die cut out the pieces in pink, brown, red, white and green.  Assemble with a fine tip glue
4.  Using the Strawberry Treats 2 die cut out the pieces in pink, brown, red and green.  Assemble with a fine tip glue
5.  Glue the cake in the left circle and the icecream in the right circle 

6.  Using the same dies cut out a few extra strawberries and add then to the card as shown.  To complete the card add some silver sequins

CottageCutz Products

Here is the new release so please check it out in our store today!!

We have more inspiration on our YouTube Channel check it out HERE
Thanks so much for stopping by!  And I will see you next Thursday.

Blessings and Take Care