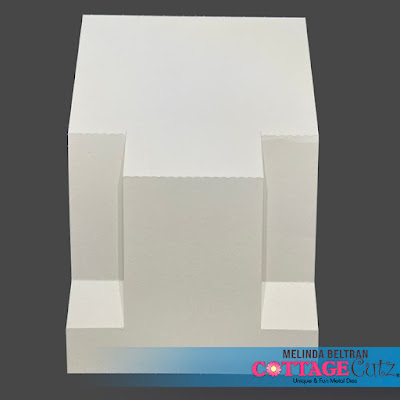
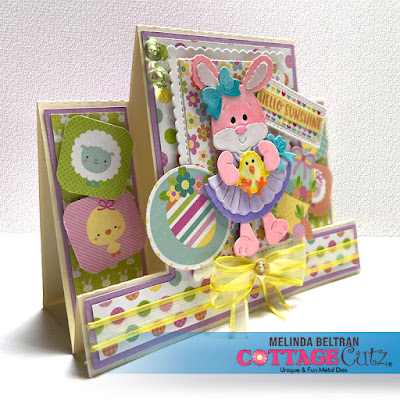
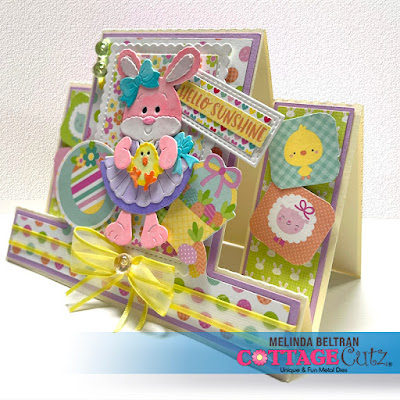
I decided to make a candy bar box! Yep... on top of being adorable, this little pretty holds a wonderful surprise!
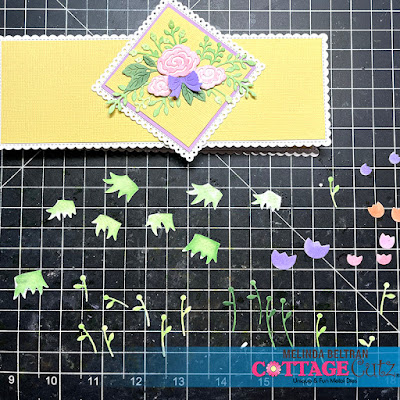
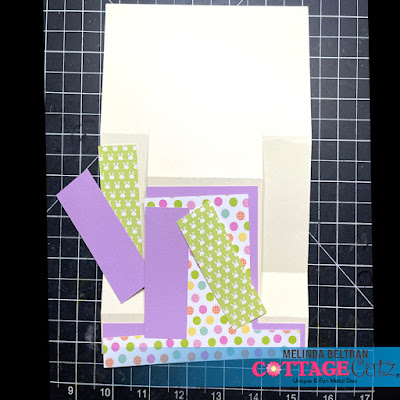
I then went to work coloring the pieces from both the rose die and the tulips and grass from the
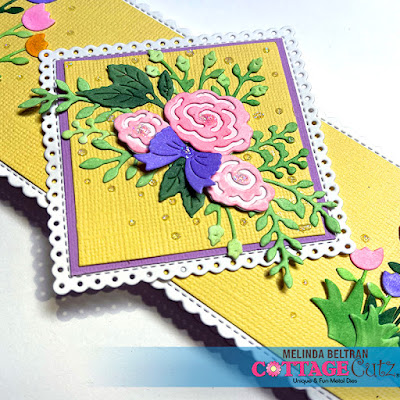
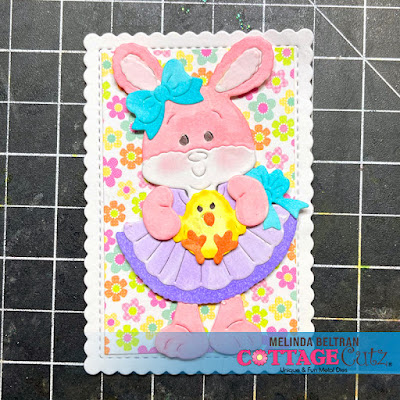
Here is a closeup of the roses and foliage from the Floral Spray die. I also used the bow from the sweet little Miss Bunny die. I mounted them onto a yellow cardstock mat. That mat along with the lavender cardstock mat was mounted onto the stitched eyelet square die. You can see I finished it off with some dots of stickles to give it all a bit of sparkle.
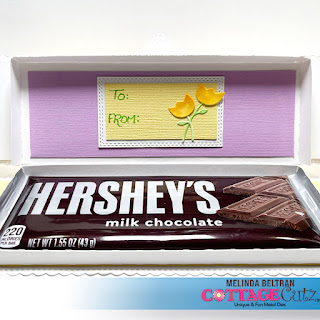
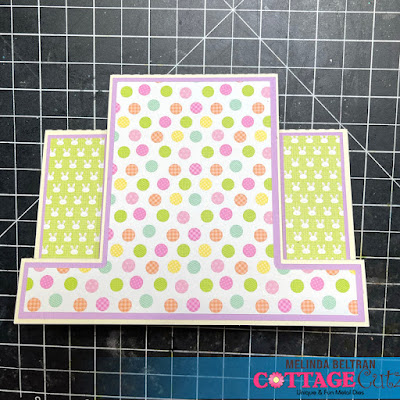
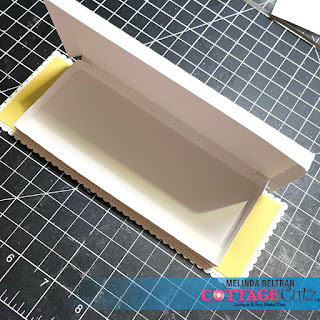
For the inside of the box, I kept it very simple. I added a mat of some lavender cardstock. I then mounted some yellow cardstock onto a double-stitched rectangle die from that set. For a little decorative touch, I added a couple more tulips from the spring sheep die.
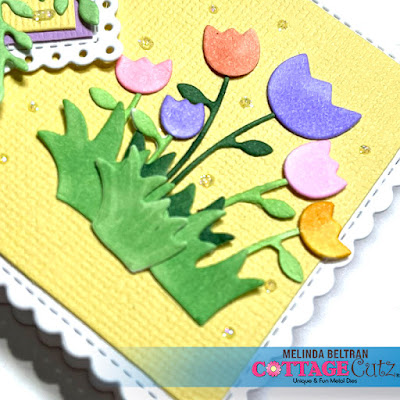
Here is a closer look at some of the tulips and grass from the Spring Sheep die.
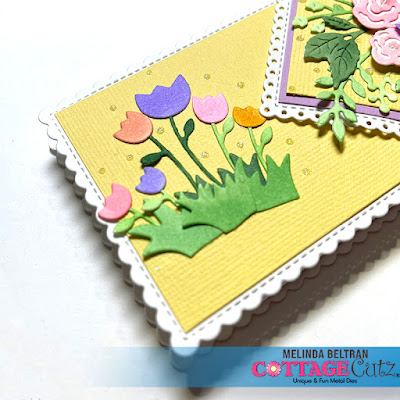
This is a closer look at the tulips on the other side. You can see I added some dots of stickles for a little extra sparkle!
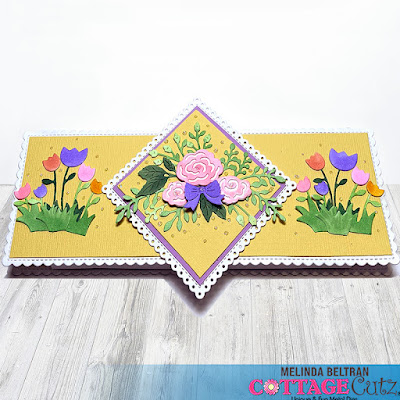
Here is one last look at my creation. I think it turned out super cute and quite delish!!!!
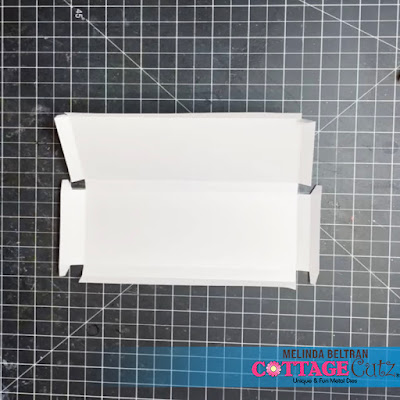
Once I get it completely diagrammed out, I will share the template for the box. So stay tuned!
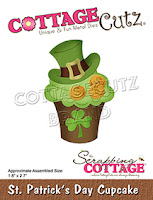
The Dies I used to create this project:


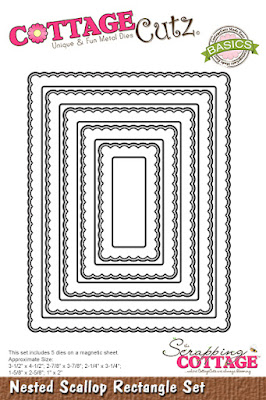
I used the Stitched Scallop version. That one is currently unavailable, but this is an excellent alternative.

In case you didn't hear, The CottageCutz YouTube channel is up and running. Head over and check out the latest video! There is a giveaway for subscribing too!
Well that about covers it for today! Until the next time, have a wonderfully crafty day!
Melinda Beltran