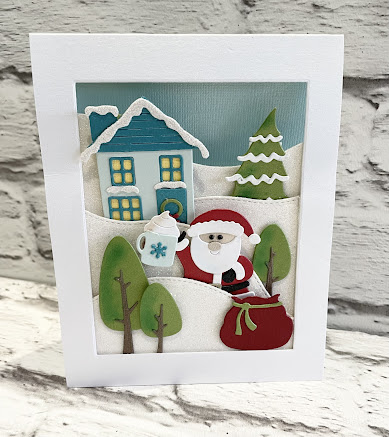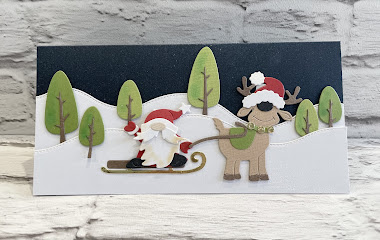
Happy Christmas Eve, I couldn’t really do a card without Santa on so this Will be my very last Christmas card of the year. It’s Wendy bringing you the blog today and I wish you the merriest of Christmases
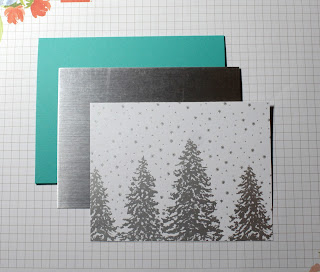
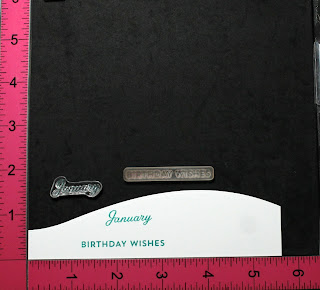
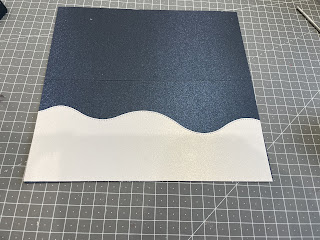
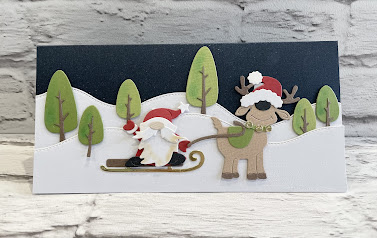
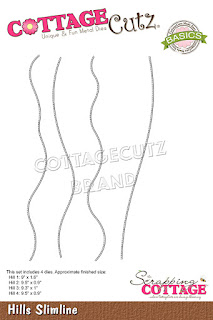
Tip begin with I took a navy card and used the ‘Holiday Slimline’ to cut 2 pieces of card, one higher than the other.
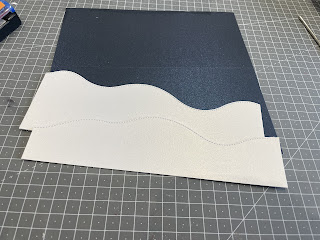
I stuck the base card down with glue but in my usual style I 3D’s the other pice of card so that i could add item behind this piece
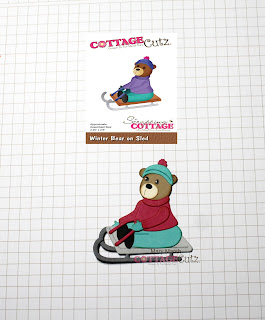
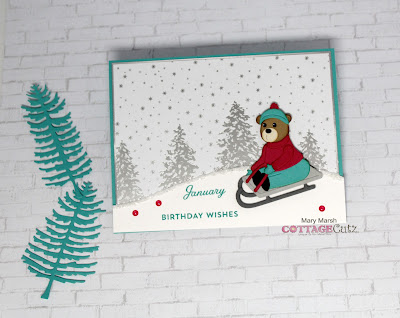
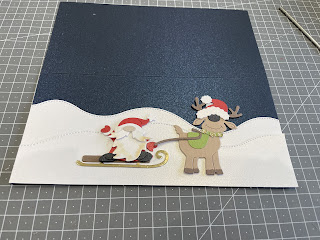
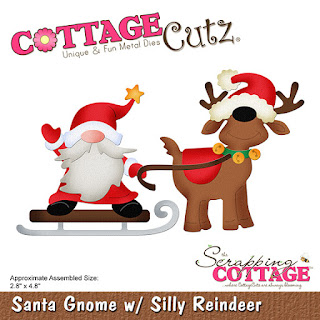
Next I cut out Santa, and his silly reindeer and attached these to the card with 1mm 3D foam pads.
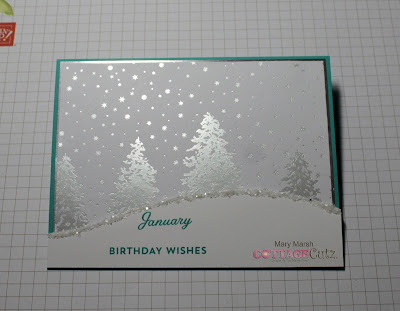
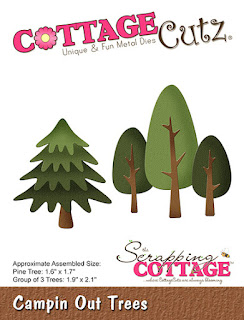
I then choose a range if trees from the ‘Campin Out Trees’ set and added some chalk before attaching, then to the cared periodically added with 1mm foam pads.
To finish and it’s hard to see but I used a clear ‘Winks of Stella’ pen on the trees to make then glisten and we are done!
Again Happy Christmas to you and your loved ones and I hope you’ve been good and Santa puts something nice in your stocking
Hugs
Wendy
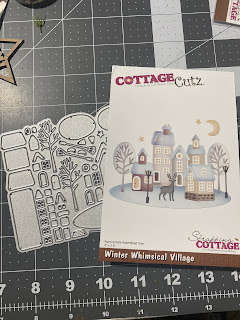
Dies I used:
Don’t forget to visit our YouTube channel for more wonderful designs