Sunday, April 25, 2021

Circus Fun

Hi!

It's Anja here. Finally my Circus and Slimline dies arrived. And this is the first card I made with my new goodies. 


For this card I used:

- Cottage Cutz dies (Balancing Elephant, Prancing Pony, Leaping Lion, Windows Slimline, Clouds Slimline, Nested Rectangles Slimline),
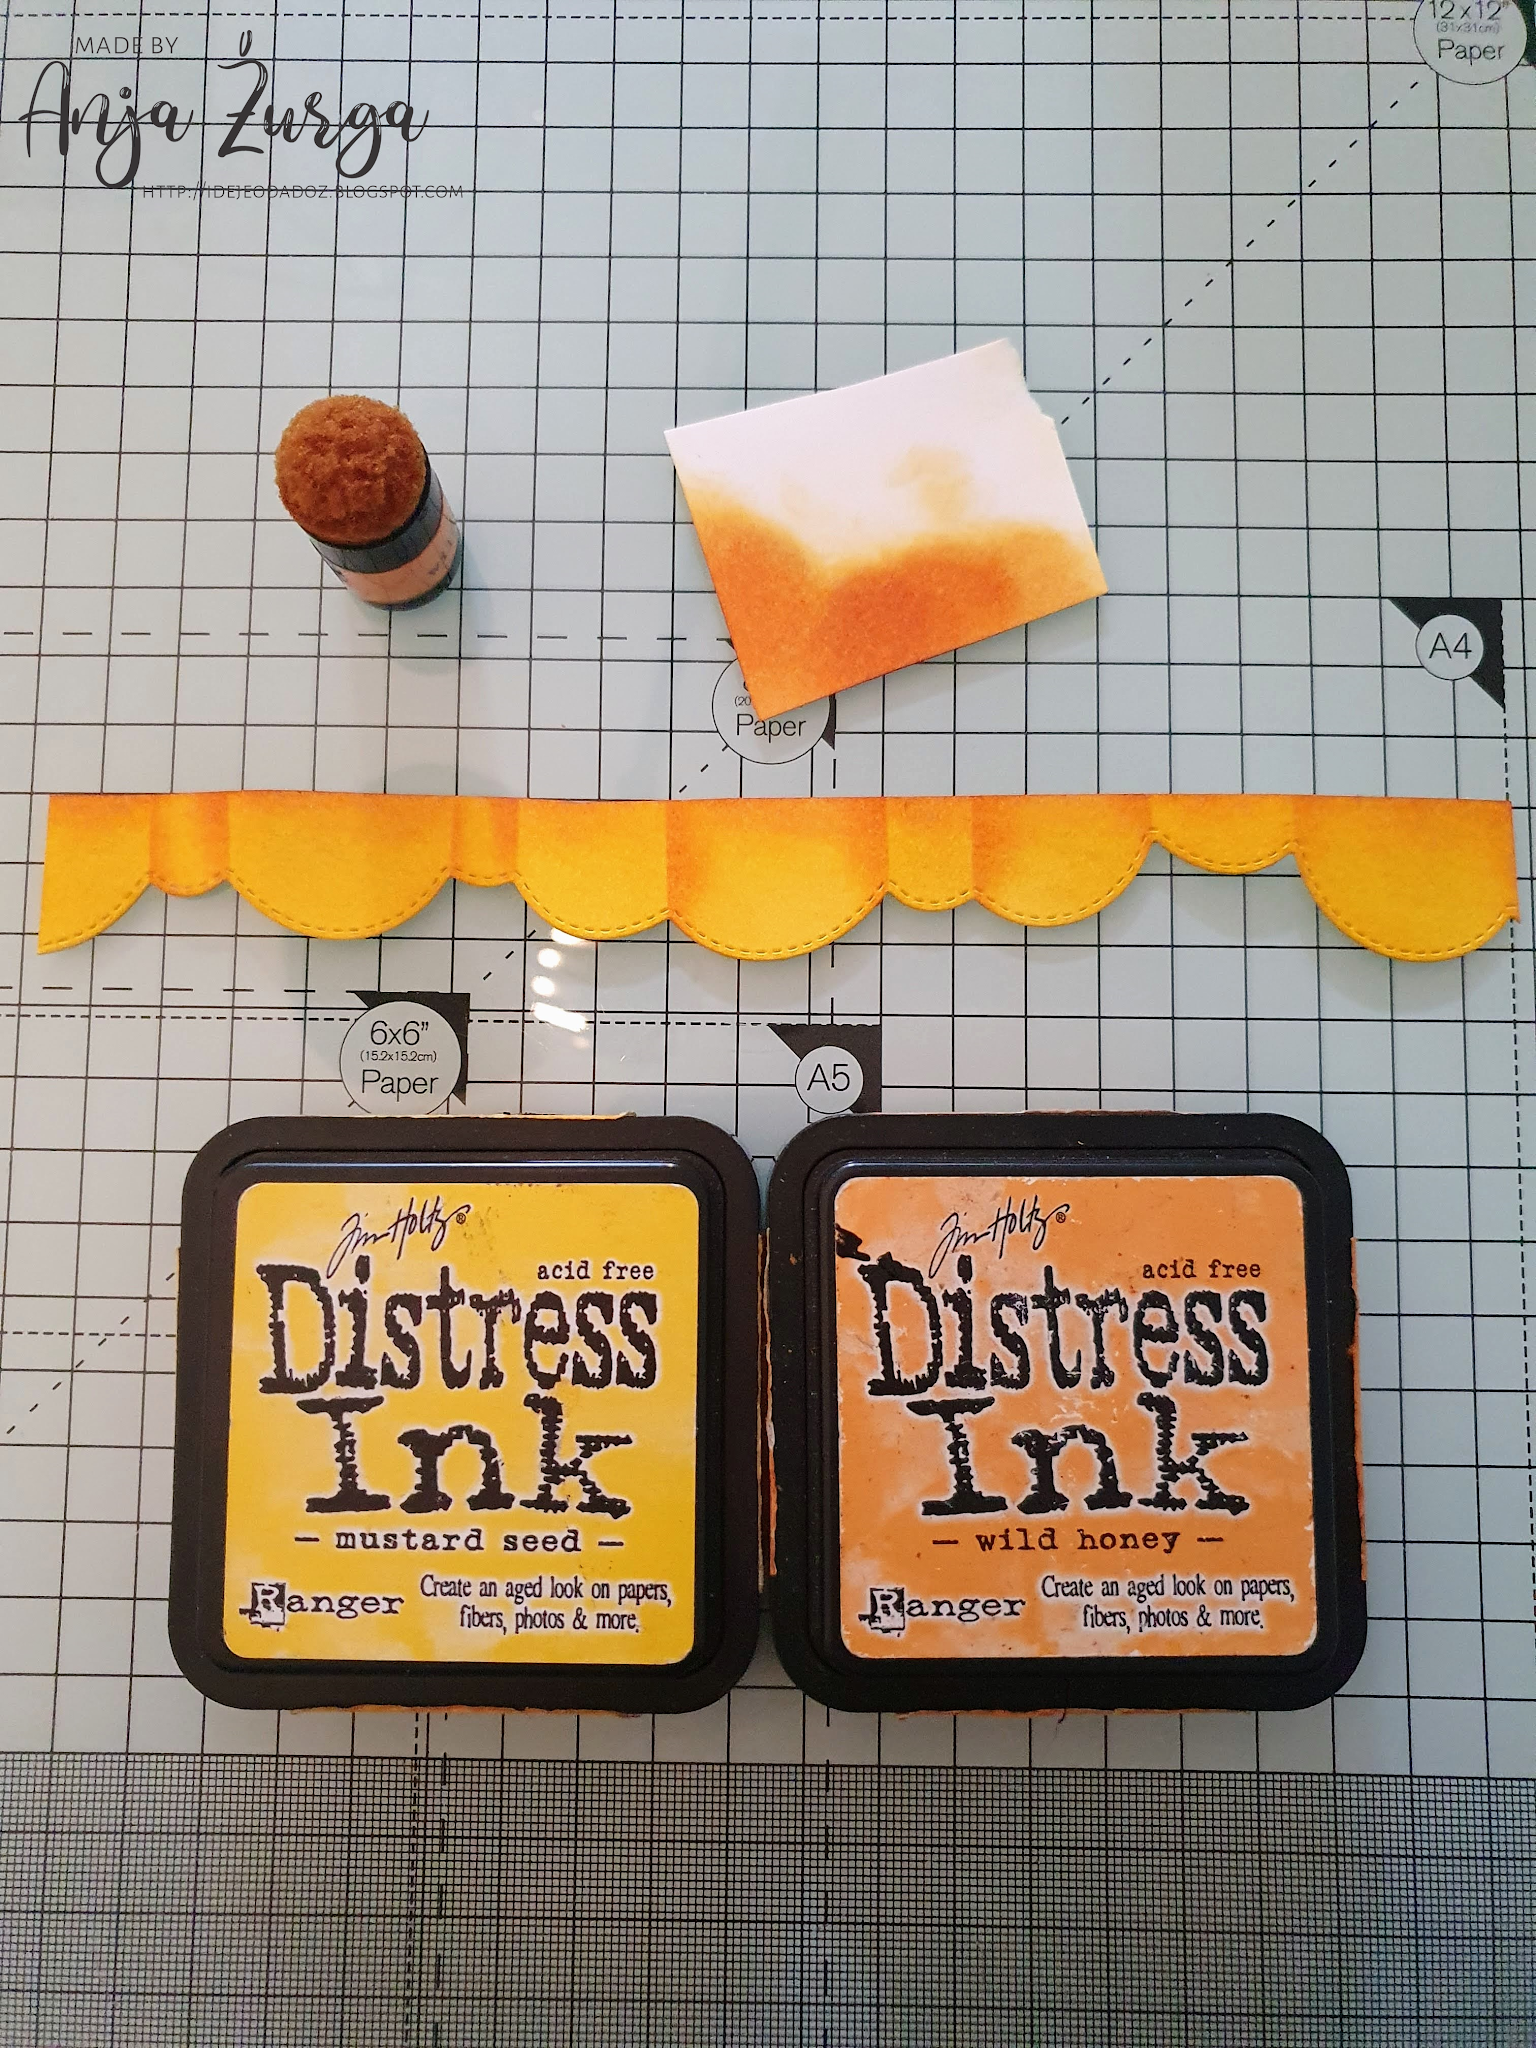
- Distress Inks,

- white card base (10x21 cm),

- patterned paper (9,5x21 cm),

- white card stock for die cuts,

- black pen,

- white pen,

- washi tape,

- paper trimmer, 

- adhesive foam pads,

- paper glue.


 First I cut and colored all three animals.

Next I cut all the parts for the background. I trimmed the patterned paper and die cut all the other three parts. I used the second largest die from the Nested Rectangles Slimline set. I colored the rectangle with red Distress Ink and then cut the Windows Slimline die out of it. I also cut two windows out of white card stock.

I also decided to add a curtain in the back. I used Clouds Slimline die to make the curtain. I used a small piece of the paper to make it look like drapes.


Then I arranged all the pieces on the card base and glued it together. I added the curtain between two window cuts. I used adhesive foam pads to adhere the animals. And my card was done. 


That's all from me for today. Have a nice Sunday and see you again next week.

Anja Z. 


Cottage Cutz dies I used for this card:


Saturday, April 24, 2021

Sweet Home Slimline Card

Hi Cottage Cutz fans!  It's Jeanne today with a fun card created using the new Slimline dies.  These dies are perfect for setting the scene!  There are nine different designs in the Slimline release and right now they are 25% in the online store.

To begin my scene I cut five rectangles using the Nested Stitched Rectangles and Scalloped Stitched Rectangle dies.

I then used one of the Hillside dies to cut two hills from the green cardstock.  By doing this I have a nice stitched edge on the bottom and sides of my grass area.

I made a stencil using one of the Cloud dies and inked clouds on the white rectangle.

When assembled these set the perfect scene for my house.

Using the Spring Bloom Cottage, I cut the house and colored it with a combination of Copic markers and Distress Oxide inks.  I tucked it in between the hillsides.
Next I cut three layers of my sentiment using the Home Sweet Home Phrase die.  These are stacked together for dimension and glued to the card front.
Finally I added a few flower sequins for a little bit of sparkle.

I hope you've enjoyed my card today.  Please browse the blog for more inspiration on using the new Slimline release!  They really are a great staple for your card making stash and they are are sale right now!

Dies used:


Thanks for stopping by today!  I hope you have a fun and creative weekend!


Friday, April 23, 2021

Showers of Love

Hello Scrapping Cottage friends! Thanks for taking the time to stop and visit with us today. It's Mary Marsh here bringing you the Friday edition of the Blog.

We have a brand new release of dies in the online store. Your slimline cardmaking is going to get a lot easier. We have 9 Slimline designs and they are on a 25% off sale. These are wonderful, basic dies that should be a part of every card maker's collection especially if you are liking the new slimline style.

Today for your viewing pleasuring, I am using the Nested Stitched Rectangles Slimline, Clouds Slimline and the Spring Showers Buddies dies. I created a special I love you card for my precious little granddaughter. She loves getting cards from me and saves them all. So let's get started with some details on how I created my card.

Design Steps:

I started my card by cutting the Spring Showers Buddies images. I wanted to see what size slimline die to use for my rainy day scene. I cut them using the packaging colors. I like bright colors and these ones are so perfect. 
Next I used designer paper and cut my image panel background with the largest of the Nested Stitched Rectangles Slimline die. It measures 8 1/2" x 3 1/2". Then I took a raindrops stencil and stenciled raindrops on the background designer paper. 
I used gray designer paper to cut the clouds with the Clouds Slimline die. 
Then I attached to the background designer paper. 
Stamped my showers of love sentiment in dark grey ink. 
I die cut a water puddle and splashes of rain water from the 2019 Spring collection "Rainy Day Duck". It's out of stock but you could use a snowbank die for the same effect. Like the one from the Snowman w/Lamp Post die. 
To complete my card I attached the Spring Showers Buddies to the background designer paper with dimensional adhesive. 
I hope I have given you a new idea for a way to use this cute Spring die and the newest Slimline dies. See you next Saturday! 

Dies I used to create card:


Thursday, April 22, 2021

Flowers for Mom

Hello Scrapping Cottage Friends

It is Pam sharing with you today!

Our design team is continuing to highlight the fantastic new Slimline die release.  There are 9 slimline designs in this release that I consider basic essentials!  I am using the Rounded Rectangle Slimlines today.  The card on the left is a Mother's day card for my mother-in-law and the one on the right is a hello card for just an everyday any occasion.  


Design Steps:

1.  I did two slimline card bases one in cream and one in kraft.  Next using the 2nd to the largest Rounded Rectangle Slimline die cut two white and two kraft.  Next using the 3rd from the largest rounded rectangle cut one kraft and one cream.  Finally using the 4th from the largest rounded rectangle die cut one white and one kraft 
2.  Using the 4th from the largest Pierced Circle die cut out 3 cream circles and 3 kraft circles.  Next using the Spring Flowers in a Jar 1Spring Flowers in a Jar 2 and Spring Flowers in a Jar 3 cut out a set in white and kraft.  I also cut one extra white and kraft for the inside of the card
3.  Use the cream colored card base and glue down one of the largest kraft rounded rectangles to the front of the card.  Next glue down your cream circles (I did the top and bottom one first and then placed the center circle).  Last glue down your flowers add your bow and little tag
4.  For the next card use the kraft colored card base and glue down one of the largest white rounded rectangles to the front of the card.  Next glue down the three kraft circles.  Last glue down your flowers add your bow and little tag
5.  For the inside of the cream card glue down the last large kraft rectangle.  Next glue down the smaller cream colored rectangle and lastly glue down the smaller kraft rectangle.  Stamp Happy Mother's Day in brown ink and then glue down the remaining cream flower vase as shown
6.  For the inside of the kraft card glue down the last large white rectangle.  Next glue down the smaller kraft colored rectangle and lastly glue down the smaller white rectangle.  Then glue down the remaining kraft flower as shown

CottageCutz Products


Thanks so much for stopping by!  These two cards were quick, easy and fun to create!  

Blessings
Pam