Sunday, September 06, 2020

Life Is Beautiful

Hi!

It's Anja here. I made a brand new scene on a card today. This reminds me of my holidays this year. Camping in nature, surrounded with mountains.


For this card I used:

- Cottage Cutz dies (Camping Trailer, Moose & Trees, Woodland Pine Trees, Spring Grass, Snowy Mountains),

- die inks,

- craft paper card base (15x15 cm),

- white cardstock for background (14x14 cm) and die cuts,

- sentiment stamp,

- black pigment ink,

- silver pigment ink,

- acrylic block,

- brushes,

- paper glue. 


First I cut and colored all the pieces. I cut two sets of mountains and grass and three sets of pine trees.

 
Next I did the background using inks and brushes. 

When I glued all the pieces to the card base I added the sentiment.

And my card was done.


Before I go I just want to remind you there's a huge Labor's day sale going on on The Scrapping Cottage online store. Make sure you get the dies on your wish list before the sale is over. 

Have a nice Sunday and see you again tomorrow with my additional post this week. 


Anja Z.


Cottage Cutz dies I used:


Saturday, September 05, 2020

Santa Reading to Reindeer (new die)

Hello Scrapping Cottage friends! Thanks for taking the time to stop and visit with us today. It's Mary Marsh here bringing you the Saturday edition of the Blog.

We have three brand new releases in the online store. It's Christmas Part 1 (22 new designs), Christmas Part 2 (21 new designs) and a Halloween release (14 new designs). They are all currently on sale and you can save anywhere from 25% to 60%.

We also have a Labor Day sale going on with savings of up to 60% on selected dies. This sale will run through Wednesday, September 9. 

For my card today I am using the Santa Reading to his Reindeer and the Santa Express Tag dies from the Christmas Part 1 release. So let's get started with some details of how I created my card. 

Design Steps:
I decided to create a slimline card with these new dies so I looked for some background paper that I thought might work. I just bought this new Snowflake Splendor paper and I liked this subtle pattern.

Balmy Blue card base: 8 1/2" x 3 1/2"
Designer Paper Layer: 8 1/4" x 3 1/4" 

Next, I cut Santa and his reindeer. I used colored cardstock for the images. You could also use white cardstock and color with your favorite coloring medium
I attached the images to the designer paper using glue dots.
I was going to stamp a sentiment across the top of the panel but I didn't have one that fit this image. So I thought the Santa Express Tag would work well in the corner of my card. 
I cut it from red cardstock and then again from white cardstock. I used the die inlay technique and glued the words and scallops with Ranger multi medium matte.

To finish off this little outdoor Santa scene I attached the image panel to the blue card base with double sided tape. I scattered a few snowflake sequins to complete this card.

That's it for me for this post. I hope I have given you an idea for a way to use this new Santa die. See you next Saturday!

dies I used to create card:


Friday, September 04, 2020

Make Your Soul Happy

Happy Friday!  It's Jeanne today with a little inspiration for the holiday weekend!  My card uses a die from the Beach and Tropical release.  That release and others are part of a big Labor Day Sale on the website right now.  And the new Christmas and Halloween dies have just been released!  How fun!
To start I picked my color palette by choosing the patterned paper.  It is part of a set so I knew all the patterns and colors would coordinate.

I cut my pieces using Day at the Beach.  I used ink in the same peach color to shade the under side of the umbrella and Distress Oxide Vintage Photo to shade the sand.  All other pieces are not shaded.  I assembled everything.
Next I cut an A2 card base from white cardstock, a panel 4 1/4 x 5 1/2 inches from the patterned paper and a white panel using the largest of the Nested Wacky Stitched Rectangles.
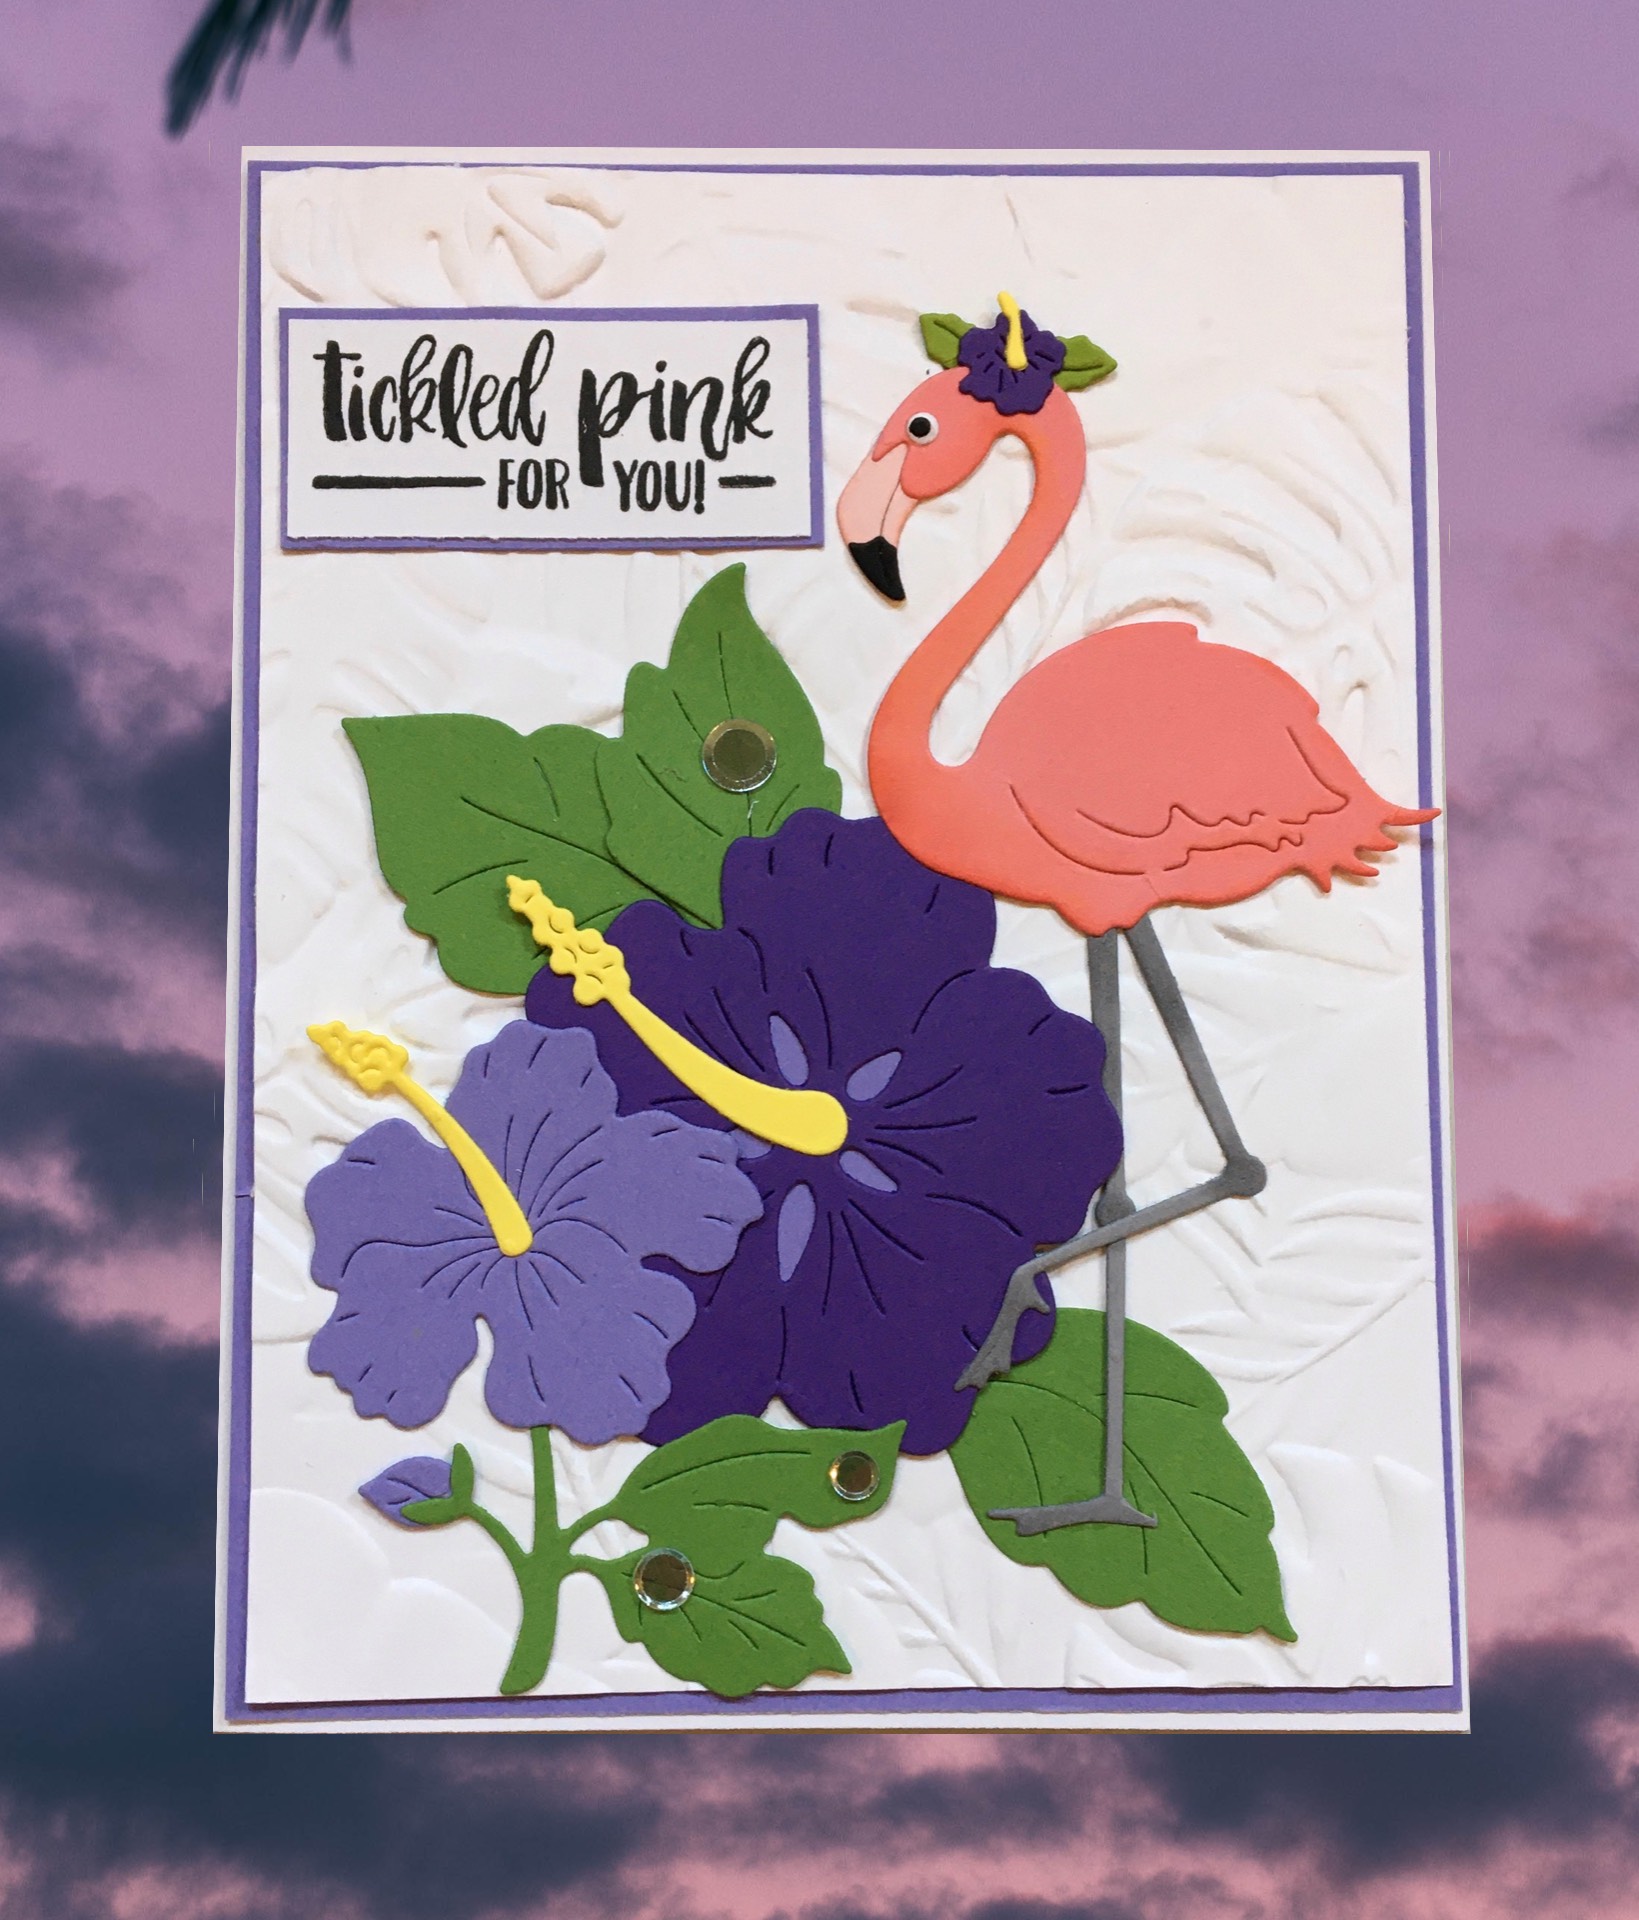
I stamped my sentiment in the upper right corner of the white panel.
I wanted that panel to have some texture.  Often I will flick watercolor or ink on a panel but here I didn't want to interfere with the sentiment so I used a favorite stamp in a splatter pattern.  This is one stamp I will not remount for use on an acrylic block.  The wood gives great control and if it doesn't stamp evenly so much the better!
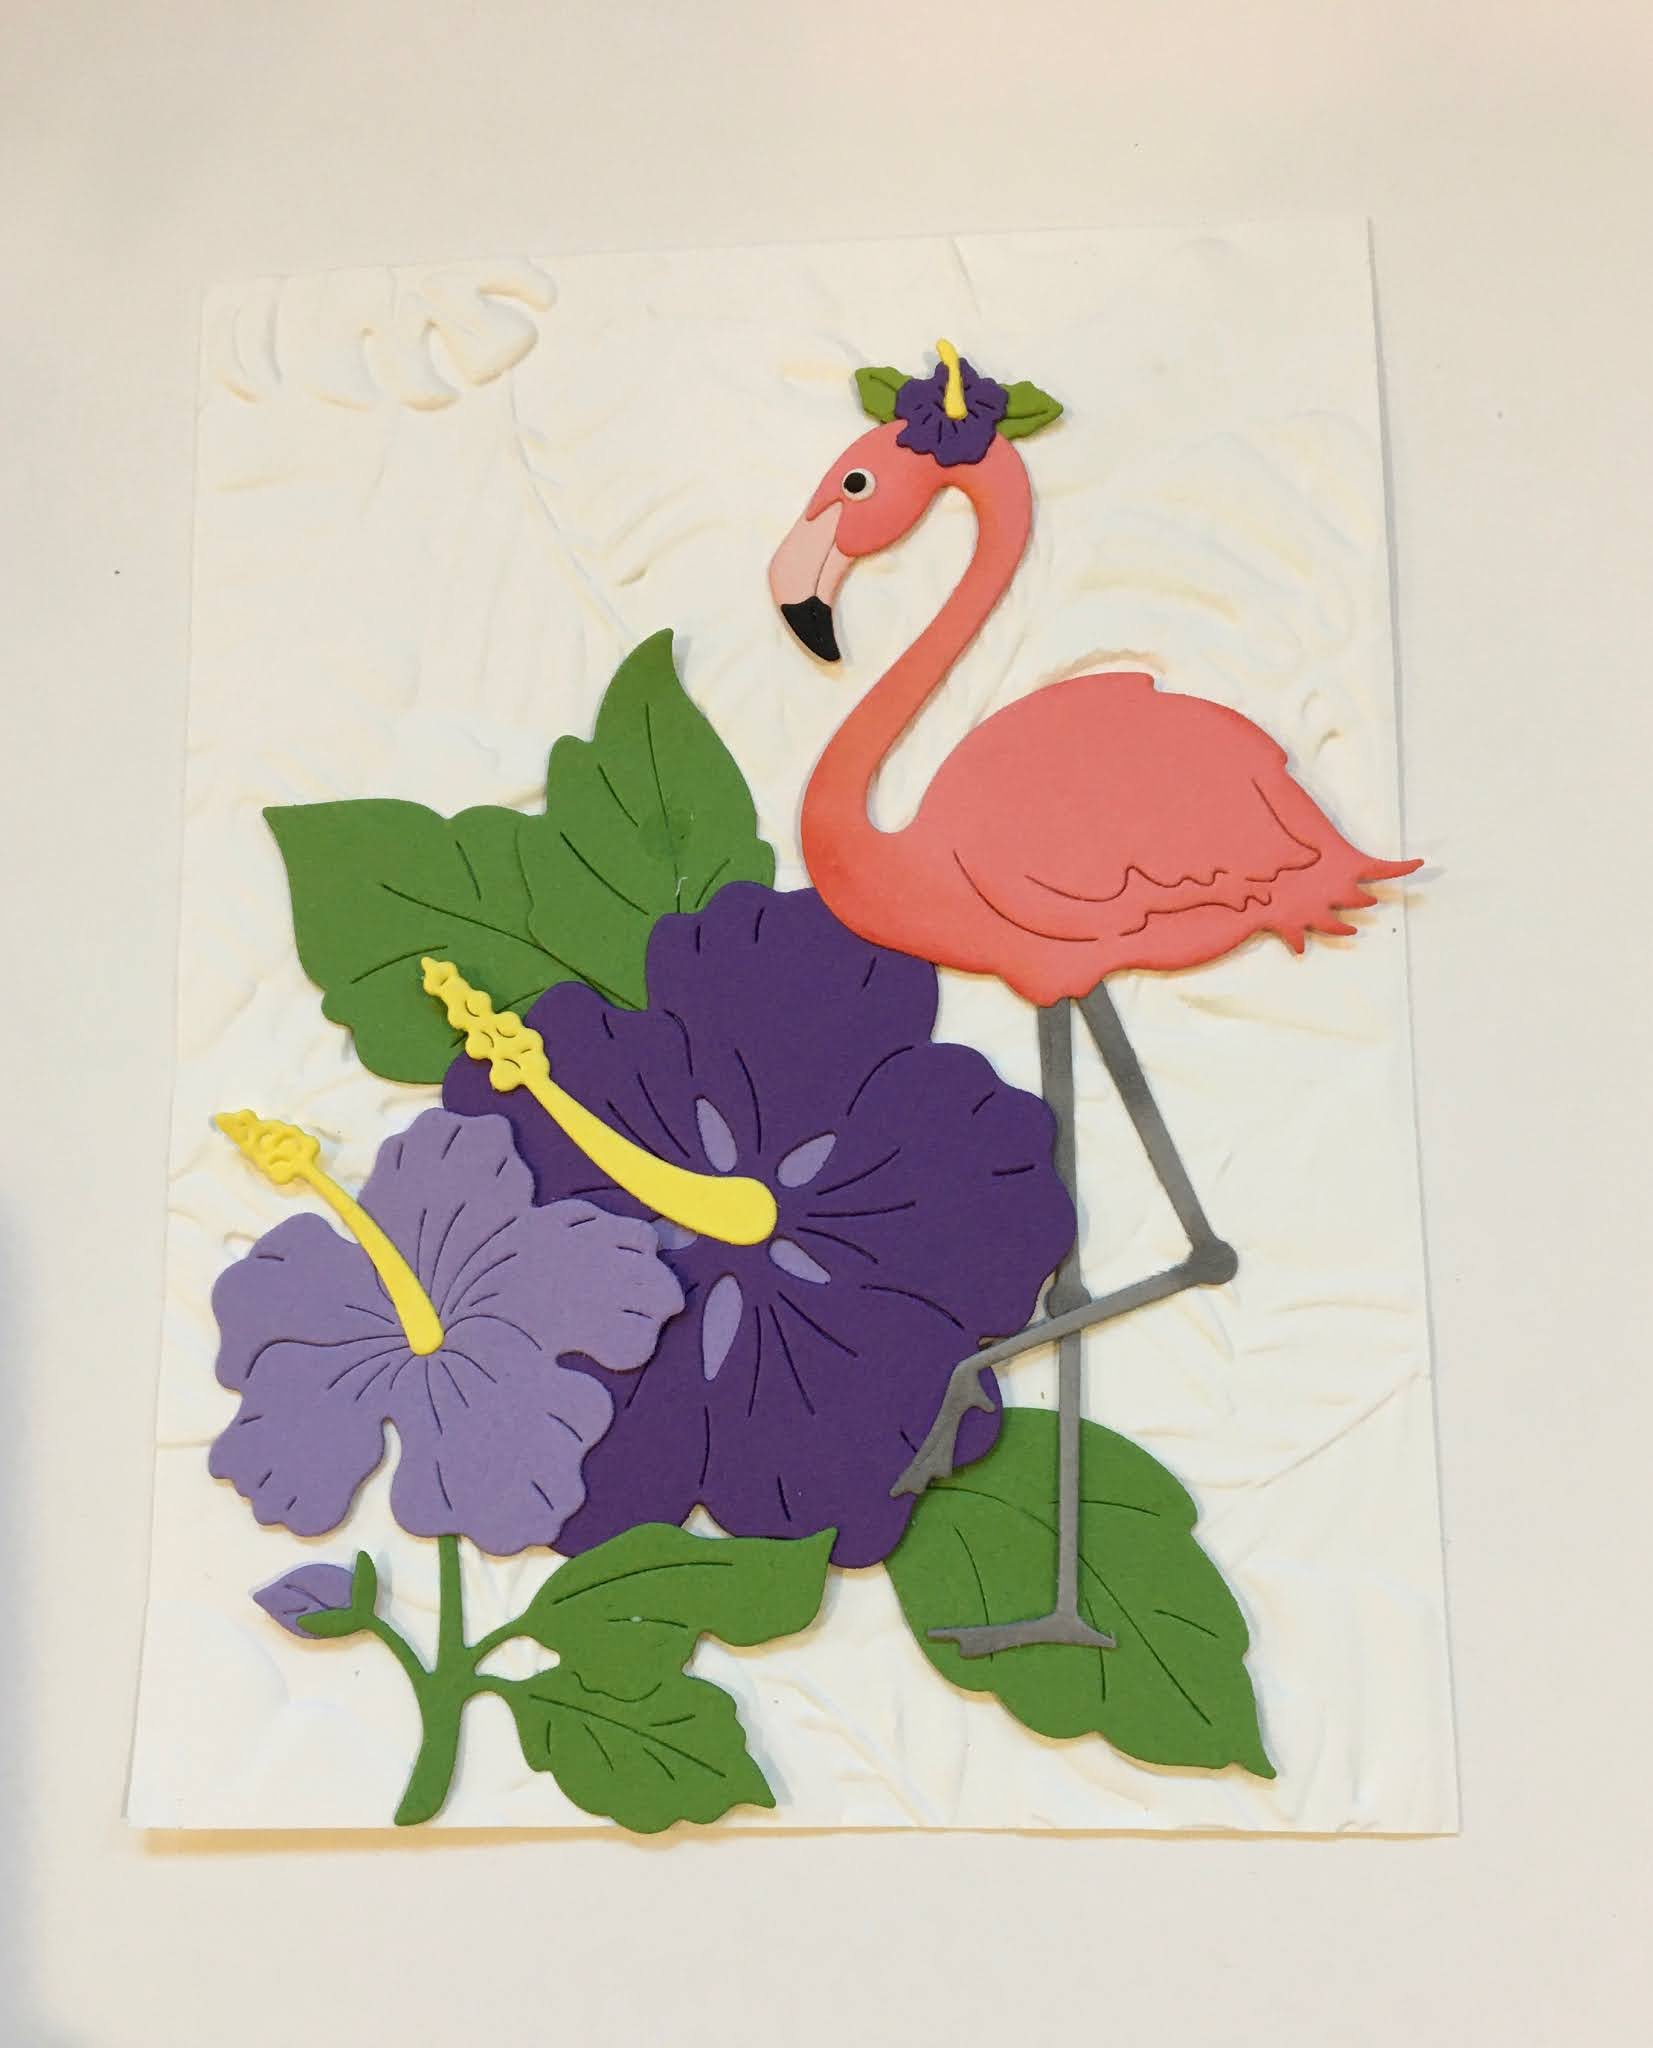
I adhered the patterned paper to the base and centered the sentiment panel on that.  Then I began placing my elements starting with the umbrella, then sand.  I knew the umbrella placement was key because I did not want it to cover up the sentiment.
I then glued the other components to the front...
and added a few sequins for sparkle.  I even found a peach flower sequin!

Now a little extra - card and tip:
I used so many colors of cardstock that I had several extra beach balls, so I assembled them and decided to make another card.  This is note card size - 3 1/2 x 5 inches.  I centered the balls over the sentiment and used a Copic marker to add a shadow under each one.  A tip when aligning multiples - start in the center and work out.  In this case I measured and marked the center of the sentiment and glued down the first ball.  Then I added the two at the ends (I wanted them flush with the sides of the sentiment) then centered the 2nd and 4th balls.  If you trying lining up working one side to the other there is a fair chance of not ending in the the correct spot!
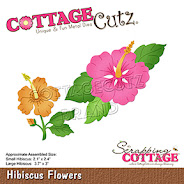
Dies used:
http://www.scrappingcottage.com/cottagecutzdayatthebeach.aspx
http://www.scrappingcottage.com/cottagecutznestedwackystitchedrectangleset.aspx

Thanks for visiting today!  Be sure to check out the Labor Day Sale online!

I hope you have a fun and creative weekend!


Thursday, September 03, 2020

Flamingo Greeting

Hello Scrapping Cottage Friends

It is Pam creating with you today on the blog.

As summer is winding down here in Arizona the temps are in the 90's which feels really comfortable since most of our summer has been record breaking in the 100's.  I must say I am so blessed that we have air conditioning and a pool to jump into!! Anyway onto the card today  I am using the flamingo in a card to congratulate a friend who just bought a new place. 

Background Photo by Roberto Nickson on Unsplash


Design Steps:

1.  Use the Flamingo w/Hibiscus die and cut out using purple, green, black, gray, yellow, white, dark pink and light pink card stock.  Shade the pieces with TH inks and a small applicator then glue together with a fine tip glue
2.  Using the Hibiscus Flowers die cut out the flowers in dark purple, light purple, green and yellow card stock.  Glue together using a fine tip glue
3.  Cut a piece of white card stock 4 x 5 1/4 and then run it through a leaf embossing folder.  Arrange the Hibiscus and flamingo then glue down
4.  Use a white A2 card base and cut a piece of purple card stock just an 1/8 in smaller then the base.  Glue the purple to the base and then add the embossed panel.  Stamp your sentiment and layer onto purple card stock and glue to base.  For a final touch add a few sequins

CottageCutz Products


I am looking forward to a little cooler weather!  And my favorite season is fall.  I hope you had a wonderful summer filled with great memories!
Blessings
Pam


Wednesday, September 02, 2020

Aloha

Hello!  This is Sukie and today I have a tropical card to share.   I used 2 die sets from the Beach & Tropical die release.  These dies are perfect for those summery creations!

I cut out the pieces from the Aloha & Ukulele and Tropical Fruit die sets.  Everything was shaded with some Oxide Inks.  I used a variety of colors to give all of the die cuts some depth and dimension.  
My card is a standard A2 size and was lightly shaded with some ink leaving a white center.  I used the same ink to add a lot of splatters to the background of my card.
The "Aloha" sentiment was angled across the top edge of my card.  I love the whimsical look of this sentiment.
Next, the pineapples were affixed to my card base.  I off set them a bit and centered them within the non-shaded part of my card.
The orange slice and tropical drink were layered onto the set of pineapples.  The bright and colorful fruit is the perfect combination with the tropical drink.
The tropical leaves and pretty hibiscus were added for a finishing touch on my card.  This card make a fun way to say "aloha."

Here are the die sets used on my card, available in the store:


Tuesday, September 01, 2020

Sweet Birthday Wishes


Hello Scrapping Cottage friends! Thanks for taking the time to stop and visit with us today. It's Mary Marsh here bringing you the Tuesday edition of the Blog.
The new release of Beach & Tropical dies are in the online store. We have 14 new designs in this release and they are currently on sale for a limited time at 25% off. 

They are so perfect for creating beach themed or tropical birthday cards, thank you, thinking of you etc. Let your imagination soar! The Design Team has been showing some great samples to spark your creativity. If you haven't seen them, look back on the Blog for lots of eye candy. 

For my card today, I am using the Tropical Fruit die and I created a birthday card for my sister-in-law's September birthday. 

I cut the tropical fruit in various cardstock colors and layered it on a soft seafoam background. I framed it using the Stitched Wide Rectangle Frame set and a light purple cardstock. Stamped my birthday wishes and added a few enamel dots to complete this card. 

I hope I have given you an idea for a way to use this Tropical Fruit die set. See you on Saturday! We have our Christmas Release coming and I will be showing a card using the new dies. 

dies I used to create card: