Sunday, April 05, 2020

Hoppy Easter!

Hi!

It's Anja here. It's the last Sunday before Easter so I made an Easter themed card for today's post.


For this card I used:
- Cottage Cutz dies (Spring Buddies, Basket of Eggs, Spring Meadow),
- Distress Inks,
- white card base (10x21 cm),
- white card stock for die cuts and background (8x12 cm),
- patterned paper (9,8x20,8 cm),
- black pen,
- white pen,
- plastic stencil (clouds),
- printer,
- paper trimmer,
- paper glue.

First I cut and colored the bunny and the chicks.


 Next I cut and colored the basket, eggs and meadow.


Then I trimmed the paper.


I used a plastic stencil to color the clouds on the white background paper.


And last I printed and trimmed the sentiment.


And when I had all the pieces I glued the card together.


I wish you all a pleasant Sunday. Stay safe and healthy and see you again next week.

Anja Z.


Cottage Cutz dies I used:


Saturday, April 04, 2020

Good Things Ahead

Hi Cottage Cutz fans!  It's Jeanne today with a Saturday post.  Things have been very busy for me this week so Mary and I switched our posts.  I have card with a sentiment I love and find inspirational - "Good things are sure to happen."  This card uses two of the new Spring dies to accentuate the stamping and give the card its focal point.
To start, I cut a piece of mixed media paper to 5 1/2 x 5 1/2 inches and taped it to a masonite board for watercoloring.
I used a large watercolor brush and a light green ink to create a wash on the upper right and lower left corners of my paper.
I then used foliage and typography stamps with both the green and a light brown ink.  I stamped while the wash was damp and also after drying it with a heat tool.  This is a very loose process and there is no one way to do it.  Things come out differently every time but that is part of its beauty!
I cut my panel to 5 1/4 x 5 1/4 then stamped my sentiment in the brown.  I used a sponge with brown ink to go around the edges.
I mounted the the panel to a brown 5 3/8 x 5 3/8 inch panel and this I mounted to a top fold 5 1/2 x 5 1/2 inch card base.  Because the mixed media panel was a bit buckled, I used heavy books on top of the card to weigh everything down for a few minutes.  This got it nice and flat.

Now for my dies.
I cut all the butterflies (Springtime Butterflies) and some foliage (Spring Blooms) from gold foil cardstock.  I cut more than I needed but wanted some extra to play with the layout.
I ended up using just one butterfly.  I put some foam tape across it's body so it would stand up from the card.  This really makes the butterfly stand out and "pop" against the background.
Finally I added some gold foliage in the lower left along with gold glitter enamel dots.

Dies:
http://www.scrappingcottage.com/cottagecutzspringtimebutterflieselite.aspx
http://www.scrappingcottage.com/cottagecutzspringblooms.aspx

Be sure to visit the online store where the new Spring dies are on sale for a limited time!

Thanks for joining me today.  I hope you have a fun and creative weekend!


Friday, April 03, 2020

Daffodils and Easter Eggs

Hello Scrapping Cottage friends! Thanks for taking the time to stop and visit with us today. It's Mary Marsh here bringing you the Friday edition of the Blog. Hope you are doing ok in the midst of the pandemic. It's a great time to make some cards. I find it so relaxing being able to create and have my mind off all that's going on.

The new release of Spring dies are available in the online store and 25% off for a limited time. There are 27 new dies in the release and each one is cuter than the next. They are perfect for your Easter and Spring card making. 

Today, I am featuring the new Spring Daffodils & Eggs die to create another Easter card. I love Daffodils and they are now in bloom all over my neighborhood. Such a pretty welcome sight after the winter season. So let's get started on some details of how I crated this card. 

Design Steps:

This week I am using the Splitcoaststampers sketch #795 for my card layout. As I have said so many times before, having a layout in mind at the start of my card is always a big boost for me. It jump starts my creative thought process. I love working with the sketches that are out there in the online world. That way I just choose the colors and designer paper and I am good to go.


I looked for some spring like designer paper in my collection and found this pretty gingham paper. I coordinated the paper with matching cardstock. My thought was one sheet of designer paper and cut it in 3 pieces for layer 2,3 and 4 of the sketch.

Blue card base: 4" x 5 1/2"
Gingham designer paper: 4 1/8" x 5 3/8"

For layer 2 & 3:  I used the Pierced Rectangle set- the 2nd & 7th largest dies. 
Layer 4: I used the Stitched Square set - the 6th largest die.
 
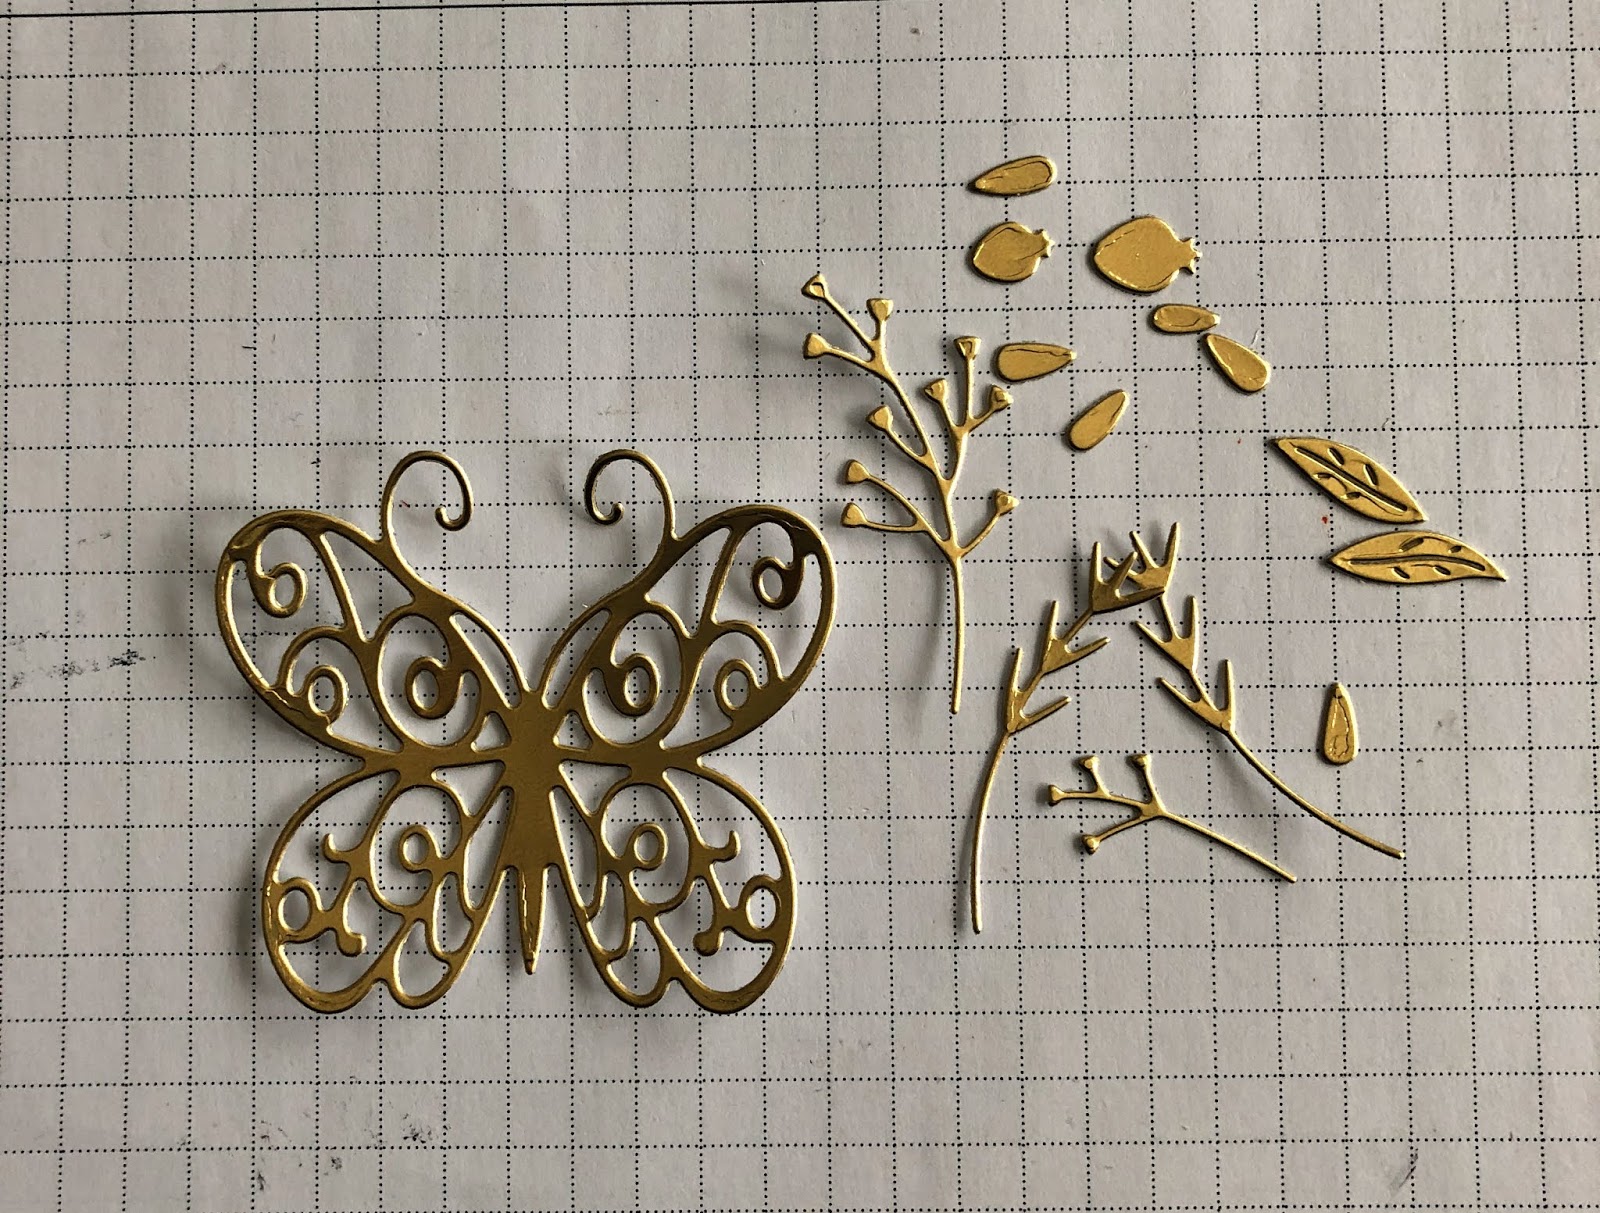
Next, I die cut the Spring Daffodils & Eggs using the packaging colors and selected similar colors of cardstock. 
Now that my card elements are cut, I am ready to start card assembly. I attached the panels to the card base for my first step. 
 
Then I started with my image panel. I stamped my sentiment first using a grape ink. I thought an angled sentiment would work well. I used my MISTI for placement. Because it's a clear stamp and they usually require a second inking. 

For the image panel. I again used the same size (7th largest) Pierced Rectangle die and cut layer 5 of the sketch in white cardstock. I used a combination of glue dots and Ranger multi matte adhesive. 
 
The image panel was attached to the card base using dimensional adhesive. I wanted it lifted slightly off the designer paper. I added some yellow enamel dots for added interest. 

Well, that's it for me for this post. If you haven't been over to the online store, check it out. We are having a home crafting days sale. Since most of us are under a stay at home order, we need something to keep our minds occupied with happy things. Card making is one of those hobbies that brings such joy.

See you next Saturday. Stay safe!

dies I used to create card:


Thursday, April 02, 2020

Bunny Raid!

Hello Scrapping Cottage Friends,

It is Pam on the Thursday blog creating with you.

Today,  I am using one of my all time favorite dies!  This carrot raiding bunny is just adorable.  I love all the details and that fluffy white bunny tail!


Design Steps:

 1.  Using the Bunny Truck die cut out all of the pieces using red, orange, silver, white, green, brown, pink and black card stock
 2.  Use a variety of inks to shade and color the different pieces and then assemble.  I used a very fine tip glue to place all of the pieces
3.  Use an A2 white card base cut a piece of light orange card stock just slightly smaller then the card front.  Cut a piece of carrot DP 4 x 5 1/4.  Glue the light orange and DP paper to the white card front.  Using the Double Stitched Square die (2nd from the largest) cut out a piece of green flowered DP and then layer it with light orange card stock.  Glue the square to the front of the card slightly toward the top.  The sentiment was part of the paper pad so I cut it out and layered it with the green DP and light orange.  Pop the sentiment to the card and then pop on the truck and your card is complete


CottageCutz Products


Thanks so much for stopping by and taking a peek.  Easter is just around the corner so I hope you have time to finish up your cards and have some fun creating!
Blessings
Pam

Wednesday, April 01, 2020

Some Bunny Loves You!

Hello!  This is Sukie and today I have a CAS card to share for my design team post.  The Spring dies are perfect for the upcoming Easter holiday!
I cut out these adorable bunnies using the Cottage Cutz Bunny Backsides die set and inked them in different colors using my Oxide Inks.
I chose a simple chevron paper for the background and created the rows of bunnies in sets of three.
As I adhered the bunnies, I ensured that no 2 colors or shapes were next to each other.  This gives the simple card a more appealing design.
Once my bunnies were adhered on my card, I stamped a sentiment from the Scrappy Moms "The Charmed Life" (retired) stamp set on a hand cut flag and layered it over one of the bunnies.
Here is the die set used on my card available in the store: