Hello
Scrapping Cottage friends! Thanks for taking the time to stop and visit with us today. It's
Mary Marsh here bringing you the Monday edition of the Blog. Hope you are all enjoying your Memorial Day weekend. Even though it's a bit different of a celebration for most of us, it's still a day to honor our veterans.
And speaking of Memorial Day there is a big sale going on to celebrate this holiday in our
online store. You can save up to
70% on dies and the new
Gardening release is
25% off. It's a good time to get some great prices on CottageCutz dies. These new dies are perfect for Father's Day, birthdays, thank you, or even a thinking of you card for the person who loves to garden.
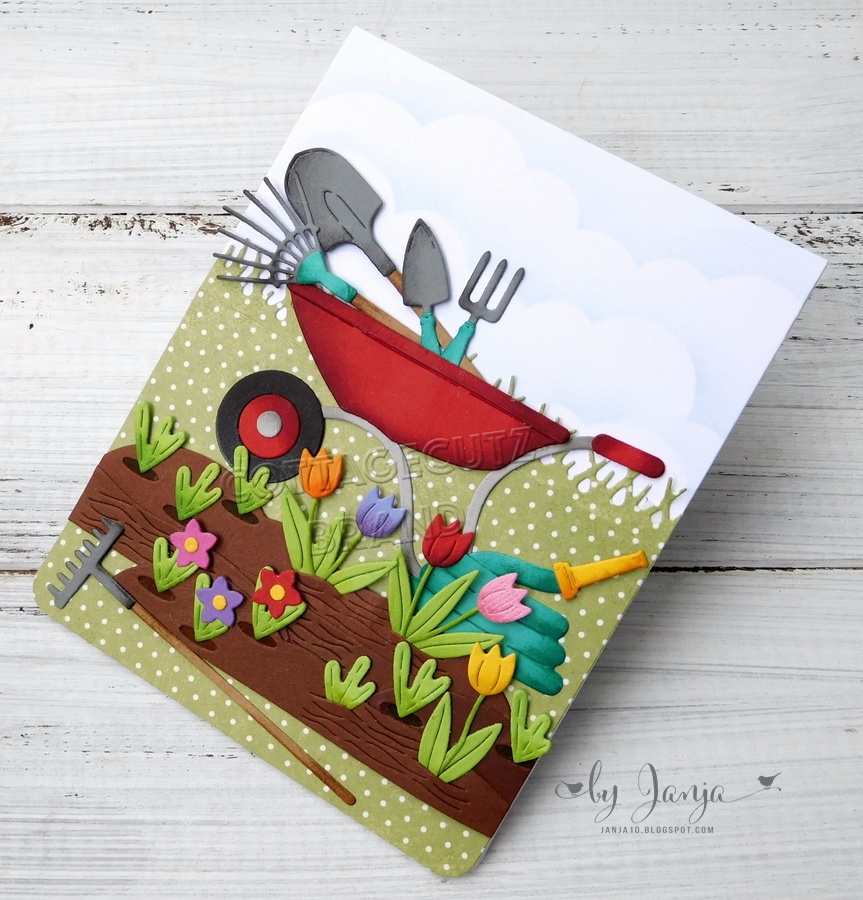
For my card today, I am featuring the new
Golden Bear die, and I created an outdoor scene in the sun with my cute little bear. This one is a birthday card for a friend and that greeting will be on the inside of the card.
For the card colors I used the colors from the Splitcoaststampers
color challenge #791. Plus you can add neutral shades and with this challenge dark green and brown are considered neutral shades. So that helped with the leaves and bear.
 |
| daffodil delight, melon mambo, calypso coral |
I cut the images in the challenge colors. My background paper is from a pack of watercolored backgrounds that have been a favorite go to for me lately. I love the colors they have blended together in this pack. And, then I don't have to do any ink blending. It's all done for me with the designer paper.
I used the largest
oval die to cut out the striped designer paper. My hello phrase is from an older CottageCutz set -
telephone die. It's currently on a 70% off sale.
And, that's my card for today. See you next Saturday!
dies I used to create card: