Friday, January 25, 2019

Sending Hugs!

Happy Friday!  It's Jeanne posting today and I have a card that can be either a thinking of you card, or if you change the colors, a Valentine's Day card.
This card uses the new Puppy Love Letter die along with the Hugs Phrase and Kitty Love Mail Dies.

To start I cut all the pieces from white card stock.
This card has a lot of pieces and one of the things I do when working with many pieces is divide them into specific items - the dog, the mailbox, etc. - and put like pieces in small plastic containers.  (In the past, I have also used a muffin tin for this.)
I took the pieces for my dog and cat, colored them with Copic markers and glued them together.
Then I colored the rest of the pieces and assembled them.
For my card base I used a piece of 4 1/8" x 5 3/8" designer paper and glued that to an A2 Highland Heather card base.  I wanted to have a spring-like look so I decided to use a yellow background.  The first image a put down was the kitty and mailbox.

I then adhered the word "Hugs" and used foam dots to pop up the puppy and letter.  I'm very pleased with this card - it would be perfect for a friend who needs a pick-me-up or as a Valentine's Day card!

Dies:
http://www.scrappingcottage.com/cottagecutzpuppyloveletter.aspx

http://www.scrappingcottage.com/cottagecutzkittylovemail4x4.aspx
http://www.scrappingcottage.com/cottagecutzexpressionsplushugsphrase.aspx

Thanks for visiting today!  Don't forget to stop by the online store where the new Valentine's and St. Patrick's Day dies are on sale for a limited time!


Thursday, January 24, 2019

Lucky Cupcake!

Hi Friends!

It is Pam creating with you today.  And I have some great news for you!! We are have a 25% off sale on our new Valentine's and St. Patrick's Day dies.  I can't wait for you to see them.  They are just so adorable you are going to want the whole collection.

Today, I am using the St. Patrick's Day Cupcake.  We also have a cupcake for Valentine's Day.  Both of them make fantastic cards or fun embellishments for a baked gift.


Design Steps:


1.  Use an A2 size white card base.  Score at 2 1/8 then flip the card over and score at 2 1/8 again.  This will give you a gate fold card
2.  Cut 2 strips of green card stock at 2 x 5 1/4 and 2 DP strips at 1 3/4 x 5.  Glue them together
3.  Glue the panels to the front of the card

4.  Open the card and cut a piece of light green card stock 5 1/4 x 4.  Glue to the center of the inside
5.  Using the St. Patrick's Day Phrase & More die cut out the sentiment.  Using the St. Patrick's Day Cupcake die cut out extra clovers and coins.  Glue them to the inside as shown and shadow with matching ink
6.  Using the St. Patrick's Day Cupcake die cut out the pieces for the cupcake.  I used green, yellow, black, and brown card stock
7.  Cut out a white circle using the 3rd from the largest Cross-Stitched Circle die.  Add shading to all of the pieces using coordinating ink colors
8.  Assemble the pieces after you have finished shading
9.  Use the 2nd from the smallest Cross-Stitched Circle die to cut the back layer for the sentiment
10.  Cut a 11 x 1 1/2 strip of green then layer a piece of embossed white card stock 4 1/4 x 1 on the middle section.  Wrap the strip around the card to form a band and tape or glue the back closed.  Glue the circle to the middle of the band and pop on the cupcake.  Add the sentiment as shown and your card is complete

CottageCutz Products


Wednesday, January 23, 2019

Love - We're the Perfect Blend

Hello!  This Sukie with my guest designer post sharing a project with the new Valentine's and St. Patrick's Day release.  There are 16 new dies in this release which are currently on sale.  They are all so cute and perfect for those Valentine's and St. Patrick's Day projects!
For my card, I used paper from the Craft Smith "Love U A Latte" paper pad.  The patterned paper complimented the die cuts perfectly.
I'm always looking for creative ways to use my dies so I combined the Love Latte & Donut with Love Cupcake.  The heart was cut from the Stitched Heart set.
Each of the die cuts were inked on the edges and adhered together. Next, I clustered the die cuts by grouping them on the stitched heart. The "love" sentiment was placed on the heart creating a cohesive look to the design.
The card base was put together quickly by adding a solid brown strip along the edge of the patterned paper.  I heat embossed a sentiment from the Scrappy Moms Stamps (retired) Freshly Brewed stamp set. The sentiment filled in the space between the heart and the edge of the card and worked perfectly to anchor the sweet design.
Here are the dies used on my card available in the shop:

Tuesday, January 22, 2019

Be my Valentine

Hi, Janja is here with you.
Today I have a simple and quick-made card for you.


- CottageCutz dies: Peeking Puppy, Stitched Heart Set, Christmas Mice (bow)
- white card base: 5.3 x 5.3 " (13.5 x 13.5 cm), folded
- white card stock: 5 x 5 " (12.7 x 12.7 cm)
- patterned paper: 4.7 x 4.7 " (12 x 12 cm)
- colored card stock
- Distress ink: Vintage Photo, Black Soot
- ZIG brush marker: yellow, orange, carmine red, light green
- double-sided adhesive tape, self-adhesive foam pads, glue
- white gel pen

Cut out all the elements for the fence and the dog. On the edges emphasize with Distress inks each piece.
At first, I intended to use the flowers too. But in the end, I added only a little bow and a heart.


Cut a square from a white card stock. In the middle cut out the heart with the largest die from the set.
Stamp a sentiment in black.


Make two grooves with a scoring board and a bone folder on the back side of the square on the upper and left edges.


Now we have everything ready to complete the card.


We have a new release of Valentine & St. Patrick Day dies in an online store. They are on sale for a limited time at 25% off.

Have a nice day. 


Sunday, January 20, 2019

Winter Flowers


Hi!

This is 
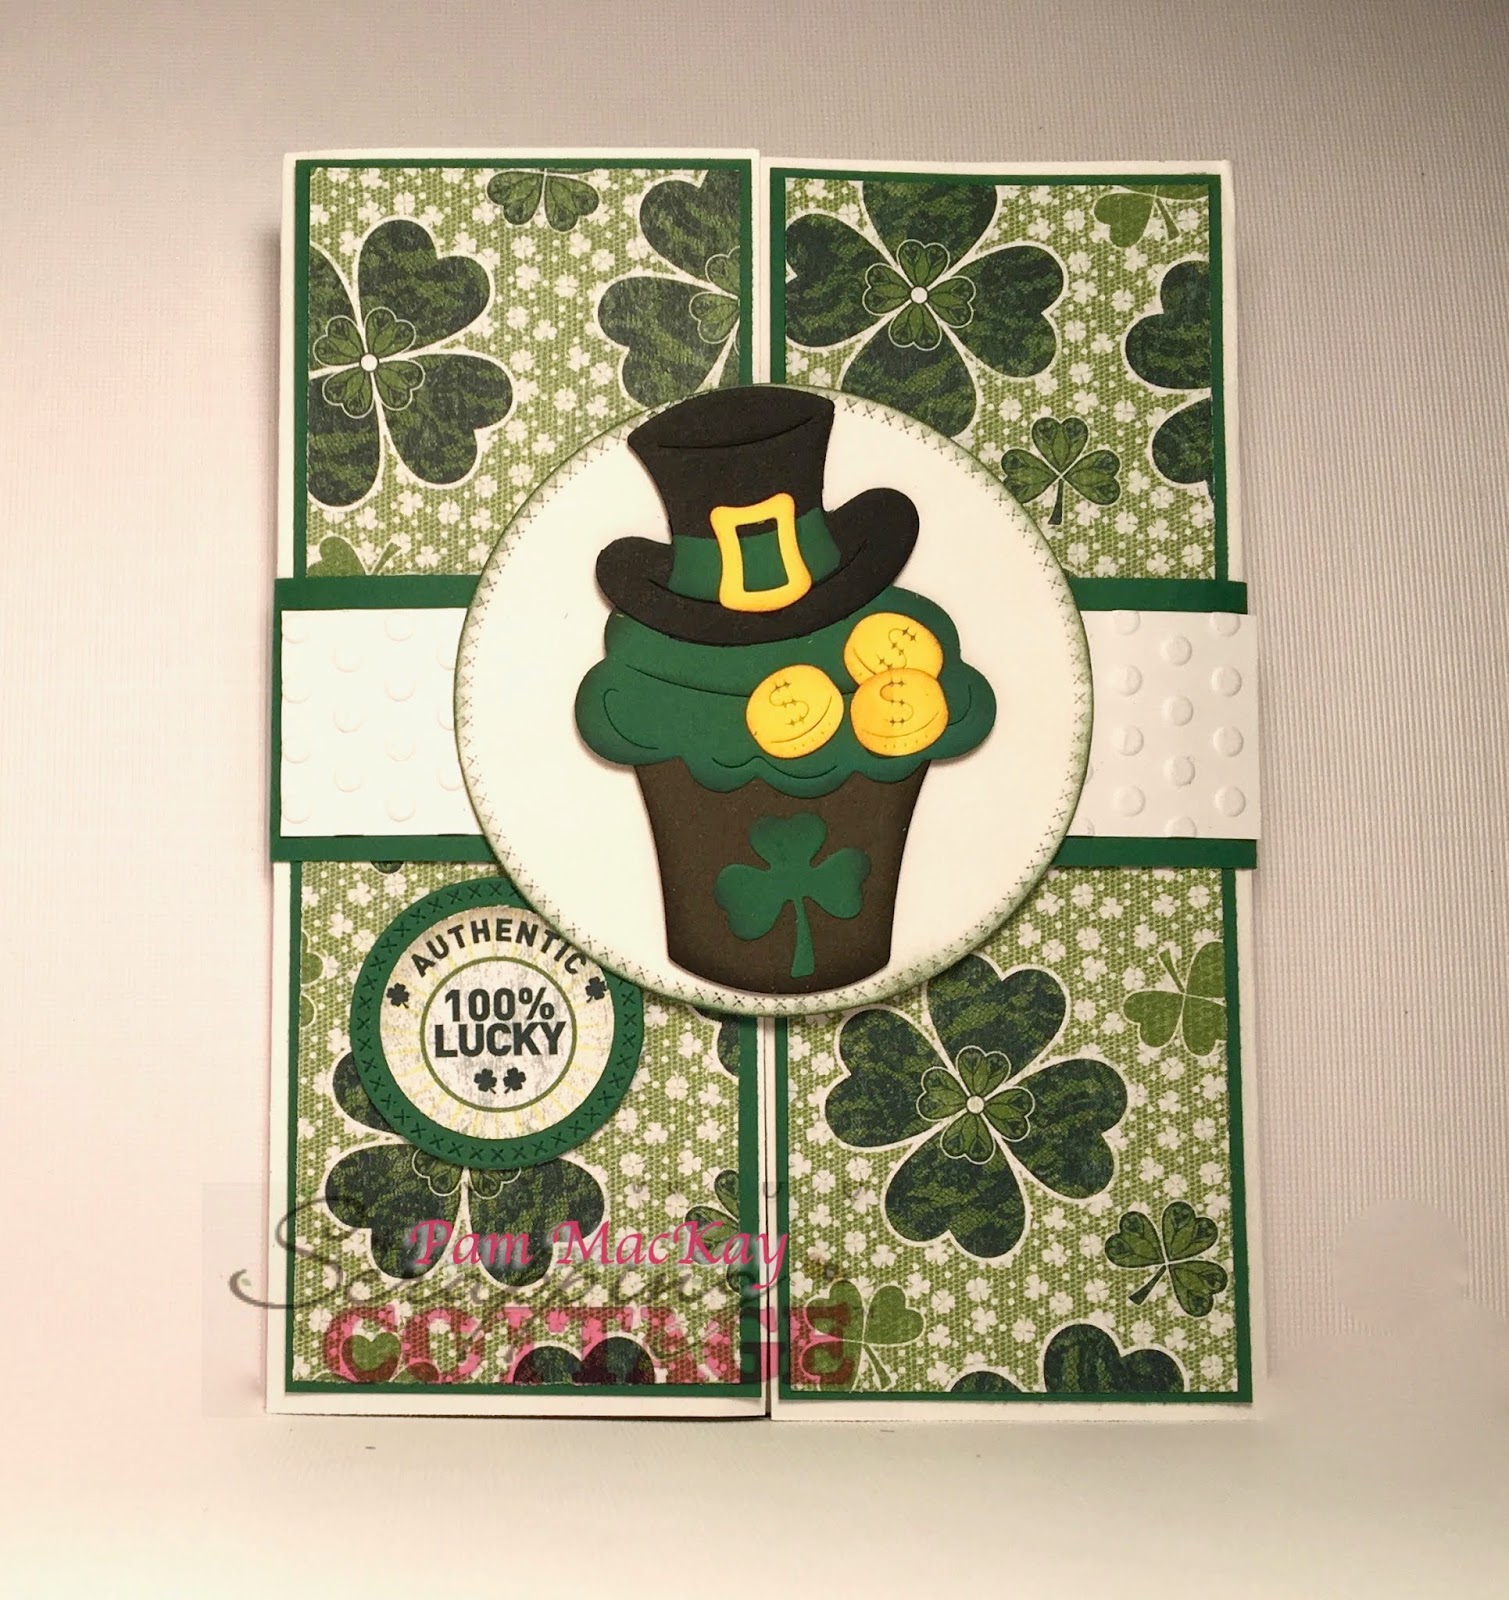
Anja with you today. It takes more time for the new dies to come to me, so I'm still using older ones. For today's project I took poinsettia die and colored it a bit different than usually. This is how the card came out.


For this card I used:
- Cottage Cutz dies (Poinsettia & Mistletoe),
- Distress Inks (Faded Jeans, Peeled Paint),
- white card base (10,5 x 21 cm),
- white card stock for die cuts,
- blue (10 x 20,5 cm) and patterned (9,6 x 20,1 cm),
- gold embossing powder,
- glitter transparent powder,
- embossing ink,
- heat gun,
- sentiment stamp,
- adhesive foam pads,
- paper glue.

First I cut and colored the flowers.


Then the greenery.


Next I tapped the flowers into the ink and covered it with embossing ink. I used the gun to heat the powder.


I did the same with the vines.


Next I stamped the sentiment and embossed it with gold embossing powder. I did the same with flower centers.


The I cut the paper for the background.


And in the end I just glued everything on the card base. I used adhesive foam pads to glue the sentiment and the middle flower. And my card was done.


Don't forget to check the store for the new dies. The ladies from the team are using it in recent posts. I hope I'll join them next week.

Have a great Sunday.

Anja Z.


Cottage Cutz dies I used: