Showing posts with label campin out trees. Show all posts

Tuesday, January 25, 2022

All aboard the Easter Express


Good morning Cottagecutz fans. It’s Wendy brining you the blog today. I hope your week is going well so far. We still have the new spring dies on offer at 60% off the entire bundle and you can find them here

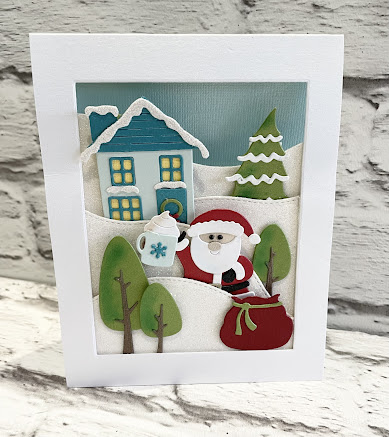
The card I’ve made for today was such fun to make. The dies are absolutely stunning and I just had to use them. 

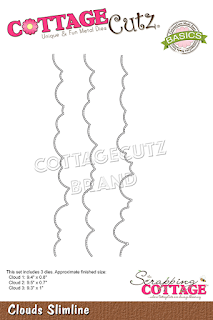
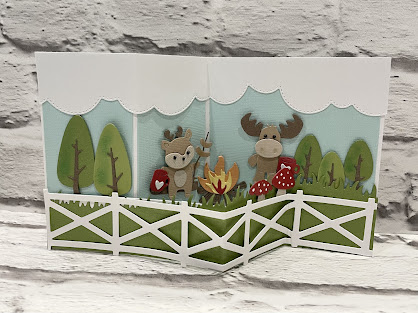
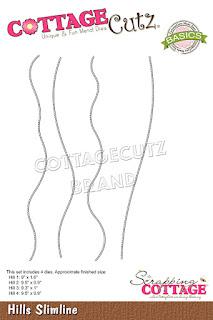
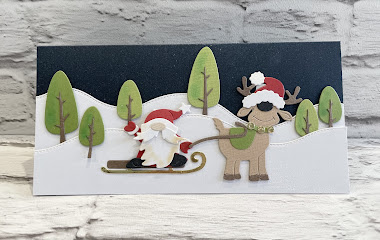
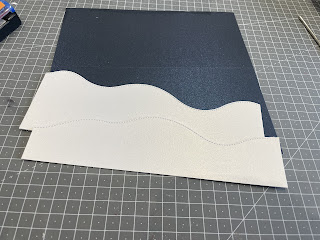
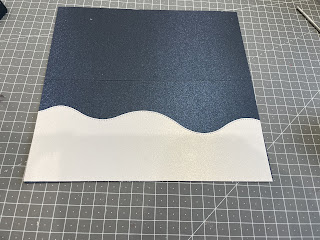
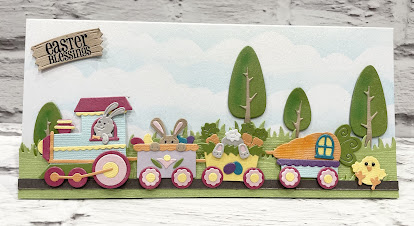
To begin with I took a slimline card and used the ‘clouds slimline’ die as a template to create the sky on the card. You cut out a small line of clouds and then use a distress ink over the stencil with a soft brush or whatever you feel comfortable with. Start part way down the card and then layer up from there. I think I used 3 layers of clouds in total.

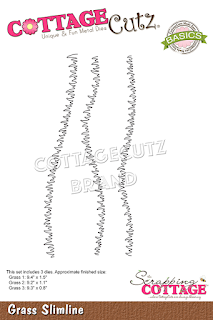
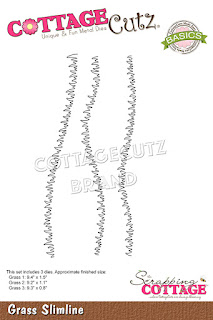
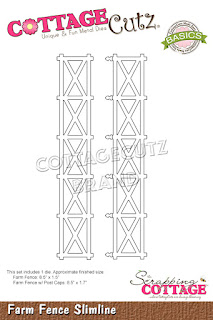
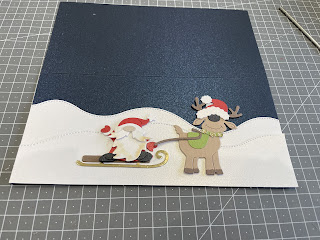
Next I took the ‘Grass slimline dies and cut 2 pieces. The first piece I glued down but the second piece I attached to the card with 1mm 3D foam pads for some dimension,

I then cut a very fine sliver of brown card so that the trains look like they are on a track. I just glued this straight to the card.

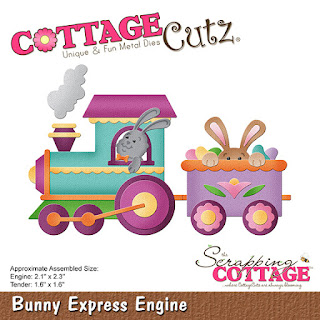
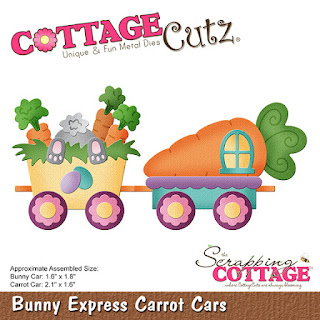
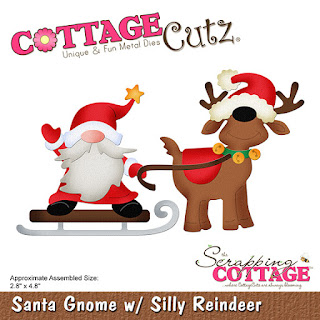
So to create the train I cut out the ‘Bunny Express Engine’ and the Bunny Express Carrot Cars’ I tried to stick to the colours on the die packet ad the are beautifully coloured. Once assembled, I stuck them to the card with 1mm foam pads. The dies are really intuitive so its really easy to pick out the parts you need to cut

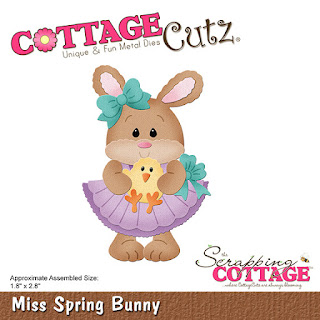
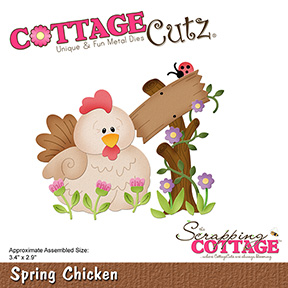
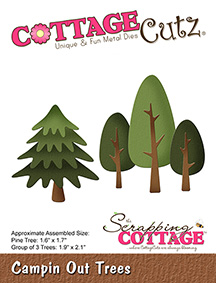
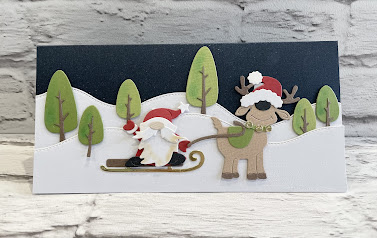
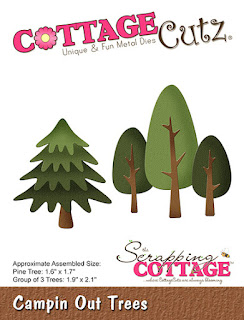
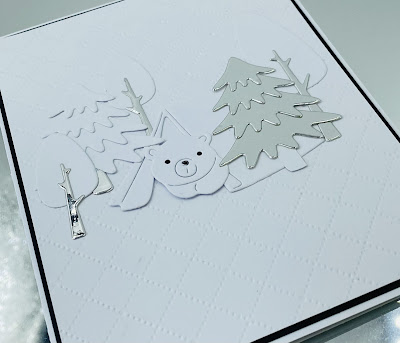
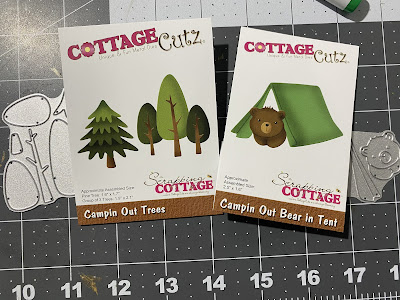
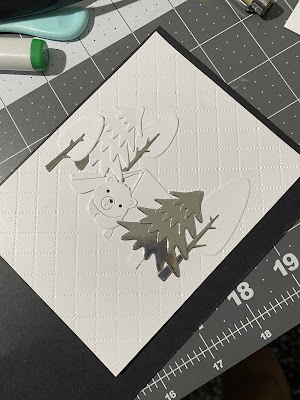
I used the little chick die from ‘Miss Spring Bunny’ as he is super cute and he sits at the back of the train. I also used the trees from the Campin out release and dotted these around the card after the train was assembled.

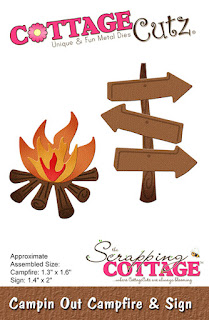
I loved the sign I used on a card last week that said ‘Easter Blessing’ so I used it again on this card.

I really hope that you like the card and take the plunge to make a super sweet card this Easter

Hugs
Wendy


Dies I used:


The CottageCutz YouTube channel is in full swing with new designs added periodically!


Friday, January 21, 2022

Easter Blessings


Good morning Cottagcutz fans. It's Wendy bringing you the blog today.I do hope you've had a wonderful week. It's pretty cold out now so I say lets stay in and craft this weekend

Today I'm bringing you a card using the newly release spring dies. They are adorable and they are still on offer at 60% off the entire release. You can find them here

So today's card is pretty quick and easy so I will be giving you a light touch tutorial

To begin with, i used the 'Clouds Slimline' to create a stencil. I used some distress ink (Tumbled Glass) and a brush to rub over the stencil to get the cloud effect. Remember, start part way down your card and then gradually move up the card

Next I cut out the grass slimline dies twice. The first layer was attached with glue but the second was attach with 1mm 3d foam pads.

The first element on my card was the cutest die I have ever seen, 'Miss Spring bunny'. The die is so intuitive and is she easy to put together. Once assembled I added her to the card with 1mm 3D foam pads

Next I cut out element from the 'Spring chicken' die. I used the wooden log and the sign. I found a stamp in my statsh that fitted the sign perfectly. I cut out the vine, flowers and ladybug and attached these to my card

The final elements were the Sun and Tree from the 'Campin Out' range that I will list below for you.

I really hope you enjoyed the card and that i have given you some inspiration for your weekend crafting

Hugs
Wendy


Dies I used:


Also don't forget to keep an eye oot on our YouTube Channel for more great designs


Tuesday, December 28, 2021

Z Fold Campin Out


Good morning CottageCutz fans, I hope you are enjoying the festive break. If I see another turkey I think I’m going to explode. It’s Wendy bringing you the blog today and it’s a pyjamas and movie kind of day so I’m making most of taking it easy.

Today I’m bringing you a Z-Fold card. I’ve never made one f these before but there area. However, there are ton of tutorials on You Tube so check them out.

To begin with I assembled the Z-Fold card base and used the ‘Grass Slimline’ to cover the base. I then used the Farm Fence Slimline above which i thought look really cool.

Next I cut out some of the trees from the ‘Campin Out Tress’ die and dotted them around the card. I used some chalk to make them look more realistic.

I then used the ‘Clouds Slimline die for the top of the card 

To finish I added the Moose and Reindeer by the fire with their mugs of hot chocolate. Also the mushrooms. I’ll list all the dies below

I really hope you like today card. I had fun making it. 

Enjoy the rest of the week and i will be back with a full tutorial on Friday
Hugs
Wendy


Dies used:


Friday, December 24, 2021


    Happy Christmas Eve, I couldn’t really do a card without Santa on so this Will be my very last Christmas card of the year. It’s Wendy bringing you the blog today and I wish you the merriest of Christmases

Tip begin with I took a navy card and used the ‘Holiday Slimline’ to cut 2 pieces of card, one higher than the other.


I stuck the base card down with glue but in my usual style I 3D’s the other pice of card so that i could add item behind this piece


Next I cut out Santa, and his silly reindeer and attached these to the card with 1mm 3D foam pads. 


I then choose a range if trees from the ‘Campin Out Trees’ set and added some chalk before attaching, then to the cared periodically added with 1mm foam pads.

To finish and it’s hard to see but I used a clear ‘Winks of Stella’ pen on the trees to make then glisten and we are done!

Again Happy Christmas to you and your loved ones and I hope you’ve been good and Santa puts something nice in your stocking 

Hugs
Wendy


Dies I used:


Don’t forget to visit our YouTube channel for more wonderful designs


Tuesday, December 21, 2021

Santa’s Final Deliveries


Hello CottageCutz fans and happy Tuesday. It’s Wendy brining you the blog today and it’s Only 4 days left until the big day now so this will probably be my last Christmas post.

So today I have taken a card measuring 5.5” x 4.5”. From this I have cut the largest nesting rectangle in the middle of the card. On the back of the card as you can see I have applied blue card.

Next I have varying layers of white glitter card. I have made them look like hills by using the ‘Hills Slimline’ die. Each layer of the card has someone unique to add some variation. I can’t help myself but use the ‘Campin Out Trees’ die. Santa’s is also here with his mug of hot cocoa. He’a had a long night ahead of so he’s earned it LOL.

I have also used the beautiful house ‘From the Winter Houses 2’. They remind me of being in San Francisco. Finally Santa has his bag and there’s is another tree at the top of the card.

I really hope you like the card and are all set for the big day. I have several things on my list but they will get done. I will be back with a full tutorial on Friday (Christmas Eve), but in the meantime have s lovely week.

Hugs Wendy

Dies I have used:


Also don’t forget to visit out YouTube channel with some fabulous videos


Monday, December 06, 2021

White Christmas

Hi for my card today I used Campin Out Trees and Campin Out Bears from the latest release which was for Black Friday.  Hopefully everyone was able to get the amazing deal The Scrappin Cottage had available for that special day!!  Super adorable set..

I went for an all white on white with just a touch of silver.  I diecut the pieces and alternated the trunks on the trees using silver foil paper (which I love).  It really brings out whatever you are using because of the amazing shine it has.

To finish my card off I added some black cardstock to mat the top layer of white cardstock I used.  This helped bring out the white off the card.

I hope everyone enoyed my post for the day and thanks so much for stopping by be sure to check out our YouTube channel we are adding so many great videos for everyone to enjoy. Click here 


Products Used