Showing posts with label Wedding Gown. Show all posts

Sunday, August 27, 2017

Pretty Woman Card

Hi!

This is Anja again. I'm still playing with the new wedding dies. Today I made a card that can be used for one of your girl friends. The one that likes to look good, loves to dress up and put on some make up. All this small pieces are so fun to color and put together. With a little moderation you can use this card for a bride to be.


- Cottage Cutz Dies (Bridal Lingerie, Cosmetics, Wedding Gown, Live Laugh Love, Rose with Wedding Rings, Nested Wacky Stitched Circle Set),
- Distress Oxides (Worn Lipstick, Vintage Photo, Peeled Paint, Lucky Clover, Seedless Preserves, Antique Linen,Wilted Violet, Black Soot),
- white card base (12,5x12,5 cm),
- white card stock for die cuts,

- patterned paper (3 12,1x12,1 cm),
- silver ink pad,
- paper glue.

First I cut the squares from patterned paper and circles with the nested stitched die. I decided to decorate the inside of the card, that
's why I cut three of each.


Then I die cut all the small pieces for the cosmetics and clothes. I colored them with Distress Oxides and glued them together. 


When I had everything prepared I just assembled the card together. 


Have a beautiful and creative Sunday. See you again next week.
Anja Z.


Friday, August 25, 2017

Beautiful Bride

Good morning!  It's Jeanne sharing with you today.  My nephew just got engaged and we're having a celebration lunch for his bride-to-be so I wanted to make her a special card.
This elegant card is fitting for her personality!  The card uses only two colors of card stock - white and vanilla.
It's a top folding card so I cut the vanilla base 4 1/4 x 11 and scored at the 5 1/2 inch mark. I used a piece of white card stock cut to 4 1/4 x 5 1/2 for the front panel and scraps of vanilla and white for the die cut pieces. (And I used a tiny piece of silver CS for the hanger!  You could cut it out of white and color it instead.)  My banner is 3 1/2 x 5/8 inches.  I used paper snips to cut a flag at one end.
I heat embossed the 4 1/4 x 5 1/2 inch white card stock and the white scrap using a lace background stamp and white embossing powder.  The powder I had came out a little bit cream color giving it a nice contrast to the white and blending well with the vanilla.
I die cut the dress from the scrap and trimmed the full panel down to 4 1/8 x 5 3/8.  I cut my ovals using the middle and second largest ovals from the Nested Stitched Eyelet Oval set.
The larger oval is adhered directly to the card so I used Scor-Tape to make certain it stuck to the embossing - any really strong adhesive should work.  The embossing is slick so the adhesive needs to be strong.  The smaller oval is popped off the card using foam dots. The die cut dress and hanger were added to the top.
I finished off the card by embossing the sentiment in silver and using silver ribbon and a crystal button. 
http://www.scrappingcottage.com/cottagecutzweddinggown.aspx
http://www.scrappingcottage.com/cottagecutznestedstitchedeyeletovalset.aspx

I hope you enjoyed this card - I had a lot of fun making it!

See you next week!
Jeanne

Saturday, August 12, 2017

Miss to Mrs (Bridal Shower Card)

Hello Scrapping Cottage friends! Thanks for taking the time to stop and visit today. It's Mary Marsh here bringing you the Saturday edition of the Blog.

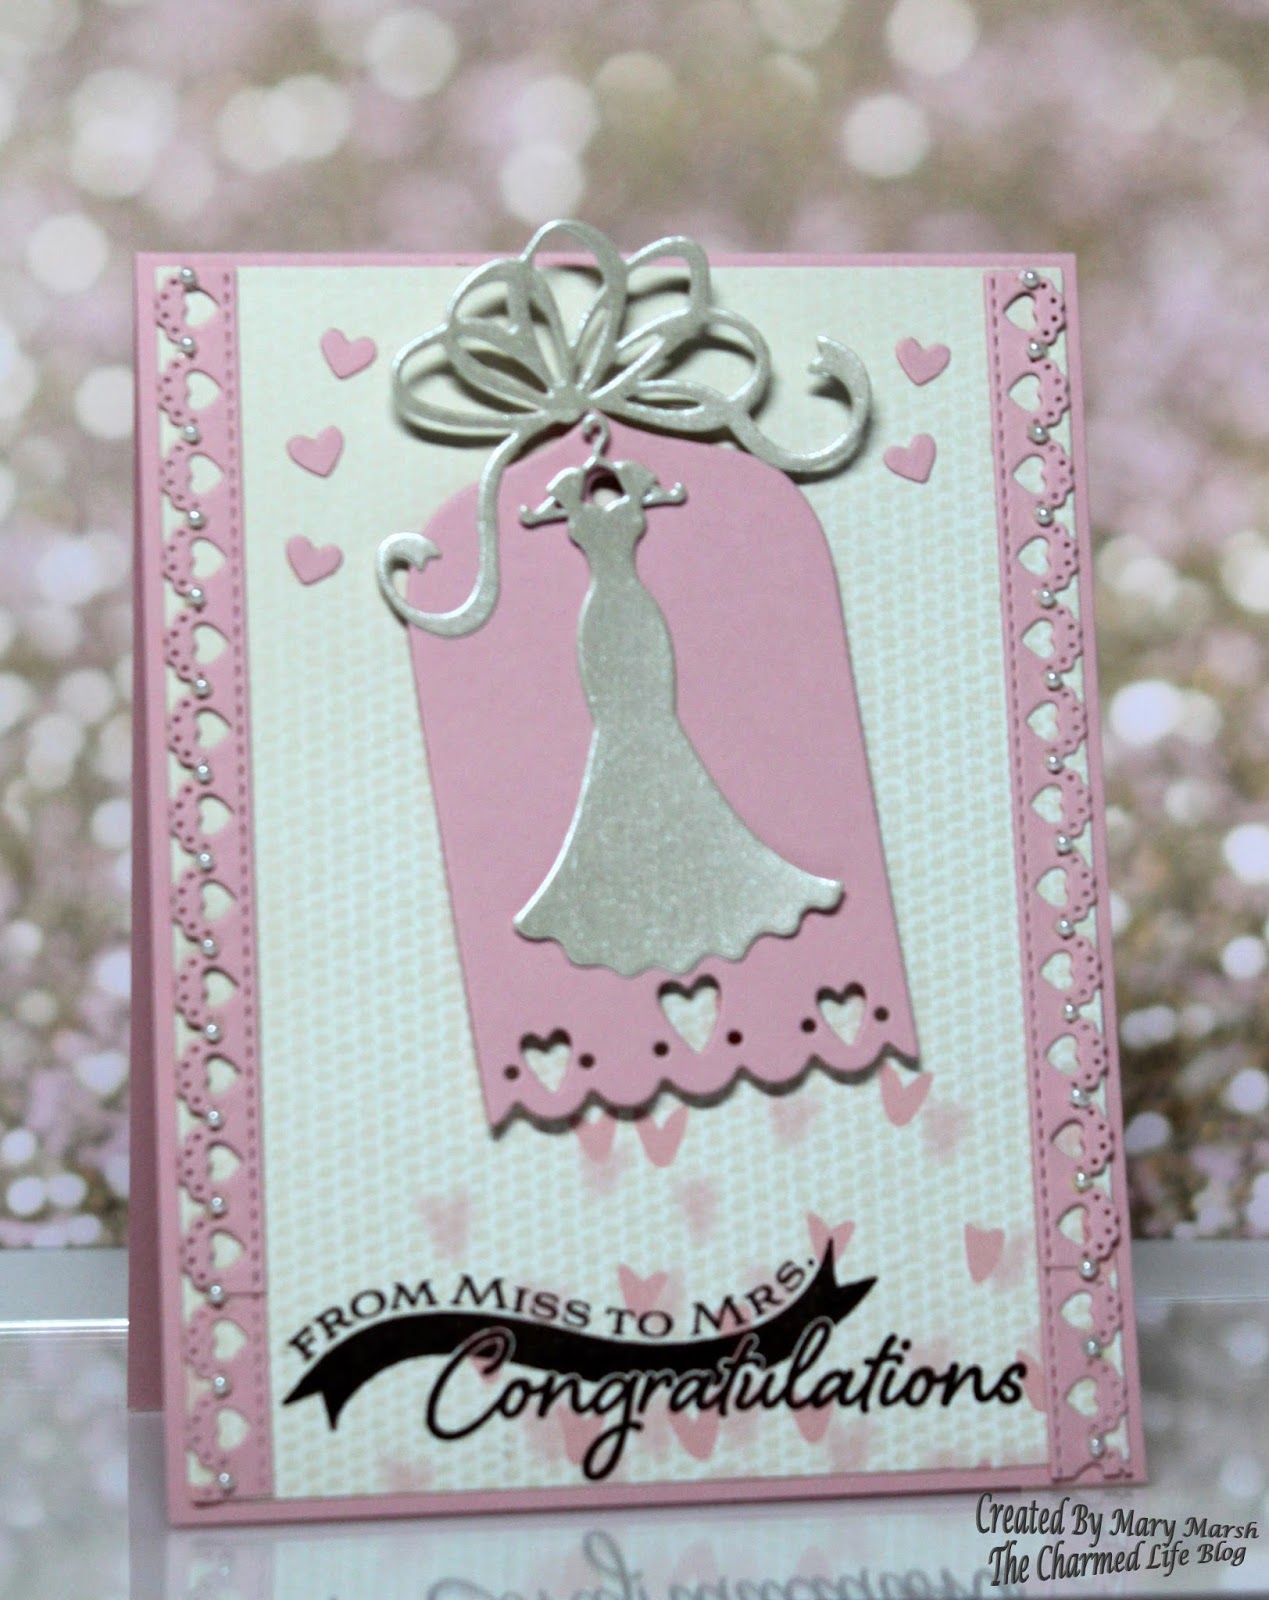
I mentioned last week that it's wedding season here in my town. Before the big day arrives for the bride and groom, first comes the bridal shower. They are always such exciting events to honor the bride.

Since I am invited to a couple of these showers, I thought I would start to create one of the cards to go along with my gift. So lets get started with some details on the dies I am showcasing today.

Step 1: This week I started my card by planning a layout for my card idea. I wanted a more elegant style card but nothing too fussy. This bride will have that elegance reflected in her wedding.
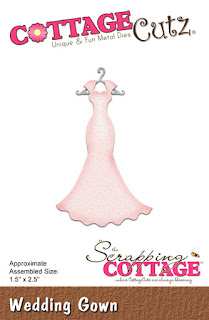
I then selected the dies that would fit what I had in mind. Since it's a bridal shower card, I chose the wedding gown die. And, then to make it all about love, I am using the
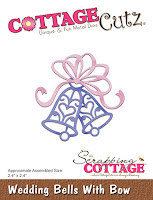
 love tags and 
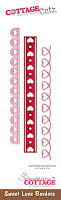
sweet love borders dies.

The cardstock I chose is called blushing bride and I matched it up with some patterned paper of the same color. What an appropriate cardstock name for a bridal card.

Blushing Bride card base: 4 1/4" x 5 1/2"
Patterned paper layer: 4 1/8" x 5 3/8"
I assembled these panels and then placed aside to complete my die cutting.

Step 2: I made all my cuts on this step. The bridal gown, hanger and bow is cut in a pearlized gold cardstock. The tag and borders are cut in the blushing bride cardstock. I am always so impressed with how smooth the CottageCutz dies cut cardstock.
Step 3: Started adhering the die cut pieces to the patterned panel layer. I didn't add the tag and dress at this point because I wanted to stamp the sentiment first. I wanted to make sure I had the correct placement after the heart borders were attached.
Step 4: I stamped my sentiment in chocolate chip ink. This one works so perfectly for my bridal shower theme.
Step 5: I attached the wedding gown and hanger to the tag with dimensional adhesive. Angled it just a bit, mainly for card interest. I let the left side of the bow drape down on the tag and secured it there. I liked the more free flow look.
Step 6: To finish off my card I scattered some of the pink hearts that were part of the border die. As I looked at the border, I thought it would add a bit more elegance by adding some pearls down each side. I like the look and since the pearls are small it's not too fussy.
 Well that's it for me for this post. I hope I have given you an idea for a bridal shower card. There are 20 different wedding designs to spark your creativity. Check them out here. 

Dies I used to create card:
http://www.scrappingcottage.com/cottagecutzweddinggown.aspx

http://www.scrappingcottage.com/cottagecutzweddingbellswithbow.aspx
http://www.scrappingcottage.com/cottagecutzlovetagsset4x6.aspx

http://www.scrappingcottage.com/cottagecutzsweetloveborders.aspx