Showing posts with label Treat Boxes. Show all posts

Tuesday, October 04, 2022

Halloween Treat Box and Card Set

Happy TuesDIE Cottage Cutz Friends!
Melinda here with you on this terrific Tuesday. Today I am sharing a fun and very easy card I created featuring dies that are part of the new Halloween Release.

Here's a look at my card and treat box. 


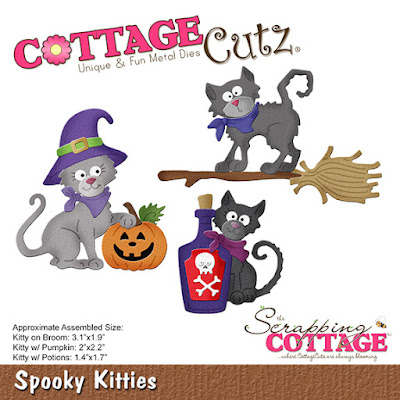
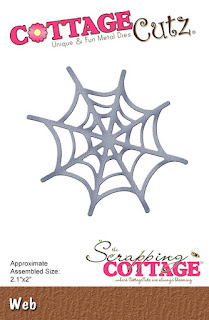
Here's a look at the card. It is a standard A4 Top Folding card. I started with a black cardstock base. I then adhered a purple mat and a yellow mat. I used the Spooky Kitties die to create the adorable kitties. The die includes the pumpkin, the bottle and the broom. I added a Web to the background. I mounted them onto a pierced circle and then mounted all of that onto a scalloped circle.

For the background I added a couple of cut webs for the top corners and then I added 


Here's a look at just the box. It was made to fit 5 little mini candy treats like the kind you get in the bulk bags. The little mini milky ways is what I used.

To create the box
For the base you start with 4.25 x 8.5
To create the box you need to score it along the 4.25 side at 1.25, 2, 3.25 and 4
for the 8.5 width you need to score it at .5 and 1.25 on each end.
Then you will need to cut it on both sides where I have the "X's" 

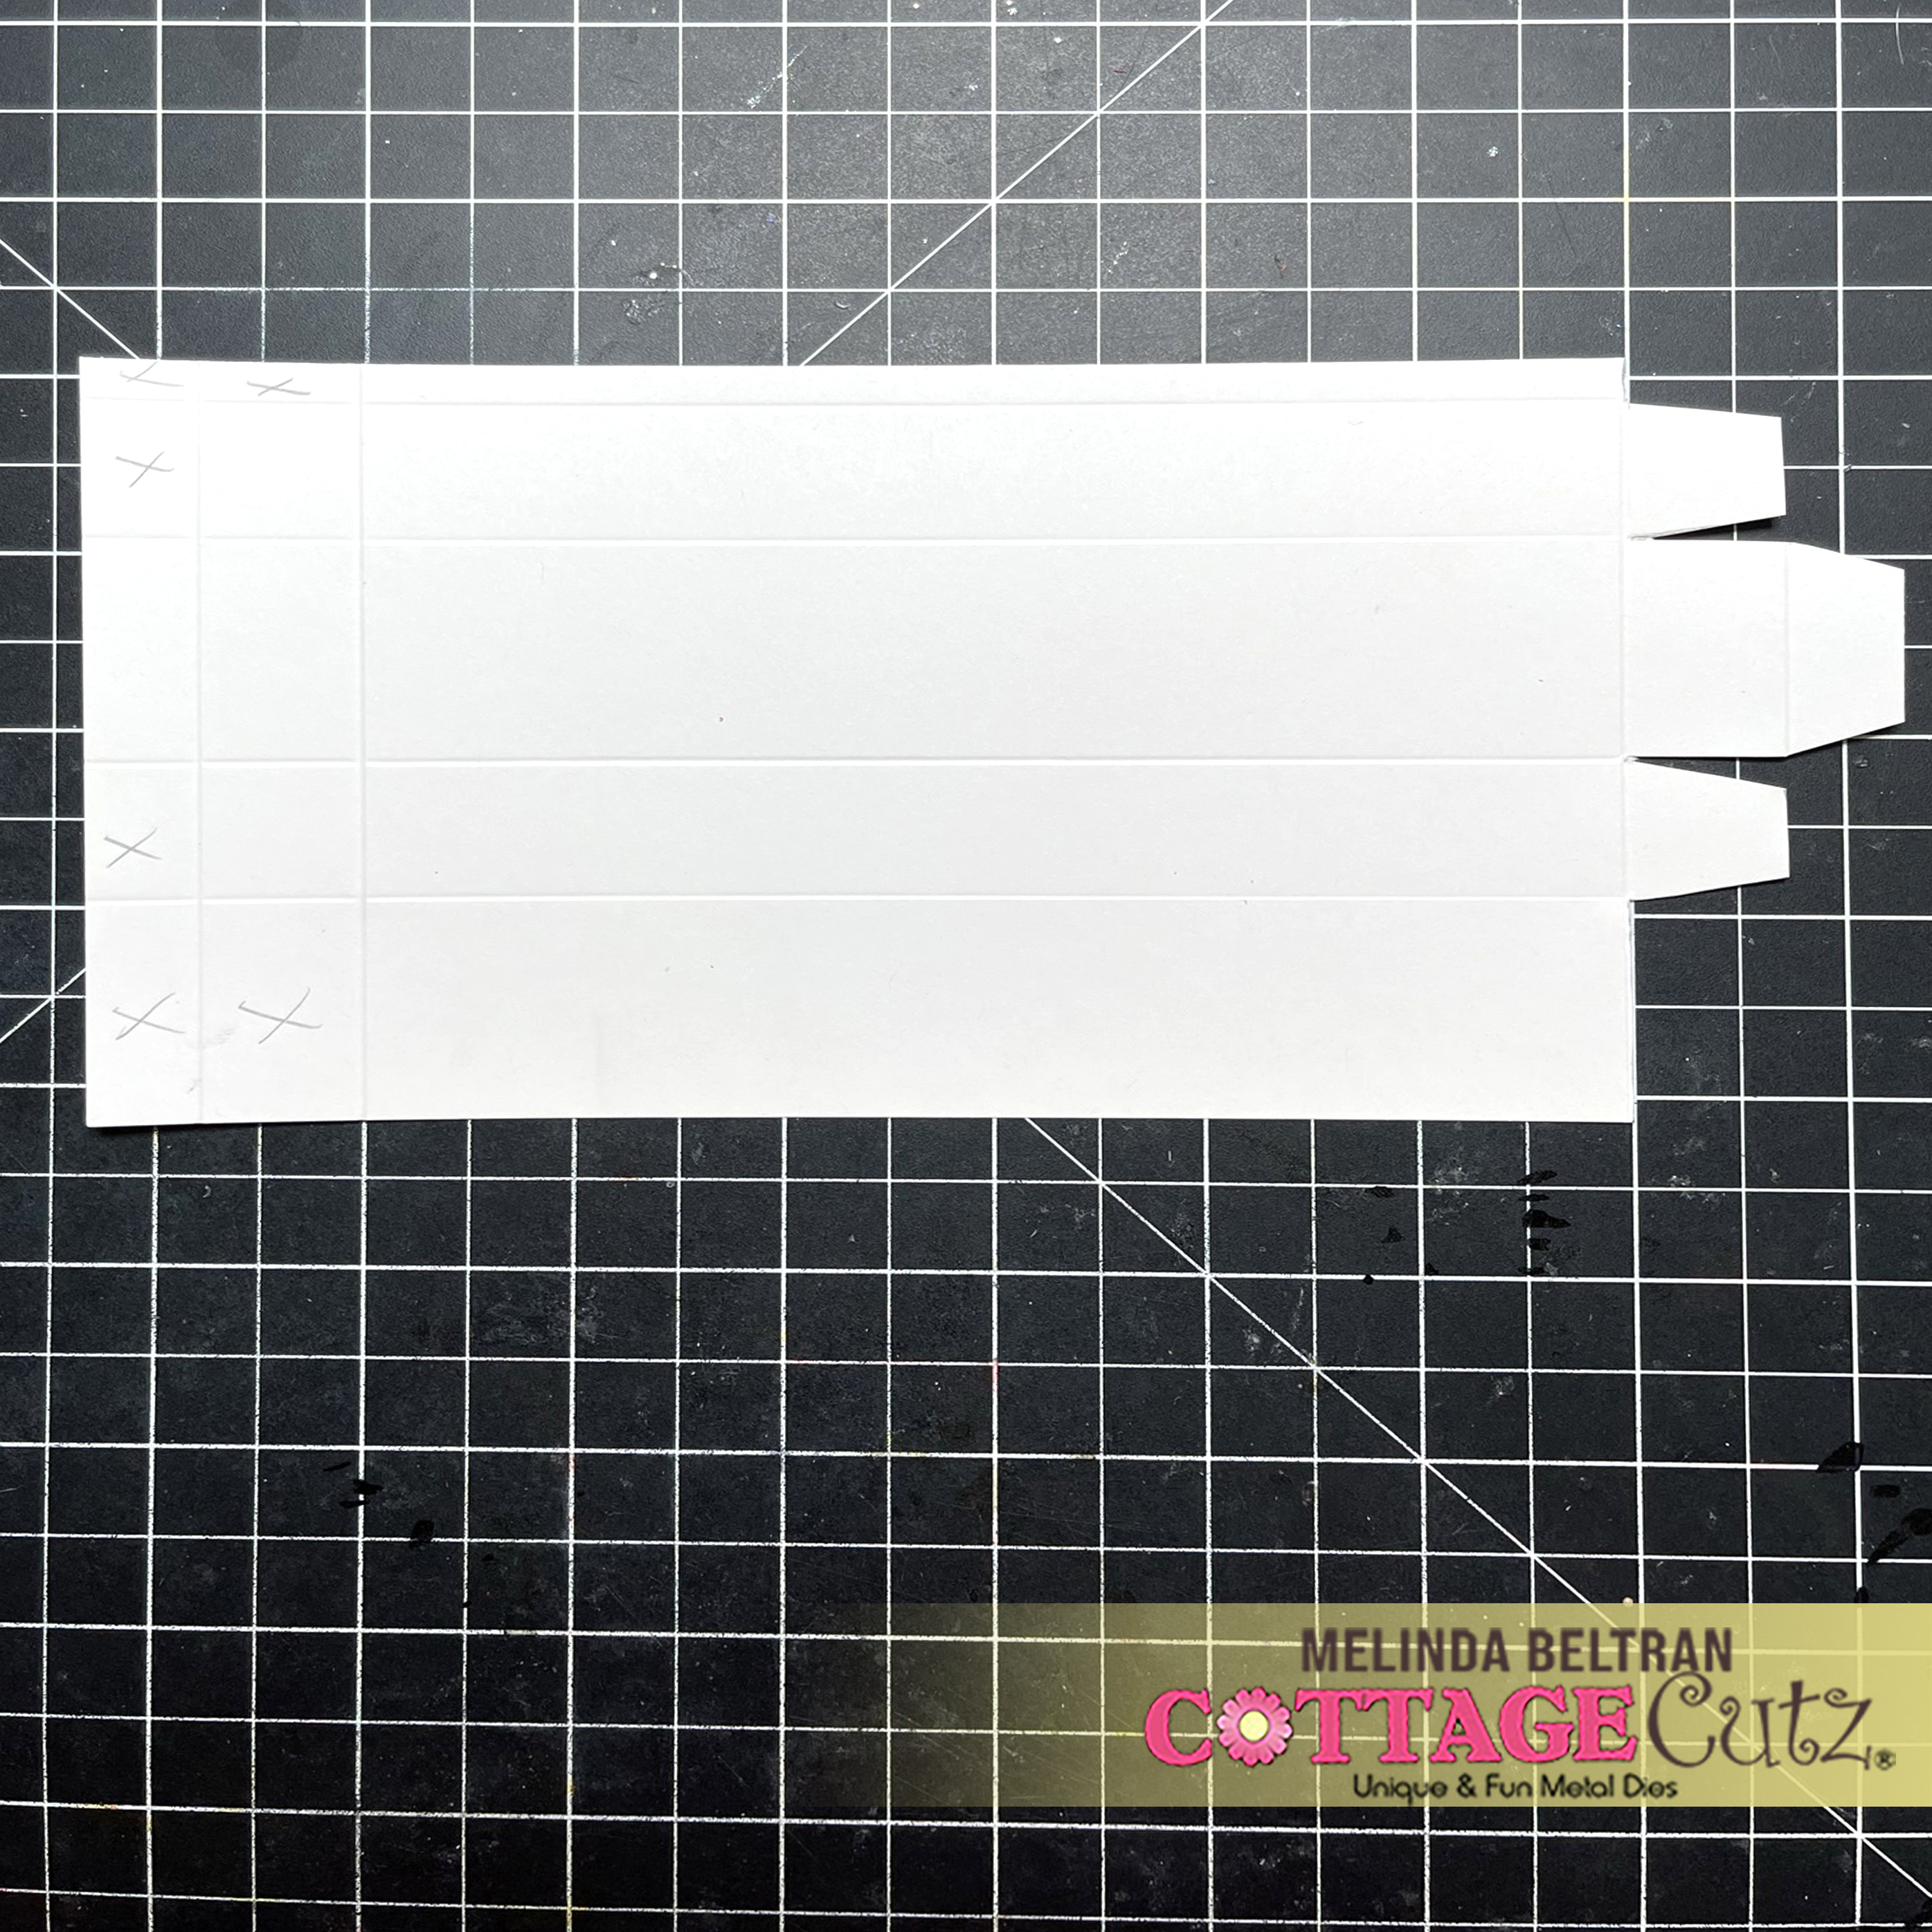
Here's a picture of what it looks like when you cut it on both ends.
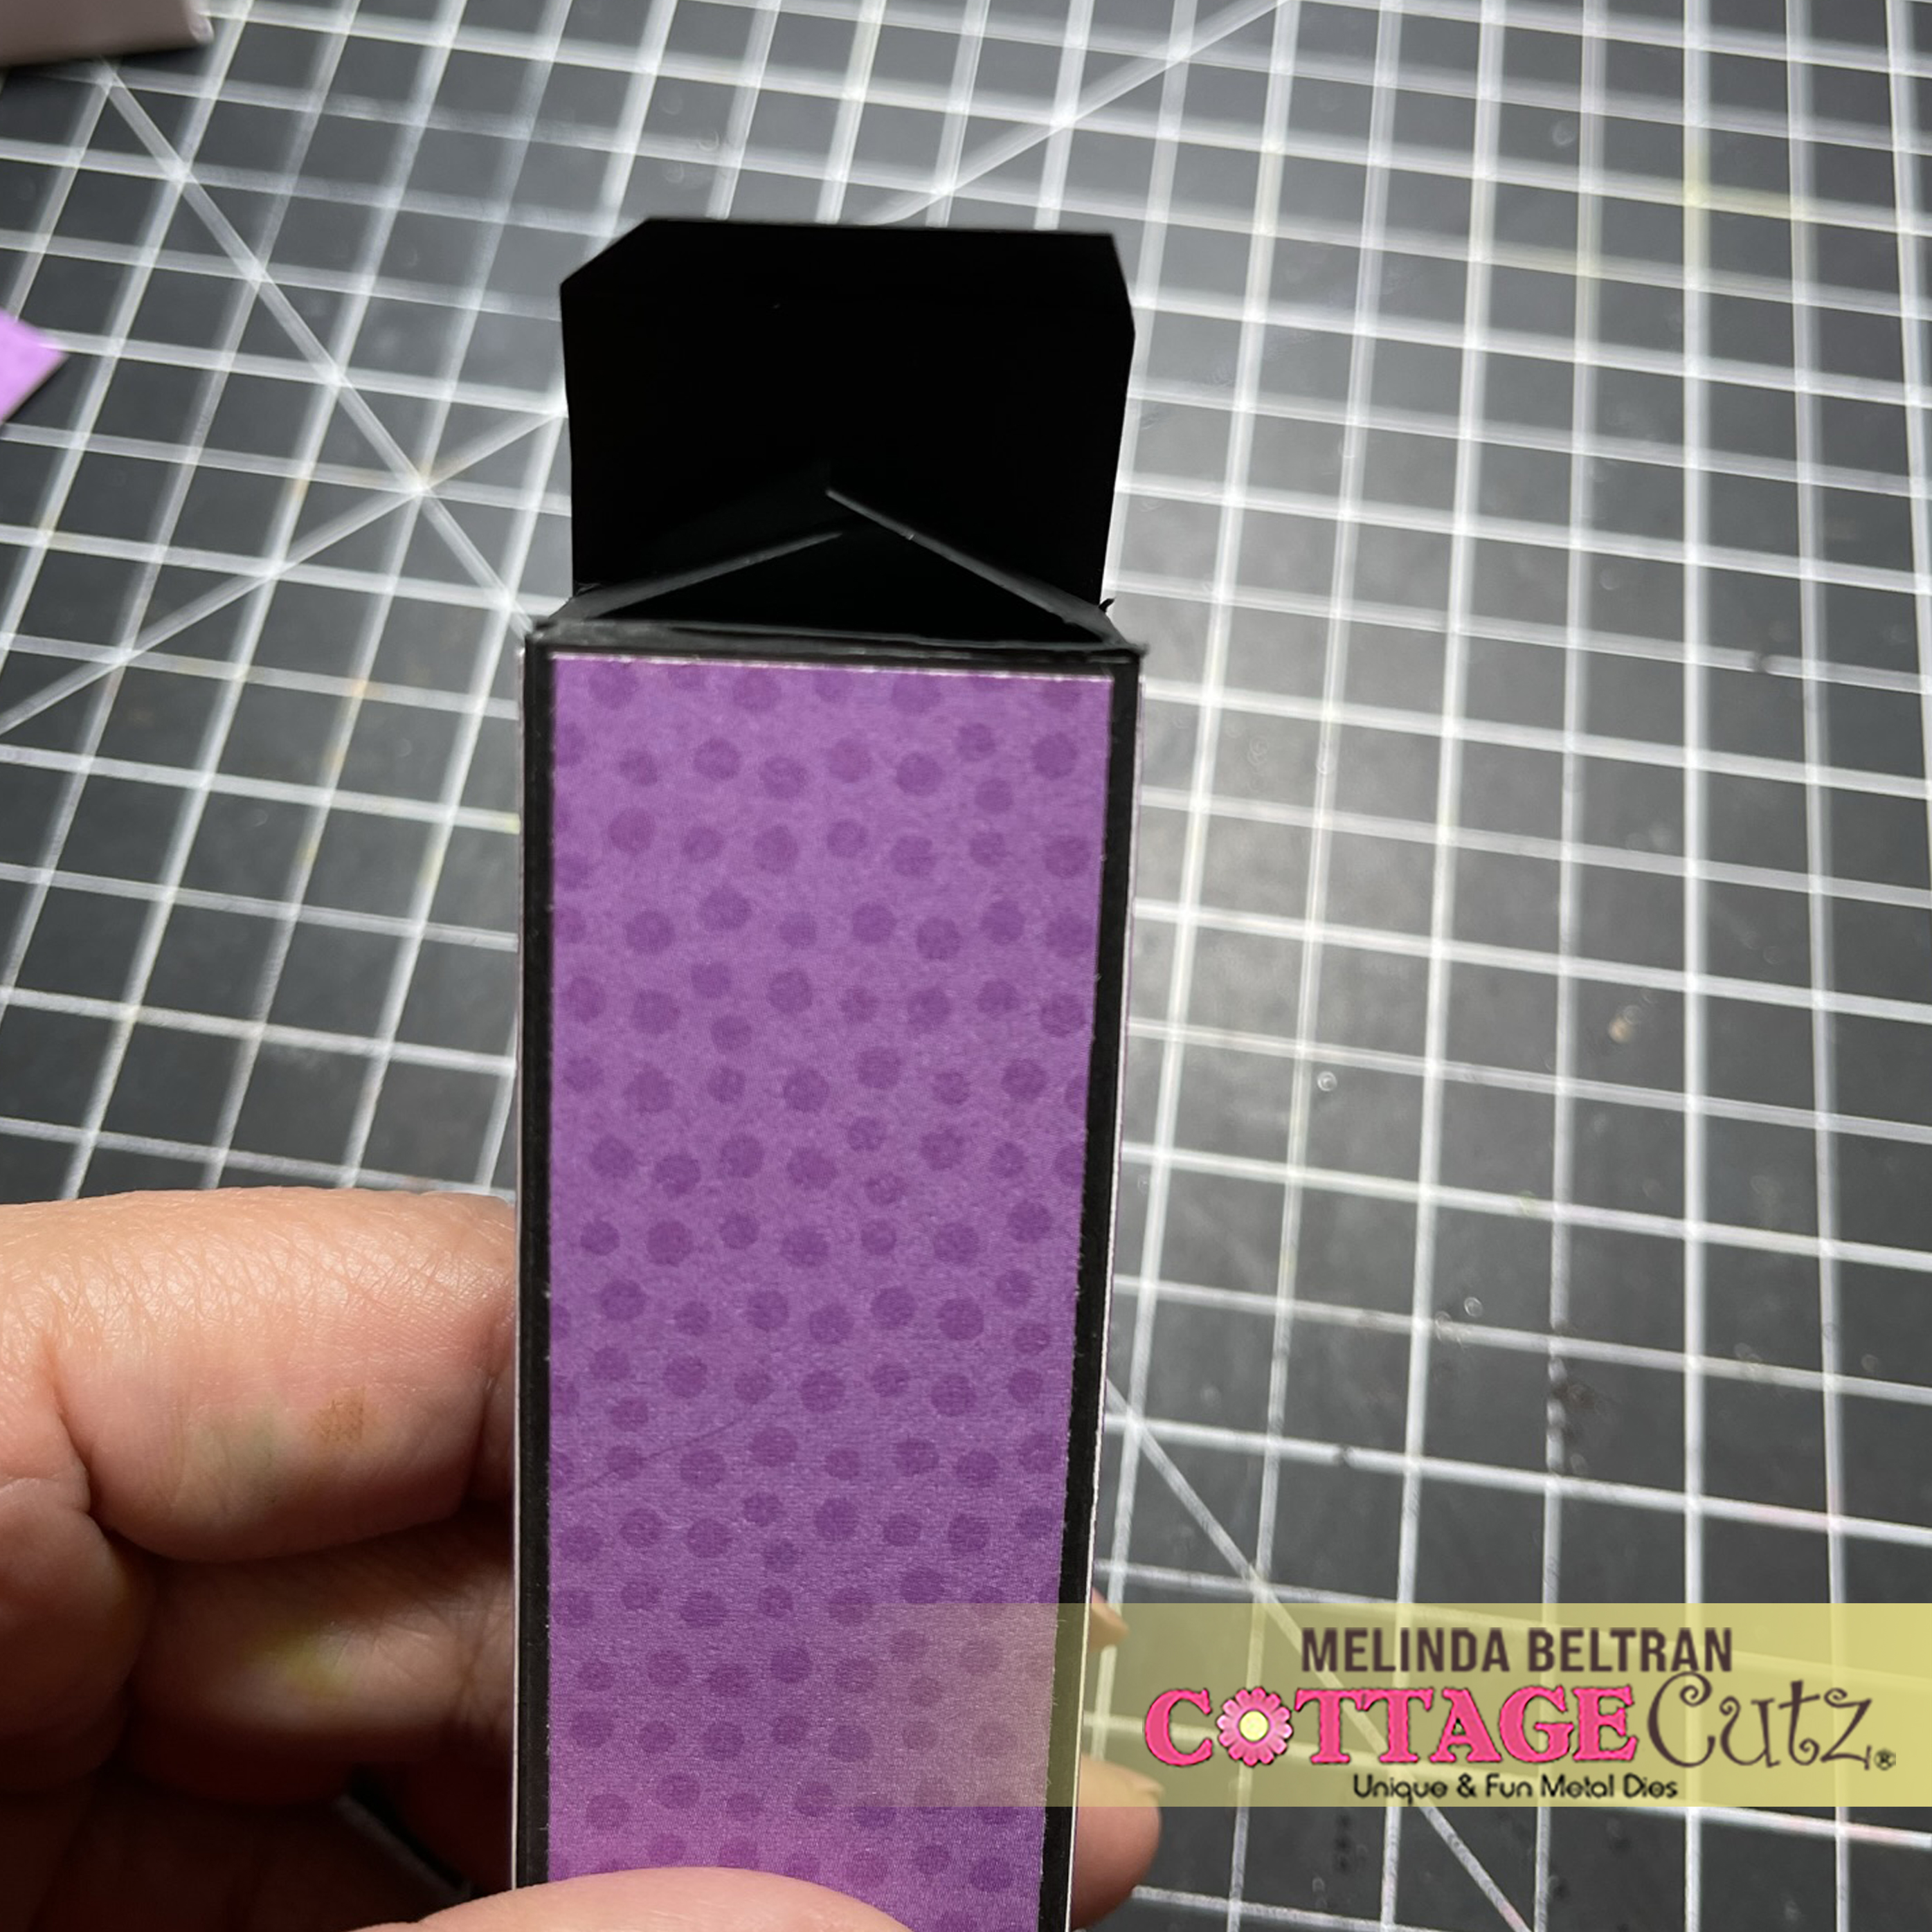
Then you apply adhesive to the .25 piece and fold up to create the body of the box.

This is what it will look like when you have glued the two long ends together.
Then all you have to do is close the ends.

Here's a look at my black box and the mats. For the mats I just cut them an 1/8 of an inch smaller than the box sides. You will cut two at 1.125" x 5.825" and the other two are .625 x 5.825

Not pictured above is the little mat for the top of both flaps. You will need to cut two at 1.1/8 x 6.25
Of course the mats can be whatever size you like depending on how thick you want the borders to be.


Here's what the flaps on both ends will look like.


After I completed the body of the box, I used the cute Jack O Lantern Witch to create the cute little pumpkin lady. I added a little gathered tool to create a sort of tutu skirt for her. I then added some legs and decorated her. I mounted her onto a pierced circle mat cut from some cute yellow diagonal plaid patterned paper and then all of that onto a purple circle pierced mat and all of that onto another scalloped circle. I did this to kind of match the look of my card.

I then added the kitty, the tiny spider and web to the top. I added glitter and white gel pen lines to give it all a little extra decorative touch,

Here is one last look at both projects

Don't forget to head over to the CottageCutz YouTube channel and check out all of the amazing projects on there. Our video team is doing a wonderful job of filling the channel with all sorts of creative content! You don't want to miss it!


Dies I Used


Web


Nested Scallop Die set


Pierced Circle Set


Here's a look at the entire release. Be sure to head over and grab them while they last!

Well that about covers it for today! Until the next time, have a wonderfully craft-die day!
Melinda Beltran

Monday, October 03, 2022

Dancing Feet Treat Box & Card

Hellooooo CottageCutz friends!   

Kris here with a fun and interactive card and treat box using dies from the new HALLOWEEN RELEASE!   If you missed Part 1 of our team post yesterday, click here. You'll see that these dies are not just for Halloween... many of the dies you can use any time of year!  There will be another team post next Sunday, and we are also showcasing samples throughout the week, so LOTS of inspiration for you!

I started by making 2 "Dancing Feet" cards (or should we call them swinging legs?) but then I decided to make a fun Candy Box, with the dancing legs/feet on the front!  They are both easy to make and I'll show you how!

(here they are in action)

How FUN are these?!! 

For my projects today, I used the Witch Legs, Witch Hat, Trick or Treat Phrase, and the spider is from the Spooky Truck die from the New Release.  I also used the Wacky Stitched Rectangles the Pierced Wide Circle Frame die set and the Pierced Circles set.

Let's Start with the Card:

1)  I started with my card base then attached each of the following layers:
White card base = top folding card, 5-1/2" x 4-1/4"
Plaid paper mat = 5-1/4" x 4"
Purple paper mat = 4-7/8" x 3-5/8"
Orange paper = 4-5/8" x 3-3/8"
Black cardstock = 4-1/8" x 3-1/8"
White cardstock = die cut with 2nd largest Wacky Stitched Rectangle


2)  I die cut my pieces:  hat, legs and spider, and added some shading with Copic markers.

3)  Then I made the mechanism that will make our legs swing!  I used the smallest circle die I could find in my stash and cut a hole from purple cardstock.  I then hand cut around it a piece that looks like the one in my photo below on the left, cutting a rectangle around the circle first, then I cut up from the bottom to create 2 stems, and I rounded the top to follow the shape of the hat.    


4)  I glued my witch legs onto the stems of the purple piece we just cut.  See photo below.

5)  I then added a small circle foam dot to my white card front a li'l higher than the center, and hung my legs around it.  

6)  Next, I added foam dots to my hat.  Notice you DON'T want to add them to the brim of your hat or your legs won't move!  Learned that one myself!  LOL!  One at the tip of hat will suffice, because you'll also have the middle dot that we hung our legs on.  Remove the backing from both foam dots and center your hat over legs.  

7)  I added s sentiment that I generated on my computer and die cut, added the li'l spider and some black sequins and we're done with the card ☺


I made another similar one for the front of my treat box.  


Design Steps for Treat Box:

1)  I cut a piece of lime green cardstock at 3-1/4" x 4-1/8" and mounted my white Wacky Stitched Rectangle on top.   I repeated the rest of the steps as my card to create the front panel.

For the box... I wasn't sure score lines would show up on black, so I also made an orange version to show you where to score/cut etc.  

2)  I cut a piece of (black) cardstock, 11" x 7-1/2".  Then, with the 11" side along top of my score board, I scored at 3-3/4", 5-1/4", 9", and 10-1/2".  Then I turned it so the 7-1/2" side is along the top and scored at 1/2", 1-1/2" and 6".

3)  Use the photo below to make cuts with scissors to create mitered flaps etc.  The largest sections you will NOT miter the flaps, all others you will.  (you can click the photo to enlarge if you need to)


4)  Once my flaps were mitered, I measured each of the larger sections (that have the 1/2" score on top) to find the middle and placed a pencil mark at 1-7/8" and used my Crop-o-dile to create a hole.  I rounded the corners of the flaps with the holes.  

5)  You CAN decorate just one side of your box and be done, but I thought it'd be fun to create a peek-a-boo window on the back so they can see the candy inside!  ☺  So I cut a piece of purple patterned paper, 3-1/2" x 4-1/4" and glued it to the outside panel of the largest end as shown below.  

6)  Then I die cut a circle (5th largest of the Pierced Circles Set) from the middle of that panel. 


7)  I then turned it over and added a piece of window sheet larger than the circle and attached to inside.  


8)  I cut a circle frame to cover the hole on the outside using the middle sized Pierced Circle Frame die.  Then I added the cute spider from the Spooky Truck die by gluing it behind the frame, then attaching it to the box. 


9)  This is totally optional, but I thought the candy (and spider) would show up better with a colorful insert, instead of seeing black through the hole, so I cut a piece of yellowy-orange paper cut at 3-1/2" x 4-1/4".


10)  I cut some candy-patterned pieces for the spines and top portions of my box.  I cut (2) spines at 4-1/4" x 1-1/4"


11)  And (2) plaid pieces for the top portions cut at 3-1/2" x 3/4"

12)  I die cut the Trick or Treat Phrase from glittered cardstock and glued onto the back of my box as shown.


12)  To assemble the box, add a strip of Score Tape onto the outer 1/2" flap as shown.


13)  Then flip it to the other side and add 2 or 3 strips of Score Tape to the non-rounded end flap as shown below. 


14)  Bend the short 1/2" flap over and remove backing from tape, then fold the other end of box over onto that flap, lining up corners.

15)  Now you can fold in the small bottom (non-rounded) flaps in, then fold in the non-taped flap, then remove tape backing from the 3 strips and fold over that flap.

16)  You can use the straight end of your bone folder to stick inside your box and rub over the flaps to help secure them. 

17)  Lastly, I added cute ribbons thru the holes at the top and tied a bow!  Done☺

PRODUCTS I USED:


Check out the whole HALLOWEEN RELEASE HERE!


I hope I inspired you to get crafty with your favorite CotageCutz dies ~ Have a blessed week ☺

~Kristine

Tuesday, March 22, 2022

Lollipop Box and Cards Set

Happy Terrific TuesDIE Scrapping Cottage friends!
Melinda here with you for another fun Tuesday. My project features a couple of dies from the marvelous new SPRING RELEASE along with some others!  Here's what I created.

I created a set of three 4.25 x 4.25 note cards and a little "Lolli Box"

To create the Lolli Box

I started with a square piece of paper that measures 3.75". I scored it on all four sides at 1.25"
Once all four sides are scored, I proceeded to make some cuts.


Here is how I trimmed it. I cut a slit up to the first line on the score line that is to the right. I then snipped a slight angle off on both sides of the corner. Then I turned the piece a quarter turn to the right and repeated this process. I did for all four sides. I also trimmed just a bit off of each corner. This way it will fold up much easier and remain flush.

Once all the cutting was done, I added adhesive to the opposite side of the cut flaps. See photo. Notice the tabs are bent forward. You can see the adhesive and the way I cut them at an angle.

I then layered a white home onto a kraft cardstock home. The only reason I did this is so that looking at the finished box from the back side will make this seem much more cohesive.

Here I am coloring the bird houses.

Here's a view of the box once it is assembled. It does fit the lollipop pretty good. It is a tootsie roll lollipop. 


Here is where I added mats to 3 of the sides. There are just 1" mats.

Here's a look as I was assembling the die pieces to create the adorable Bunny Cottage. Once I finished, I glued it to the front of the box.

Here is the finished Lollibox. I added the "tree and sign" from the Spring Chicken die set. The top of the tree is from the Carrot House die. I cut it out in some cute Doodlebug patterned paper.

Here's a closer look at the Pink Home. I put a sweet little brown bunny in this one. I added some dew drops to the top left corner of each card. Just for a little something extra~


Here's a closer look at the Purple Home. I went with a gray bunny here.


Here is a closeup of the card with the Yellow home. I did another little brown bunny here.


Here is one last look at the cards and the Lolli box. I think this set turned out very nice. 


The Dies I used to create this project:


In case you didn't hear, The CottageCutz YouTube channel is up and running.  Head over and check out the latest video! There is a giveaway for subscribing too!

Well that about covers it for today! Until the next time, have a wonderfully crafty day!
Melinda Beltran