Showing posts with label Thanks w/Shadow. Show all posts

Saturday, October 07, 2023

Fall Centerpiece (new die)

Hello CottageCutz friends! Thanks for taking the time to stop and visit with us today. It's Mary Marsh here bringing you the Saturday edition of the Blog.

It's new release time!!! We have our Christmas 2023 release in the online store that has 40 designs. It's an old-fashioned Christmas theme. You can pick up the individual dies at 30% off for a limited time.

We also have a new Fall 2023 release in the online store with 15 designs. You can also pick up these  individual dies at 30% off for a limited time.

Today for your viewing pleasure, I am featuring the new Fall Centerpiece die and I created a Thanksgiving card. So let's get started with some details of how I created my card. 

Design Steps:

I started by choosing my card colors.  I decided to use some rich jewel colors for the card base, layering panel and the designer paper. These are Stampin' Up colors of rich razzleberry, purple posy and the designer paper is a rich razzleberry shade. 
I embossed the purple posy layer with a diamond folder for some background texture. I used rich razzleberry ribbon to join the two panels. 

Rich Razzleberry Card Base: 4 1/2" x 5 3/4"
Purple Posy embossed layer: 4 1/4" x 3 1/2" 
Designer Paper Layer: 4 1/4" x 2"
I assembled the Fall centerpiece using the packaging colors. I also used the packaging for placement of the die cut pieces since I assembled this on the embossed panel. 
For my sentiment I decided to use the Thanks w/Shadow die.   I cut the shadow in a chocolate cardstock and the thanks word in purple posy cardstock.
To finish off my card I stamped the "let us give" phrase in rich razzleberry ink on purple posy cardstock and added a chocolate layer. I attached it with double sided tape and the Thanks phrase with clear drying glue. 
That's it for this week. I hope I have given you an idea for a way to use this new die. See you next Saturday. 

Reminder: Marla has inspiration on the CottageCutz YouTube channel. Click here.


Monday, August 21, 2023

Paper Pieced Pumpkin

Hello friends!  

It's Kris sharing with you today this easy-to-make pumpkin card for your inspiration!


I was inspired by some other die-cut and punched pumpkin cards on Pinterest and thought I'd give it a go with some cute Fall-themed papers and of course I got creative with my CottageCutz dies! 

CUTTING & SCORING:

Dove White Cardstock:
•  5-1/2" x 8-1/2" and scored at 4-1/4"
• 3-7/8" x 5-1/8"
• die cut Thanks w/ Shadow (shadow)

Pecan Pie Cardstock (brown):
• 5-1/4" x 4"
• die cut Thanks w/ Shadow (shadow)
• die cut Fence & Grass (fence)

Patterned Papers (Doodlebug Designs: Pumpkin Spice):
• (5)  die cut the 3rd smallest of the Pierced Oval set
• die cut (2) of the large leaves from the Flowers 4x6 die
*Tip... I just cut a piece li'l bit larger than the leaf w/ scissors first then die cut just the leaf
• die cut Thanks w/ Shadow (thanks)
• die cut Fence & Grass (grass)

DESIGN STEPS:

1.  First, I stamped "for all you do" in an olive green in the top right corner of my white layer.


2.  I assembled my pumpkin using foam strips between each of the top 2 layers.


3.  I hand cut a stem for my pumpkin and added some lines with a marker.  I then ran some twine thru a button and glued it to the top over the leaves.  


4.  Next, I decided I wanted more texture on the white layer, so I ran it thru with a lattice embossing folder.  I then smoothed it out with my bone folder, just over my stamped sentiment so it would be easier to read. ☺


5.  I cut apart my fence and grass as shown below so there are 3 slats and 2.


6.  I added my pumpkin with foam strips between the fence.

7.  I offset my brown "thanks" shadow behind the white and then glued my "Thanks" on top and added to the top left corner of card.  Done!


Thanks for looking!  I hope you're inspired to create something CUTE with your CottageCutz dies! 

♡ Kristine


Monday, May 29, 2023

Envelope Box Card

Happy Memorial Day crafters!

It's Kris sharing with you today. ☺

Before I get to my card... our Memorial Day SALE is still going (thru Wednesday!) and you can save up to 70% OFF!!  Be sure to check that out!!  We also have a brand new release (not yet in our Design Team's hands!) that is Folk Art themed and the bundle is 65% OFF for a limited time!  Plus, all the individual dies in this new release are 35% OFF!

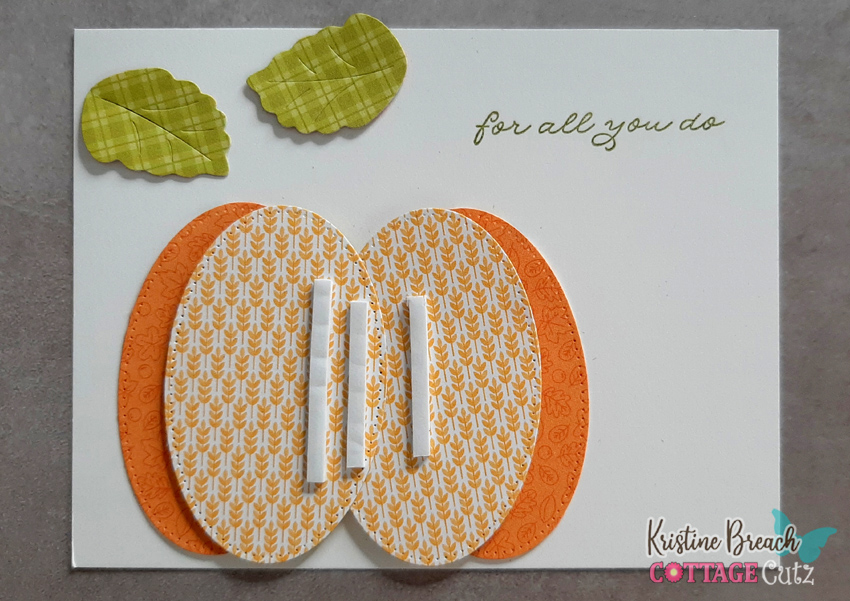
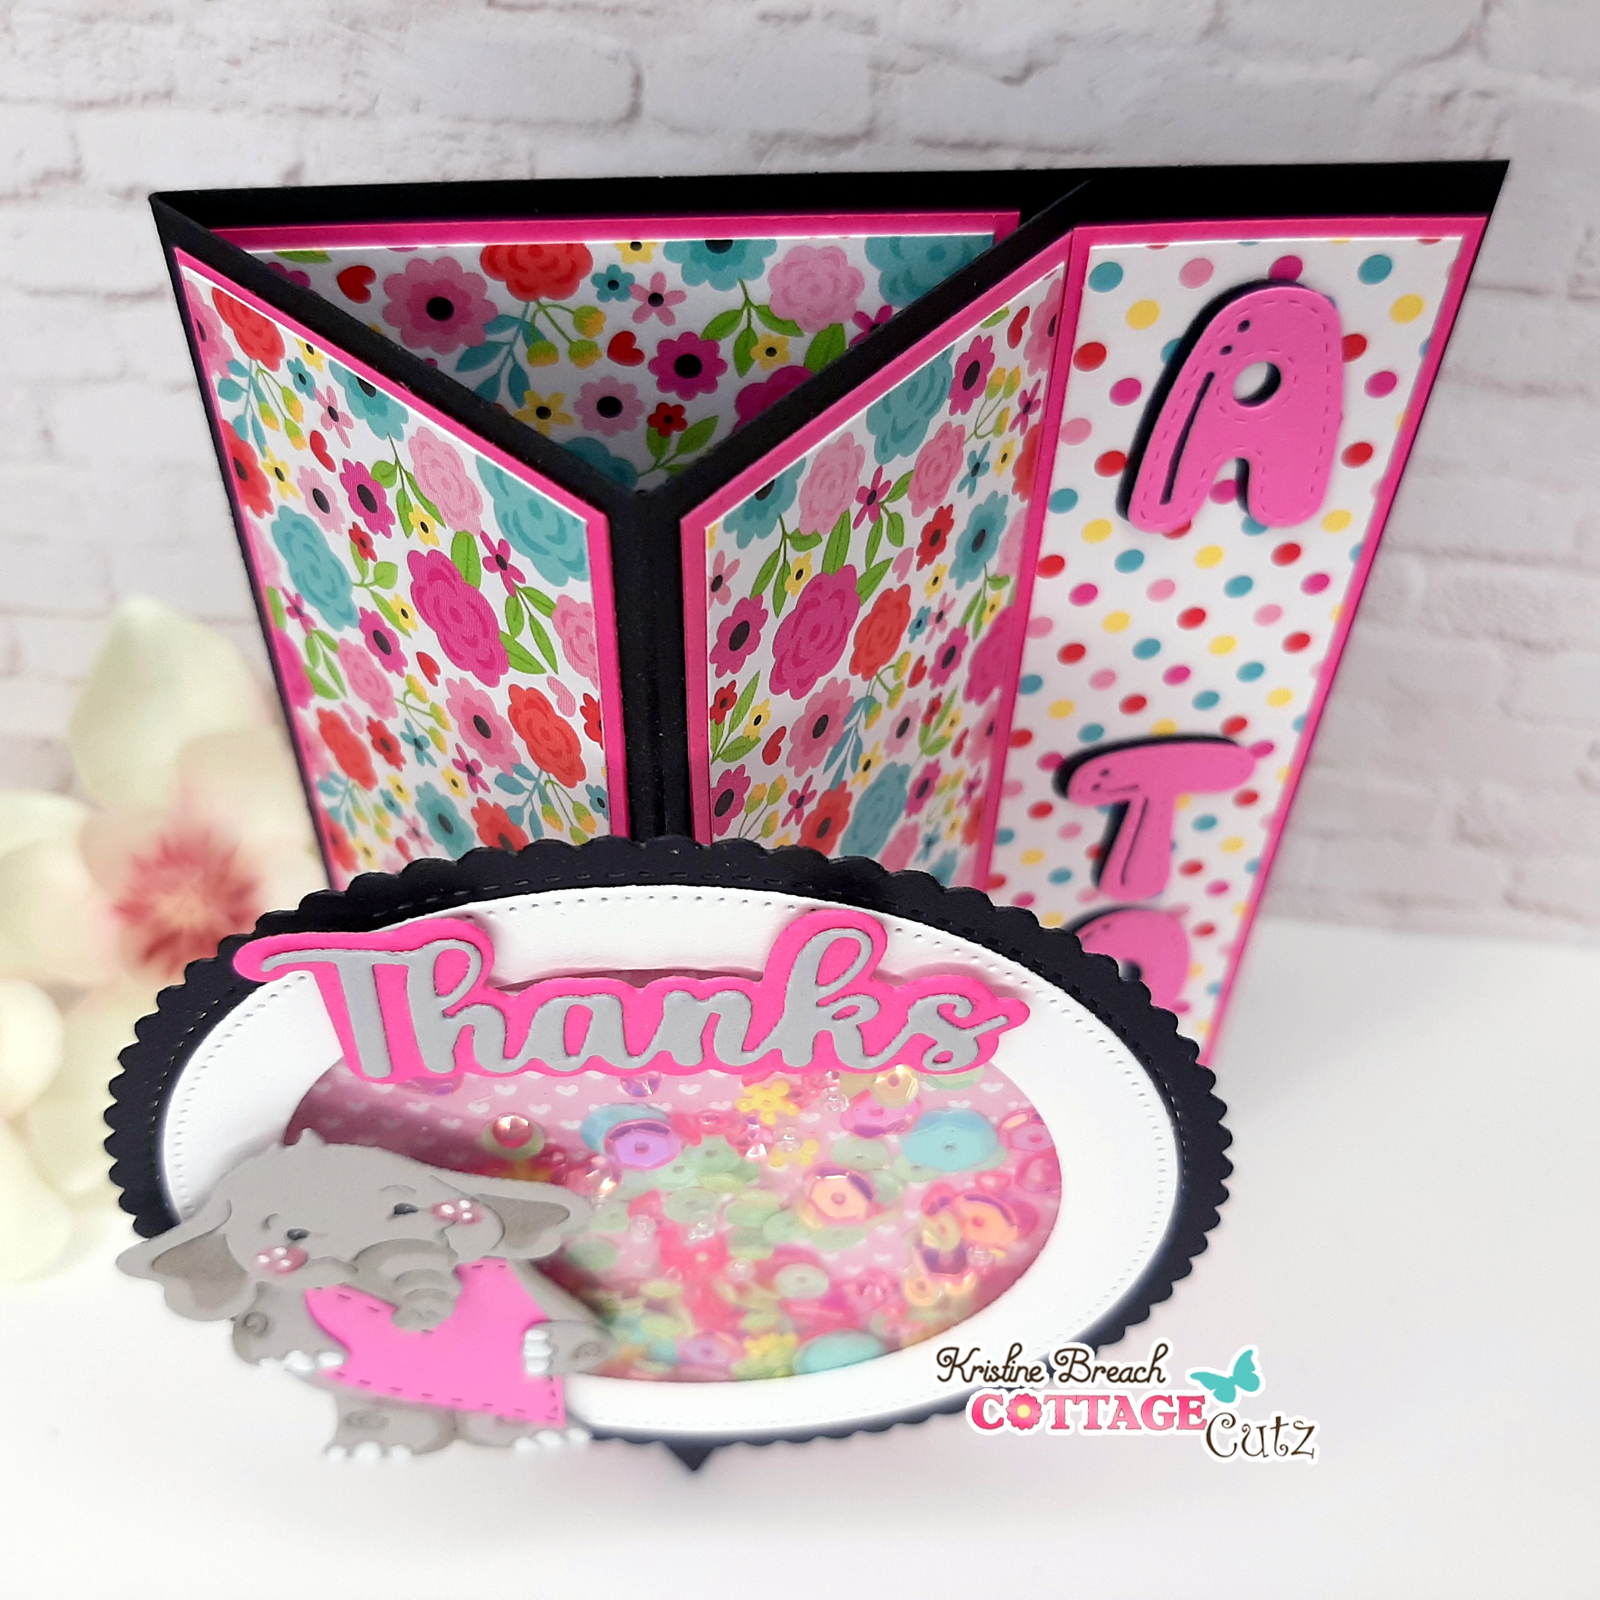
Ok, onto my card... I made an envelope box card for an in-person recipient as this one does not collapse down to fit into a regular envelope.  However, there is a boxy envelope that you can make that this 5" x 7" card will fit into and is perfect for gifting in person.  I'll share that link at the end.  


For this card I used the Spring Tulips, the Springtime Bicycle, and the Thanks w/ Shadow dies.


*Note:  if you need to watch a video on how to create this card, you can watch this one here.

DESIGN STEPS:

Envelope Base:

1.  Cut a piece of green cardstock at 5" x 7" 
-- Along the 5" side, make a mark at 2-1/2" 
-- Along both  7" sides (closest to the mark on the 5" side), make a mark at 2-1/2".
--  CUT diagonally from the middle mark on the 5" side down to the 2 marks on the sides. 

2.  Cut a piece of gingham patterned paper at 4-3/4" x 6-3/4"
-- Along the short side, make a pencil mark at 2-3/8" and again on each of the 2 connecting sides
-- CUT diagonally from the middle of short side down to the marks on the sides.
-- Adhere this to the base you cut in step #1.

Envelope Sides:

3.  Cut (2) pieces of green cardstock at 3-1/2" x 3-1/2"
-- Score at 1/2" and 1-1/2" and put a li'l mark at 2", then FLIP it (vertically) and place another mark at 2"
-- Turn 90 degrees so that your 2 score lines are at the bottom, and place a mark at 1-3/4" 
--CUT diagonally from the 1-3/4" mark down to each of the 2" marks

4.  Cut (2) pieces of green gingham patterned paper at 3-1/4" x 1-3/4"
-- With short edge along the top, place a mark at 3/8" (on top and bottom) of piece
-- With long side at top, place a mark at 1-5/8"
-- CUT diagonally from that 1-5/8" mark down to both of the 3/8" marks
--Attach patterned piece to solid piece as shown below.


Envelope Bottom:

5.  Cut a piece of green cardstock at 4" x 7"
-- Along the 7" side, score at 1" and 6", then place a mark at 3-1/2"
-- Along the 4" side (opposite end from where you placed that 3-1/2" mark), score at 1/2", 1-1/2" (both are scored all the way down), and 2-1/2" just to the score line on both ends as shown below

6.  Cut away the small rectangles formed by the intersecting score lines, then miter the 1/2" flap as shown below


7.  Cut diagonally from that middle 3-1/2" mark down to the score line where you scored just to the score line, then following the score line, cut up to the next score line as shown below. 
-- Repeat on opposite side


8.  Cut a piece of gingham patterned paper at 4-3/4" x 2-1/4"
-- Along the short side, place a mark at 7/8" (top and bottom)
-- Along the long side, place a mark at 2-3/8"
-- Cut diagonally from the marks on each side up to the middle 2-3/8" mark
--Adhere to solid piece as shown below


Putting it all together:

9.  Add glue to the short mitered flap of envelope bottom piece and join to the back of your base panel.

10.  Add glue to the short flaps of your side pieces and adhere to back side of base panel so that the bottom edges are even with the bottom edge of base panel as shown.


11.  Add glue to one of the small flaps of envelope bottom pc. and bring it up while folding the side piece over and adhere to it forms a 90 degree angle.
-- Repeat with other flap.


12.  Fold bottom up and add glue to adhere to side panels.


13.  Cut a "shelf" piece to place in the middle of your box (to glue tulips to) at 1" x 6"
-- Score 1/2" on each end of 6" side
--Glue tabs and insert to attach to box sides, lower than the pointy part that sticks up so it will be hidden.


Decorating the box:

14.  I die cut the Spring Tulips die 2x and colored with Distress Oxide Inks 
(Squeezed Lemonade, Wild Honey, Carved Pumpkin, Picked Raspberry, Kitch Flamingo, Twisten Citron, and Mowed Lawn)


15.  I attached some of my tulips on foam dots to the back (base) of envelope, some to the middle "shelf" and some I glued directly behind the front of my box.


Writing Piece for Back of Card:

16.  Cut a piece of green cardstock for the very back of card at 5" x 7" and score along the 7" side at 3-1/2"

17.  Cut a piece of white at 4-3/4" x 3-1/4"
-- Adhere to the front  (see below)

18. Cut a small piece of green at 3" x 1"
-- Score at 3/4", 1-1/2", and 2-1/4" (mountain, valley, mountain fold it)


19. Fold card and attach to the back lower part of box so that the white piece is on the outside.

20.  Add glue to the 2 end sections of your "W" piece and attach to inside of small card on back, about 1/4" up from the bottom edge.


And lastly, I die cut the Thanks w/ Shadow die from white and pink cardstock, glued together and attached to a strip of acetate and glued it to the shelf inside the box.  


and DONE!

If you'd like to make a box to fit this envelope card into, click here.

PRODUCTS:


I hope I've inspired you to get crafty with your CottageCutz dies! 

Happy Memorial Day!
~Kristine

Friday, March 10, 2023

2-for-1 Starburst Background... more Mother's Day Cards!


Hi everyone! Linh here and I have a new video up on the Cottage Cutz YouTube channel. This is a really fun 2-for-1 technique. The diagonally cut pattern papers are hand-cut without any special dies. It's really easy and you can quickly make two backgrounds.  Today I'm making a couple more Mother's day cards that are a bit more understated compared to my last Mother's Day card.


Monday, January 30, 2023

Thanks a TON

Hi there crafty friends!

Kris here, and as promised in Saturday's post, I'm back with a tutorial for a Vertical Easel Card with a Floating Shaker!  Today's is the same style card, but a different theme.  I realized this weekend that I don't have enough "Thank You" cards, so I used the Festive Elephant from the Christmas 1 Release (which are all 30% off right now!)... I simply left off his Santa hat and tree and added a heart ♥ I also used the Thanks w/Shadow die, and then I spelled out "a ton" on the far right strip that holds the easel in place using the Stitched Alphabet die.  A few other dies are listed in my tutorial (and shown at the end of my post).  


Before I get to the tutorial, I'll share a few more project photos so you get a good idea of what we're making today!  

-Here's the front in closed position-

-Inside-

-View from the top as it is standing in easel position-

Trust me - this is so EASY to make, you don't even need a video!  If you've ever made an easel card, this is basically an easel turned on it's side... except that instead of your focal image on the front being glued to half your card front, there is a li'l mechanism that makes it pop forward when the card is in easel position.  ☺  And I stepped it up by making my focal image a shaker! (If you want to keep your card more flat, you can simply made a flat focal image piece.)

- Here's How I Made It -

BLACK CARDSTOCK:
(Card Base) Cut at 5-1/2" x 8-1/2" 
- score at 2-1/8" and 4-1/4" (along 8-1/2" side)

PINK CARDSTOCK:
(Front Mats)  Cut 2 Panels at 5 1/4" x 1 7/8"
(Inside Mat) Cut 1 Panel 5 1/4" x 2 1/2"
(Inside Mat) Cut 1 Panel 5 1/4" x 1 3/8"
(Focal Mechanism) Cut at 3" x 1-1/2" 
- score at 1/2", 1", 2" & 2-1/2" 

PATTERNED PAPER (Floral):
(Front)  Cut 2 Panels at 5 1/8 x 1 3/4
(Inside) Cut 1 Panel at 5 1/8 x 2 3/8

PATTERNED PAPER (Polka-Dot):
(Inside Edge)  Cut 1 Panel at 5 1/8 x 1 1/4

- DESIGN STEPS -

• Attach your patterned papers to the pink mats.

• Fold your mechanism so that the outside scores are mountain folds & inside scores are valley folds.


Mechanism:   Add strong adhesive to the bottom of your 2 outside flaps and attach them right up to the score line of your card front. See photo below.  It helps to attach one side first, then the other.


•  Attach your front panels over the glued flaps of mechanism but under the top part as shown.


•  Add foam strips (or dimensionals/pop dots) to the back side of your thin polka-dot panel and attach INSIDE your card, near the edge.


• Attach your larger panel (not popped up) to the side of it, leaving equal black border all around.


• Since the base is black, I added a white panel to the INSIDE far left (backside of card front) for writing a message.  That measures 5-1/4" x 1-7/8" - OR you could cut a larger white panel for the way back of your card cut at 5-1/4" x 4"

Our Card Base is DONE!  Easy peasy, right?!  


Now let's make the shaker!

BLACK CARDSTOCK:

• Die cut a frame by nesting the largest from the Nested Stitched Scalloped Circle set and the 3rd largest die from the Pierced Circle set as shown...

*Note:  this photo is not exactly correct, but my instructions are!  The photo shows that I first cut with the 4th largest die, but then I went back and cut it again with the 3rd largest and forgot to take a photo.


WHITE CARDSTOCK:

• Die cut a frame by nesting the 2nd & 4th largest dies from the  Pierced Circle set


• Glue your white frame onto the black scalloped frame, making sure to center it so there's equal border showing.  (Mine is not centered as it's not glued down yet in this photo.)


PATTERNED PAPER & ACETATE:

• Die cut a circle using the 2nd largest from the Pierced Circle set

•  Glue your acetate circle to the BACK of your scalloped frame.  

•  Add foam strips/tape on top of acetate, being careful it doesn't show from the front.

*TIP #1: if you remove the backing from your foam tape first, it makes it much easier to bend around curves like this. 

*TIP #2:  if you rub both sides of your acetate with a used dryer sheet, it will remove the static from it so your sequins don't stick to it!

•  Add your shaker elements to the well as shown below.

*TIP #3:  If you glue a few of your sequins to the patterned paper, when your card is standing up and all the rest of the elements fall to the bottom, it will still look pretty! (at least until they get shaken off! LOL)


•  Turn your patterned paper circle upside down and place centered onto the shaker.


•  Add Scor Tape or other strong adhesive/glue to the tab mechanism on card front and attach your shaker!


•  Die cut and color/assemble your CottageCutz Festive Elephant.  (The heart is left over from die cutting the Whimsical Hearts Slimline Die for another project, so use any CC heart die you have)

• Die cut "a" and "ton" from the Stitched Alphabet die from PINK & BLACK cardstock, then offset them and glue together.  

• Die cut Thanks w/ Shadow die from GREY & PINK cardstock and glue together.


•  Glue "a" and "ton" vertically to the inside popped up panel 


•  Glue "thanks" to the top of your shaker.

•  Pop up the elephant with foam tape to your shaker.  I added 2 layers of foam tape to his head to give it more dimension. ☺


Voilà! and DONE!

I hope you enjoyed this tutorial and found it easy to recreate!

-Here's my version I shared on Saturday-
see more pics of this one here

PRODUCT USED on today's card:


~Kristine