Showing posts with label Strawberry Treats 1. Show all posts

Tuesday, July 26, 2022

Strawberry Gnome Couple So Sweet Card

Happy TuesDIE Cottage Cutz Friends!
Melinda here with you on on another sweet TuesDIE. Today I am sharing another very simple but so sweet card I created, featuring dies from the new Strawberries and Bees release
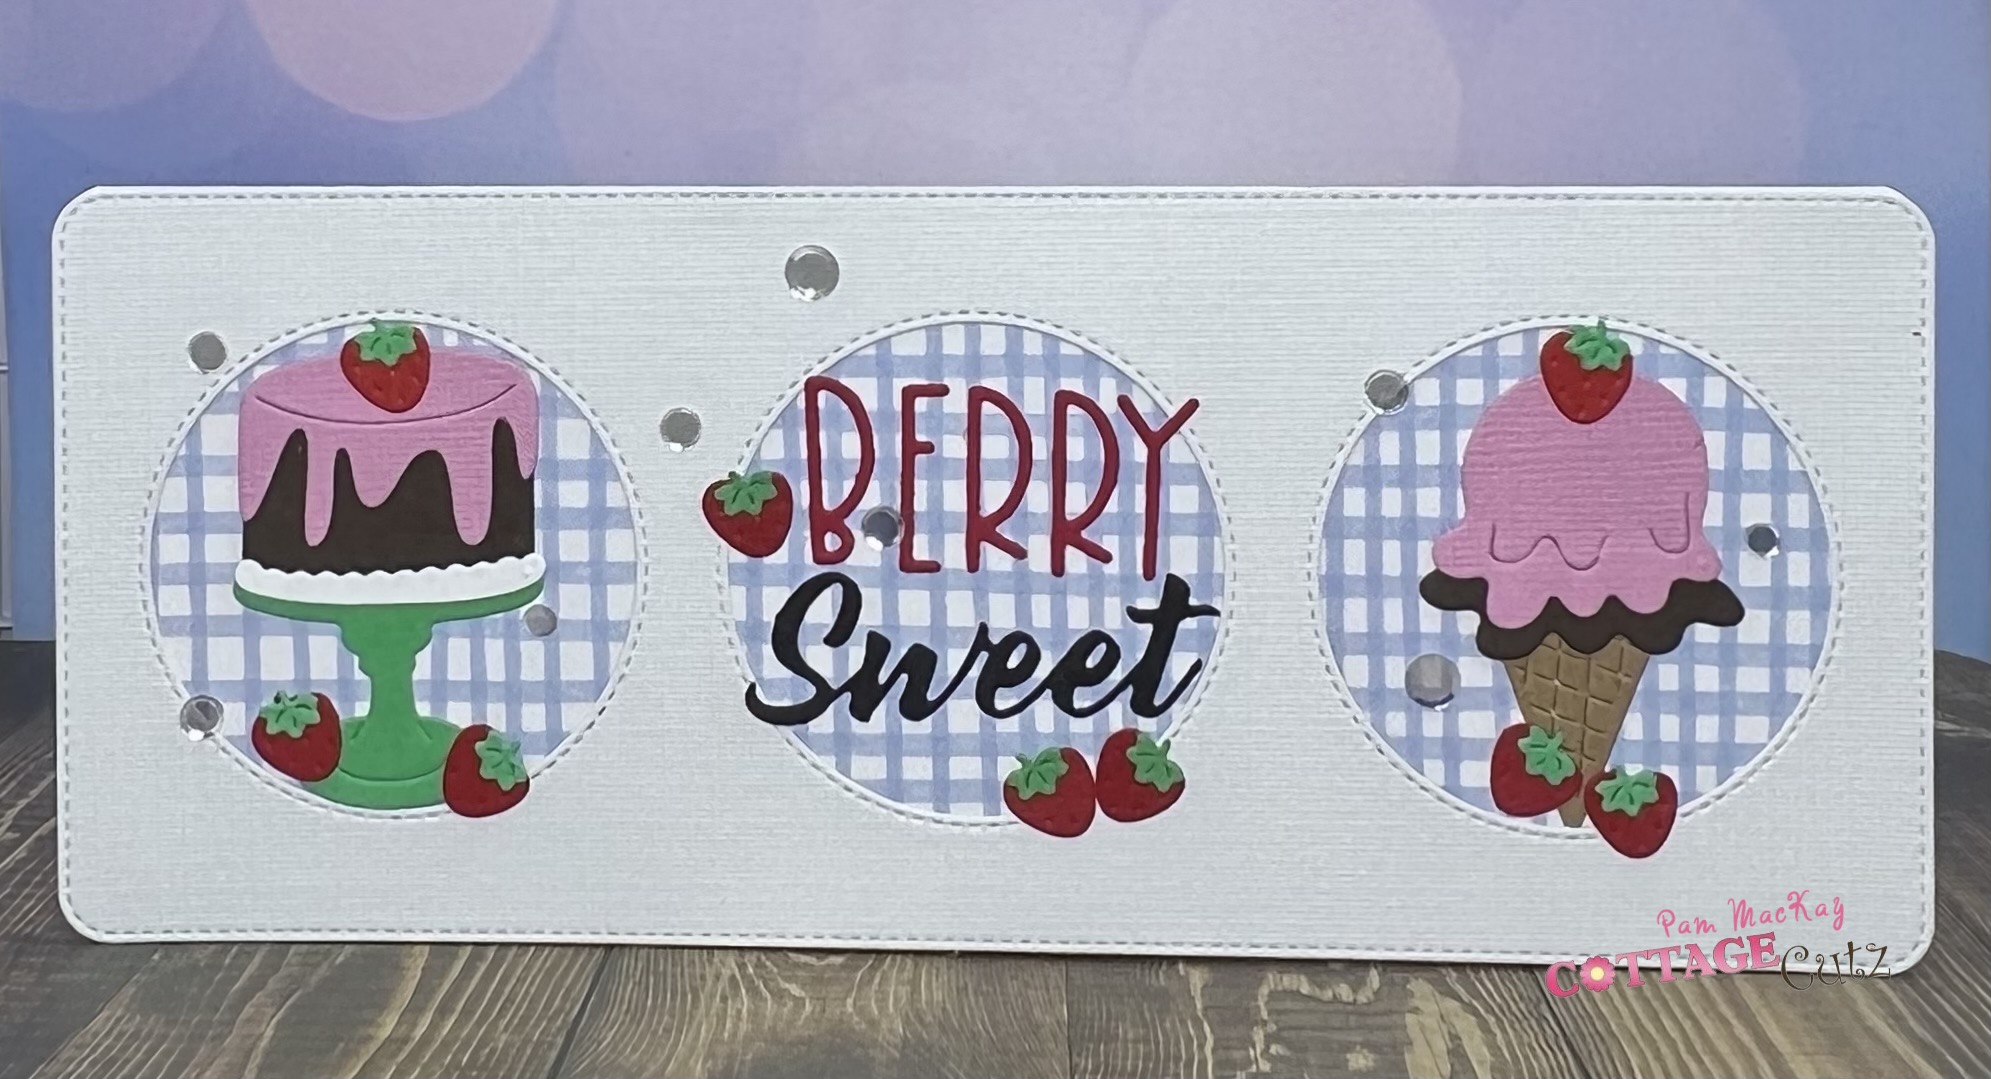
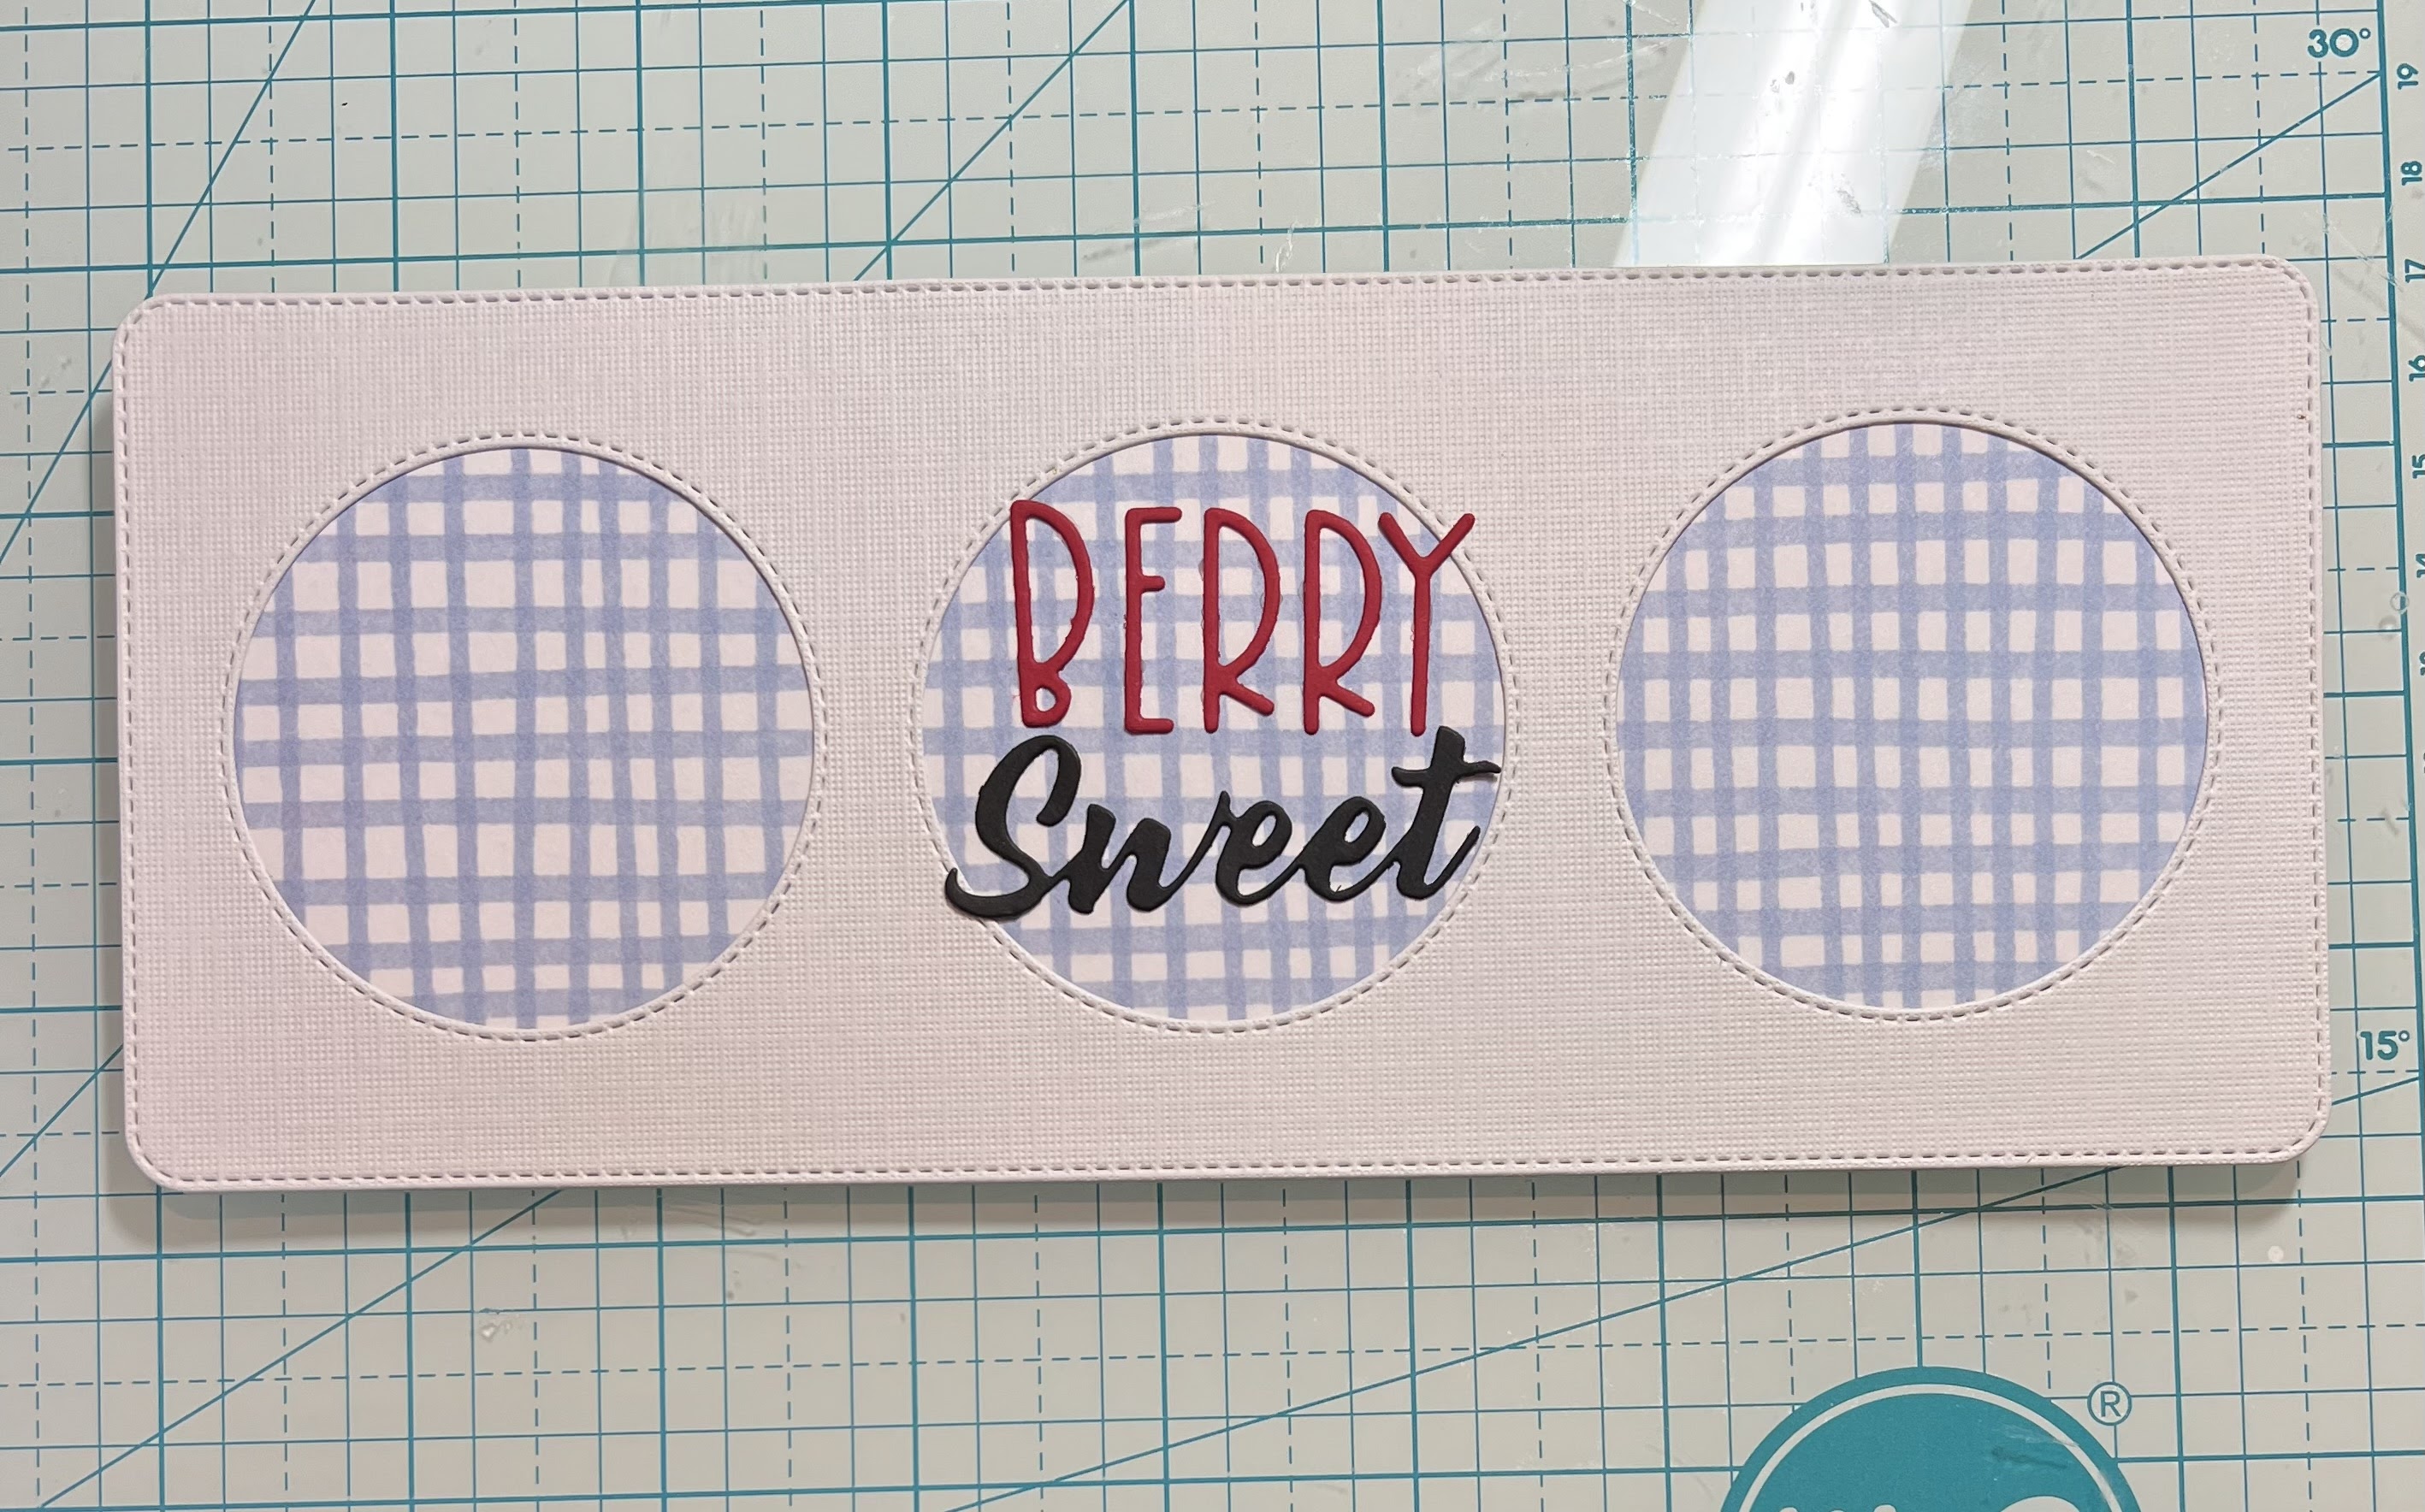
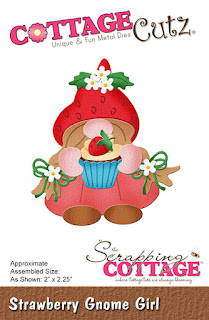
Today's card features the adorable little Strawberry Gnome Girl Die and the Strawberry Gnome Boy Die. They are part of the new Strawberries and Bees release. I also used the Strawberry CottageStrawberry Treats 1, and the Berry Phrases Die from the same release. My finished card size is a standard top folding A4 size. The base is white cardstock and then I added a piece of green cardstock. To that, I added a mat of some patterned striped paper. 

I started by die cutting all my pieces in white. I colored and assembled each little gnome. I then cut out the large strawberry from the Strawberry Cottage. I colored it and the leaf at the top in. I then added the sweet little cake from the Strawberry Treats 1 die.

Lastly I die cut the words So and Sweet from the Berry Phrases Die set and then colored those in with my green marker.


Here is one last look at my completed card. I am going to be using this for an Anniversary card. The little couple is just too cute!


Dies I Used


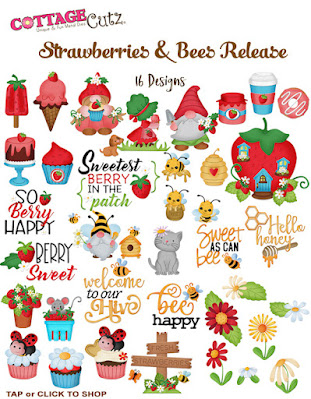
Be sure to check it out and all the amazing creations from the design team!


Also, don't forget to head over to the CottageCutz YouTube channel and check out all of the amazing projects on there. Our video team is doing a wonderful job of filling the channel with all sorts of creative content! You don't want to miss it!


Well that about covers it for today! Until the next time, have a wonderfully craft-die day!
Melinda Beltran

Tuesday, July 19, 2022

Berry Sweet

Hello Scrapping Cottage Friends, 

It is Pam sharing with you today!

We have a new release and it is just plain adorable.  It is called Strawberries and Bees perfect for those fun summertime cards. There are 16 designs in this new collection and you can get the individual dies for 30% off right now! This sale will not last so shop today to get the incredible savings.

Here is my card for today using three new release dies Strawberry Treats 1Strawberry Treats 2, and  Berry Phrases.


Design Steps:
1.  Use a white slimline for the card base measuring 3 1/2 x 8 1/2, cut a piece of white card stock 3 1/2 x 8 1/2 with the Circle Window Slimline die and your final piece is a checked blue DP at 3 1/4 x 8 1/4
2.  Glue the blue checked DP to the white card base and then glue down the Circle Window piece.  Using the Berry Phrase die cut out the Berry in red and the Sweet in black.  Glue to the center circle
3.  Using the Strawberry Treats 1 die cut out the pieces in pink, brown, red, white and green.  Assemble with a fine tip glue
4.  Using the Strawberry Treats 2 die cut out the pieces in pink, brown, red and green.  Assemble with a fine tip glue
5.  Glue the cake in the left circle and the icecream in the right circle 

6.  Using the same dies cut out a few extra strawberries and add then to the card as shown.  To complete the card add some silver sequins

CottageCutz Products

Here is the new release so please check it out in our store today!!

We have more inspiration on our YouTube Channel check it out HERE
Thanks so much for stopping by!  And I will see you next Thursday.

Blessings and Take Care


Saturday, July 16, 2022

Two Birthday Wishes Cards

Hello CottageCutz friends! Thanks for taking the time to stop and visit with us today. It's Mary Marsh here bringing you the Saturday edition of the Blog.

It's new release time!!! We have new dies in the online store. It's our Strawberries and Bees release with 16 new designs. You can pick up the individual dies are 30% off.

The new dies are perfect for all your cardmaking needs. They would work for so many occasions as our design team have been showing.

Today for your viewing pleasure I created 2 birthday cards. That seems to be the most needed card of the ones I send. So, I can never have enough of these. I have a big extended family plus the friends I send birthday greetings to. 

I am featuring the new Strawberry Treats and the Flowers die. I used the same CAS layout for both cards. Just changed up the designer papers to get a different look. A big plus is this design would be easy to re-create if you had to make multiples.  Let's get started on some details of how I created my card. 

Design Steps: 

I picked the colors for the first card and then chose my designer paper & card base. 
 
Light purple card base: 4 1/4" x 5 1/2"
White border strip: 1/4" x 5 1/2"
Designer Paper: 3 1/4" x 5 1/2"

Attached to the card base with double sided tape.
Next, I cut the cake image and the sweetest phrase in colors that complemented the base and designer. Instead of the strawberry that is part of the cake design I decided to add flowers. I didn't think a red strawberry would look good with the shades of purple I was using. 
I decided to place the images on a circle. I had this one in my supplies already cut from the Wacky Stitched Circle die. It's the 2nd largest one - approximately 3 1/8".  I attached the circle with double sided tape and the images with dimensional adhesive.  
To finish off this first card, I attached the sweetest phrase, stamped an additional greeting on a banner and added a few light purple gems. 

Now for my second card. This one is using the same layout and color scheme. My designer paper is a  different pattern but the same light purple shade. It's called fresh freesia. And I used the Stitched Circle die on this card. 

The flowers are cut in shades of purple. The Sending phrase is from an older Black Friday release. release - Sending Hugs. It looks like it's no longer in stock, but you could use the Sweet phrase that I used in my first card.  
I attached these images with a combo of double-sided tape, glue and dimensional adhesive. I also used a different sentiment on this card and scattered grape enamel dots to complete it. 
Well that's it for me for this post. See you next Saturday. 

Dies I used to create card: