Showing posts with label Spring Sheep. Show all posts

Friday, January 20, 2023

Ewe and Me Forever

Hello CottageCutz friends! Thanks for taking the time to stop and visit with us today. It's Mary Marsh here bringing you the Friday edition of the Blog.

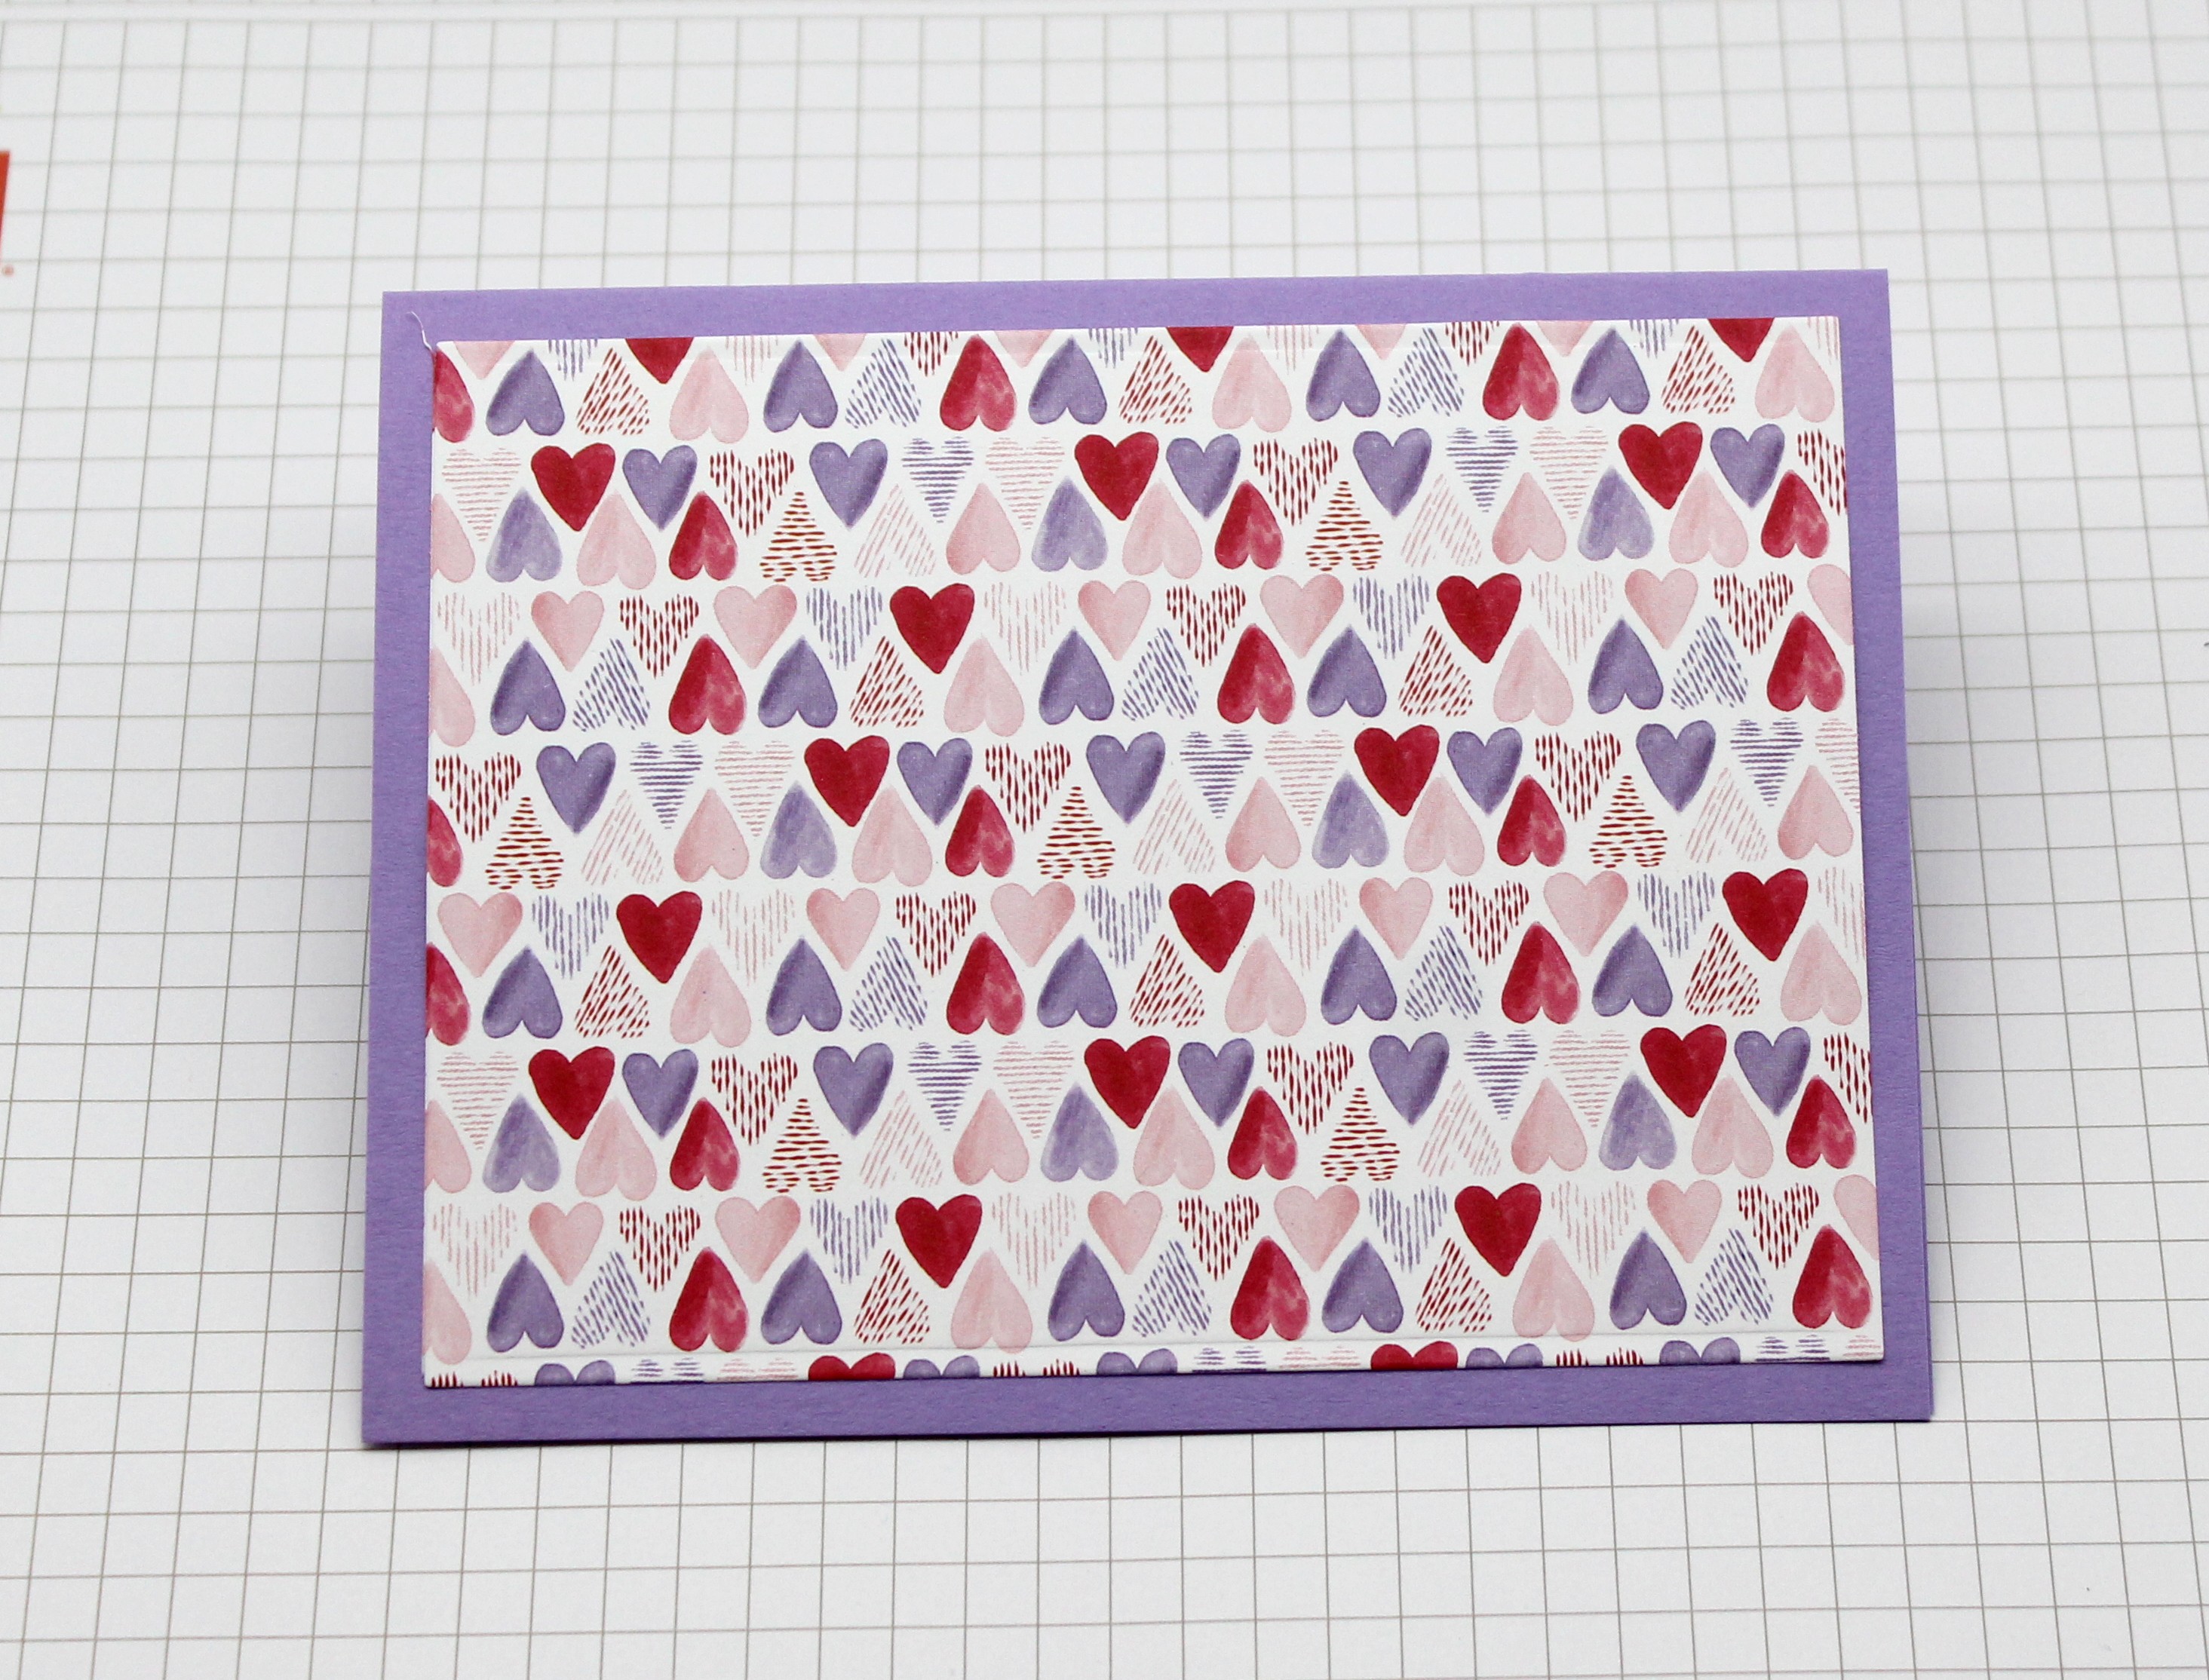
Hope you are settling in for the winter months. It's a perfect time for cardmaking, scrapbooking and other crafting pursuits. I am onto my Valentine cards. I make extra ones and let our friends pick one for their wives. 

We do have some sales going on over at the online store. The Classic Fifties release is 40% off and the Christmas Part 1 & Part 2 dies are 30% off.   

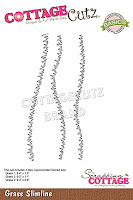
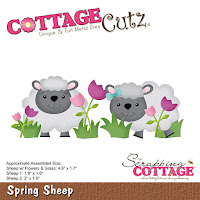
Now onto my card for today. I am featuring the Spring Sheep die as a Valentine themed card. This die is from the January 2022 Spring release.  So let's get started with some details of how I created my card. 

Design Steps:

I started my card by selecting the designer paper. I looked through my Valentine papers and found this pretty heart design paper. 

Highland Heather (light purple) Card Base:  5 1/2" x 4 1/4"
Designer Paper Layer: 5 1/8" x 3 7/8"
 
Next, I cut my sheep in shades of light and gray cardstock. For their furry heads I used fun flock. You can't really tell on the photo but IRL - its fluffy and adds a bit of dimension and interest. 
I wanted a large heart to place them in and also for stamping my sentiment. I used the heart from the Be My Valentine Puppies (2019 release). It's still available in the online store. Stamped my sentiment with the help of my stamp-a-ma-jig in red ink.
Now that my card elements are prepared, I am ready to start card assembly. I attached the designer paper to the card base with double sided adhesive. 
The heart is secured with dimensional adhesive as are the sweet little sheep.
To finish off my card I added a few heart enamel dots. That's my card for this week. 
Reminder: Our YouTube Channel has a new video featuring a pocket card from Linh Van. There is a giveaway for being a subscriber, liking the video and leaving a comment. Click here.

dies I used to create card:


Friday, April 08, 2022

Easter in the Forest


Hey there Krafty Friends, Jen from Katahdin Krafts, back on the blog today with this sweet "Easter Moose" card. I used several dies from the Spring Release, as well as a couple from the Winter Release. I absolutely love mixing and matching dies to create a scene.


For my background birch forest I used Winter Pine and Birch Trees and the adorable moose are from the Winter Moose w/ Hot Cocoa, both of these dies are from this past Winter Release.


My Easter decor comes from several Spring Release dies, I cut the Easter eggs from the Bunny Express Carrot Cars.  The tulips and tufts of grass are from the Spring Sheep, I also added some flowers from the Spring Chicken die.  The jellybeans can be found in the Bunny Express Engine set.  The female moose is holding a carrot from the Spring Sentiments set, and the male moose is holding a basket from the same set.


I decided to add my sentiment in the inside of the card, along with some extra flowers for a little pleasant surprise! 


I enjoyed making this fun Easter card, thank you so much for krafting with me again this week.  I will be back with a YouTube Video in a couple of weeks!  Happy krafting!


Thursday, March 24, 2022

Spring Sheep

 Hello Friends

It is Pam sharing with you today!

I have one more Easter card to share with you today.  I am using the sweet little Spring Sheep die set to create the card.


Design Steps:
1.  Start by cutting a rectangle out of white card stock using the Pinking Shear Edge Slimline second from the largest. Leaving the die in place, to create a nice white border, use a blending brush and some blue and soft green inks to blend out the background
2.  Cut out some green grass using the Grass Slimline die and cut it down to create the grassy hills
3.  Using the Picket Fence Slimline cut it on white then trim to fit the card.  Cut the Tree of Nature die with brown for the trunk and green for the leaves
4.  Glue the tree in the background and then add the fence tucked under the grass
5.  Cut out the flowers using the Spring Meadow die and pink card stock.  Glue the flowers and leaves to the tree.  The little sheep are cut from the new release Spring Sheep die.  I cut them in white, grey, pink and black.  I assembled with a fine tip glue and added a Sakura Glaze black to the eyes and hooves.  Tuck the little sheep into the grass as shown
6.  To finish the card glue to a white card base which measures 3 1/4 x 8 1/4.  I added Stickles to the flower centers. Stamped my sentiment then layered onto pink card stock.  Glued sentiment to the front as shown above and last made some little bluebirds to sit on the sentiment and the tree 

CottageCutz Products


We have more inspiration on our YouTube Channel check it out HERE
Thanks so much for stopping by!  And I will see you next Thursday.

Blessings and Take Care


Wednesday, February 23, 2022

Easter in the Netherlands!


Hello CottageCutz friends! Thanks for taking the time to stop and visit with us today. It's Mary Marsh here bringing you the Wednesday edition of the Blog.
 
IT'S NEW RELEASE TIME! The Spring Release with 20 new designs is in the online store. The individual dies are currently at 30% off. There is a nice combination of both religious and whimsical designs. So perfect for all card makers out there.

And the dies don't have to be used strictly for Spring or Easter. The team has done Valentine, Birthday and Thinking of You cards with these new dies. Take a look back on the Blog for lots of ideas.

We are celebrating President's Day here at the Scrapping Cottage with a huge sale with up to 60% off selected dies. It ends on Thursday night so don't delay. 

Today for your viewing pleasure, I have a card that is celebrating Easter and tulips. The background designer paper reminds me of the tulip fields in the Netherlands. Never been there just have seen photos. And I remembered that we had a windmill die that would work perfectly for my idea. 

The card colors are from this week's Splitcoaststampers color challenge. I am the hostess of the challenge and for my color trio I chose pumpkin pie, so saffron and highland heather. Optional is to use any designer paper. 
pumpkin pie, so saffron, highland heather

The windmill is from the Barn & Windmill die. I used so saffron & highland heather cardstock to cut the image. It's currently on sale at 50% off.   

The Easter phrase is from the new Spring Sentiments die. This die has 6 phrase words and 6 Easter or Spring images.  I cut the phrase 3x for more definition and then sponged with the highland heather ink to darken it a bit.   

To finish off this card I stamped a sentiment on the front panel and added a few Spring tulips. The tulips are from the Spring Sheep die. 
That's it for me for this post. I will be back again this weekend with another card sample for you from the Spring collection of dies. 
Reminder: Our YouTube channel is active again. Check out the latest video from Marla, and we are having a giveaway for subscribing, liking the video and giving it a thumbs up. Click here. 


dies I used to create card:


Saturday, February 12, 2022

Ewe Are So Sweet

Hello CottageCutz friends! Thanks for taking the time to stop and visit with us today. It's Mary Marsh here bringing you the Saturday edition of the Blog.

IT'S NEW RELEASE TIME! The Spring Release with 20 new designs is in the online store. The individual dies are currently at 30% off.

There is a nice combination of both religious and whimsical designs. So perfect for all card makers out there. And the dies don't have to be used strictly for Spring or Easter. The team has done Valentine, Birthday and Thinking of You cards with these new dies. Take a look back on the Blog for lots of ideas.

Today, I have for your viewing pleasure a card for Easter featuring the new Spring Sheep die. So, let's get started with some details on how I created my card. 

Design Steps:

I decided to make a slimline card this week and I used the Circle Windows Slimline die to place the sheep. I cut some blue patterned paper from my stash. I liked the soft whimsical appeal. On my white card base, I used a stencil and stenciled some clouds with broken china distress ink. 

white card base: 8 1/2" x 3 1/2"
blue patterned paper:  8 1/2" x 3 1/2"
I cut the sheep, tulips and grass with cardstock. For the tulips I used 2 shades of purple cardstock. I cut more than I would need because I wasn't sure how I was going to place them.  
In the center window, I stamped my sentiment using a grape ink. 
Now that all my elements are prepared, I am ready to start card assembly.  I attached just the top portion of the designer paper to the card base. I wanted some wiggle room to get my grass and tulips positioned on the lower portion of the card. The grass is attached with glue dots and the sheep with dimensional adhesive. 

To finish off my card I added some of the tulips to the circle windows and that completes this design. I then secured the bottom of the designer paper with double sided tape and liquid glue.  

And that's it for me for this week. I hope I have given you an idea for a way to use this new die. So, until next time......blessings!

Reminder: Our YouTube channel is active again. Check out the latest video from Marla, and we are having a giveaway for subscribing, liking the video and giving it a thumbs up. Click here.


dies I used to create card: