Showing posts with label Spring Potted Bunnies. Show all posts

Tuesday, February 11, 2020

Peeking Bunnies

Hi! Janja here with you. For today's post, I have a fun birthday card that is made fairly easy.


- CottageCutz dies: Spring Potted Bunnies, Sending Hugs Bear (flowers), Stitched Square Set
- blank card: 5.3 x 5.3" (13,5 x 13,5 cm), folded
- patterned paper: 5 x 5" (12,7 x 12,7 cm)
- white and colored cardstock
- colored ink pads
- glue, double-sided adhesive tape, self-adhesive foam pads

I started making my card by cutting all the elements for it. To add shading to the bunnies, I used colored ink pads.


Then I cut frames out of white and light blue cardstock. I glued frames together and inserted light blue bases.


Next I trimmed a striped pattern paper and pasted it with double-sided adhesive tape to the front of the card.


I stamped a sentiment on a white tape. My card was completed by adding bunnies into the frames.
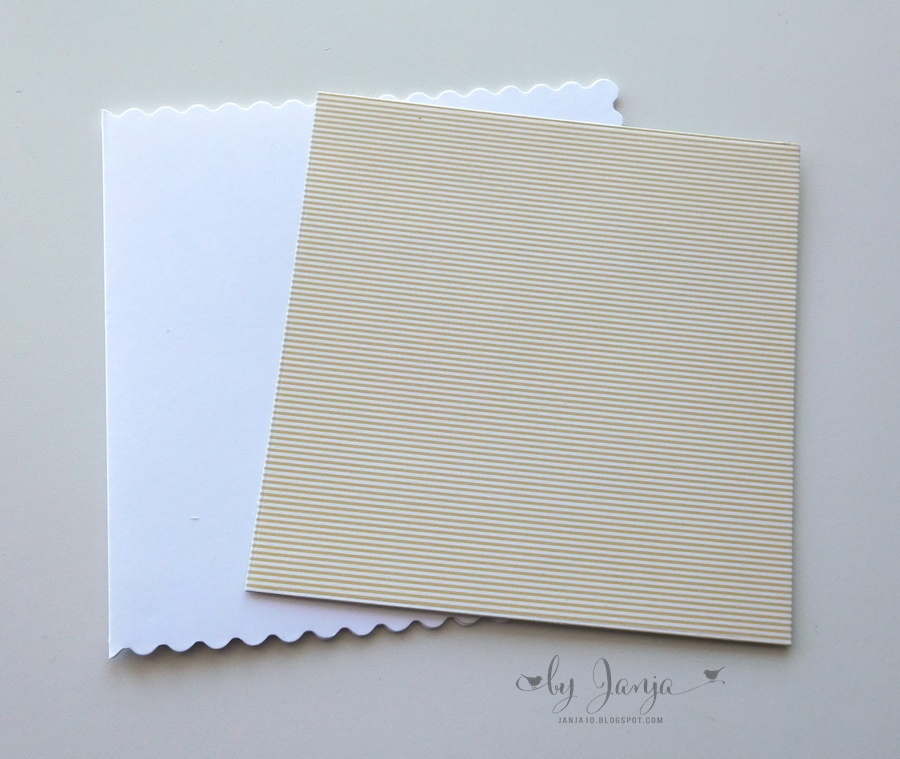


Have a nice day.
Janja


Friday, May 17, 2019

Poppin Up!

Happy Friday!  It's Jeanne today with an all-occasion card.  This die set just said "FUN!" to me and when I saw this stamp set in my stash I immediately knew what I wanted to do!
I started by cutting the pieces from the Spring Potted Bunnies and Spring Teacup Bouquet in white card stock.  I used a blending tool and Distress Oxide inks to color them.
For the green of the stems I did use a regular dye ink in Garden Green.  I assembled my flower pots using a silicone mat.  I often to this when gluing pieces since I can  let them dry and not worry about them sticking to my table or paper.
For the background I used two stencils.  One is a dot stencil and the other I created using a circle die.  I used the Stitched Circles, but any of the plain circle dies will work.  This allows me to stencil just a portion of the background.  I make sure to use Washi tape to secure everything to my mat so the stencils and background panel don't move.
I then stamped my sentiment, arranged my background pots and added some Washi tape to the side.
I decided to include a few upset flowers from the pot that the bunny decided to invade!
The bunny in his pot is popped up using foam dots and I added a few glitter enamel dots to the flower centers.

Dies used:
http://www.scrappingcottage.com/cottagecutzspringpottedbunnies.aspx
http://www.scrappingcottage.com/cottagecutzspringteacupbouquet.aspx
http://www.scrappingcottage.com/cottagecutzstitchedcirclesetbasics.aspx

Thanks for stopping by today.  I hope you have a fun and creative weekend!


Saturday, April 20, 2019

DT Samples w/Spring & Fantasy Dies (Day 4)

Hello Scrapping Cottage Friends! Thanks for taking the time to stop and visit today. We are sampling cards from our Spring and also our new Magical Fantasy release.
There are 27 new designs in the Magical Fantasy release. And for a limited time the individual dies are on sale at 25% off. We want to give your some ideas for your own card making. So let's get started with our samples for today.

Card 1: This is a card that I (Mary Marsh) created using the beautiful new Unicorn Floral die. I thought this would make a great feminine graduation card since the grad will be going on a new life adventure. To create the circular wreath look I used one of our circle dies and drew a pencil line. Then I started building my wreath starting with the unicorn and worked my way around. The coloring on our packaging is so beautiful that I used similar colors. A simple change of sentiment and this could be a birthday, anniversary or even a get well card.

Card 2:  Our next sample is from Anja Zurga. She also created a floral card using the Spring Teacup Bouquet. How perfect would this be for Mother's Day. What Mom doesn't like to get flowers? Or do you have a friend who loves to garden and has flower beds that are the envy of the neighborhood? Make her a card like this to let her know you are thinking of her. So many occasions and possibilities with this die.
Card 3: Our next sample is from Pam MacKay. She used the Sweet Unicorns die to create a beautiful and whimsical birthday card. Since Unicorns are adorable and very magical, the special little one in your life will love it. The background was created with distress oxide inks and the use of shimmer paper on the unicorn manes added just the right touch of sparkle.  The sentiment carries through the magical appeal of her card.
 Card 4:  Our last sample for today is from Janja Albreht. She used the Peeking Egg Bunny and Spring Potted Bunnies dies to create this super cute and colorful Easter card. Don't you just love these precious little bunnies and look at that little bunny behind. The eye catching  Easter Phrase is using an older die -Retro Alphabet.
Well that's our samples for today. I hope the team has given you some fresh ideas for creative ways to use the new dies over the past 4 days. If you haven't seen the other cards check here, here and here. Happy Easter everyone!

dies used to create cards:


Sunday, April 14, 2019

Bunny with Carrots

Hi!

It's Anja here. I have a very simple card for you today, using this adorable bunny with lots of carrots.


For this card I used:
- Cottage Cutz dies (Carrot Patch Bunny, Spring Potted Bunnies),
- Distress Inks (Spun Sugar. Barn Door, Dried Marigold, Antique Linen, Mowed Lawn, Peeled Paint, Vintage Photo, Walnut Stain, Spiced Marmalade, Stormy Sky, Broken China, ),
- white card base (10,5x21 cm),
- white card stock for die cuts,
- water color paper for background,
- white pen,
- black pen,
- heat gun, 
- brush, 
- paper glue.

First I cut and colored the bunny, carrots and pots. I use black and white pen for the eyes.


Then I glued the carrots in the pots.


Next I made the background, using Distress Inks and a brush.


And when the background was dry, I arranged and glued all the pieces on.


This is all from me for today.

Have a nice Sunday.
Anja Z.


Cottage Cutz dies I used:


Saturday, April 06, 2019

Big Bunny Hug (new die)


Hello Scrapping Cottage friends! Thanks for taking the time to stop and visit with us today. It's Mary Marsh here bringing you the Saturday edition of the Blog.

If you haven't seen the 36 new Spring dies, take a peek at them in the online store. You definitely won't be disappointed.There are a variety of designs so perfect for Easter or Spring card making. 

For my card today I am using the new Spring Potted Bunnies die. This is such a cute die and would be great for an Easter card for your special little one. So let's get started with some details on how I created my card. 

Step 1: As I have said so many times before, having a layout in mind at the card start is always a big boost for me and jump starts my creative thought process. I love working with the sketches that are out there in the online world. That way I can just choose the card colors and designer paper and I am good to go. I liked this unique sketch #743 on Splitcoaststampers. I thought the potted bunnies would look so cute across the rectangle panels. 
I used a watercolor look designer paper for the background and paired that with a grape cardstock base. I cut the rectangle panels (element 2) in the same grape cardstock in graduated sizes. I started off with smaller panels but once I cut the bunnies I realized they needed to be just a bit wider and longer. The sizes below are the ones I ended up using. 

Grape Cardstock Base: 5 1/2" x 4 1/4"
Designer Paper Panel: 5 3/8" x 4 1/8"
Rectangle panels: 5/8" x 2 1/2", 3/4" x 2 3/4", 7/8" x 3"

Next I moved onto cutting the bunnies. I used cardstock that I thought matched the designer paper. The bunny pots are cut in coastal cabana, highland heather and daffodil delight cardstocks. The bunnies are a naturals white. It has a pale gray hue to it so I like using it for bunny images. 

Step 2: Now that the card elements are cut, I am ready to start card assembly. I first attached the rectangle panels with double sided tape. 
I wanted to stamp a sentiment at the top and bottom of this image panel. I settled on this one because it worked nicely as a split sentiment. I used my Stamp-a-Ma-Jig for help in stamping as well as placement. 

I attached the bunny images with dimensional adhesive. I didn't want them flush against the rectangle panels. It also allowed the rectangles to be seen a bit more. 
The image panel was attached to the card base with double sided tape. To finish it off I scattered a few light green enamel glitter dots. And, that completes my sample for this week. 
I hope I have given you an idea for a way to use this new die. There is still time to order it and have it in time for Easter card making. See you next Saturday with a sample of our new Magical Fantasy release. They are currently on sale at 25% off. Also, check out the big anniversary sale. You can get some real deals on CottageCutz dies up to 70% off retail. 

die I used to create card: