Showing posts with label Spring Blooms. Show all posts

Saturday, April 11, 2020

Birthday Blooms

Hello Scrapping Cottage friends! Thanks for taking the time to stop and visit with us today. It's Mary Marsh here bringing you the Saturday edition of the Blog. Hope you are doing ok in the midst of the pandemic. It's a great time to make some cards. I find it so relaxing being able to create and have my mind off all that's going on.

The latest release of Spring dies are available in the online store and currently 25% off.  There are 27 new dies in the release and each one is cuter than the next. They are perfect for Spring card making.

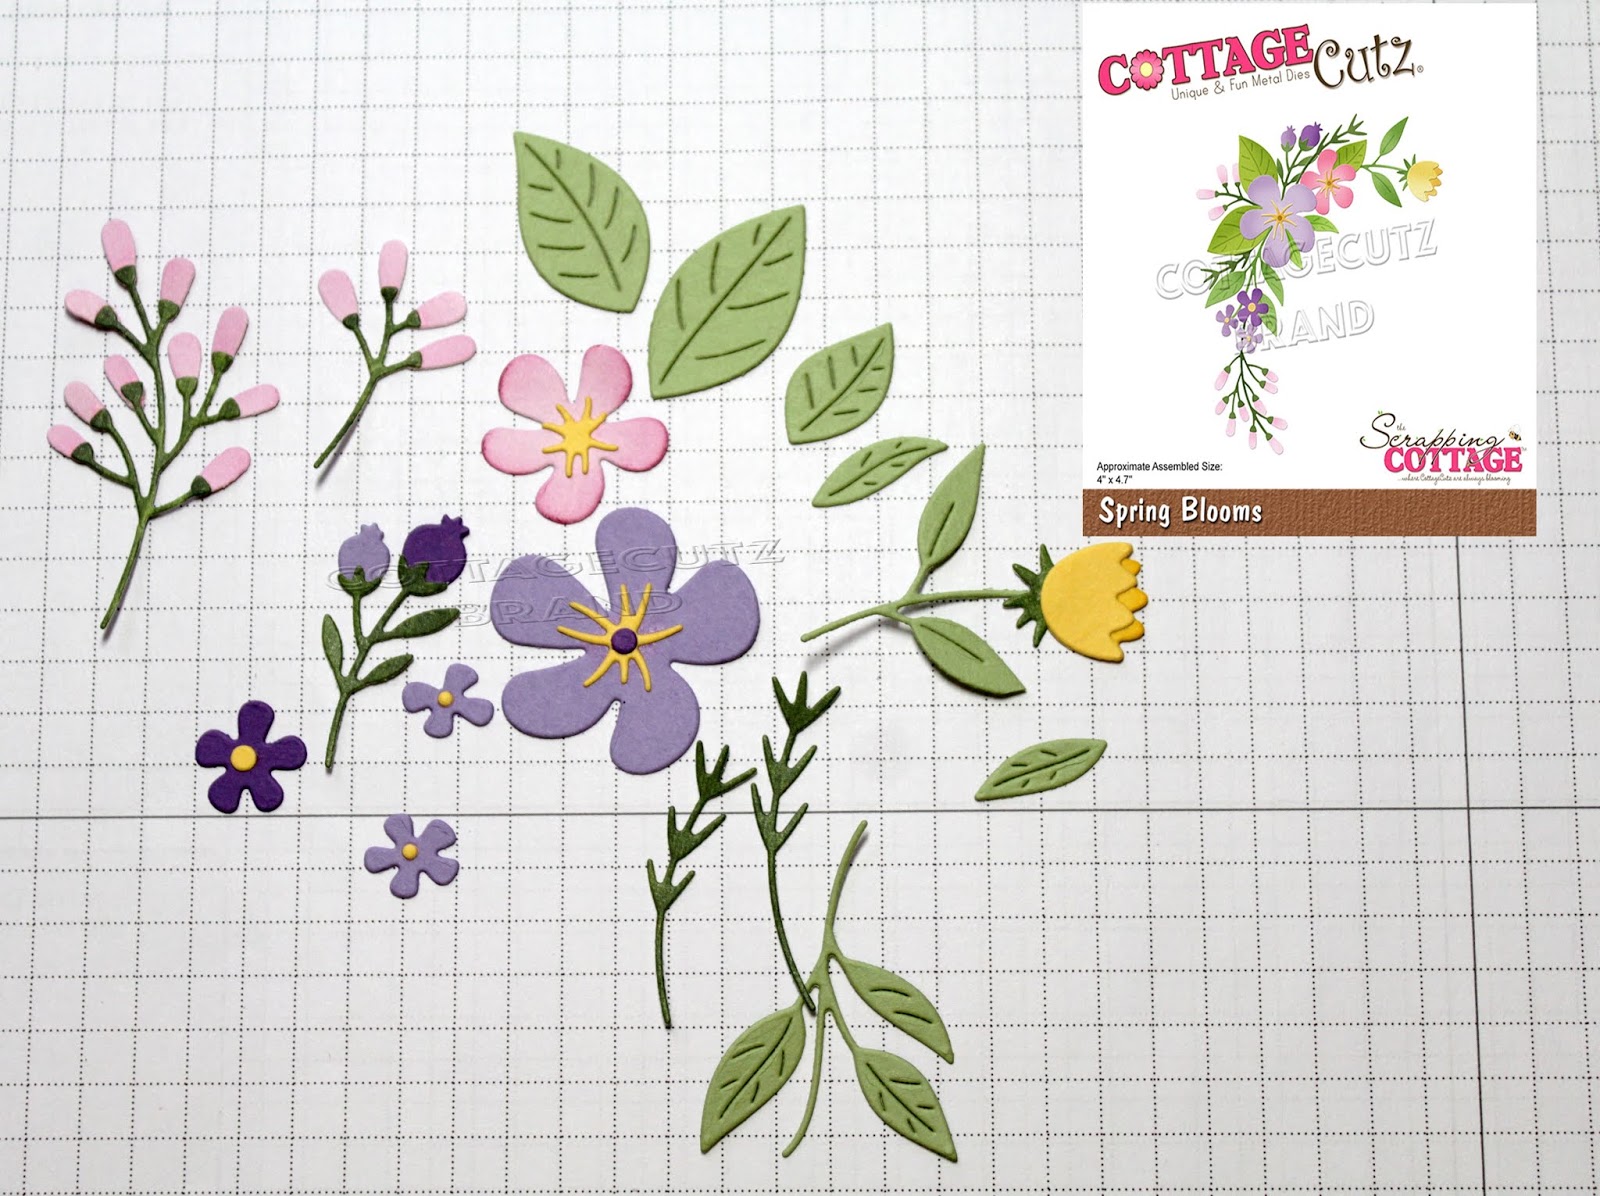
Today, I am featuring the new Spring Blooms die. I used it to create a birthday card for a special friend. She loves flowers and is an avid gardener so this one is perfect for her. So let's get started on how I created this card. 

Design Steps:

I started my card this week by selecting a designer paper. I already had a layout in mind using the Stitched Wide Rectangle Frame die that would frame the paper. I found this paper that was in a galaxy collection that I thought would work well because of the soft colors.

I paired it up with a heather (purple) cardstock and cut the frame in a lighter purple cardstock. 
Heather card base: 4 1/4" x 5 1/2"
Pierced Wide Frame: 3 3/4" x 4 3/4"

I laid the frame on the designer paper to figure out where to make my cut. I wanted more of the blue on the bottom right. That way I could stamp my sentiment directly on the paper.

I then cut the blooms various cardstock colors. You could always cut in white cardstock and then sponge on colors or color with markers or pencils.
I am ready to start card assembly. I stamped the birthday sentiment directly on the designer paper in a grape ink. 
I decided to add this panel to the card base before I attached the die cut blooms. Just in case I decided to take the flowers outside the frame. 
Next I attached the flower spray. I laid it out before attaching to get an idea of where everything should go. I used a combination of glue dots and multi-matte adhesive. 
I worked from the bottom up and used the packaging photo for help with placement. I adjusted to fit my card design. 

I added a few of the lighter purple sequins to finish off my card.
Well, that's it for me for this week. Tomorrow is Easter Sunday and this year it's a bit different for us here. We will watch our church service online and then Easter dinner will just be my hubby and I. No extended family this year because of the stay at home order that's in place. So whatever you are doing enjoy! See you next Saturday.

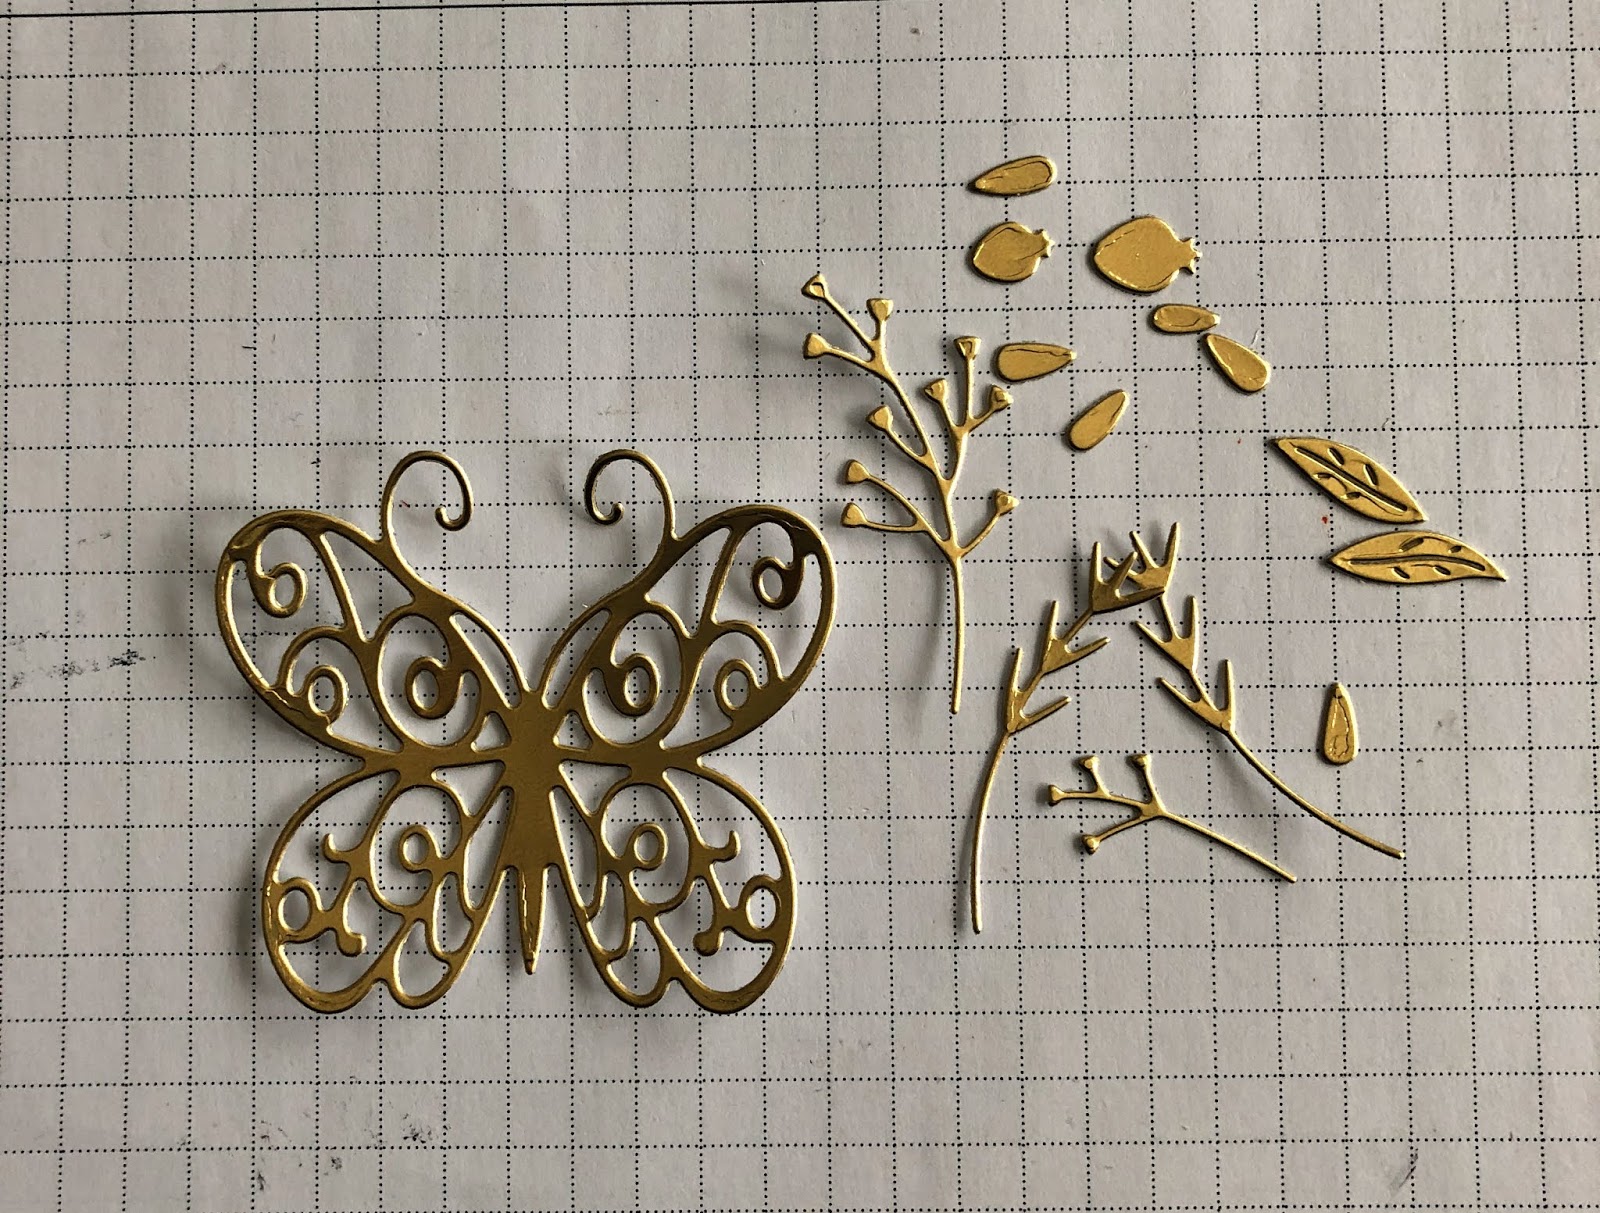
dies I used to create card:


Saturday, April 04, 2020

Good Things Ahead

Hi Cottage Cutz fans!  It's Jeanne today with a Saturday post.  Things have been very busy for me this week so Mary and I switched our posts.  I have card with a sentiment I love and find inspirational - "Good things are sure to happen."  This card uses two of the new Spring dies to accentuate the stamping and give the card its focal point.
To start, I cut a piece of mixed media paper to 5 1/2 x 5 1/2 inches and taped it to a masonite board for watercoloring.
I used a large watercolor brush and a light green ink to create a wash on the upper right and lower left corners of my paper.
I then used foliage and typography stamps with both the green and a light brown ink.  I stamped while the wash was damp and also after drying it with a heat tool.  This is a very loose process and there is no one way to do it.  Things come out differently every time but that is part of its beauty!
I cut my panel to 5 1/4 x 5 1/4 then stamped my sentiment in the brown.  I used a sponge with brown ink to go around the edges.
I mounted the the panel to a brown 5 3/8 x 5 3/8 inch panel and this I mounted to a top fold 5 1/2 x 5 1/2 inch card base.  Because the mixed media panel was a bit buckled, I used heavy books on top of the card to weigh everything down for a few minutes.  This got it nice and flat.

Now for my dies.
I cut all the butterflies (Springtime Butterflies) and some foliage (Spring Blooms) from gold foil cardstock.  I cut more than I needed but wanted some extra to play with the layout.
I ended up using just one butterfly.  I put some foam tape across it's body so it would stand up from the card.  This really makes the butterfly stand out and "pop" against the background.
Finally I added some gold foliage in the lower left along with gold glitter enamel dots.

Dies:
http://www.scrappingcottage.com/cottagecutzspringtimebutterflieselite.aspx
http://www.scrappingcottage.com/cottagecutzspringblooms.aspx

Be sure to visit the online store where the new Spring dies are on sale for a limited time!

Thanks for joining me today.  I hope you have a fun and creative weekend!


Tuesday, March 31, 2020

Spring bunny on a flower swing

Hi Janja here. Welcome to the blog today. I have another spring card for you.


- CottageCutz dies: Springtime Pals, Spring Blooms, Fresh Spring Floral
- blank card: 4 9/16 x 4 9/16" (11,7 x 11,7 cm), folded
- patterned paper: 4 1/4 x 4 1/4" (10,8 x 10,8 cm)
- colored cardstock
- colored ink pads
- glue, double-sided adhesive tape, self-adhesive foam pads

I cut a bunny out of colored cardstock, and two narrow strips.
Today is an opportunity to use different scraps of paper.


Then I cut out some greenery and flowers. I cut the green wreath in half with scissors. I got the garland that will be the base of my swing.
I colored most pieces with colored pads around the edges.


When I prepared the card base and trimmed the background paper, I started assembling my card.
First, I attached the background to the card front with double-sided adhesive tape.


I glued the garland to the background and then gradually added greenery and flowers.
Finally, I attached the bunny with self-adhesive foam pads.

Here is a close up picture.


Thank you for stopping here today.
Janja


Sunday, February 23, 2020

DT Samples - Spring Day 1

Hello Scrapping Cottage friends! Happy Sunday to you! Thanks for taking the time to stop and visit today. We are sampling DT cards using dies from the new Spring dies

They are in the online store and 25% off for a limited time. There are 27 new dies in the release and each one is cuter than the next. They will be perfect for your Easter and Spring card making. We thought you might like to have some new and creative ideas for your Easter or Spring cards using these new dies. So let's get started with the cards for today.

Card 1: Our first card today is from Anja Zurga. She used the new Spring Blooms die to create this beautiful wreath. It could be used for Easter, Get Well, Birthday or Thinking of you cards.   

She embossed her "you are wonderful" sentiment first and then used the smooching technique to create the colorful background. Basically that technique is laying ink on your mat, spraying a bit of water and then smoosh your cardstock into the ink. 

To help with the layout of the flowers, she used the wide pierced circle frame set. She cut the circle and arranged the flowers on top. You get exact results every time! 
The flowers are all colored with various distress inks. This is a perfect card to welcome Easter or Spring.
 
Card 2: Our next sample for today is from Sukie Dhillon. She is featuring the new Easter Egg Hunt die and created a fun and whimsical Easter card. 

Her landscape came together beautifully with some soft inking of the die cuts.  Her background designer paper compliments this outdoor scene so well. 

The sweet bunnies were nestled on the Spring Grass die cut.  A few extra tulips were sprinkled on the grass as embellishments.  

She added a couple of bows to the bunnies as a fun element.  Her scene was finished off with the sun and clouds from the new Spring Frogs set.  

Well, that's our samples for today. I hope the team has given you some fresh ideas on ways to use these new Spring dies. We will be back again on Tuesday with more samples from the team. And, if you are thinking of getting any of these new dies, they are on sale for a limited time in the online store

dies used to create cards:


Friday, February 21, 2020

Beautiful Day

It's Jeanne sharing today and I fell in love with this die when I first saw it!  It's Spring Blooms from the 2020 Spring release of 27 new dies.  They range from cute to beautiful - something for everyone here, and they are 25% off for a limited time!
Although this card may look like it took a while to create, I'm going to share a few tips and tricks that made it go quite quickly.

I decided to use a limited color palette - a dark pink/purple, a dark teal blue and a green. I die cut all the pieces from white cardstock and divided them into three cups - one for each color. 
I have a separate sponge dauber for each color and I began sponging the color on.  For me, this is much faster than cutting the flowers from different colors of cardstock (although that is a great way to use up scraps!)
You can see that by doing this I get various shades of the pink and blue and can combine them too.  I also used the blue with the green to give me both light and dark green stems.  (I did cut a few leaves from vellum and two centers from gold foil.)
The next step was to assemble all the flowers.  I used my silicone mat and this went quickly as nothing stuck to the surface.  (Tip - you can use a silicone baking sheet for this as well.  You won't want to use it for baking afterwards but big box stores will sell these in packs of three or four.)
Instead of trying to place the flowers on the stems, I left the tiny buds randomly on my sheet and used a fine tipped glue to put a tiny dot on the end of each bud.  Then I moved the stem to each one and picked it up.  Because of the mat, the bud sticks to the stem and not the surface.  In this manner I assembled the flowers very quickly.
Next I worked on the card base.  I cut a panel 4.25 x 5.5 inches and cut two circles using the second and third largest of the Stitched Circle dies.   The larger one is cut from green foil cardstock.
Without gluing them together, I put them on top of each other and laid out some of the flowers to give me an idea of where I wanted my sentiment.  Then I transferred the white circle and sentiment to my stamping platform and stamped the sentiment in black.
After centering the stamped sentiment circle on the foil circle I glued them both to the front panel higher than center leaving enough space for a small floral spray in the lower right corner.  I placed all the pieces where I wanted them, took a photo with my phone so I could remember details and carefully removed the top layer.  Then I started gluing them down using the phone photo as reference.
To complete the card, I used small colored rhinestones for the flower centers.  I hope you enjoyed today's card and maybe learned a tip or two on how to make the creative process a bit easier!

Dies used:
http://www.scrappingcottage.com/cottagecutzspringblooms.aspx

http://www.scrappingcottage.com/cottagecutzstitchedcirclesetbasics.aspx

Thanks for stopping by!  Don't forget to stop by the online store where the dies are on sale for a limited time.  I hope you have a fun and creative weekend!