Showing posts with label Snowman Lane. Show all posts

Wednesday, April 03, 2019

Friends Through Rain & Shine

Hello!  This is Sukie and today I'm super excited to share that I'm the newest member of the Scrapping Cottage design team. I absolutely adore this company and their collection of dies.  I'm looking forward to creating lots of inspiring projects during my design team term.
When I saw this adorable die I was inspired to create this fun card.  I cut out the Rainy Day Duck die pieces in white card stock and used my Oxide Inks to shade the pieces.  I also shaded the Nested Stitched Scallop Circle Set to coordinate with the duck's hat.  Another circle was cut out in white card stock with the Circle Set.  The clouds are from the Snowman Lane die set.
The inspiration for the duck and rainy day scene came from the gorgeous chevron patterned paper. The paper is from an older Doodlebug paper pad from my stash.  I layered the chevron paper on white card stock and adhered it to a yellow card base.
The two circles were adhered together and layered on my card.  Next, I added the puddle, clouds and duck to begin building the scene.
Initially, I didn't cut out the water splashes thinking they wouldn't fit inside the circle, however, they ended up being the perfect addition along with the umbrella to the scene.
The finishing touch was a sentiment from the Scrappy Moms (retired) Fun Celebrations stamp set.  I stamped the sentiment on a hand cut flag and added it to my card.
Here are the dies used on my card available in the shop, check out the anniversary sale going on now:

Wednesday, December 26, 2018

There's Snow One Like You

Hello! I hope everyone had a wonderful Christmas holiday!  This is Sukie, sharing a card for my guest designer post.  The sweet snowman scene was perfect for this winter card!
Today's card was created with the Snowman Lane and the Nested Stitched Scallop Rectangle die sets.  I cut out all of my pieces in card stock, although there are lots of tiny pieces in this set, it all came together very easily.
I selected my card base pieces from a K and Company 6x6 paper pad in my stash.  Everything was inked on the edges with some Vintage Photo Distress Ink which is one my go to colors.  I splattered the kraft card stock with some white paint for a snowy background.  A fun sentiment from the Scrappy Moms (retired) "Winter Wishes" stamp set was stamped on a hand cut flag.
I added a sparkly finish to some of my pieces with the Red and Clear Art-C Glitter Water Brush.  The glitter also changes the red die cut pieces to a deeper shade which coordinates better with the card base.
I layered the snowmen creating a cohesive look on my card.  The snowy background worked perfectly with the snowmen scene.
All of the pieces were adhered to the base of my card. The 2 top layers were placed at an angle for a bit of interest.
 Here are the dies used on my card available in the shop:

Wednesday, September 12, 2018

September Group Post (Part 1)

Hello Scrapping Cottage friends! Thanks for taking the time to stop and visit today. We are sampling DT cards from Part 2 of the 2018 Christmas release. There are 29 new designs in this new release.  And, it is currently 25% off for a limited time. Part 1 of Christmas 2018 is also on sale. See those designs here.

Group Posts give you the opportunity to see more card samples from the Design Team. So we are continuing that again for this release. We have 3 samples for your viewing pleasure today.

Card 1: Our first sample is from Lois Bak. She used the Poinsetta w/Flourish die to create this festive card. Poinsettias are such a delight to display at the holidays, and they always look so beautiful on a Christmas card. The background for her bold poinsettia is some Christmas music paper that just adds the perfect touch. If you are looking for a design to do multiples of, this would be a good one.
Card 2: Our next sample is from Pam MacKay. She used the Christmas Village 1 die to create this beautiful woodland scene. A Christmas card with a church in the woods always has such a serene appeal. She sponged her background with distress ink for just a touch of color and also used a stencil and embossing paste for her snow. Notice how she used some pale yellow cardstock to give the look of soft lighting in the church. This is another card that would be easy to recreate for your own Christmas cards.
Card 3: The 3rd and final sample for today is another card from Lois Bak. On this card, she created such a cute indoor scene using the new Cozy Fireplace Pets die.  How comfy the dog and cats look sleeping in front of the fire, waiting for Santa's arrival. Designer paper was used to create the look of a wood floor and wallpaper. She stamped her merry Christmas sentiment. This would be a great card for the dog and cat owners on your Christmas card list.
Well that's it for our cards for today. I hope the samples have sparked some ideas for ways to use these new dies. And, remember they are currently 25% off in the online store. 
 
dies used to create cards:
http://www.scrappingcottage.com/cottagecutzpoinsettiawflourish.aspx
 
http://www.scrappingcottage.com/cottagecutzchristmasvillage1elites.aspx
http://www.scrappingcottage.com/cottagecutzcozyfireplacepets.aspx


Thursday, September 06, 2018

Adorable Snowmen!!

Good Morning Scrapping Friends!

It is Pam sharing with you today from Stamper At Heart Blog!

 Make sure your check out the store because part 2 of the Christmas release is in the house! The card I made for you today is from Christmas part 1.   All of these new Christmas dies are so amazing and the detail is unbelievable! The best thing about all these wonderful dies is that right now they are 25% off but just for a limited time! Don't miss out on this fantastic sale!


Design Steps:
 1.  Cut out all of the pieces using white card stock and the Snowman Lane die.  Color all of the pieces with your favorite pencils or markers
 2.  Use an A2 white card base and then cut a slightly smaller piece of snowflake DP.  Using the Wacky Stitched Rectangle second from the largest cut out the center of the DP
 3.  Mount the frame made from the DP to the front of the card using Dimension tape next glue the cut rectangle flat to the center of the frame
 4.  Begin to add the pieces into the frame add the snow, snowman then the fence as shown
 5.  To add dimension place one of the snowmen outside of the frame and continue to all the rest of the pieces: Mailbox, sign and the third snowman
 6.  Add all of the snow to the scene and the small pieces to the mail box.  I added some additional snow to the base of the card
7.  I added some small black pearls for the snowmen's eyes and some Stickles glitter to the piles of snow for some sparkle.  Stamp your sentiment and the street sign and your card is complete!


CottageCutz Products


As always we love it when you come to visit us!  Thanks again and make sure you take some time out for yourself to be crafty!
Blessings
Pam


Monday, August 13, 2018

Let It Snow!

Hi, Lois here with some exciting news.  It's time to show off a brand- new CottageCutz Christmas die.  Just arrived in the The Scrapping Cottage store is Part 1 of the new 2018 Christmas dies -- and they're 25% off for a limited time.  The card I made for today uses a cute one called Snowman Lane.


Once again I pulled out my little book of Sketch Challenges from Splitcoaststampers and used Challenge 120, which gave me a nice big panel for my snowman scene..


Last week when I was in Michaels, I saw some packaged card bases and envelopes in various sizes.  I picked up two packages of 5 x 7 cards, one with silver trim and one with black trim.  I chose one from the silver-trimmed package for my card.  Along with the card base, I cut some cardstock and patterned paper as follows:

Silver gray cardstock - 4" x 5 1/2", and three pieces 2" x 4 1/2"
White cardstock - 4" x 5 1/2" (which will be trimmed down to 3 3/4" x 5 1/4"
Striped patterned paper - three pieces 1 7/8" x 4 3/8"


I then die-cut my images from a piece of white cardstock.  Look at all those pieces!


After I colored the various pieces with Copic markers, I constructed my snowmen and their accessories and set them aside.


I used a favorite technique for a snowy sky on the 4" x 5 1/2" piece of white cardstock, which uses masking fluid and a toothbrush.


I placed a strip of washi tape along the bottom of the cardstock because I wanted the bottom to remain white.  After dipping the toothbrush into the masking fluid and tapping it against the bottle to get most of it off, I splattered it onto the cardstock by tapping the toothbrush against my finger.  I repeated the process until I was happy with the result.


After letting the masking fluid dry, I sponged on two shades of distress blue ink (Tumbled Glass and Chipped Sapphire) over the whole area . . .


. . . and then removed the washi tape and brushed off the masking fluid with my finger.  Voila!  A snowy sky!  I trimmed off the edges where the ink was heavy from the sponging.


I then layered the patterned paper onto the gray strips and adhered them to the card base.


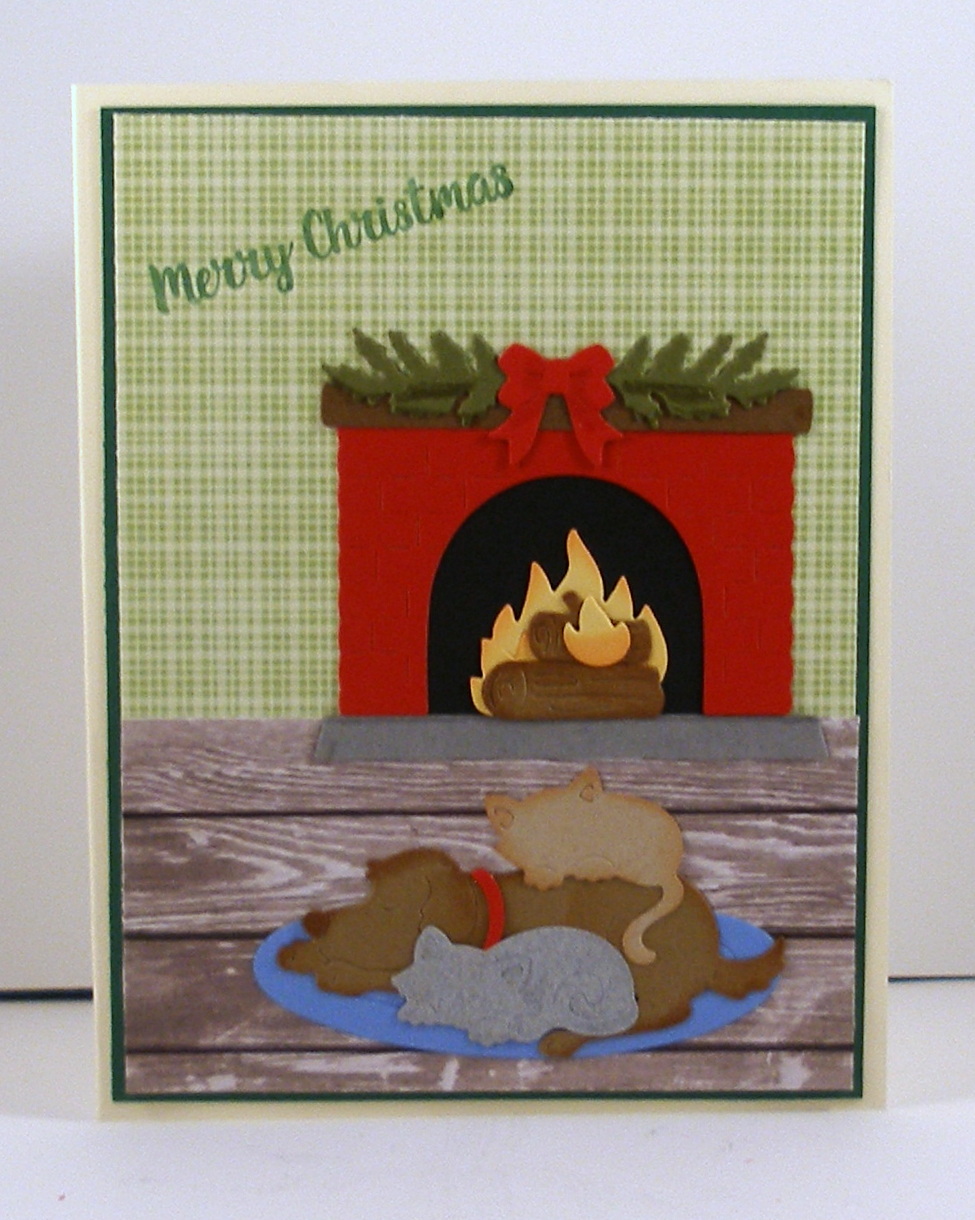
I created my little snow scene on the white/snowy panel and stamped a sentiment in the corner.  The street sign wasn't really big enough to write Snowman Lane (the name of the die) on it, so I just wrote Main St. with a white gel pen.  By the way, the die also has a pair of ear muffs, which you could substitute for a hat on one of the snowmen.  There are also some small "snowflakes," which I chose not to use because of the created background.


Here again is my finished card:


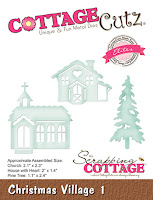
The CottageCutz die used on this card is:

http://www.scrappingcottage.com/cottagecutzsnowmanlane.aspx

Be sure to check out all 28 new dies in Part 1 of the CottageCutz Christmas collection for 2018.