Showing posts with label Slime Cupcake. Show all posts

Thursday, August 17, 2023

Happy Haunting

Hello Scrapping Cottage Friends

It is Pam sharing with you this fine Thursday. 

 I have a lot of fun sending out Halloween cards.  So I am getting a head start on one today.  I am using several of our older release dies featuring the Graveyard die.


Design Steps:

1.  Using the following dies Graveyard, Old Farm Fence, and Halloween Ghost cut out the following colors of card stock: white, black, gray, and brown
2.  Shade the pieces using a black ink and then assemble with a fine tip glue
3.  The card base is white A2, cut a piece of black 4 1/8 x 5 3/8, cut a piece of bat DP 4 x 5 1/4.  Glue the DP to the black
4.  Build your scene by adding a black 3/4 x 5 1/4 inch strip (which I cut slight hills on) then glued to the bottom of the card.  Next add the fence and then the graves with the mounds
5.  Glue down the ghost, crow and the black grass to the mounds.  I thought I needed a pop of color so I used the Halloween Ghost die which has a pumpkin and the Slime Cupcake which also has a pumpkin.  I cut out two pumpkins and added them as shown above.  Glue the panel to the white card base add the sentiment and your card is complete
6.  I had some left over pieces so I decided to decorate the inside of the card for an extra surprise!


We have more inspiration on our YouTube Channel check it out HERE

Thanks so much for stopping by!  And I will see you next Thursday.

Blessings and Take Care


Sunday, October 11, 2020

Happy Halloween

Hi!

It's Anja here. I have another Halloween card for you today. This time I made a scene from a haunted house. I combined bits and pieces from some of the Halloween release dies.

For this card I used:

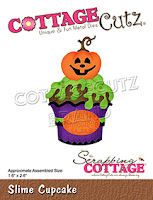
- Cottage Cutz dies (Spell Books & Potions, Spooky Ghost & Crow, Slime Cupcake, Spooky Witch House, Spooky Camper),

- Distress Inks,

- craft card base (15x15 cm),

- white card stock for die cuts and background (13,3x13,3 cm),

- black card stock for die cuts (14,2x14,2 cm),

- craft card stock for background,

- embossing folder (bricks),

- background stamp (wood),

- paper trimmer,

- paper glue. 

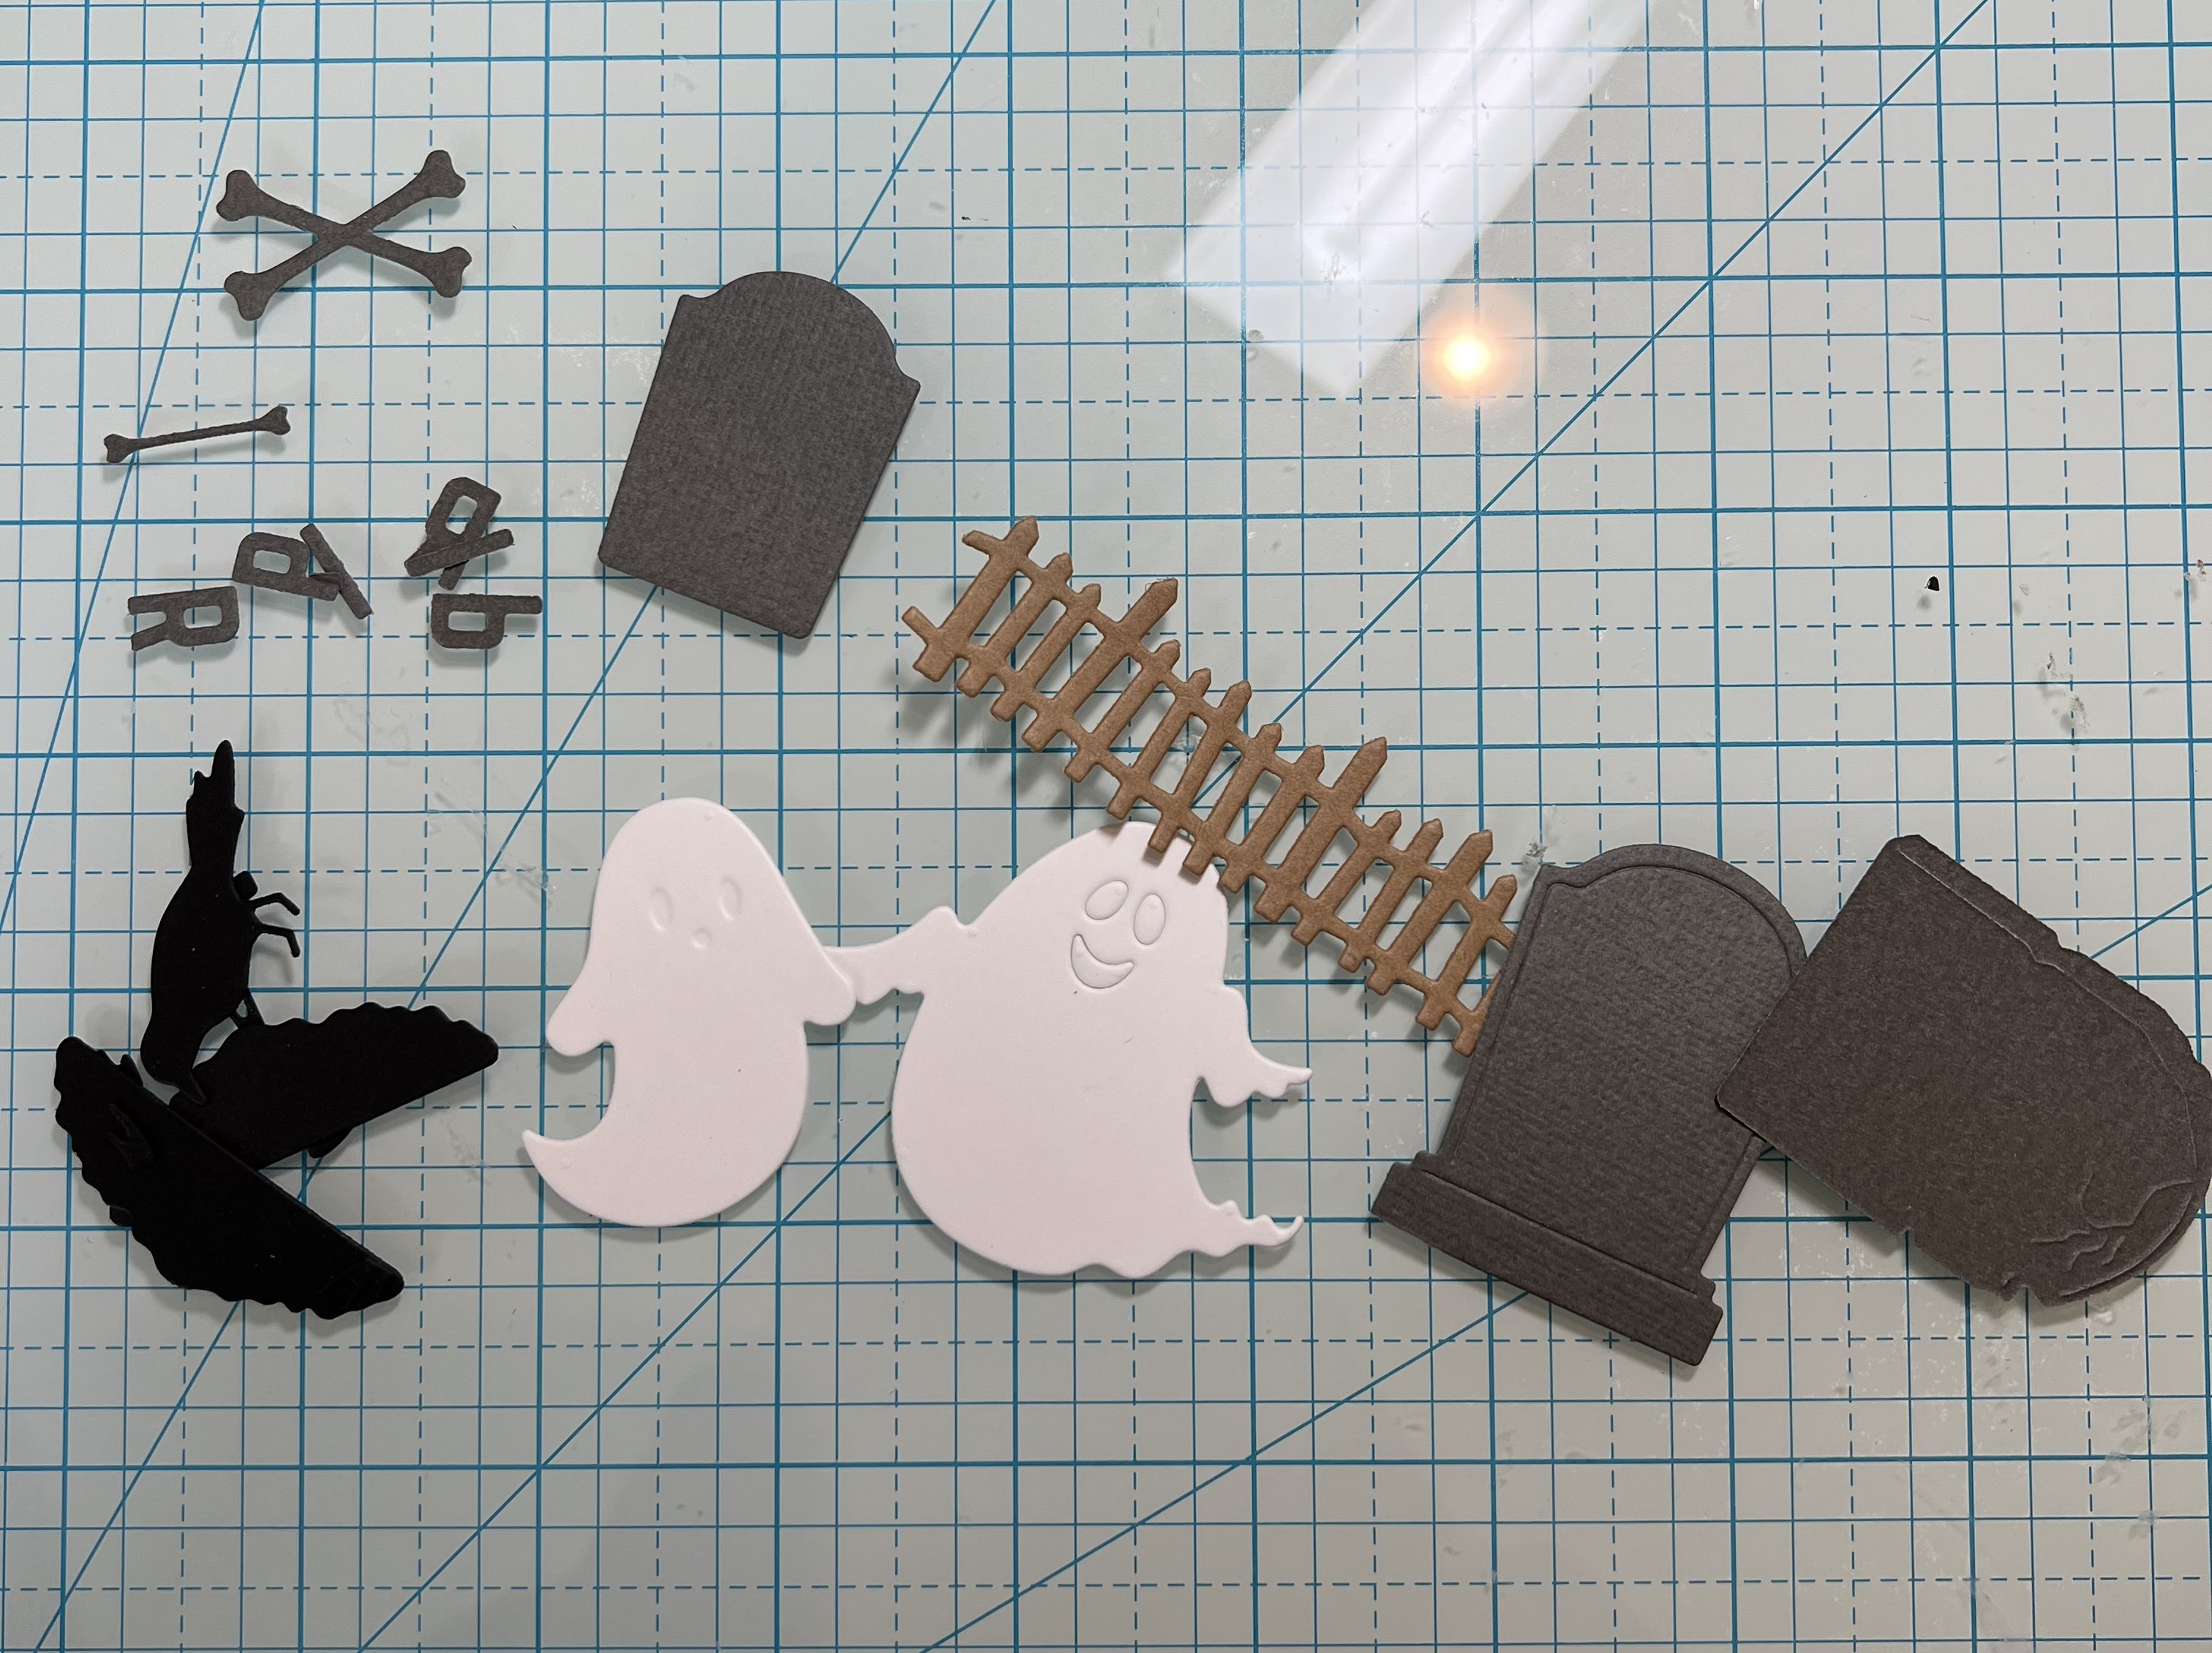
First I cut and colored all the bottles, books and the candle.

Next I cut and colored all the pumpkins and other small pieces.

Then I started on the background. First I trimmed the paper.

Next I embossed the bricks. I tapped some color directly to the folder and put it through the cutting machine. Then I colored the edges with grey and black. I trimmed the wooden parts from the craft card stock and stamped it. I again colored around the edges to give it more dimension.

And when I had all the pieces ready I arranged the card together. And this is the final result.


Hope you liked the card. I wish you all a pleasant Sunday and see you again tomorrow for another project. 
 
Have fun.
 
Anja Z. 
 
 
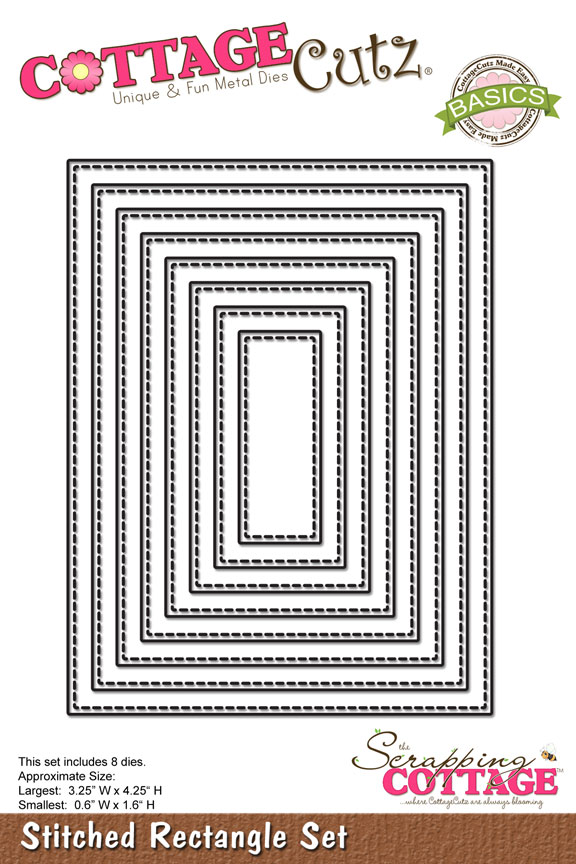
Cottage Cutz dies I used:


Saturday, October 03, 2020

Slime Cupcake


Hello Scrapping Cottage friends! Thanks for taking the time to stop and visit with us today. It's Mary Marsh here bringing you the Saturday edition of the Blog. 

We have three brand new releases in the online store. It's Christmas Part 1 (22 new designs), Christmas Part 2 (21 new designs) and a Halloween release (14 new designs). They are all currently on sale and you can save anywhere from 25% to 60%.

Today, I am here with a card from the Halloween release. Many of you create cards for Halloween and are looking for ideas to use these new dies. So, I am featuring the new Slime Cupcake die.  

Nothing to scary at all so it would be one you could send to a child or to your cupcake loving friend. So let's get started with some details on how I created my card.

Design Steps:

I started by looking through my designer paper for a Halloween themed paper. I found this one already cut so I decided to use it for my card. 
Cajun Craze Card Base: 4 1/4" x 5 1/2"
Designer Paper: started off at 4 1/8' x 5 3/8"- then I cut it on an angle 
Orange Small Layering Rectangle:  1/2" x 4 1/4"
Next I cut the cupcake image in cardstock that matched the packaging because it also worked well with my designer paper. 

For the image panel, I used the Rectangle (2nd largest) and Stitched Rectangle (3rd largest) dies. The sentiment was next to get stamped. I used my MISTI because I am using a photopolymer stamp and they don't always make a good first impression. I did have to double stamp this one.  
Now that all the card elements are complete I am ready to start the card assembly. I started with the image panel. The cupcake is attached with dimensional adhesive. I think that always provides a bit of depth to a card. 
The designer paper is attached  to the card base with double sided tape. I used the 1/2" rectangle piece to join the 2 panels together.  
To finish off my card, the image panel is attached with double sided tape. I scattered a few pumpkin enamel dots for added interest. 

Well that's it for me for this week. I hope I have given you an idea for this new die. See you next Saturday.
dies I used to create card: