Showing posts with label Scalloped Stitched Circle. Show all posts

Tuesday, November 16, 2021

Tree Ornament


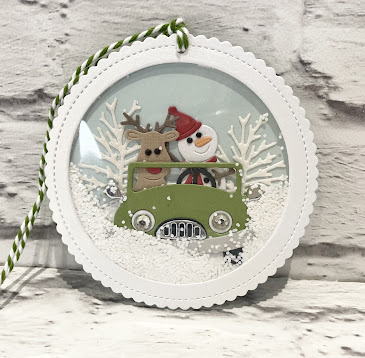
Happy Tuesday Cottagecutz fans, I hope you had a good weekend and are looking forward to the week ahead. It’s Wendy bringing you the Tuesday blog today and my project is a fun Ornamente for your tree or it could be a shaker tag

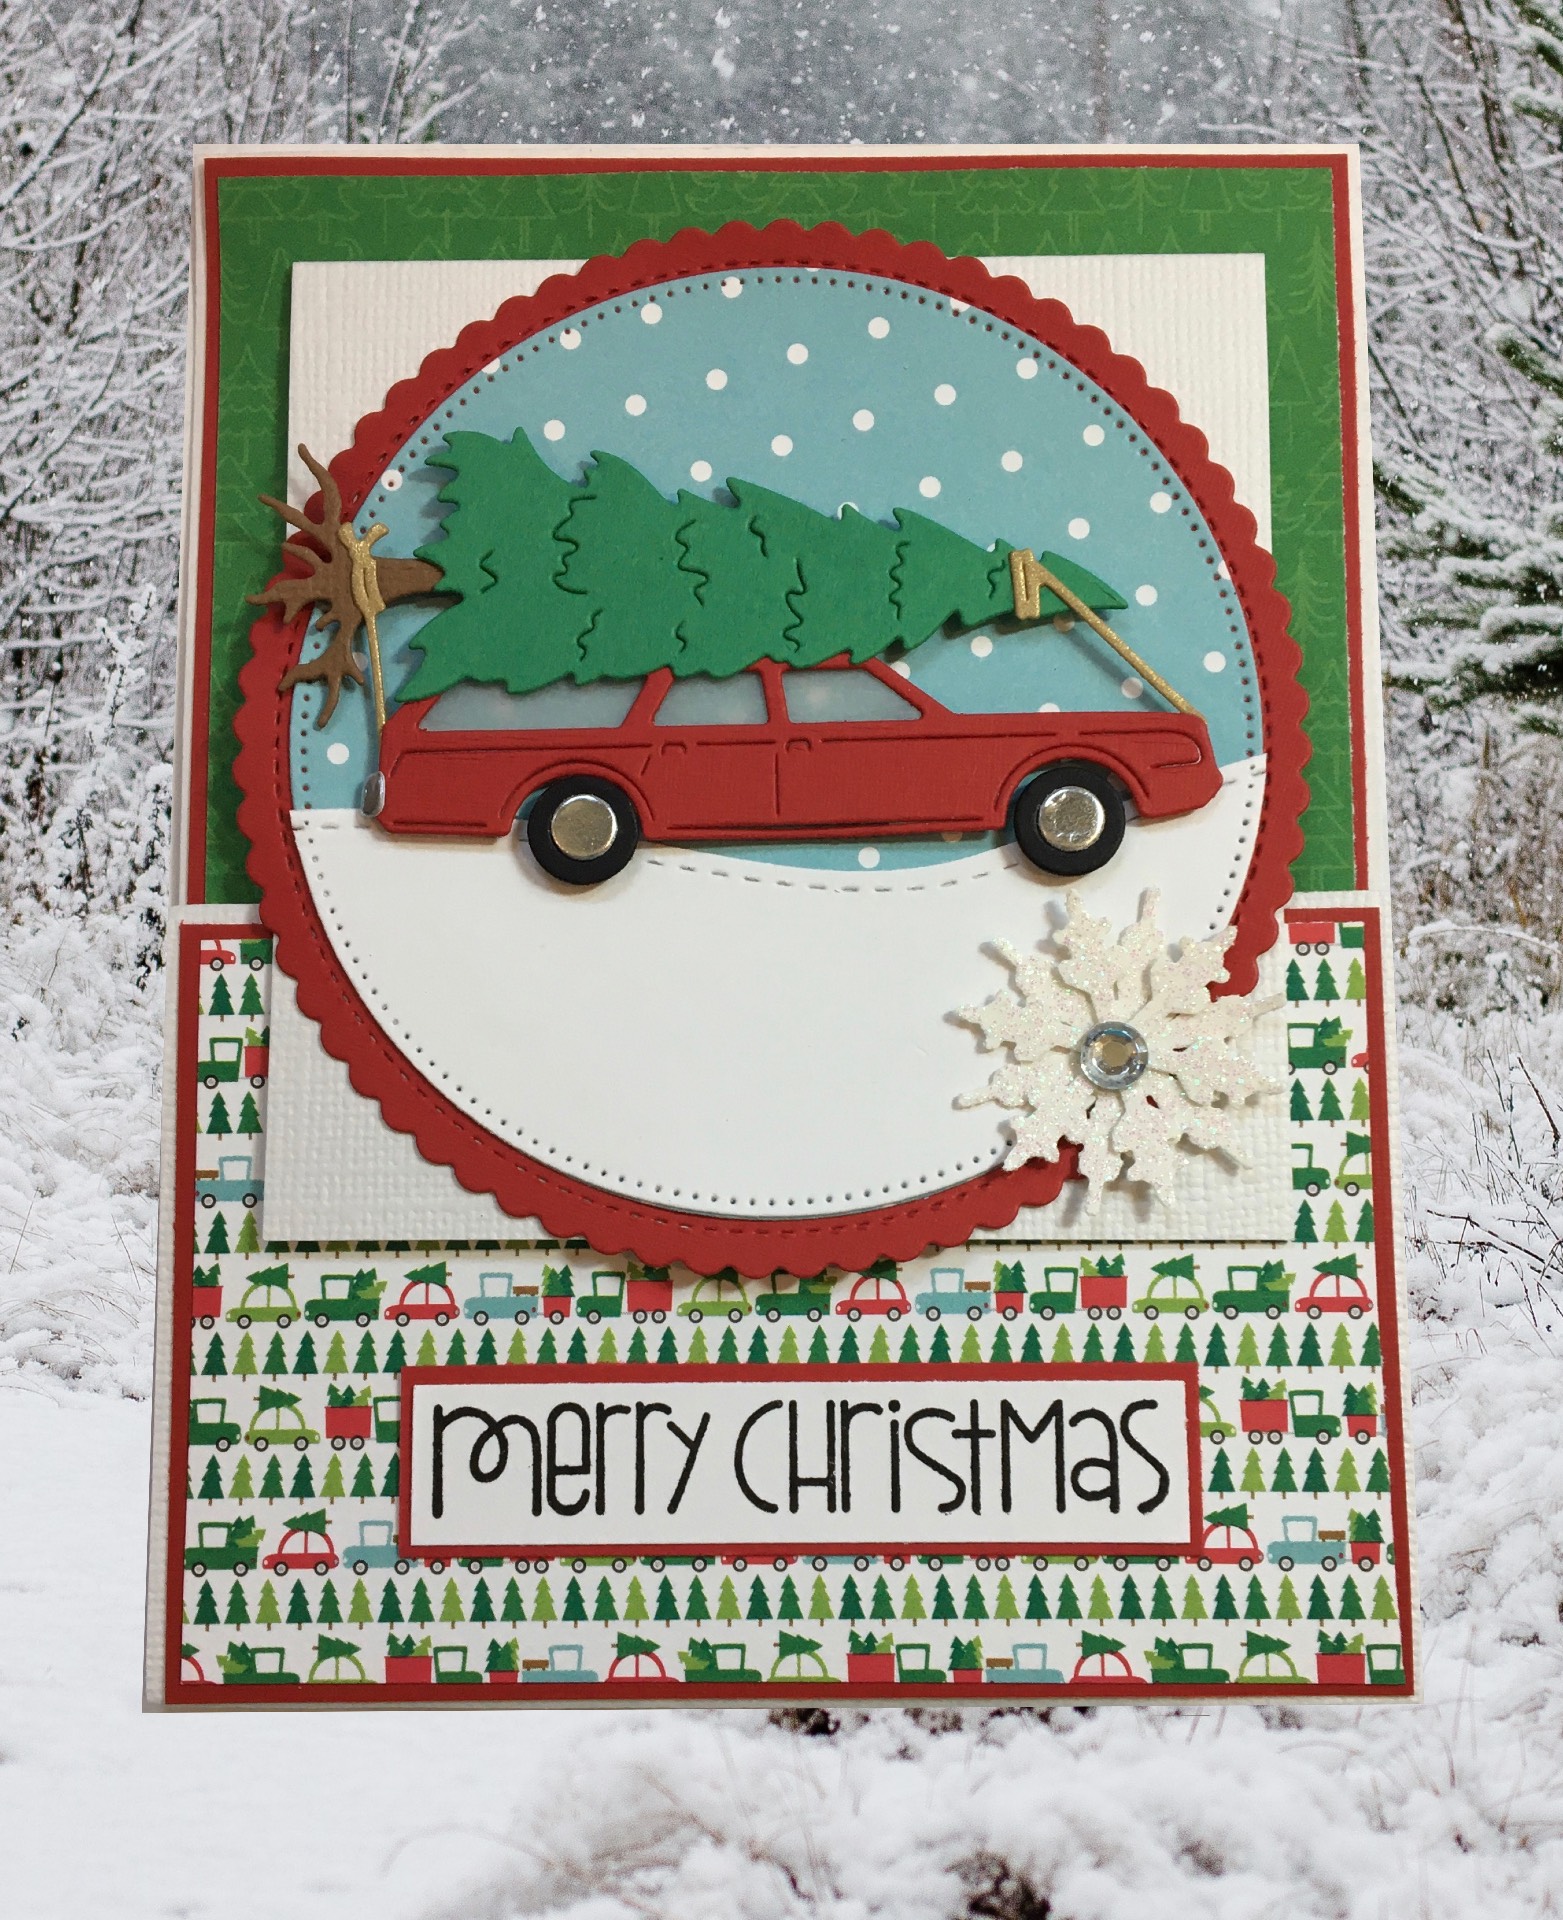
I just love this die and I used it on my project last week. I am going to be sending all my family these decorations for their trees. The great thing is that you can personalise on the back with names and the year

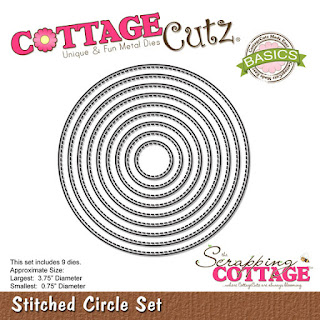
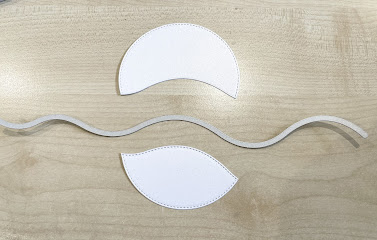
Ok, so lets get onto the tutorial. Firstly I took the largest ‘Scalloped Stitched Circle in both blue and twice in white. I’ll explain later why I cut the extra white pice


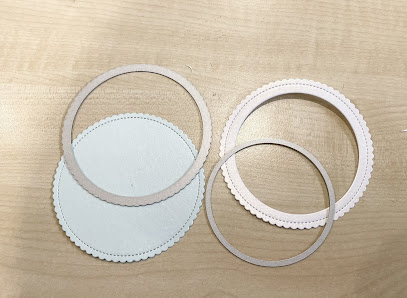
With the 3rd largest circle I cut an aperture in the white piece of card

Next I cut a piece of acetate that fitted the scalloped circle without hanging over the edge. You can do this by using the 2nd largest circle. Top Tip, if you are cutting acetate it’s worth having a piece of paper beneath the acetate to ensure a nice clean cut.

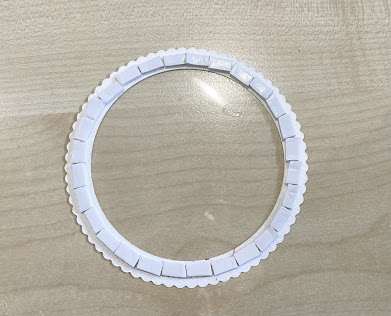
Next I attached the acetate to the back of the white scalloped hoop and attached 3mm foam pads as i want this ornament to be a shaker ornament


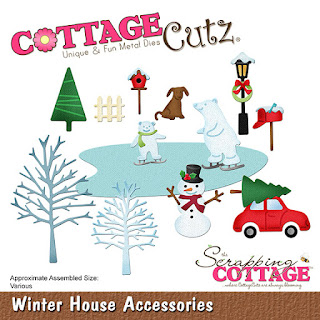
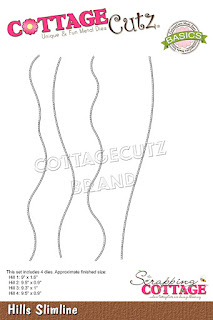
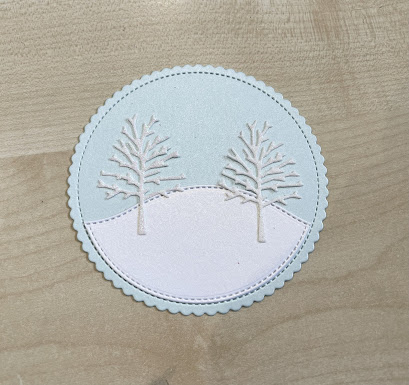
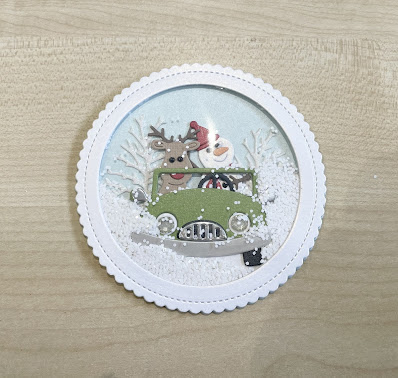
So you can put this to one side whilst we create the shaker scene. I cut the second largest circle in white card and then use the ‘Hills Slimline’ to crate a snowy background. I also cut some white glitter trees from the ‘Winter House’ Accessories’ die as I think these are super cute. I attached this to the scene with glue as I didn’t need the extra height on the scene


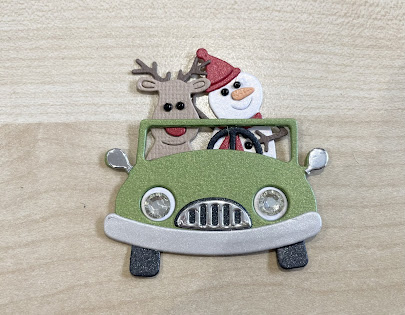
I then cut out the elements from the ‘Snowman Reindeer Car’. I have fallen in love with this die, it is too cute. Once assembled, I attached this to my winter scene with glue. Again, additional height is not necessary as I need room for the fun snow!


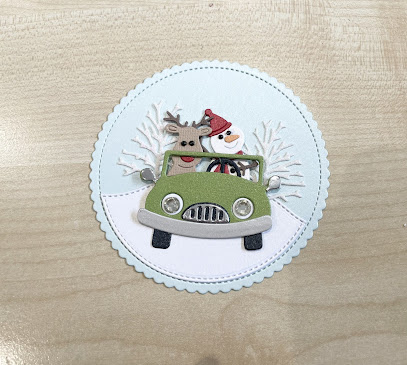
Next I added the faux snow. It’s just white chunky glitter and I really think it looks realistic. I put the glitter directly onto the scene


I then peeled off the foam tape from the other piece of card and tack over the base card


To finalise I cut a hole in the top of the ornament and threaded through some twine. The remaining white circle I cut I’m going to print on with my relatives name and also the year. So here’s the finished project.


I really hope you like this project. Cottagecutz have so many dies that could be used in this little winter ornament. 

I wish you a fantastic week and look forward to seeing you again on Friday with a super new idea
Wendy

Dies I used


Thursday, October 15, 2020

Griswold's Christmas

Hello Scrapping Cottage Friends,


It is Pam sharing with you on the blog this great Thursday morning.

I don't know about you but I think one of the funniest movies I have ever seen is Christmas Vacation!  This little station wagon brings me right to the scene in the movie when the Griswold's went out to get their Christmas tree! I decided to do a fun fold card with this fun die.

daniel-spase-H6aZLCgCdkA-unsplash.jpg

Design Steps

1.  Use the second from the largest Stitched Scallop Circle die and cut a red circle.  Use the second from the largest Pierced Circle die and cut out a DP blue circle
2.  Cut a piece of white card stock 7 x 3 1/2 and fold in half
3.  Glue the blue dotted DP to the red scalloped circle then mount onto the small card front
4.  Cut some red card stock 4 1/8 x 5 3/8 and 2 pieces 4 1/8 x 2 5/8. Cut green DP 4 x 5 1/4 and patterned DP 4 x 2 1/2.  Cut a white 11 x 4 1/2 fold in half placing the fold at the bottom of the card then cut the front flap in half
5.  Glue the large piece red card stock to the inside of the card and the two smaller pieces of red go on the outside of the front flap and the inside of the front flap.  Glue the green pattern paper to the inside of the card and the pattern paper to the front of the outside flap

6.  Cut all the pieces using the Griswold Wagon and green, black, brown, red, green and vellum.  Assemble the car with a fine tip glue


7.  Glue the small card to the green inside of the card folding the front flap under the flap of the smaller card. Open up the small white card and stamp the sentiment. I added a small strip of DP for added decoration

8.   Add some white snow to the blue dotted DP on the circle and then pop up the car.  Add a snowflake, rhinestone and your sentiment.  I used a small Velcro dot to keep the card closed

CottageCutz Products


This card just makes me smile!  I hope you get a grin on your face too!
Blessings
Pam