Showing posts with label Rope Corner. Show all posts

Wednesday, July 29, 2020

You're the Only One in the Sea for Me!

Hello!  This is Sukie and today I have a sweet card to share.  I used one of the new dies from the amazing Pirates and Sea Creatures die release.
I wanted a vintage theme for my card so I used a muted color palette for my die cuts. I also distressed the edges of the die cuts with ink.
I selected some papers from my stash to coordinate with the vintage theme.  You can never go wrong with stripes on a card.  The smaller card panel was shaded with ink to mimic water and a soft sky.
Once I created my card base, I added the Lighthouse as the focal point of my card.  The fence was trimmed to fit each side of my card and accented with a piece of rope from the Rope Corners die set, the anchor is from the same die set.
The moon and stars were adhered on each side of the lighthouse finishing off the whimsical scene.
I found the perfect sentiment in my stash and stamped it on a hand cut flag.  It was mounted above the scene on my card.
Here are the dies used on my card, available in the store:


Monday, July 16, 2018

Framed Lighthouse

Hi, Lois here with another throwback card.  Because CottageCutz isn't having a new release this month, the design team members are pulling out older dies and giving them a fresh look.  Today I have pulled out 
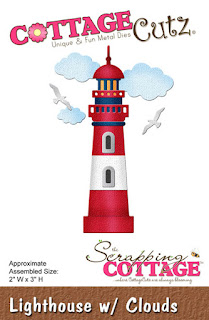
Lighthouse w/Clouds, 
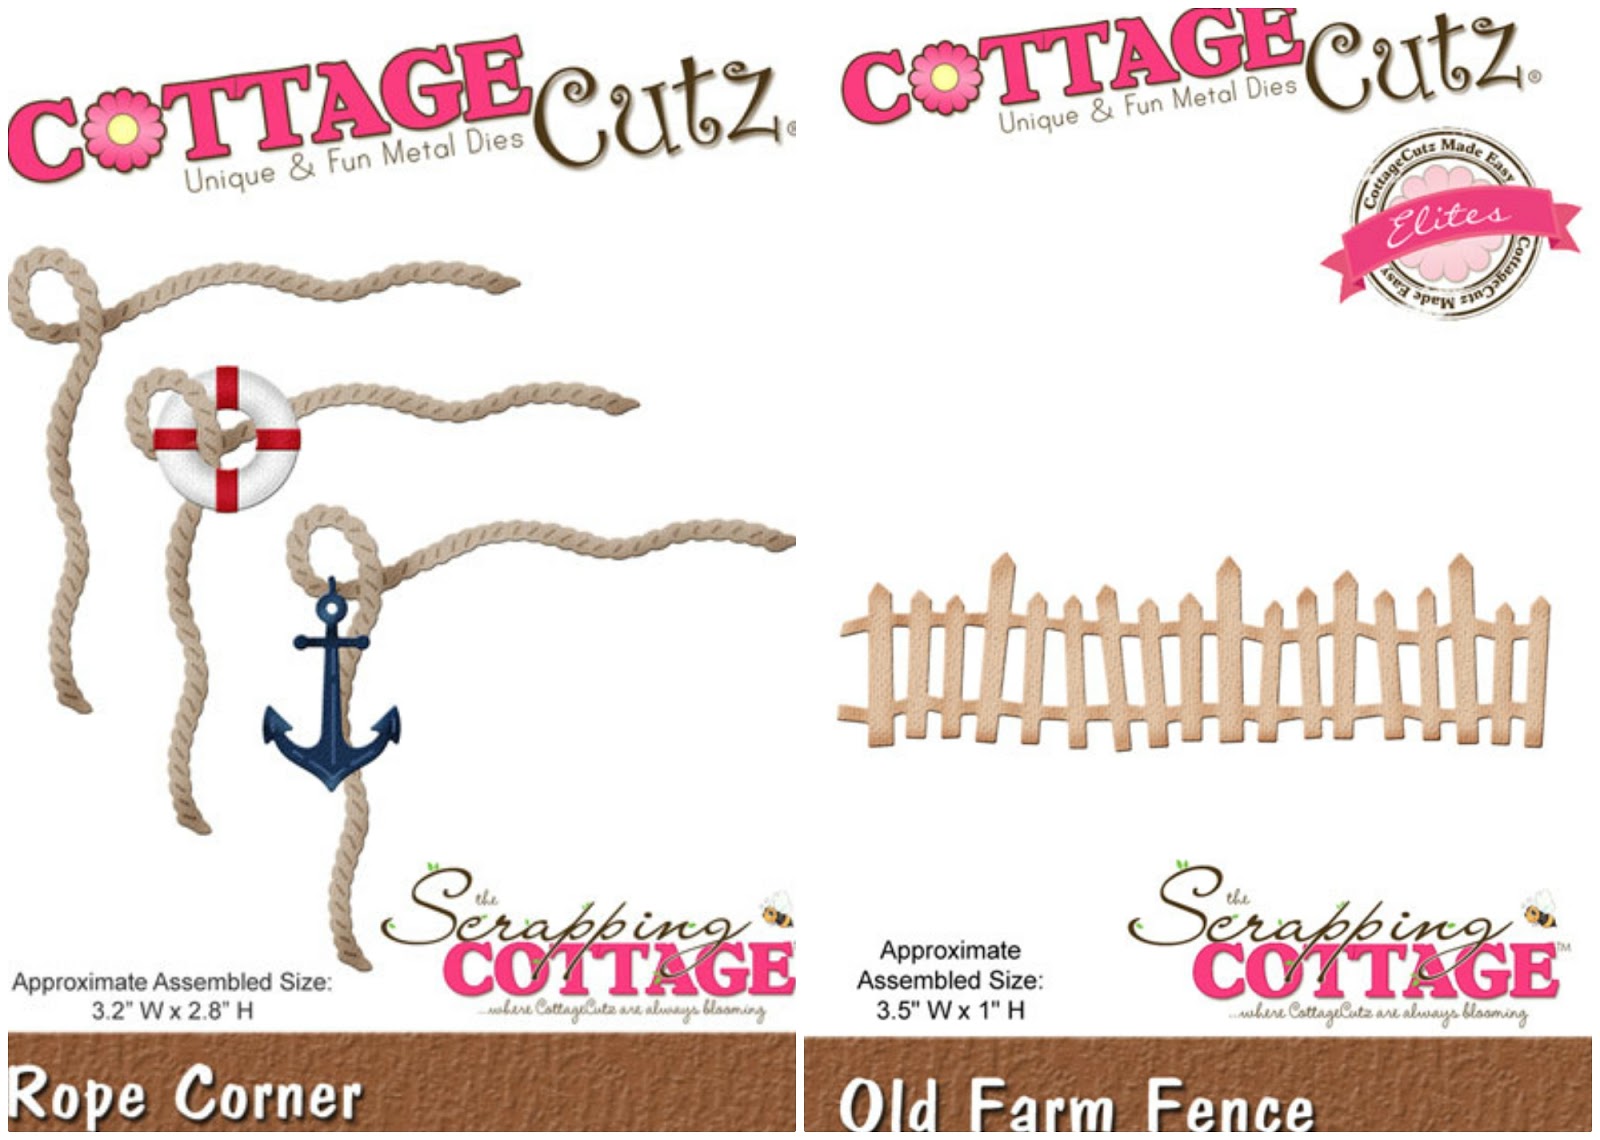
Rope Corner, and the Pierced Wide Rectangle Frame set to make my card.


This card is a standard A2 card which folds at the top.  I started by cutting the cardstock and patterned paper for the card base, as follows:

Turquoise - 4 1/4" x 11", scored at 5 1/2"
White - 4" x 5 1/4"
Waves patterned paper - 3 7/8" x 5 1/8"


Next I cut the middle Pierced Wide Rectangle Frame from gray cardstock and a piece of sky patterned paper 2 1/2" x 3 1/2".  I applied two layers of foam tape to the back of the frame and adhered the sky paper to the frame.


I then die cut the Lighthouse and Rope Corner pieces from white cardstock . . .


. . . colored and constructed the images.


All that was left was to place the lighthouse, seagulls, and clouds in the frame, attach the frame to the card, and add the rope and anchor appropriately -- and my card was finished.


CottageCutz dies used on this card are:

https://02f2a55.netsolstores.com/cottagecutzlighthousewclouds.aspx


https://02f2a55.netsolstores.com/cottagecutzropecorner.aspx


https://02f2a55.netsolstores.com/cottagecutzpiercedwiderectangleframesetbasics.aspx


Tuesday, April 12, 2016

Ship's porthole

Hi, Janja here!

Today I share with you another card made with the CottageCutz nautical dies.
Let's see how it is made.


For the card you need:
  • card base in brown color: 11.4 x 5.7" (29 x 14,5 cm), folded in half
  • white cardstock: 5.3 x 5.3" (13,5 x 13,5 cm)
  • wooden sheet
  • scraps of white and colored cardstock
  • transparent PVC foil
  • embossing folder
  • Distress inks: Antique Linen, Vintage Photo and Wild Honey
  • white pigment ink pad
  • white chalk paint, brush
  • gold and copper metallic paste
  • paper cutter
From wooden sheet we cut out 10 strips. They should be 5.1" (13 cm) long and 0.5" (1,2 cm) wide.
Paste them on a sheet of paper and cut it to size 4.9 x 4.9" (12,5 x 12,5 cm). I advise you to use glue and not double-sided tape. 
The whole area is shaded with the Distress ink Vintage Photo and a white pigment ink pad.
Finally it's painted with a white chalky paint.
When the color is still wet, pull with the finger on some places. This will remove color. Little smearing, but at the end, you will be satisfied with the shabby appearance of the wood. 


Now let's start with porthole.


Prepare the cardstock cutouts. For the glass piece use PVC foil. I can't advise you which one is preferred. I always use the thicker one. 


Use embossing folder for pattern on the foil. 


Coat other cutouts with gold and copper metallic paste and glue them together with the foil.
 

The fence consists of two CottageCutz dies. Pillars and the rope around them are from the pelican die. Pillars are also cut out of a wooden sheet. 
For the rope between the pillars, use the rope corner die.
 
Seagull flew to the one of the pillars, while we stuck an anchor to another one. The inscription Happy Birthday is glued to the wooden background.
And don't forget on our April challenge - anything goes. You have time to share your projects with us till the end of the month. 
Two lucky winners will get the nice awards.
 
List of dies used:


I hope that you enjoy my company.

Janja

Tuesday, March 15, 2016

Holiday memories

Hi everyone, Janja here.
Today I'm sharing with you a card on which I caught a few holiday memories. All dies are from new release CottageCutz - nautical. They are so gorgeous that you simply can't resist.


The folded card measures: 5.3" x 5.3" (13.5 x 13.5 cm). On base card front, I glued blue cardstock in the size of 5" x 5" (12.7 x 12.7 cm) and inserted in the middle of the frame picture on canvas.

I first gently shaded white canvas in size 3.7" x 3.7" (9.5 x 9.5 cm) with Distress ink - Broken China. I tore blue and patterned paper off with the hands and glued onto the canvas.
For a lighthouse, I used a cardstock in blue, red and white. When it was drafted, I shaded it with the Distress Ink - Pumice Stone and attached with foam pads. Just so it wouldn't hang in the air, I put it on the dunes borrowed from the seagull.
The sailboat is cut out of blue and white cardstock. From a white cutout I only used the sail, which is also shaded with Distress Ink - Pumice Stone. The sailboat is glued directly into the canvas. I added two clouds and seagulls.


Also the frame is made of canvas, which I initially impregnated with white gesso. 


As I forgot during the creation to make a photo, I made another one, from white cardstock.

Cut out 4 strips, width 0.4" (1 cm). They should be longer than the finished frame, which measures 4.75" x 4.75" (12 x 12 cm). On the reverse side they are bonded with removable adhesive tape. Turn frame and cut it in diagonal lines. 
The strips are painted with white paint. I used chalky finish white. When the paint was dry, I all the edges of the frame shadowed with Distress ink - Vintage Photo, to obtain a shabby look. 


It only remains to re-assemble the frame and truncate tip at the corners with a scissors. That the framework will really look like real, we enhance the edges. This was done with a bone folder. 
I decorated it with the die - rope corner


List of dies used: 


Enjoy and have fun.

Janja