.JPG)
Hello CottageCutz friends! Thanks for taking the time to stop and visit with us today. It's Mary Marsh here bringing you the Saturday edition of the Blog.
We have a brand-new release of dies in the online store. It's our Flowers & More release. The individual dies are currently on sale for 30% off. This release has what we are calling "simple cuts". Meaning not as many pieces to put together so they assemble quickly.
We are also having a huge President's Day sale with savings from 40% to 70% on selected CottageCutz dies. Shop early before anything sells out. The sale will run through Friday, February 24th.
For today I am showing two of the dies that is on sale. The Party Cake die is currently 50% off and the Happy Birthday w/Shadow die is 40% off. I created a corner tuck fun fold card. It's a new to me fold that I saw Linh make on a recent YouTube video. Click here to see her card.
Design Steps:
1. Start with cardstock measuring 4 1/4" x 11"
.JPG)
2. Cut cardstock to 4-1/4" x 8" Score the 8" side at 5-1/2" to create the base of the fun fold card. Leftover panel can be used for the image panel. I decided not to use this color panel on my card.
.JPG)
3. Cut a 2-3/8" x 4 1/8" piece of designer paper and adhere it to the front flap on the card base. Cut a 5-3/8" x 4 1/8" piece of white card stock and adhered it to the inside of the card.
.JPG)
4. Cut a 2" x 2" piece of the same designer paper and cut the square in half on a diagonal. This is what you tuck the image panel into.
.JPG)
5. Add a bit of liquid glue to the top and right edges of patterned paper. Adhere it to the upper right corner of the white card stock piece on the inside of the card.
.JPG)
6. For my image panel, I cut a piece of granny apple green cardstock at 3 1/4" x 4 1/4". I used designer paper that has the granny apple green as a gradient and cut it at 3 1/8" x 4 1/8".
I cut the cake image and birthday phrase in colors that are in the designer paper. Stamped the sentiment in chocolate chip ink.
.JPG)
7. I attached the image panel to the front flap of the card base. You will be adhering the card stock directly onto the designer paper piece. I only added adhesive to the section that comes in contact with the flap of the card base. Once this panel is secured, you lift up on the right side of the card stock and tuck it under the corner piece.
.JPG)
Here is a photo of the card untucked from the corner.
.JPG)
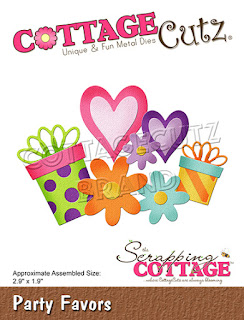
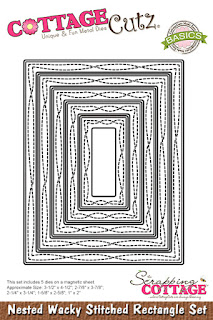
dies I used to create card:


.JPG)