Showing posts with label Moose In Forest. Show all posts

Thursday, September 10, 2020

New Christmas Release

 Hello Scrapping Cottage Friends

It is Pam on the blog today!

I am thrilled to share with you that we have a huge new Christmas release and a spooky but adorable Halloween release!  Each die is so detailed and they really gets your creative juices flowing!  I am having so much fun getting started on my cards for the holidays!

Today,  I am showcasing the ever popular Gnomes that are all over the paper crafting industry right now!  But of course I think our Gnomes are just the cutiest!

Background Photo by Anastasiya Romanova on Unsplash

Design Steps:

1.  Cut all of the pieces using the Gnome w/Lights and the Moose in the Forest dies.  I used green, green DP,  red, yellow, blue, white, purple, brown, black and orange card stock
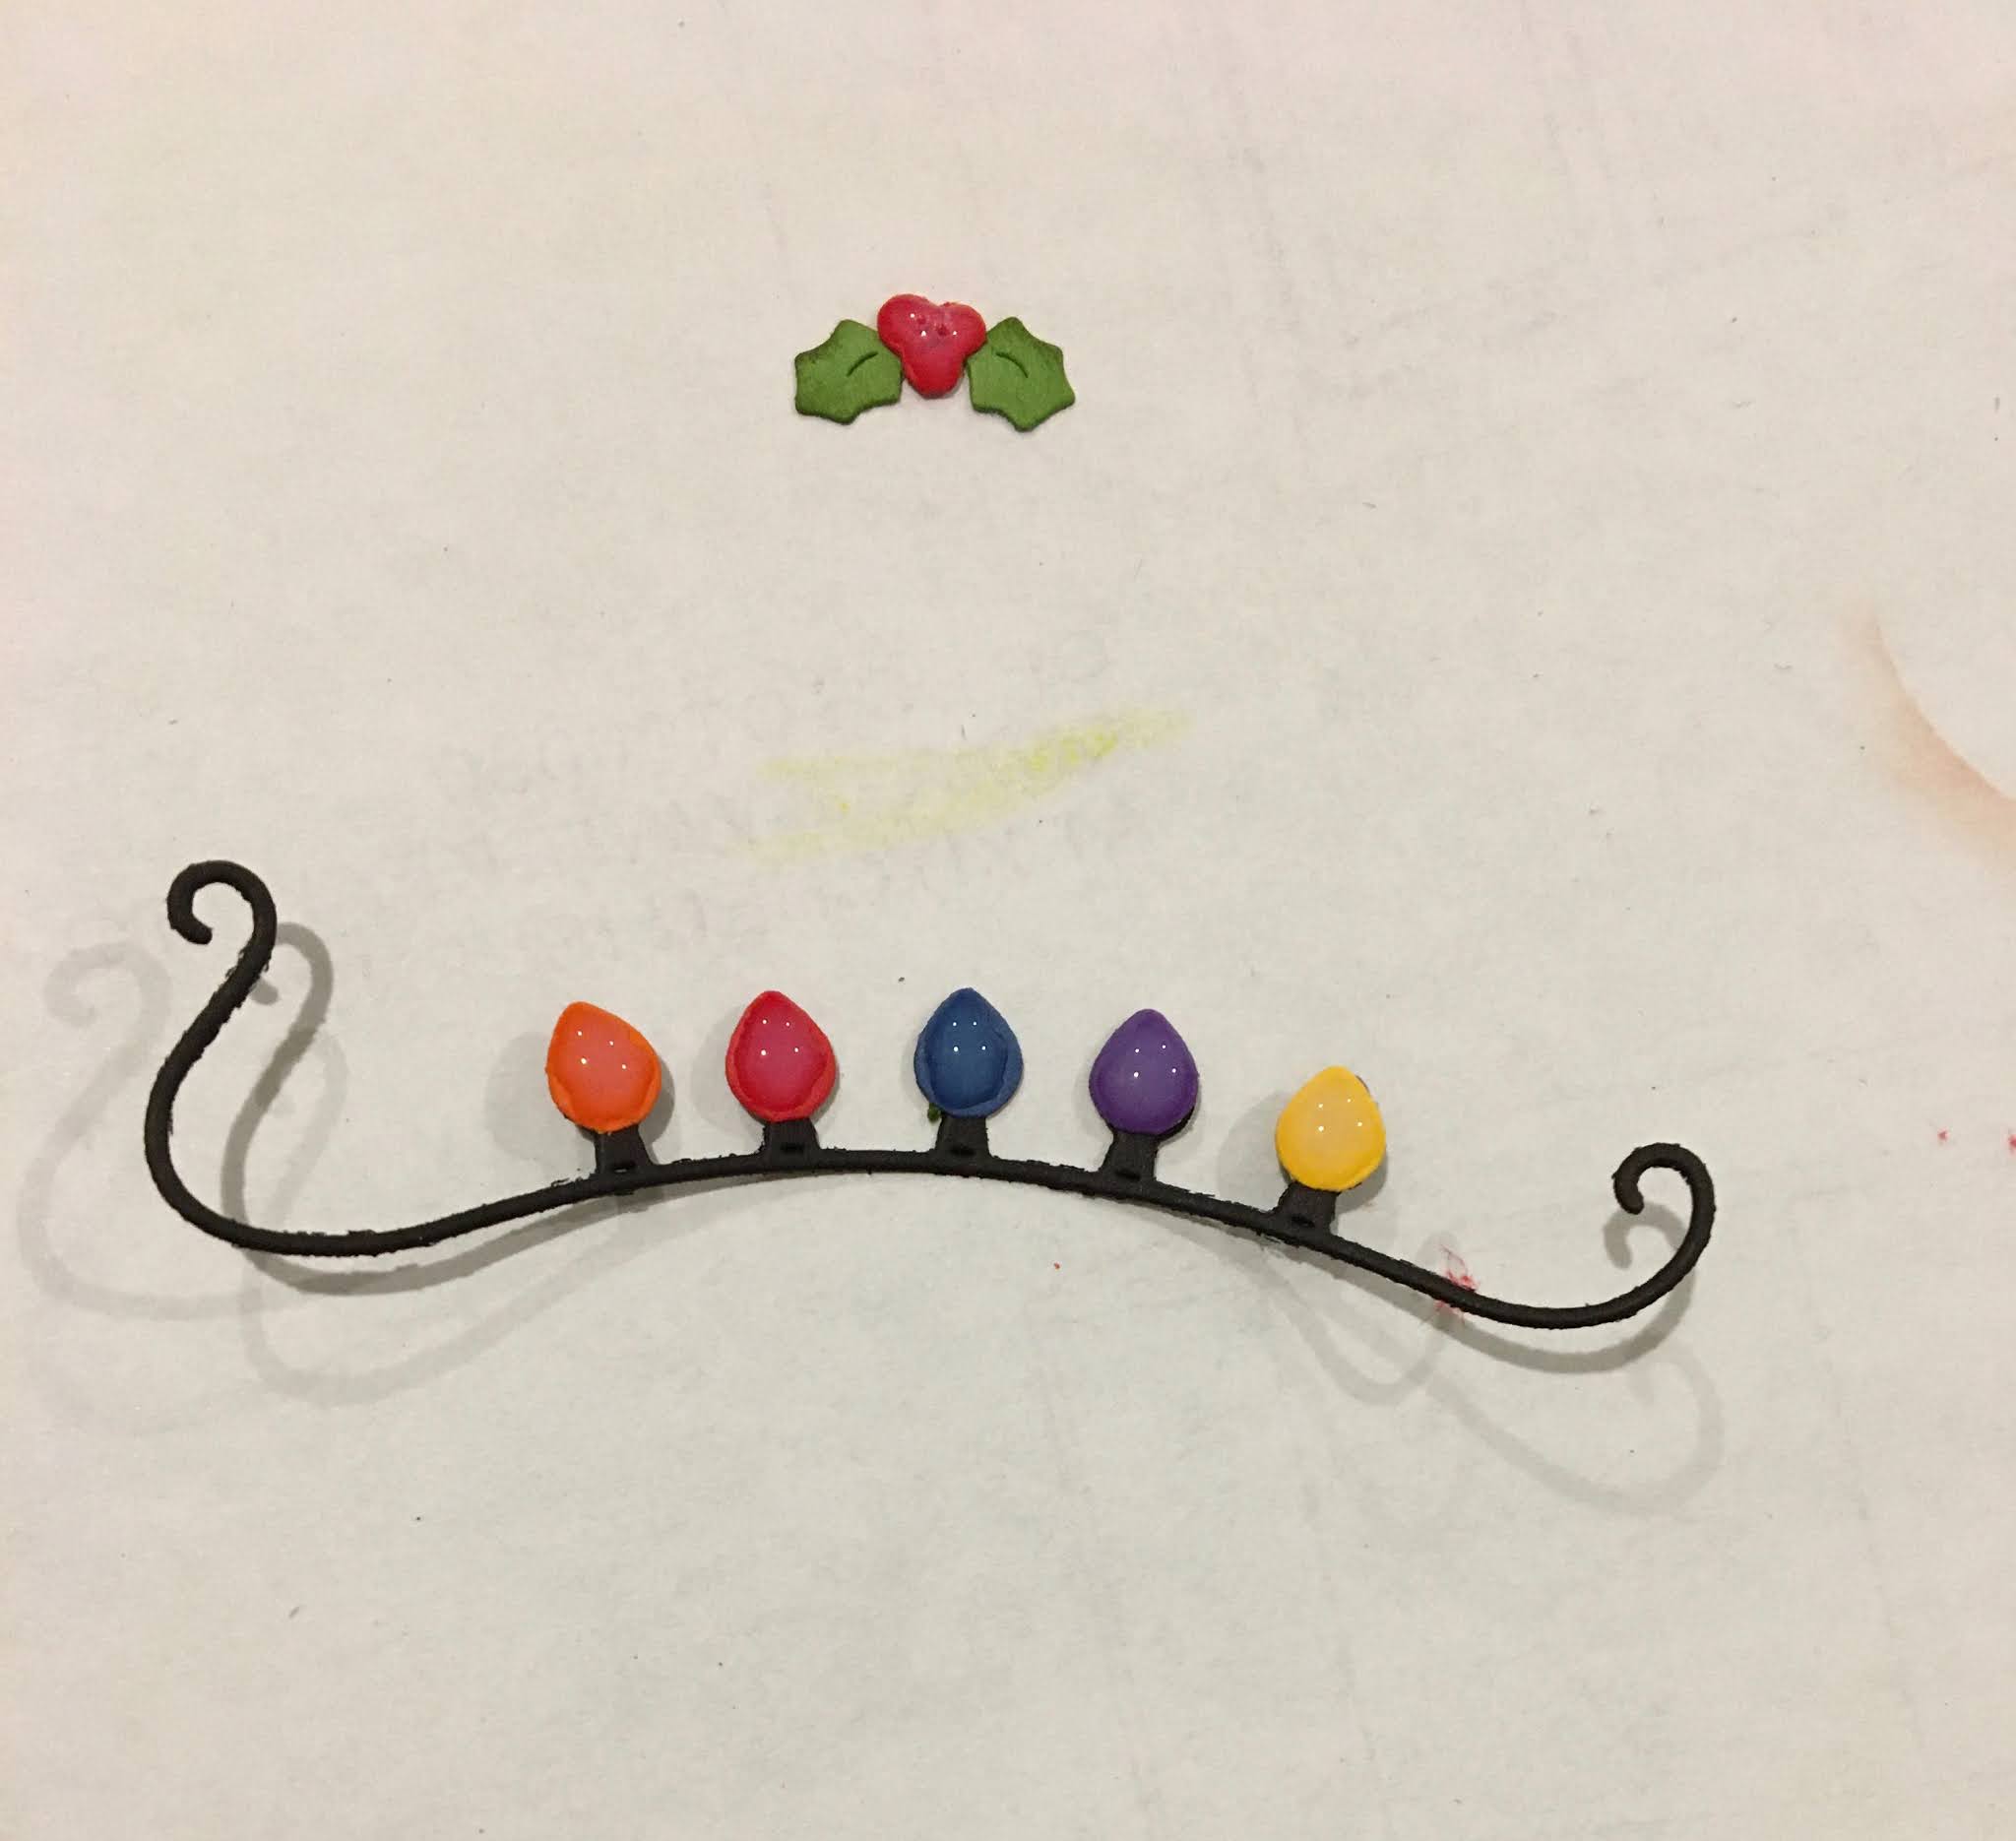
2.  Glue the light bulbs to the black light line and also glue the holly berries to the leaves.  Then add Glossy Accents to the bulbs and berries.  Set aside to dry
2.  Use TH's inks and shade all of the pieces and then glue together using a fine tip glue
3.  Use a white piece of card stock cut to 8 1/2 x 7 1/2.  On the long side fold in half then take the front flap and fold it in half.  This will create a little tent
4.  Cut a piece of DP 4 x 7 1/2 and glue to the front tent fold.  I also cut a piece of green DP for the inside of the card measuring 7 1/2 x 3 1/2  
5.  Open the card up and glue down the green DP.   Next cut a piece of white glitter card stock 7 1/2 x 2 and create the snowy hill.  Glue it to the bottom of the green DP.  For the greeting I used vellum with the sentiment printed on it.  The vellum is slightly longer then the card so  that I could tape it to the back of the card.  This way nothing would show through the vellum
6.  Using dimensional dots pop up the tree and the little Gnome
7.  Add a few sticker snowflakes and a larger plastic snowflake to the card and it is complete

CottageCutz Products


The new Christmas and Halloween releases are just amazing!  I hope you can stop by the online store and take a peek.  And right now they are on SALE!!
Blessings

Pam


Tuesday, December 17, 2019

Happy Holidays

Hi! Janja here with you.
I made a holiday card that I want to share with you today.


- CottageCutz dies: Arctic Moose & Polar Bear, Moose in Forest, Polar Bears w/ Birch Trees (scarf), Christmas Mice (presents)
- white card blank: 4.25 x 5.5" (10,8 x 14 cm), folded
- white cardstock: 4 x 5.2" (10 x 13,2 cm)
- colored cardstock
- colored ink pads
- glue, double-sided adhesive tape, self adhesive foam pads

Cut all the pieces out of colored cardstock. To add shading to pieces, I used colored ink pads.


Cut off a white cardstock for the background. Use different shades of ink pads to color the sky.


Use a pair of scissors to cut off the white cardstock for a snowy hill.
After that, start building a scene.
First attach the conifers to the background with glue.
Paste a snowy hill to the bottom edge with double-sided adhesive tape. 
Attach the following items with self-adhesive pads. 
The last step is pasting the background onto a blank card. 


Have a nice day.
Janja 


Saturday, November 09, 2019

Moose in Forest

Hello Scrapping Cottage friends! Thanks for taking the time to stop and visit with us today. It's Mary Marsh here bringing you the Saturday edition of the Blog. 

We have the new release of Christmas Part 2 in the online store and they are all in stock and available for delivery. There are 34 new designs in this release. 

This release has something for everyone. So if you prefer a more religious tone to your cards- we have you covered. If you like a more whimsical design featuring Santa, reindeer, gnomes, moose or even a hot chocolate theme you will find some really cute dies.

I actually do a combo of religious and whimsical for my Christmas cards. Today, for your viewing pleasure, I am going whimsical with the new Moose in Forest die. So let's get started with some details on how I created this card. 

Step 1:  As I have said so many times before, having a layout in mind at the start of my card is always a big boost for me. It jump starts my creative thought process. I love working with the sketches that are out there in the online world. That way I just choose the colors and designer paper and I am good to go.

 I had this sketch pinned to one of my Pinterest boards and I thought I could make it work with this moose image. 
Tranquil Tide card Base: 4 1/4" x 5 1/2"
Designer Paper: 4 1/8" x 5 3/8"
Kraft Angled Rectangle: 3rd largest Cross Stitched Rectangle die 
Kraft Designer Paper Square: 3rd largest Square Set die. 
I cut the Moose and Pine Tree from cardstocks that matched or coordinated with the designer paper. 
I decided to stamp some trees on the kraft rectangle panel, just for added interest. I used tranquil tide ink.
Step 2: My card elements are prepared and I am ready to start card assembly. I attached the panels with double sided tape. I used burlap ribbon for the long rectangle panel on the sketch. I thought it gave a more woodsy type look. 
Next, I attached the trees to the square panel. I originally cut a small and large tree but that didn't work on the square, so I changed to 2 smaller trees. The moose is attached with dimensional adhesive. 
I wanted to stamp a sentiment on the designer paper, but I wasn't sure if it would be prominent enough. Then I remembered the Noel banner from the Christmas Car & Trailer die. I used it and placed it across the pine trees. I like the touch of Christmas red that it added to my card. 

To finish off my card I added 3 rhinestones and attached the image panel to the card base. And, that's it for me for this week. I hope I have given you an idea for a way to use this cute new die. See you next Saturday!

dies I used to create card:


Monday, November 04, 2019

Christmas Part 2 Samples

Hello Scrapping Cottage friends! Thanks for taking the time to stop and visit today. We are sampling DT cards for the next 6 Mondays using dies from the Christmas Part 2 release.

There are 34 new designs in this release. This release has something for everyone. So if you prefer a more religious tone to your cards- we have you covered. If you like a more whimsical design featuring Santa, reindeer, gnomes, moose or even a hot chocolate theme you will find some really cute dies.
  
We thought you might like to have some new and creative ideas for your Christmas cards using the Part 2 dies. So let's get started with the cards for today.

Card 1:  Our first sample is from Janja AlbrehtShe used the Farm Truck w/Tree die and combined it with the Happy Holidays Polar Bear die to create a snowy forest scene.
She created the background forest using tree stamps and stamped on blue designer paper. She used a brushed and flicked white ink on the background for a snowy look. 
The bears are right at home with all the snow and seem to be enjoying being a part of this scene. 
Card 2:  Our next sample is from Jeanne Knobbe. She used the new Moose in Forest and Pinecone Charm dies to create her whimsical card. The trees and moose are wonderfully colored with distress oxide inks. The pinecone charm is a great rustic accent for her card and it highlights her sentiment nicely.  She chose the perfect sentiment with a little pun to complete this ever so cute card. 
Well that's our samples for today. I hope the team has given you some fresh ideas for a way to use these new dies. 

dies used to create cards:


Sunday, November 03, 2019

Moose In The Snow

Hi!

It's Anja here. Today I used one of my favorite dies from the latest release. This moose is so adorable. I set it in a snowy forest.


For this card I used:
- Cottage Cutz dies (Moose In Forest),
- Distress Inks,
- craft card base (15x15 cm),
- white card stock for die cuts,
- brown card stock (12x12 cm),
- white watercolor paper (11,5x11,5 cm)
- black pen,
- heat gun,
- scissors,
- tooth brush/brush,
- white acrylic paint,
- paper glue.

First I cut the moose and the trees. I cut more sets of each. I colored one set of cuts for the moose in more details.


Then I glued the moose together to get more dimension.


Next I did the background. First I colored the watercolor paper using the smooching technique. I dried the paper with the heat gun.


Then I trimmed brown card stock and a piece of white paper for the snowy ground.


Then I glued all the background pieces together and made the snow using white acrylic paint and brushes. I let it dry.


When the background was dried I adhered it on the craft card base and added the moose. And my card was done.


That's all from me for today. Hope you have a lovely Sunday. See you again next week.

Anja Z.


Cottage Cutz die I used for this card: