Showing posts with label Lil' Bluebird Designs. Show all posts

Wednesday, August 25, 2021

Wishes

Hello!  This is Sukie and today I'm sharing a festive card.  My card features one of the die sets from the brand new Sentiments with Shadow die release.  There are 12 new sentiment dies and each has a shadow feature.  They are perfect for everyday cards and are currently on sale too!

I cut out the adorable llama from the Lil' Bluebird Designs Llama Love stamp and die set. I used my Distress Inks and watercolor pencils to color everything.  The sentiment is from the new Wishes w/Shadow die set.  I cut out an extra shadow piece.
This festive paper is from my stash and I used the Cottage Cutz Oval set to cut out the oval in the center of my card.  I placed a hot pink panel behind the oval and added it onto an A2 card base.
The llama was centered inside the oval as the focal point of my celebratory card.
Next, I adhered some pop dots between the 2 shadow layers of the sentiment and adhered it onto my card.  The pop dots provide some dimension to the whimsical sentiment.
A few enamel dots were sprinkled around the llama as the finishing touch on my card.
Here are the products used on my card, available in the store:

Wednesday, August 18, 2021

Birthday Wishes!

Hello!  This is Sukie and I'm back with a post for my design team day!  For today's card I went with a CAS (clean and simple) design with a pop of color for the background.

The images were stamped with the Lil' Bluebird Designs Happy Birthday stamp set and cut out with the die set.  I colored the images with some bright and cheery distress inks and a watercolor brush.
The panels for my card base were cut with the Cottage Cutz (retired) Stitched Wide Rectangle Frame and Stitched Rectangle Set.
Once I stamped the sentiment on my card panel, I layered the 2 panels on a standard A2 card base which was inked on the edges to coordinate with my stamped images.
The banner was stretched across the top of my card for a fun and festive look on my card.
Next, the 3 presents and gift bag were lined up horizontally in the center of my card.
For a finishing touch, I added a couple of matte enamel dots amongst the presents.
Here are the products I used to create my card:

Monday, August 16, 2021

Sea You Soon!

Hello and Happy Monday!  This is Sukie and today I'm sharing an underwater card. Today's card features both Cottage Cutz dies and Lil' Bluebird Designs products.

The background for my card was created with the Waves and Nested Stitched Rectangles slimline die sets.  I used a variety of Oxide Ink colors to create the sand and waves on my card.  The waves and sand were splattered with some water and the sand was also splattered with some paint. I watercolored the images from the Under the Sea stamp set and used the die set to cut them out.  The images were nestled amongst the waves.  The bubbles and sentiment were heat embossed directly on my card.
Here are the products used to create my card:

Saturday, August 14, 2021

Heard You Caught a Bug


Hello Scrapping Cottage friends! Thanks for taking the time to stop and visit with us today. It's Mary Marsh here bringing you the Saturday edition of the Blog.

IT'S NEW RELEASE TIME! The Scrapping Cottage has just added a new brand to the company line. Lil' Bluebird Designs is being introduced with 16 new Photopolymer Clear Stamp Sets and 16 coordinating dies. There are stamps for so many of your card making occasions and then some. The coordinating dies just make it a perfect fit for your card making designs.


Today for your viewing pleasure I am featuring the new Love Bugs Stamp set and Coordinating dies. I created a get well card because I never seem to have any of these cards on hand when a friend or family member gets sick. So let's get started with some details on how I created my card.

Design Steps:

I started my card by ink blending the background using tumbled glass, broken china, hello honey and mowed lawn  distress inks. The cardstock is Bristol smooth from Canson.  I find that the inks blend so smoothly on this paper.

Next, I stamped, die cut and colored the images from the Love Bugs set. I used a combo of Alcohol markers and Prismacolor pencils and gamsol. 
I also stamped and die cut the sentiment that is part of this stamp set. The edges are sponged with Broken China distress ink. 

For the bug jar I decided to use white cardstock. Then I sponged the yellow, blue and green distress inks so it would appear as glass and you see the colors of the background behind it. I think it worked. 
This is a photo of the coloring mediums I used for my images. 
Now I am ready to start card assembly. I first stamped the bee "flight trails" in black ink. 
I attached the images to the background panel using dimensional adhesive. I cut the grass using the Spring Grass die from CottageCutz. 
To complete my card I added a white layering panel - measuring 3 7/8" x 5 1/8". Then the turquoise card base measures 4 1/4" x 5 1/2". After I took the above picture, I decided that I didn't like the darker green cardstock I used originally.  So I switched it out to a lighter green. 


   Well, that's it for me for this week. See you next Saturday!


Stamps & Dies I used to create card:


Friday, August 13, 2021

A Whole Llama Love

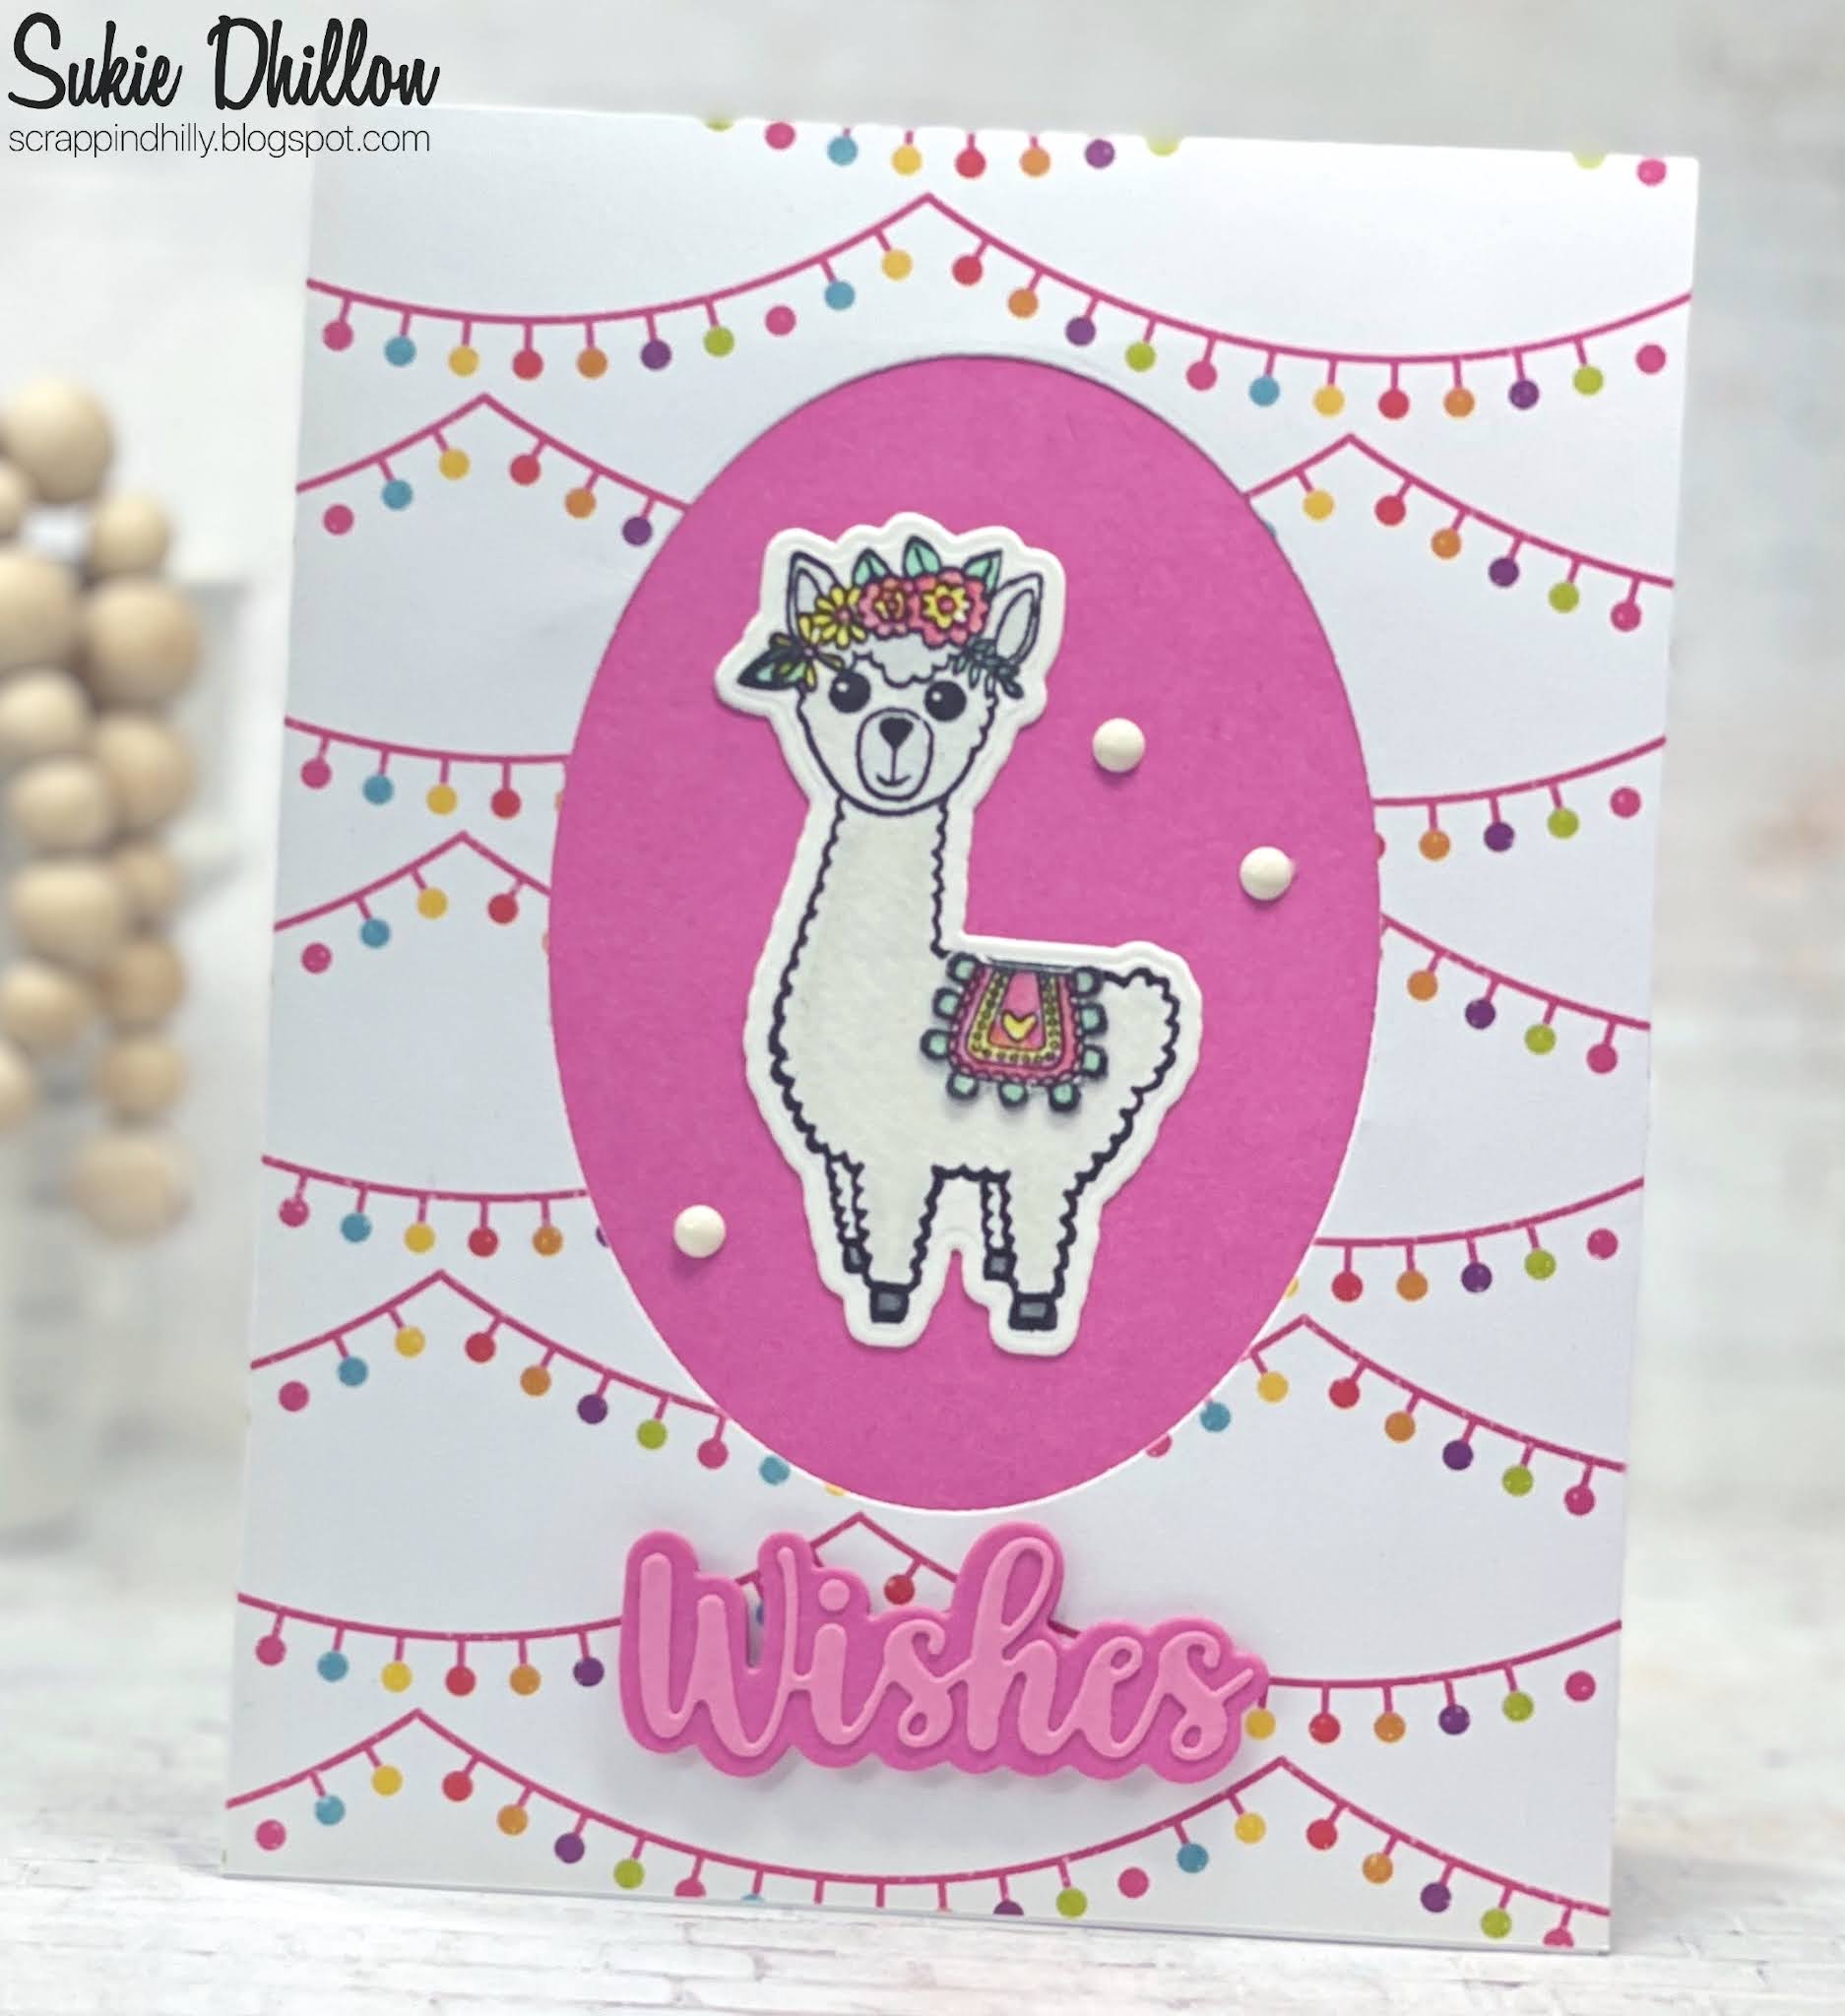
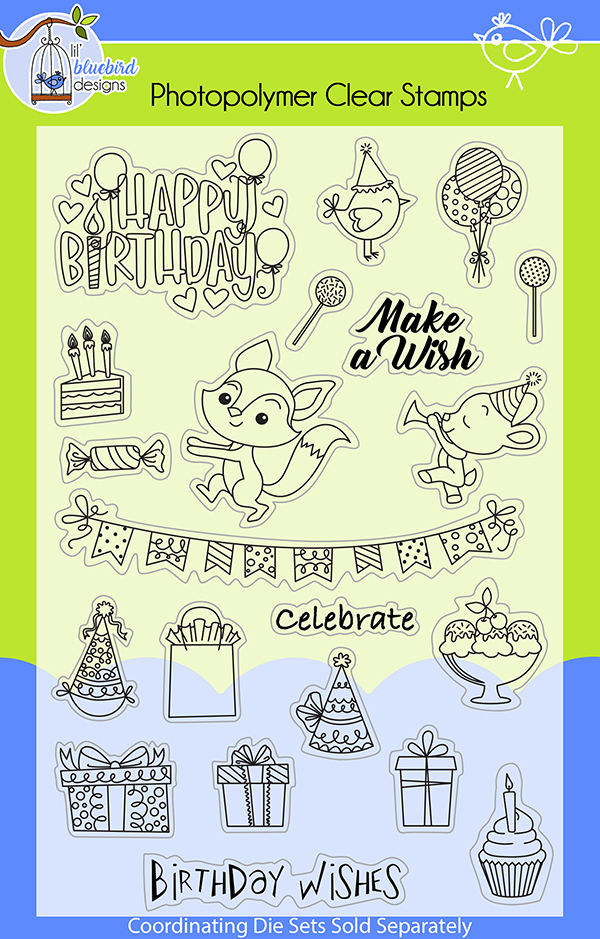
Happy Friday!  It's Jeanne bringing you a card featuring a llama from the new Lil' Bluebird Designs available in the online store.  This set has adorable llamas with fun coordinating designs and sentiments.  The new line has sixteen wonderful stamp sets in a wide variety of themes.  And there are coordinating dies available for each set!

I started by coloring my llama and hanging plant with alcohol markers.  The llama comes bare backed but there are two blankets which can be stamped to give her a more festive look.  I used a warm gray for her fur and soft squiggly strokes to make her nice and wooly.

I used both Copic markers and Spectrum Noir Tri-Blends.

For the card base I cut an A2 panel from white.  Then I used the largest of the stitched rectangles to cut a top panel.  I place the second largest of the heart dies 5/8 inches from the to of the rectangle and centered side to side to cut the window.My embossed panel is 3 inches wide by 2 3/4 inches high.

Next I glued my embossed panel 1 inch from the top of the base and 5/8 inches from each side.

Using thin strips of foam tape I popped up the rectangular panel.

I glued the llama and planter to the front, overlapping the heart window.

Finally I added a few enamel dots in coral.  This card is a wonderful way to say "I love you" to someone far away!

Be sure to visit the online store where this set and the other new designs are on sale for a limited time!

Products used:


Thanks for visiting today!  I hope you have a fun and creative weekend!