Showing posts with label Hollow Tree w/ Forest Friends. Show all posts

Sunday, June 07, 2020

Welcome To The Tomte Garden

Hi!

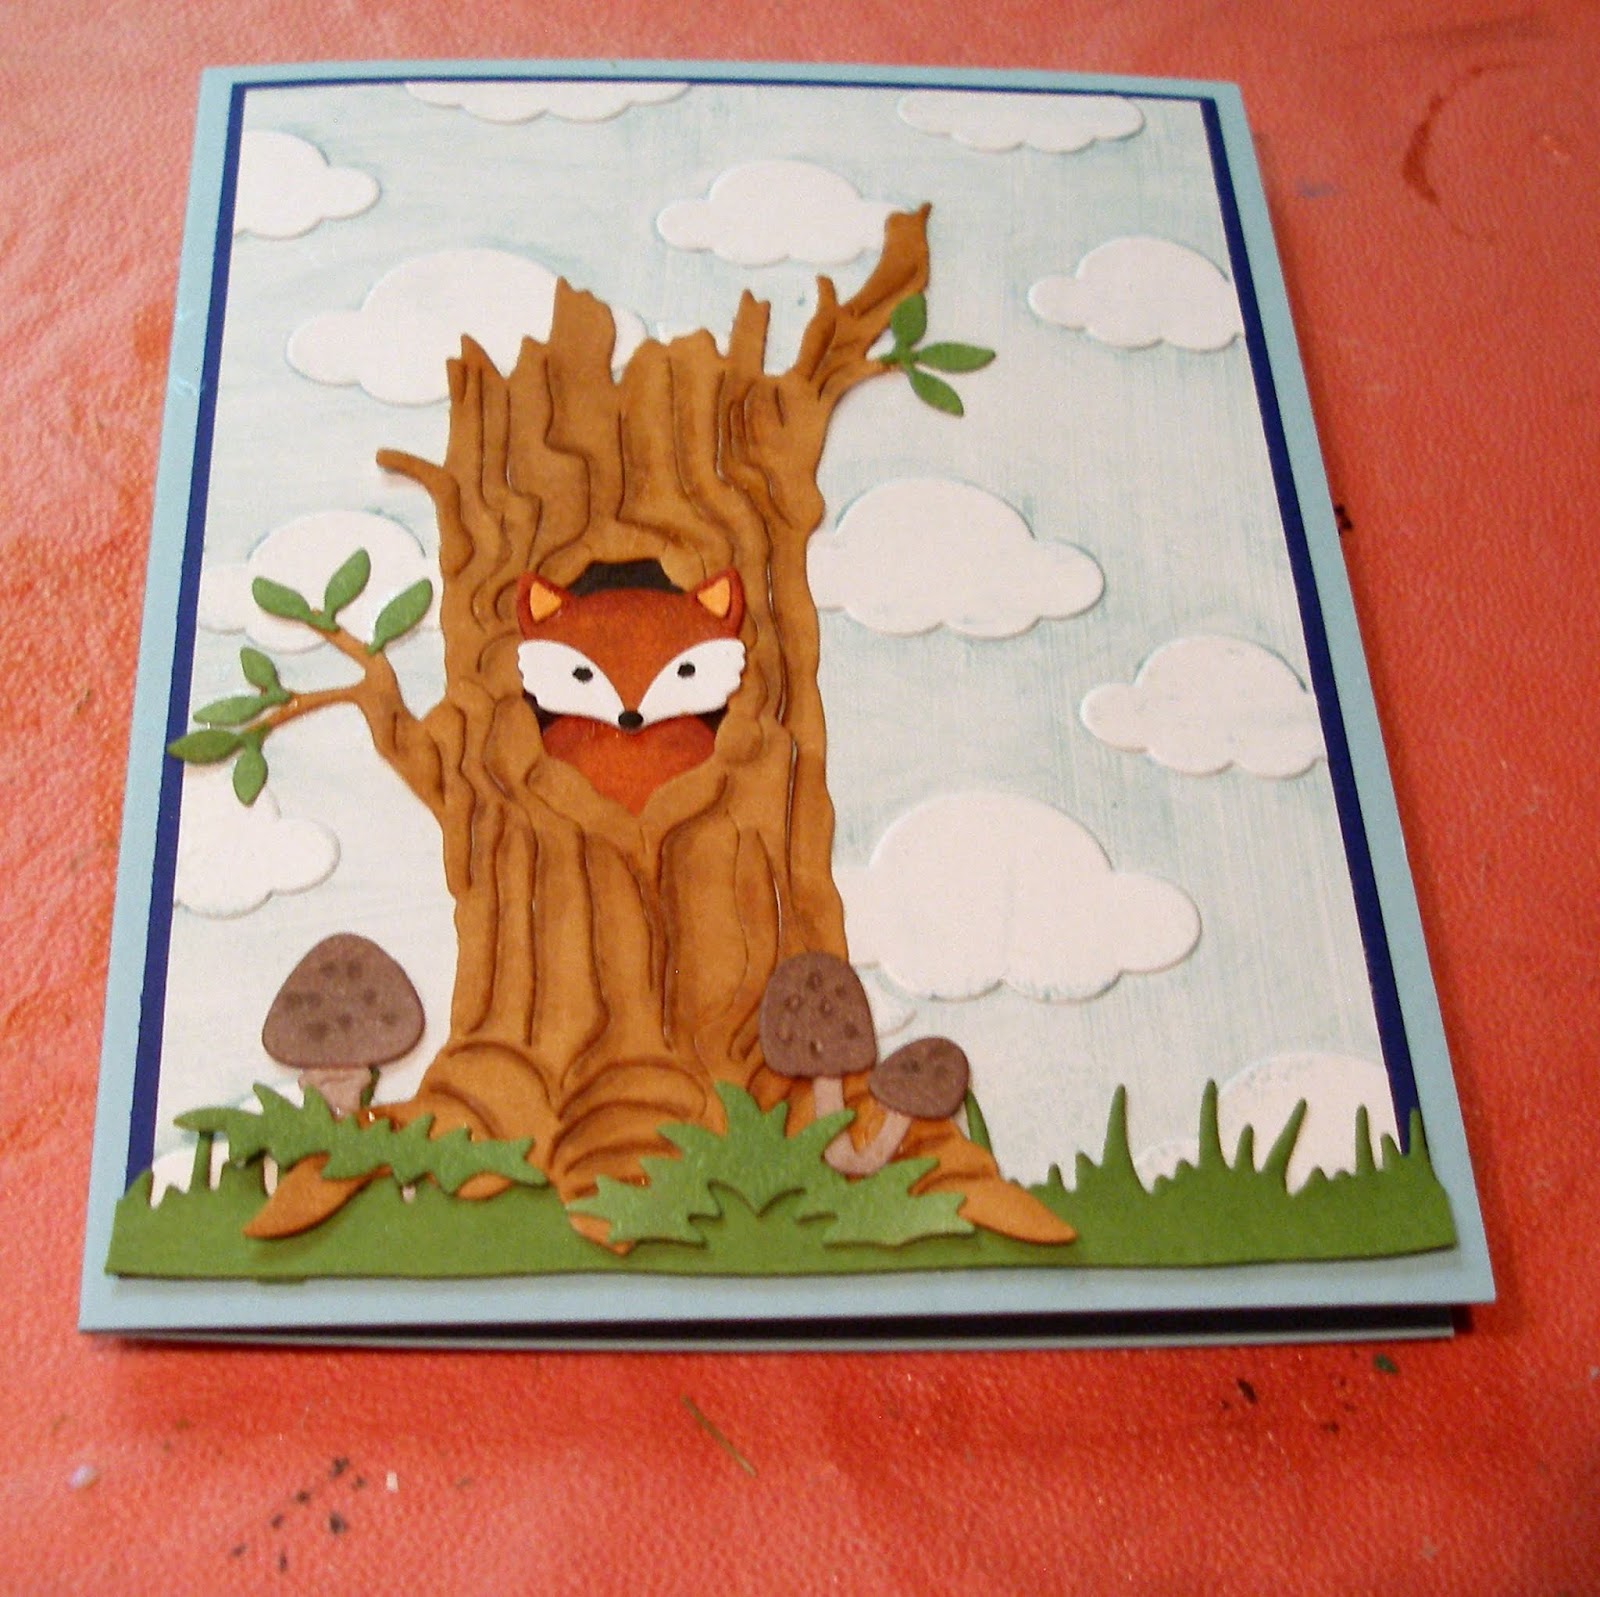
It's Anja here. For today's post I made a lovely scene, using the new Tomte dies. I combined both and this is the final result.


For this card I used:
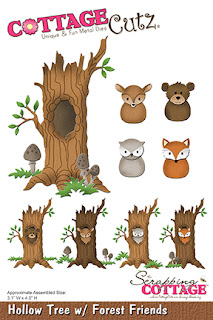
- Cottage Cutz dies (Flower Power Tomte, Gardening Tomte, Hollow Tree w/ Forest Friends),
- Distress Inks,
- white card base (10,5x15 cm),
- silver pigment ink,
- black pen,
- white pen,
- plastic stencil (clouds),
- brush,
- paper glue.

First I cut and colored both tomtes and all the other accessories.


Next I colored the tree and the mushrooms. I used white pen for the mushrooms.


I didn't have a sentiment stamp to fit the wooden sign. So I wrote on it with a black pen.


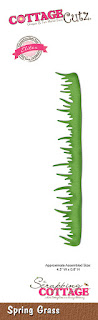
Last I did the background. I used the technique I like the most. Clouds with a plastic stencil and green Distress Ink for the grassy ground.


Then I just added tomtes, the tree and all the other small pieces and my card was done.


That's all from me for today. Have a nice Sunday and see you again next week.

Anja Z.


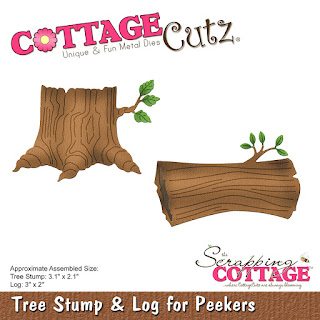
Cottage Cutz dies I used for this card:


Monday, July 30, 2018

What a Fox!

Hi, Lois here with my Monday card.   While the CottageCutz design team waits for the new release dies, we're having a month of "throwback" cards -- using previously released dies to show them off once again.    My card today uses Hollow Tree w/Forest Friends and Spring Grass.


To start my card I die cut the tree and animals from white cardstock and the grass from green cardstock.


I then colored the pieces with Copic markers and sponged some darker green ink onto the grass piece -- and then constructed the tree.


The card base consists of light blue cardstock 5 1/2" x 8 1/2", scored at 4 1/4"; the navy piece is 4" x 5 1/4", and the white piece is 3 7/8" x 5 1/8".


I swiped a light blue ink onto one side of a cloud embossing folder and then ran the white cardstock through my Cuttlebug.  This technique allows portions of the embossed piece to be blue, while leaving the clouds white.


I then constructed my card base.


The green strip of grass was placed along the bottom of the card base, covering the navy mat piece and then the tree was added over the grass, trimmed at the edges.


 Several weeks ago, when I was in Hobby Lobby, I saw some really cute fox buttons that I thought would look good on a card at some time.  Today was the day.  I placed one of the buttons sitting on the grass next to the tree.


I had a sentiment that would work for this foxy card, so I stamped it on white cardstock, cut it into a banner, and mounted it on a strip of navy.  I placed this at the top of the card.


And my card was now finished.


CottageCutz dies used on this card are:

http://www.scrappingcottage.com/search.aspx?find=Hollow+Tree

http://www.scrappingcottage.com/cottagecutzspringgrasselites.aspx

Friday, July 13, 2018

Love Bandit

Happy Friday!  It's Jeanne posting today with throwback card featuring previously released dies. These Forest Peekers are always fun because there are so many ways and occasions to use them.
To start, I cut all the pieces from white card stock and used Copic markers to color them.  The marker colors are listed in the photos below.


When I was finished coloring, I assembled the main components.
Next, I stamped the sentiment on vanilla card stock and used the middle Nested Scallop circle die to cut it out.  I then sponged the edges with some Soft Suede ink and colored in the heart with the R29 marker.
I cut an A2 card base from vanilla card stock and two panels - one solid and one patterned.  These are each 1/8 inch smaller the previous one.
I stacked and adhered these together, then glued the images to the front of the card.
I used a white gel pen to add dots to the mushrooms.  The sentiment circle is popped off the card using foam dots.

Dies used:
http://www.scrappingcottage.com/cottagecutzforestpeekersfoxandraccoon.aspx
http://www.scrappingcottage.com/cottagecutztreestumpandlogforpeekers.aspx

http://www.scrappingcottage.com/cottagecutzhollowtreewforestfriends.aspx
http://www.scrappingcottage.com/cottagecutznestedscallopcircleset.aspx

I hope you enjoyed this card today.  The Forest Peekers are so much fun!  This set comes with a fox and racoon but there are several other dies with different animals if you have a favorite forest critter.

Thanks for stopping by and have a creative weekend!


Sunday, April 02, 2017

Spring Scene with Cute Animals


Hi everyone! It's Anja here and this is my first post on the Cottage Cutz blog. I'm very honored and happy to be able to share my work with you for the next six months.

For my first post I decided to combine a few different dies and made a spring scene with some cute animals.


I used:
- white card stock base (13x34 cm, folded at 8,5 cm and 25,5 cm)
- white card stock strip (4x36 cm, folded at 8,5 cm and 25,7 cm)
- white paper for die cuts
- Distress Ink pads: Peeled paint, Mowed lawn, Barn Door, Shabby Shutters, Stormy Sky, Spun Sugar, Squeezed Lemonade, Wild Honey, Spiced Marmalade, Vintage Photo, Weathered Wood, Tea Dye, Pumice Stone
- patterned paper (12,6x16,6 cm, 2x 12,6x8,3 cm)
- white and black pen
- paper glue

First I cut all the little elements from white paper.


Then I colored them with Distress Inks and glued them together. I made the eyes with black pen and bunny and mouse ears and nose with white pen.


I then folded the white card stock base at 8,5 and 25,5 cm and glued on some patterned paper. I applied some Peeled Paint Distress Ink on the edges of patterned paper.


Then I colored the sky and grass with a sponge and Distress Inks. And glued all the pieces together.


In the end I made a strip that holds the card closed. I cut tree stitched squares and decorated them with the cute little snail that goes well with the patterned paper.


Cottage Cutz dies I used:


Thank you for stopping by. I wish you a beautiful Sunday!


Anja Z.